
[ad_1]
Working intensely to get it prepared for the present.
There are many small issues nonetheless needing consideration on the bike and just a few days left to do it on. This will likely be a quite lengthy submit with many footage, however they are saying greater than phrases actually. Get pleasure from!
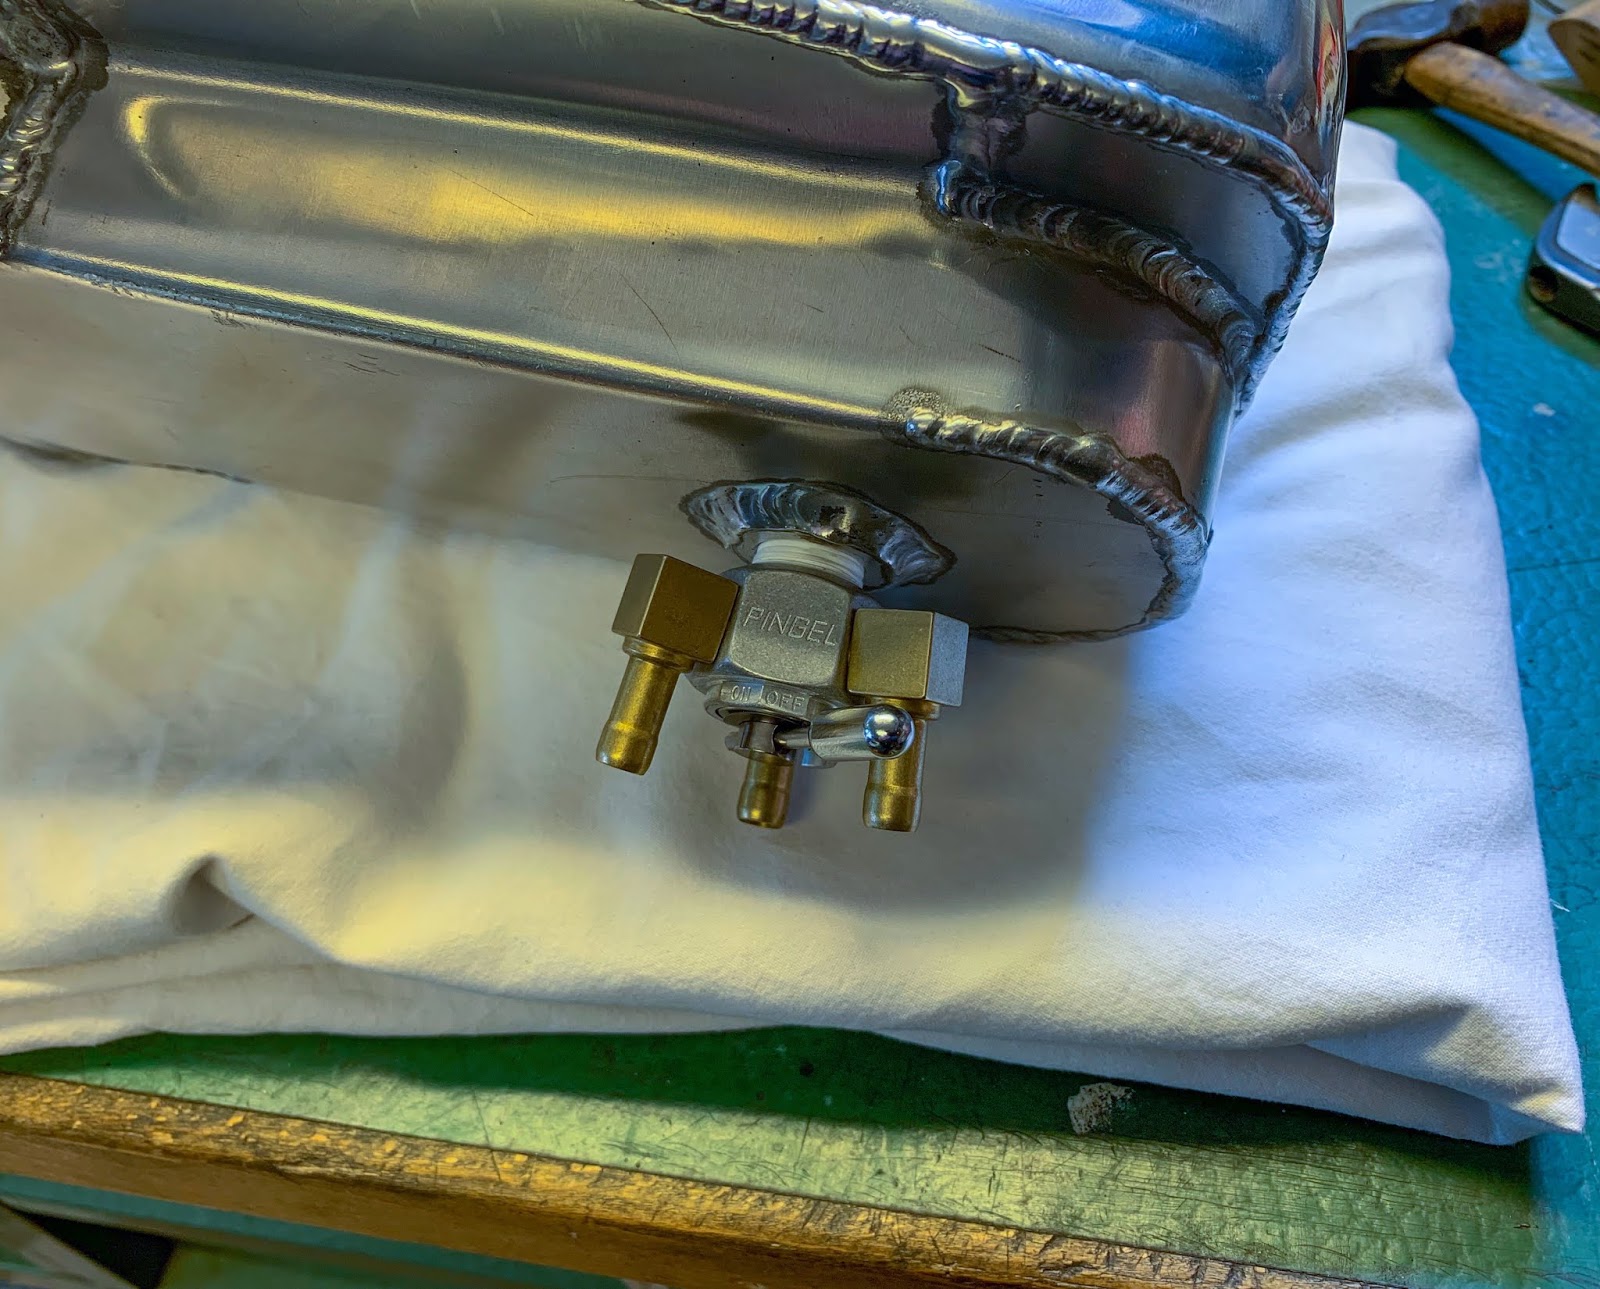
First mission, if I´m going to be driving the bike in two weeks, is getting gas to the carbs. I received the tank made and now I would like to attach it to the carbs,
Some PTFE Thread tape and the Pingel excessive circulate gas valve is in place. I hope it received´t leak…
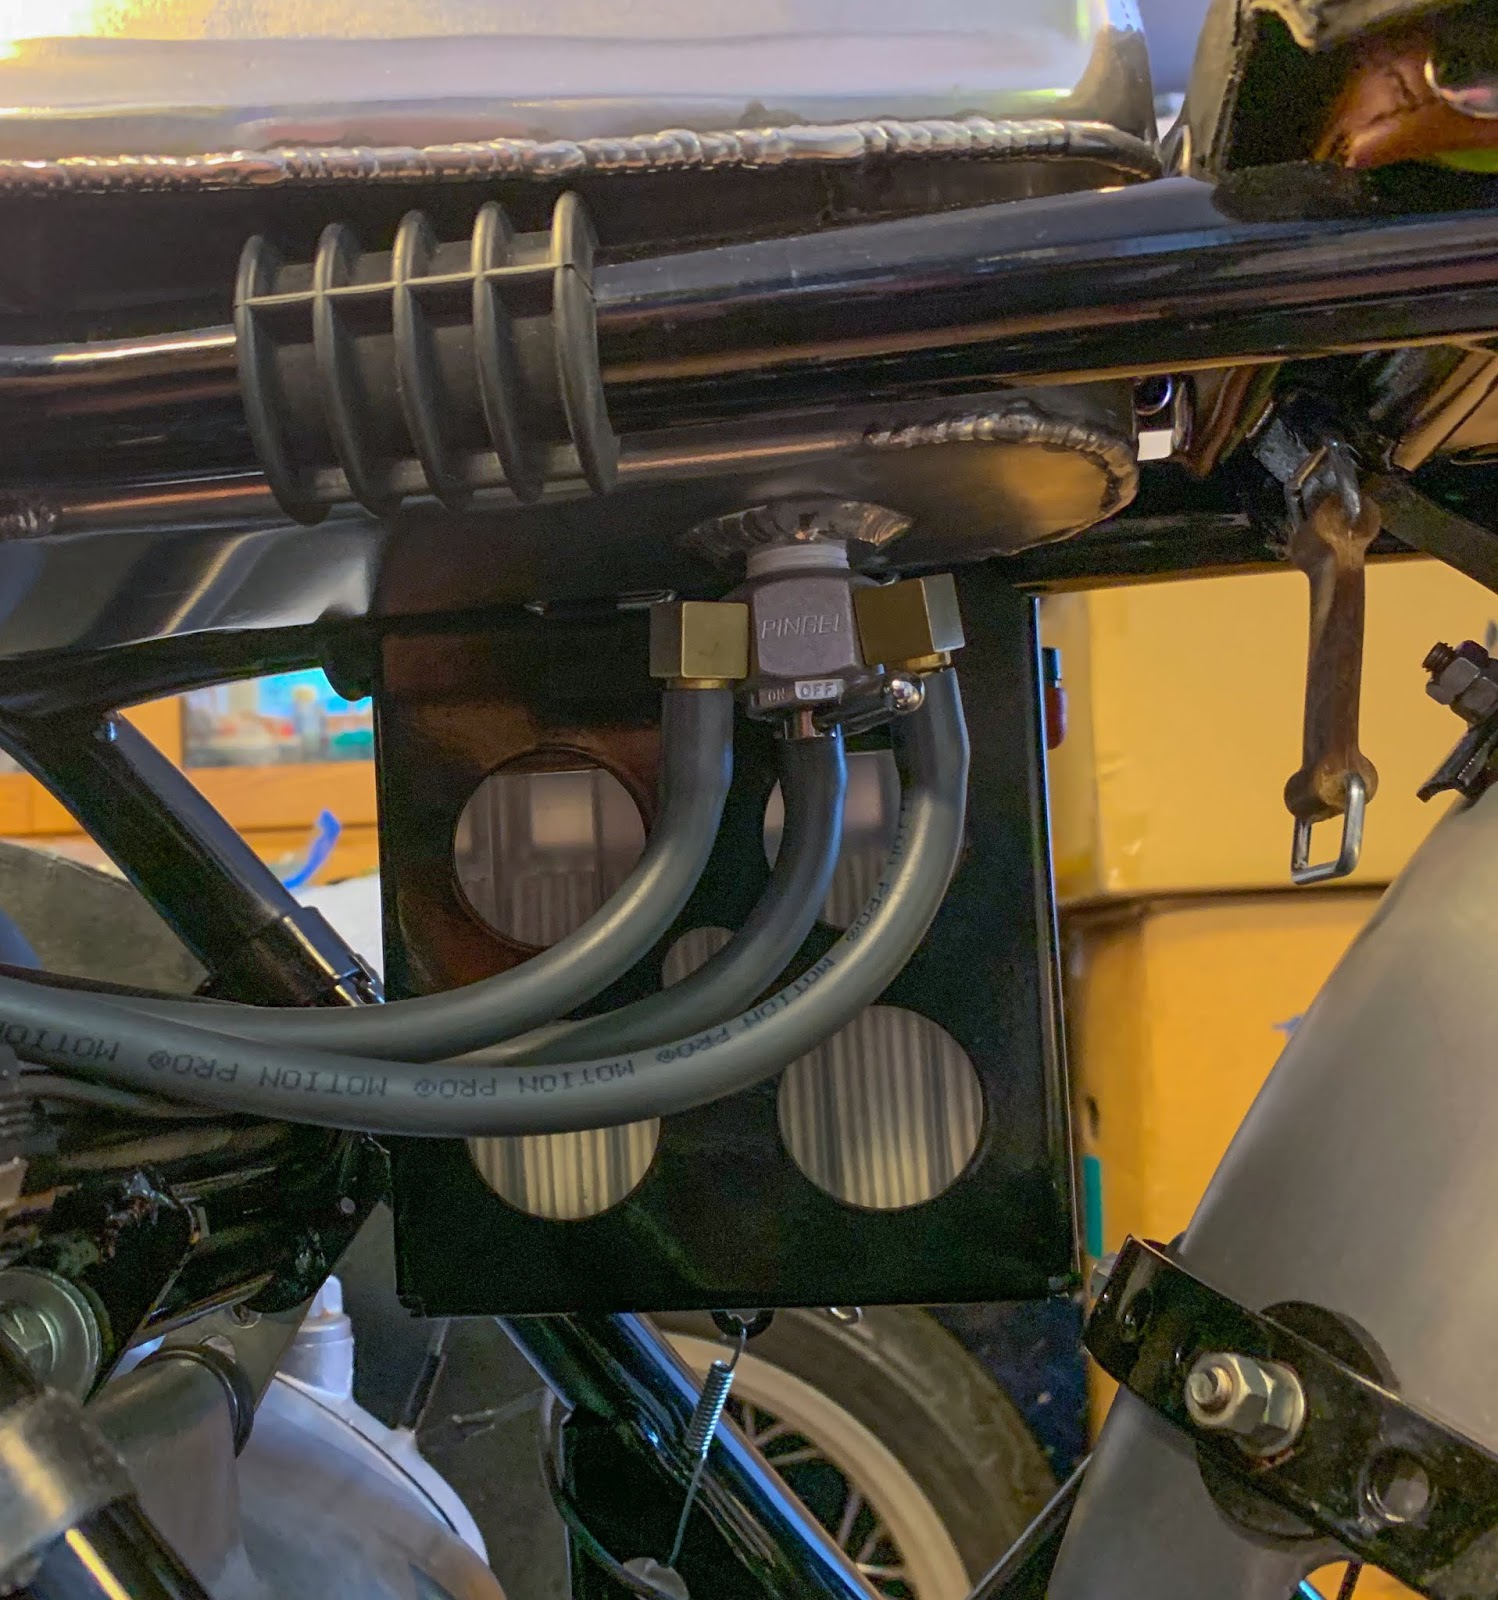
Subsequent was the gas traces. I had a little bit of good Movement Professional gray gas line and it was simply sufficient. Good!
I like the standard of Movement Professional. Good, gentle and simple to work with. The perfect in my view!
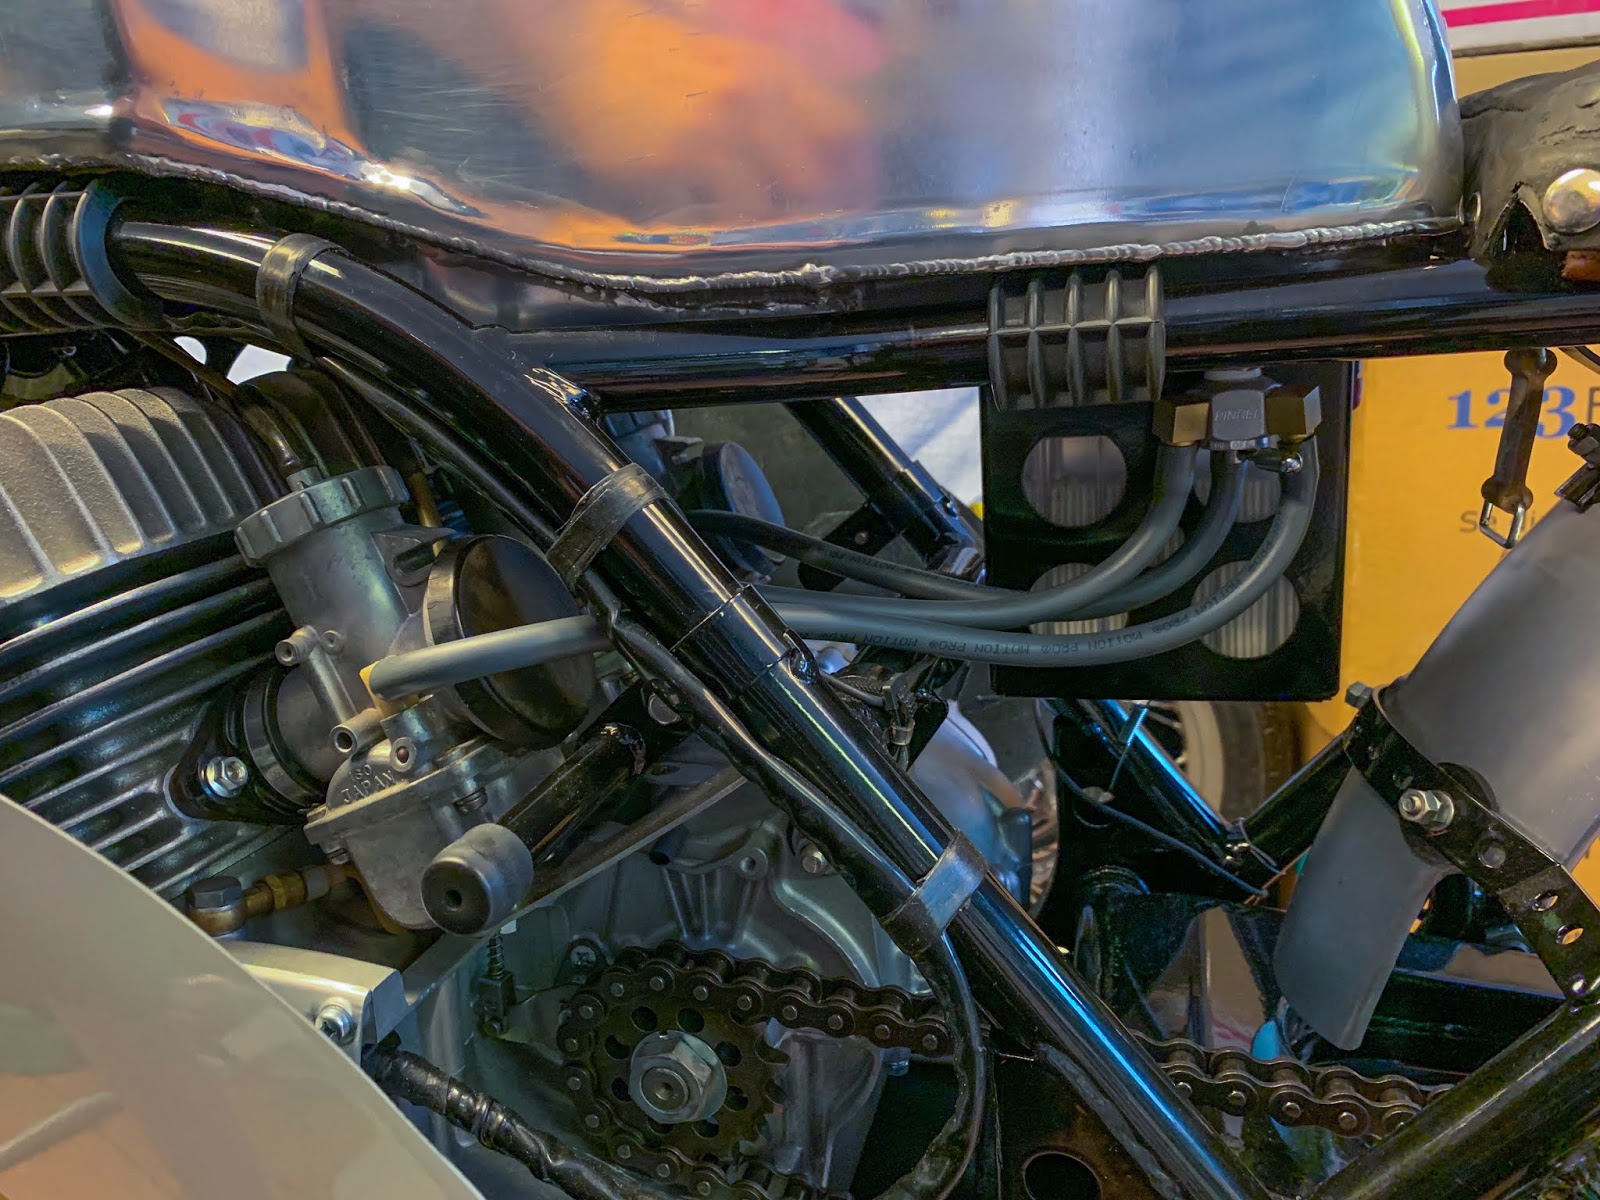
Later I additionally fastened clamps for the hoses on the carbs and on the petcock. I assume you want that if you wish to drive on a race course.
Right here you’ll be able to see why I opted to scale back the surge tank to about half its unique measurement. The Pingel is a bit “taller” than the inventory gas valve. Now, the shops on the petcock are at the least slightly bit above the carbs.
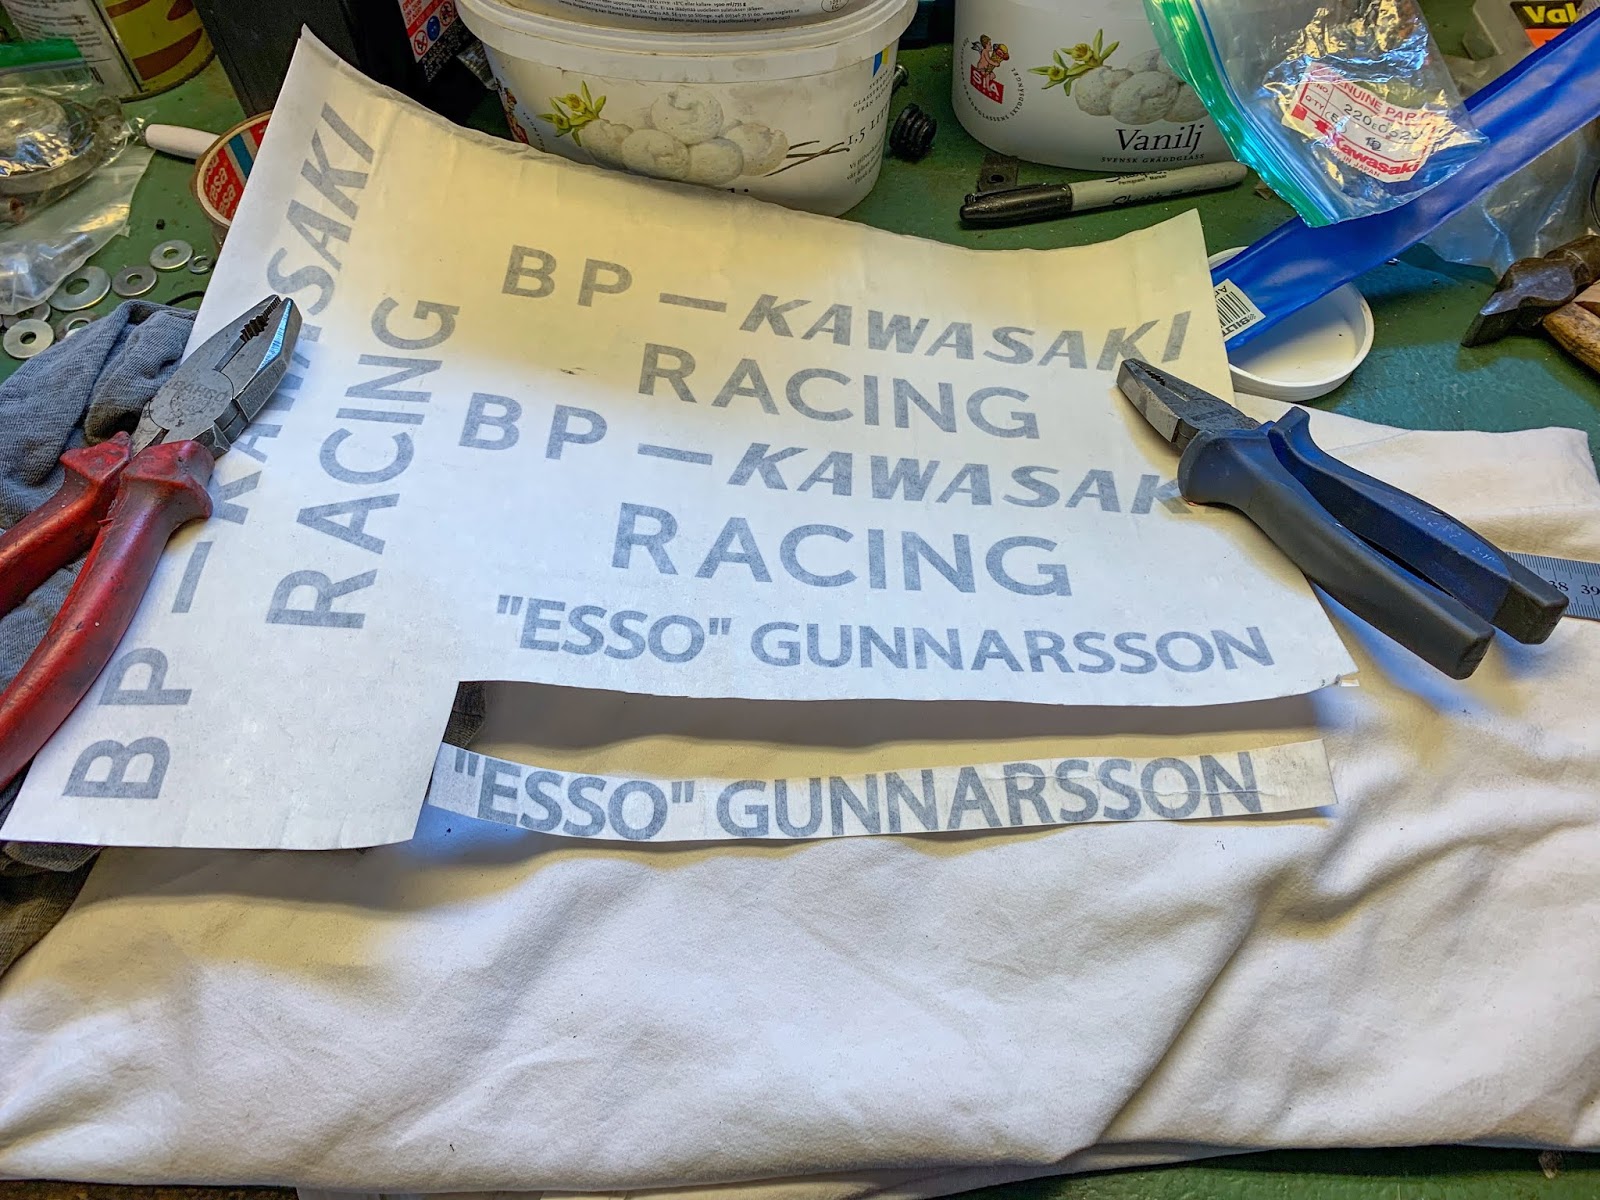
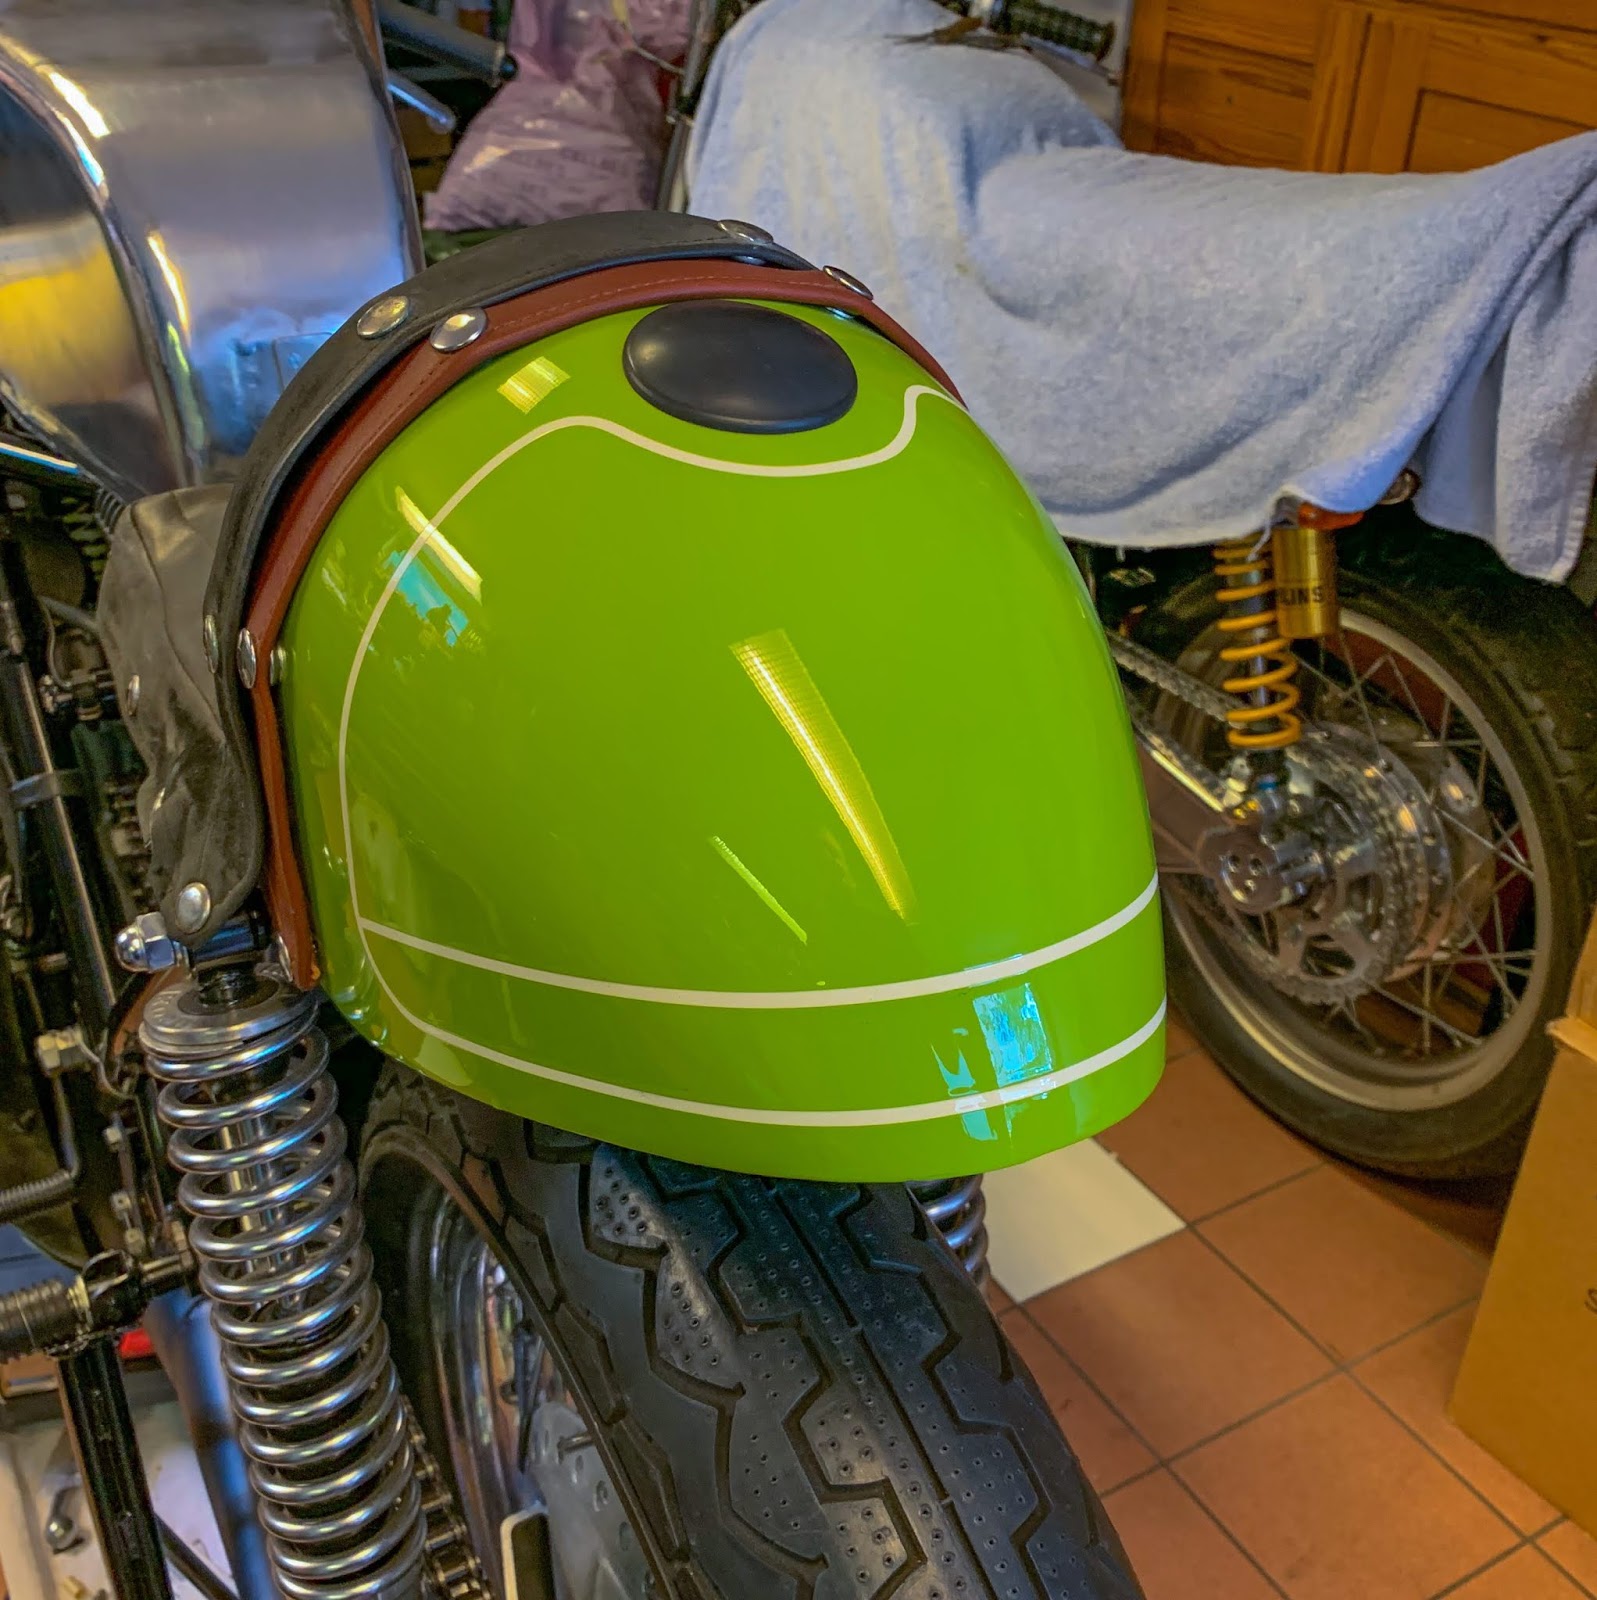
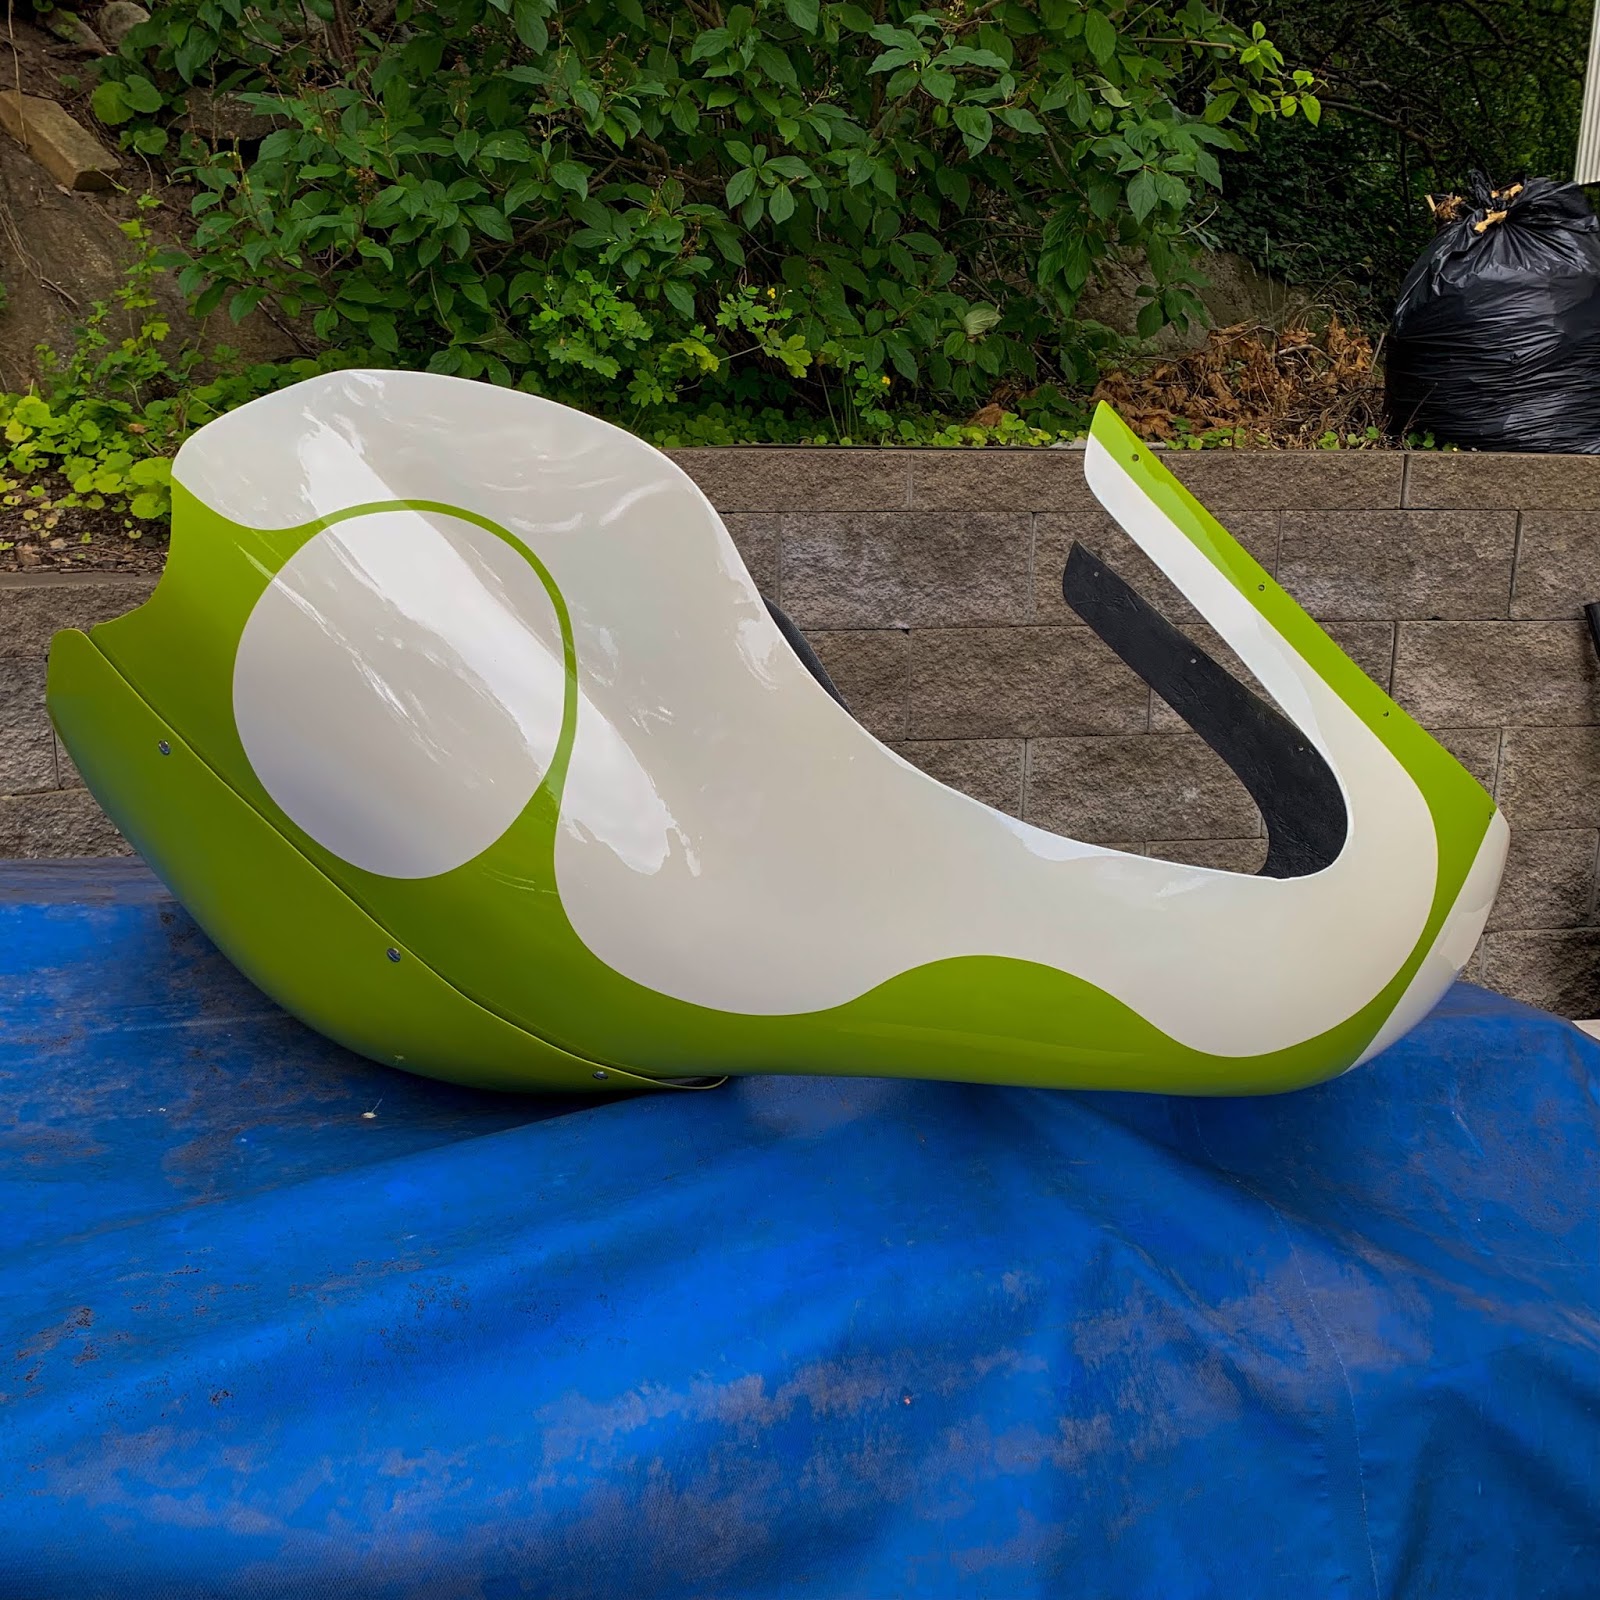
Subsequent I used to be planning to attempt to connect the decals behind the seat. The textual content, “ESSO” GUNNARSSON, shall be between the 2 white traces on the backside of the seat cowl.
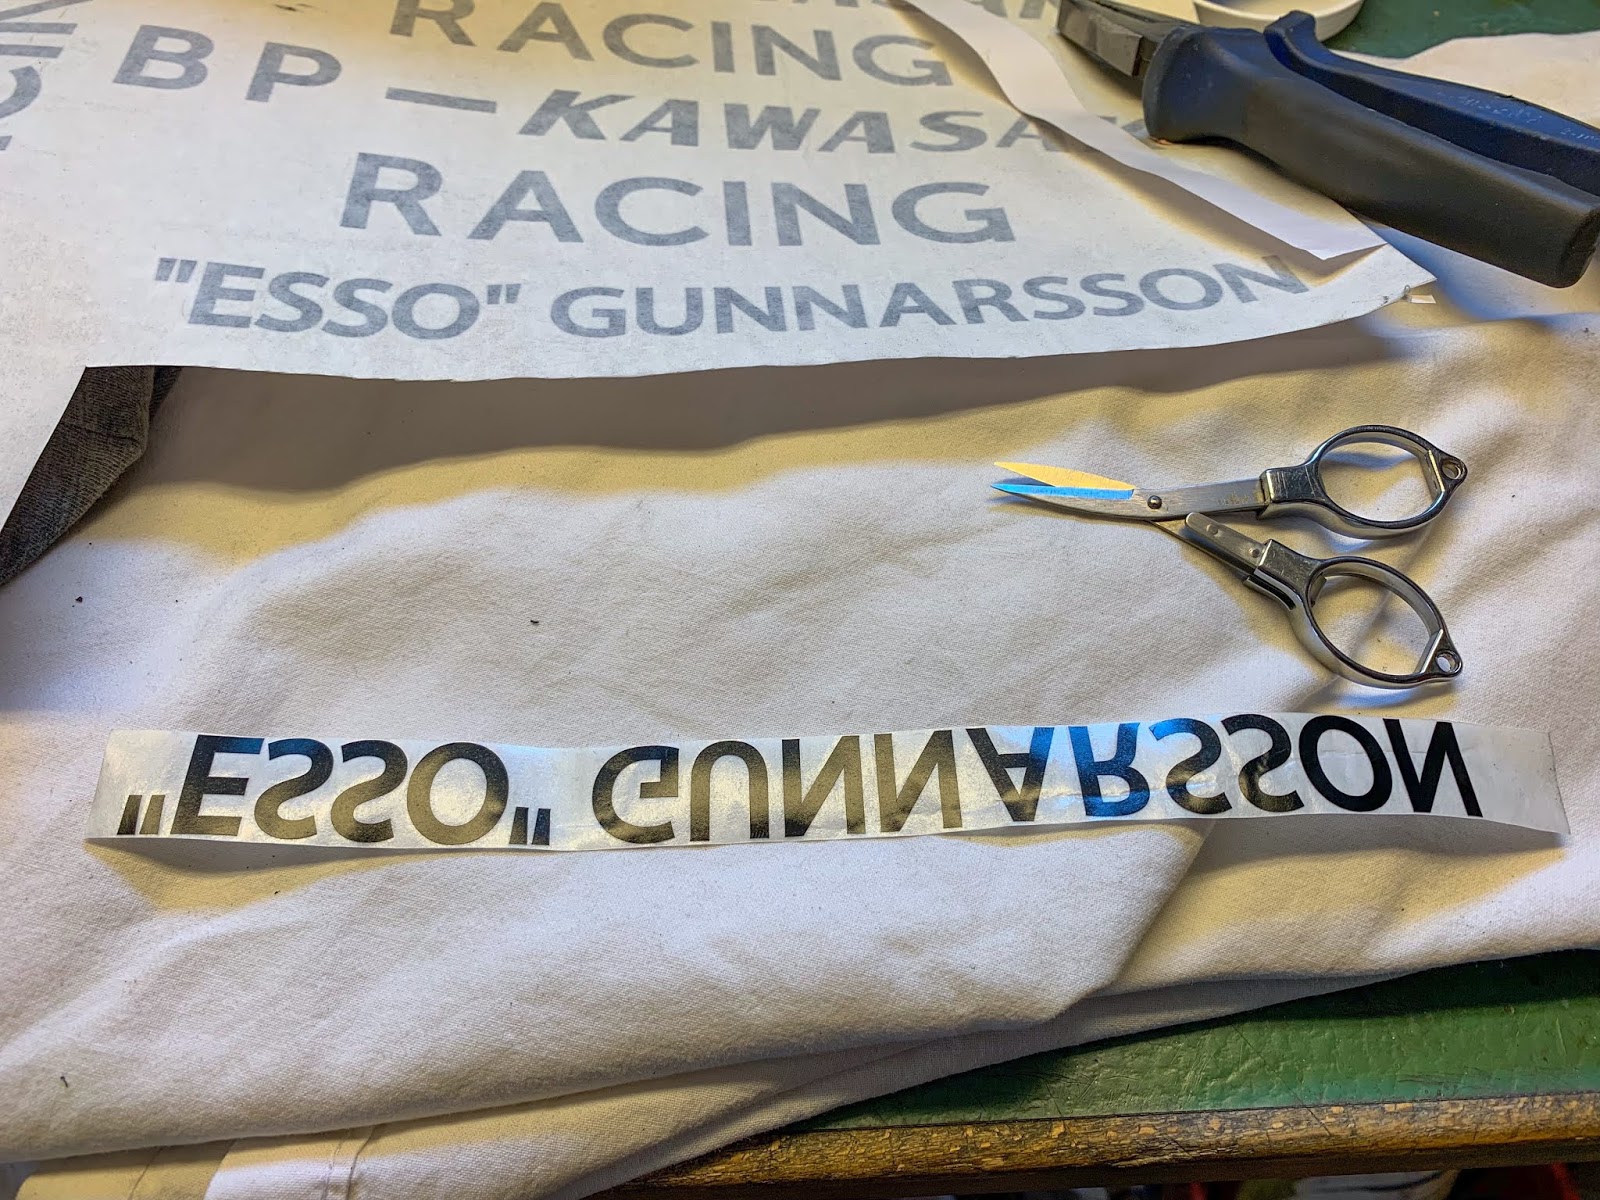
First it is advisable to lower the decals out. They’re connected to a skinny paper and if you take away the lettering from the tougher paper on the again the glue on the letters seem and is able to fasten the letters to the floor.
That is the place it´s speculated to go. It is very important measure the textual content with a view to have it centered. In my case it was the primary “N” that needs to be within the heart of the cowl.
Only a gentle wipe with a clear rag and the floor of paint is prepared. I didn´t wax this half but, with this job in thoughts.
Getting the letters off the laborious paper wasn´t that simple. Slightly tough, truly. it’s a must to pull it “diagonally” for the letters to comply with the lighter paper. The “S”:s and “O”:s have been the toughest.
Anyway, right here it is able to be positioned on to the seat cowl.

Difficult, tough… As quickly as one of many letters is available in to contact with the floor of the seat cowl it sticks! Laborious.
Virtually, completely inconceivable to appropriate should you get it mistaken.
Fortunately I simply misplaced one letter, the “G” and one set of ” after “ESSO. I used to be in a position to get these characters off and save them to be put in place later.
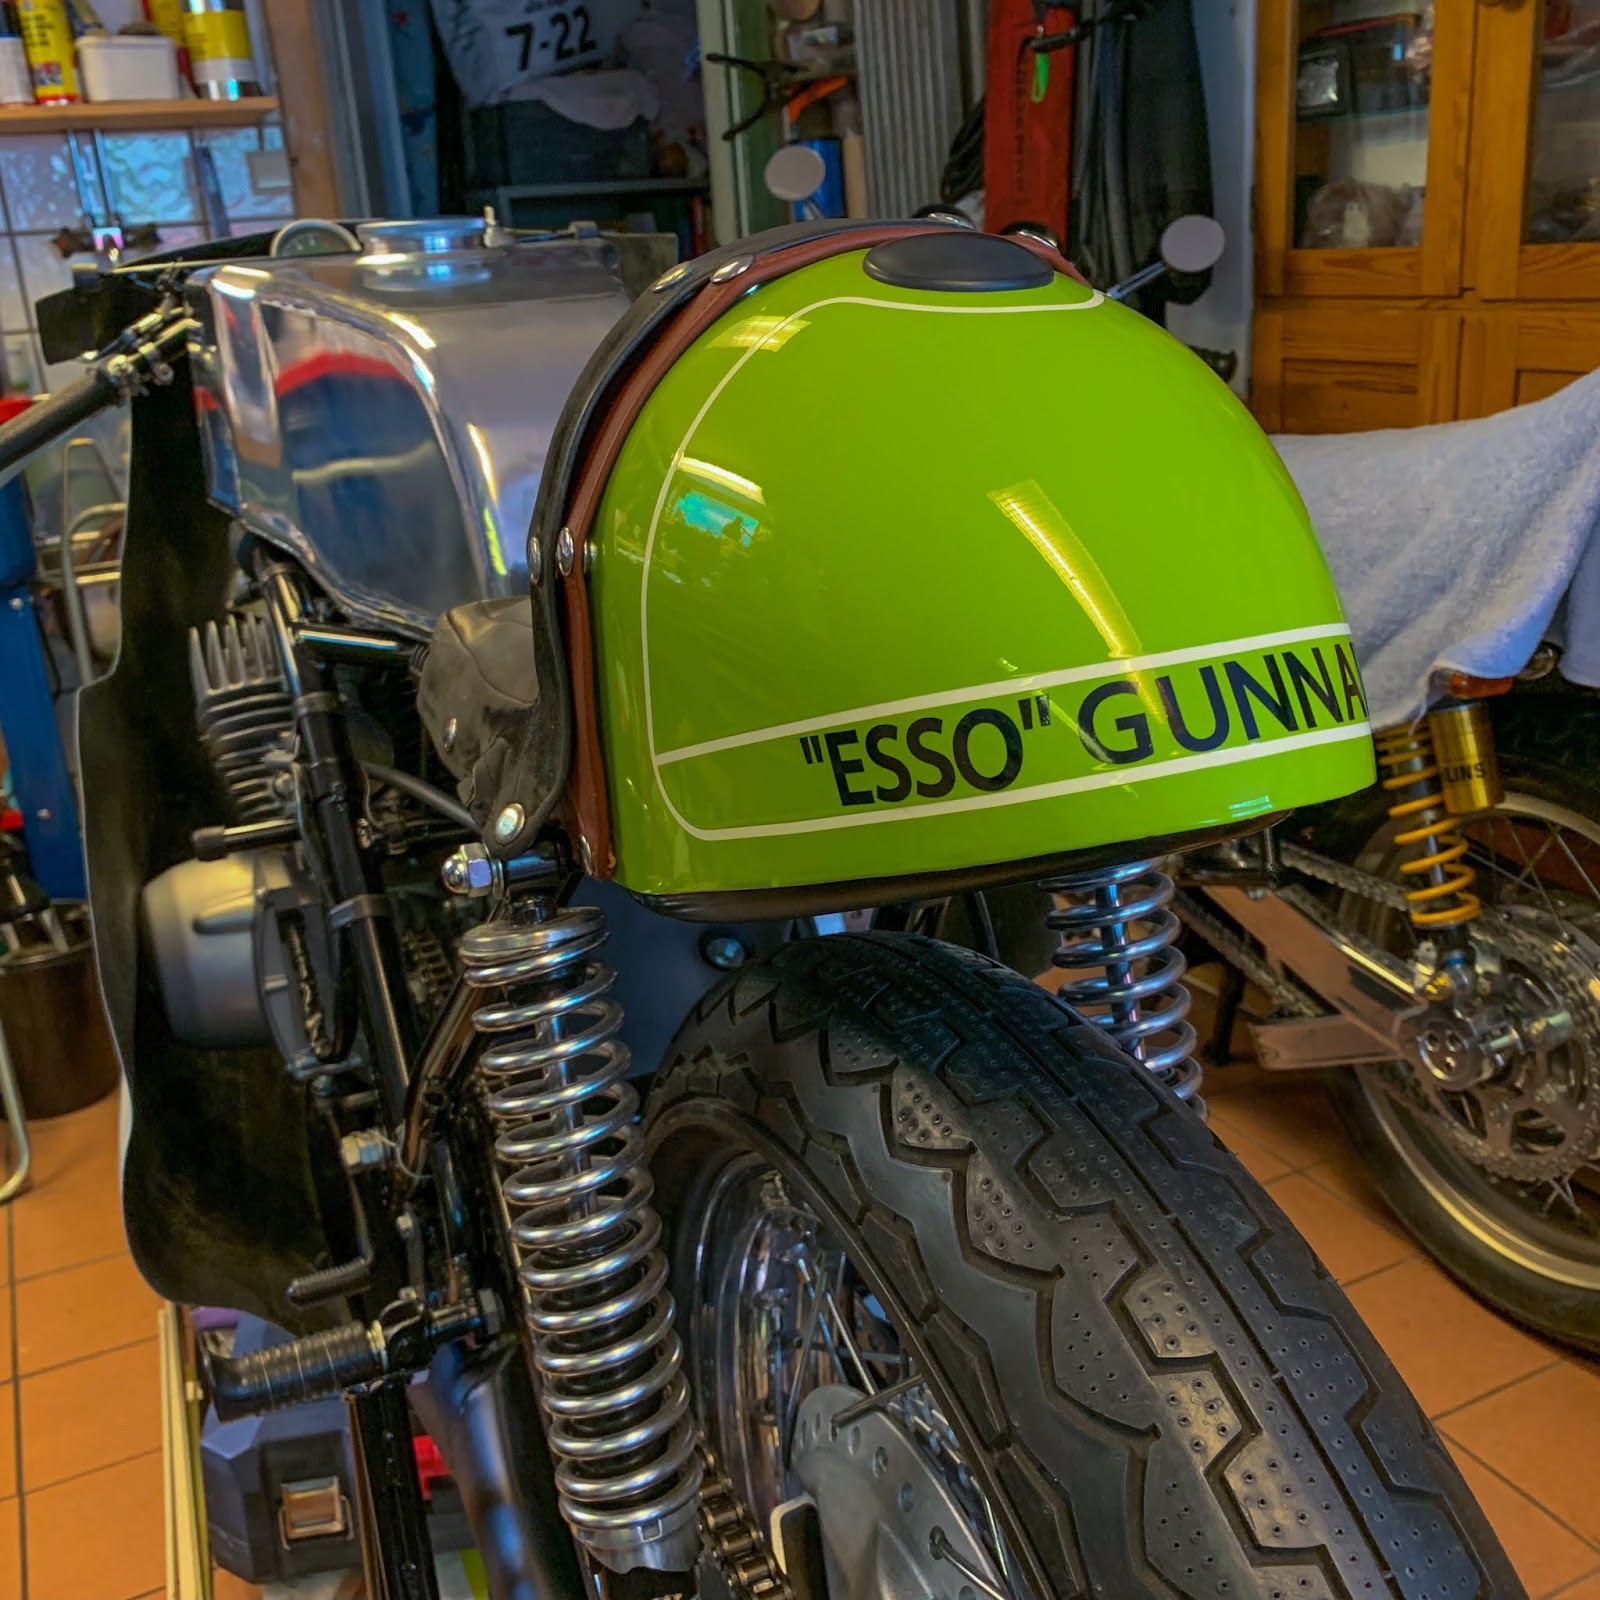
That´ll do…. Not 100% good, however adequate. My first ever decal software with skilled materials.
I´m fairly happy with it!
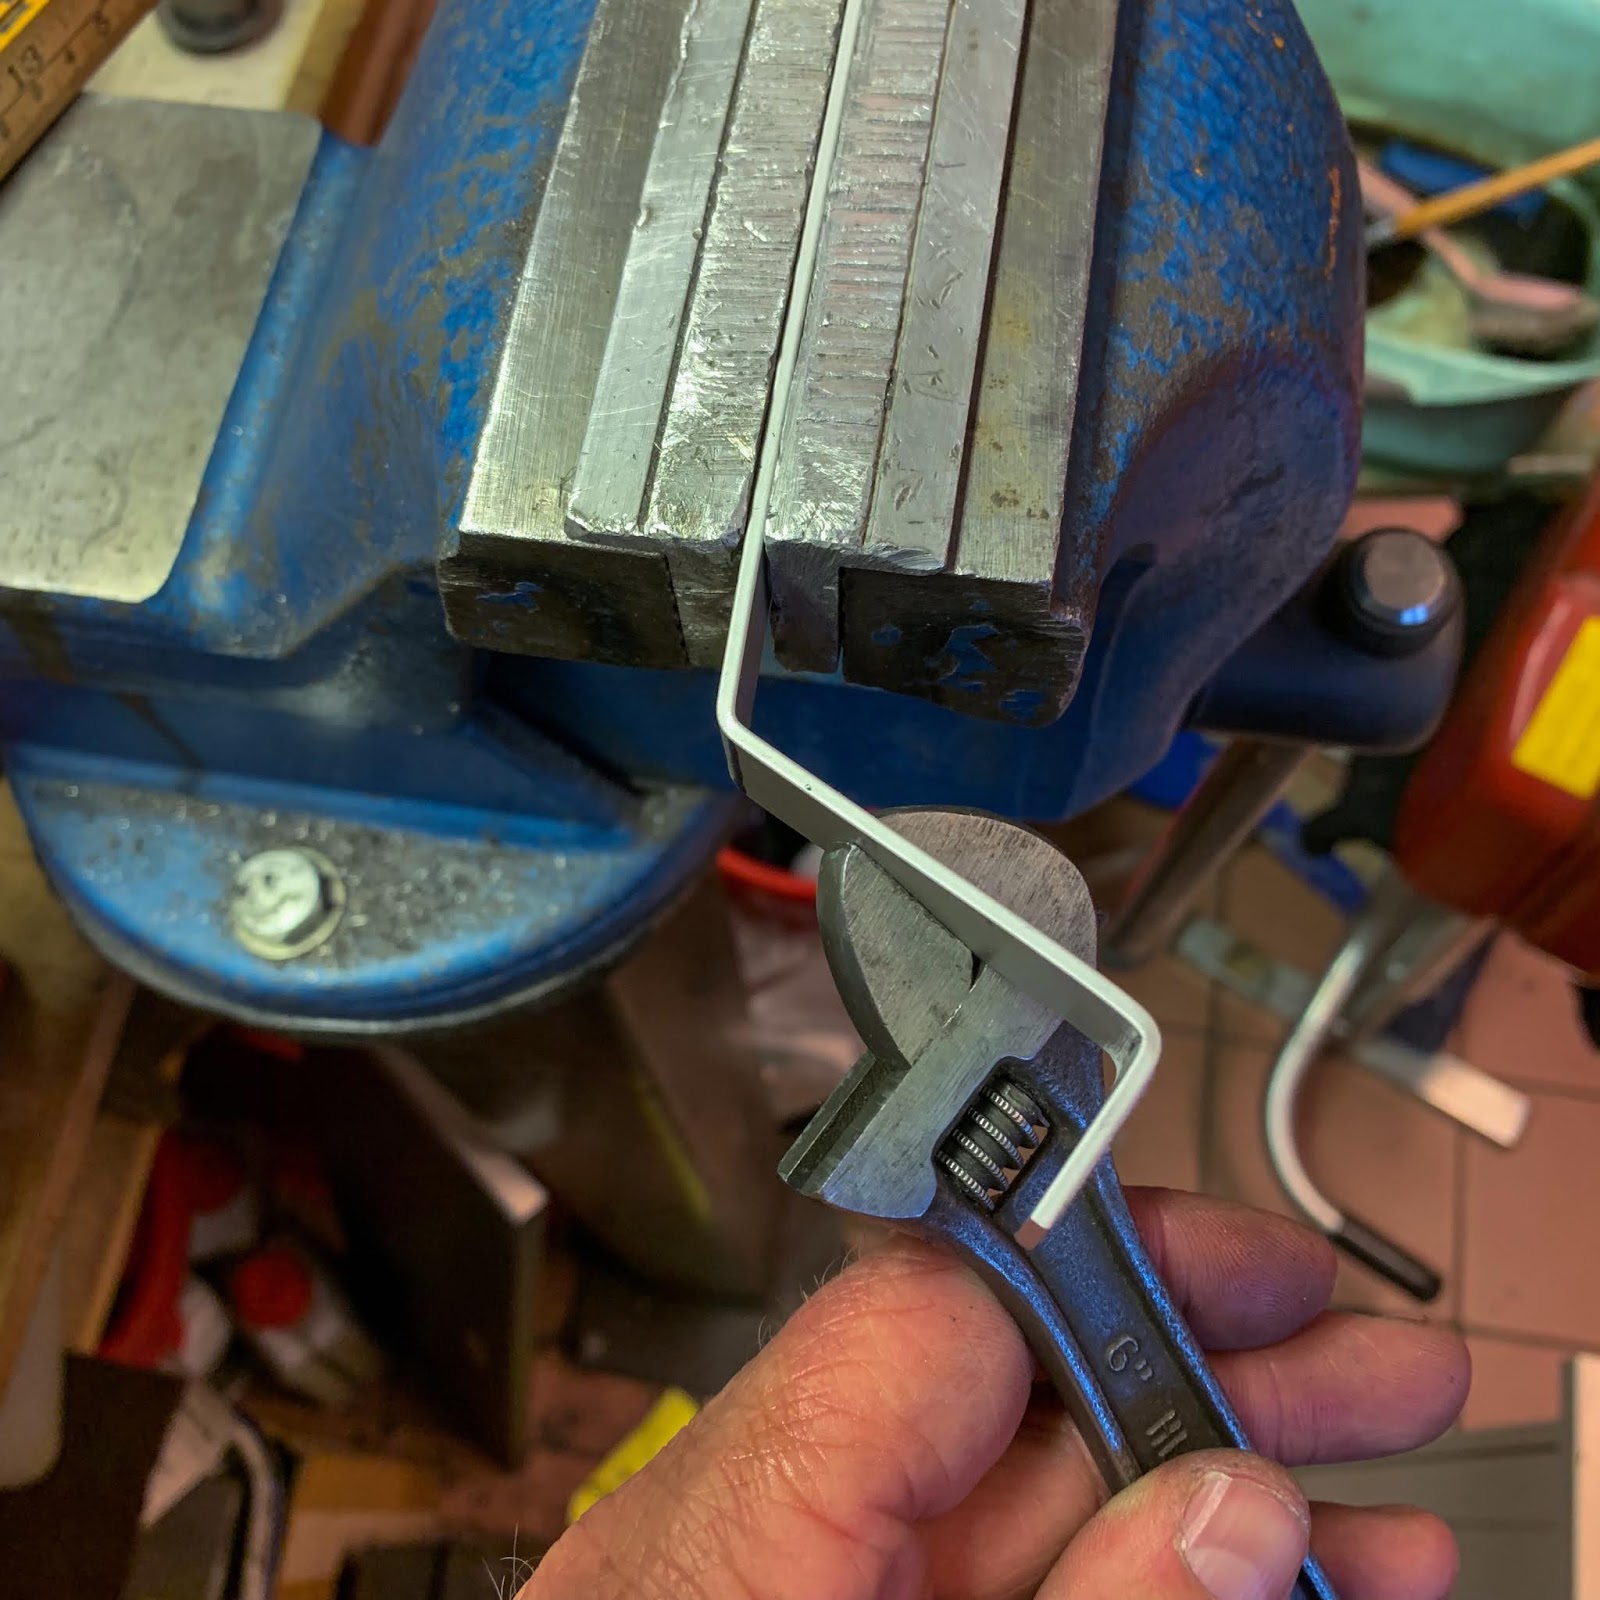
The following factor is one thing I noticed on the web. Somebody had constructed a defending “bar” over the dry clutch to guard the fairing from the rotating clutch. Since I don´t know precisely how my fairing will match after I begin engaged on that I figured I would as properly strive it. I purchased just a few totally different supplies, stainless-steel, brass, iron and this, aluminium rod.

My first try. One bend at a time and totally measuring after every one. Difficult, however satisfying!
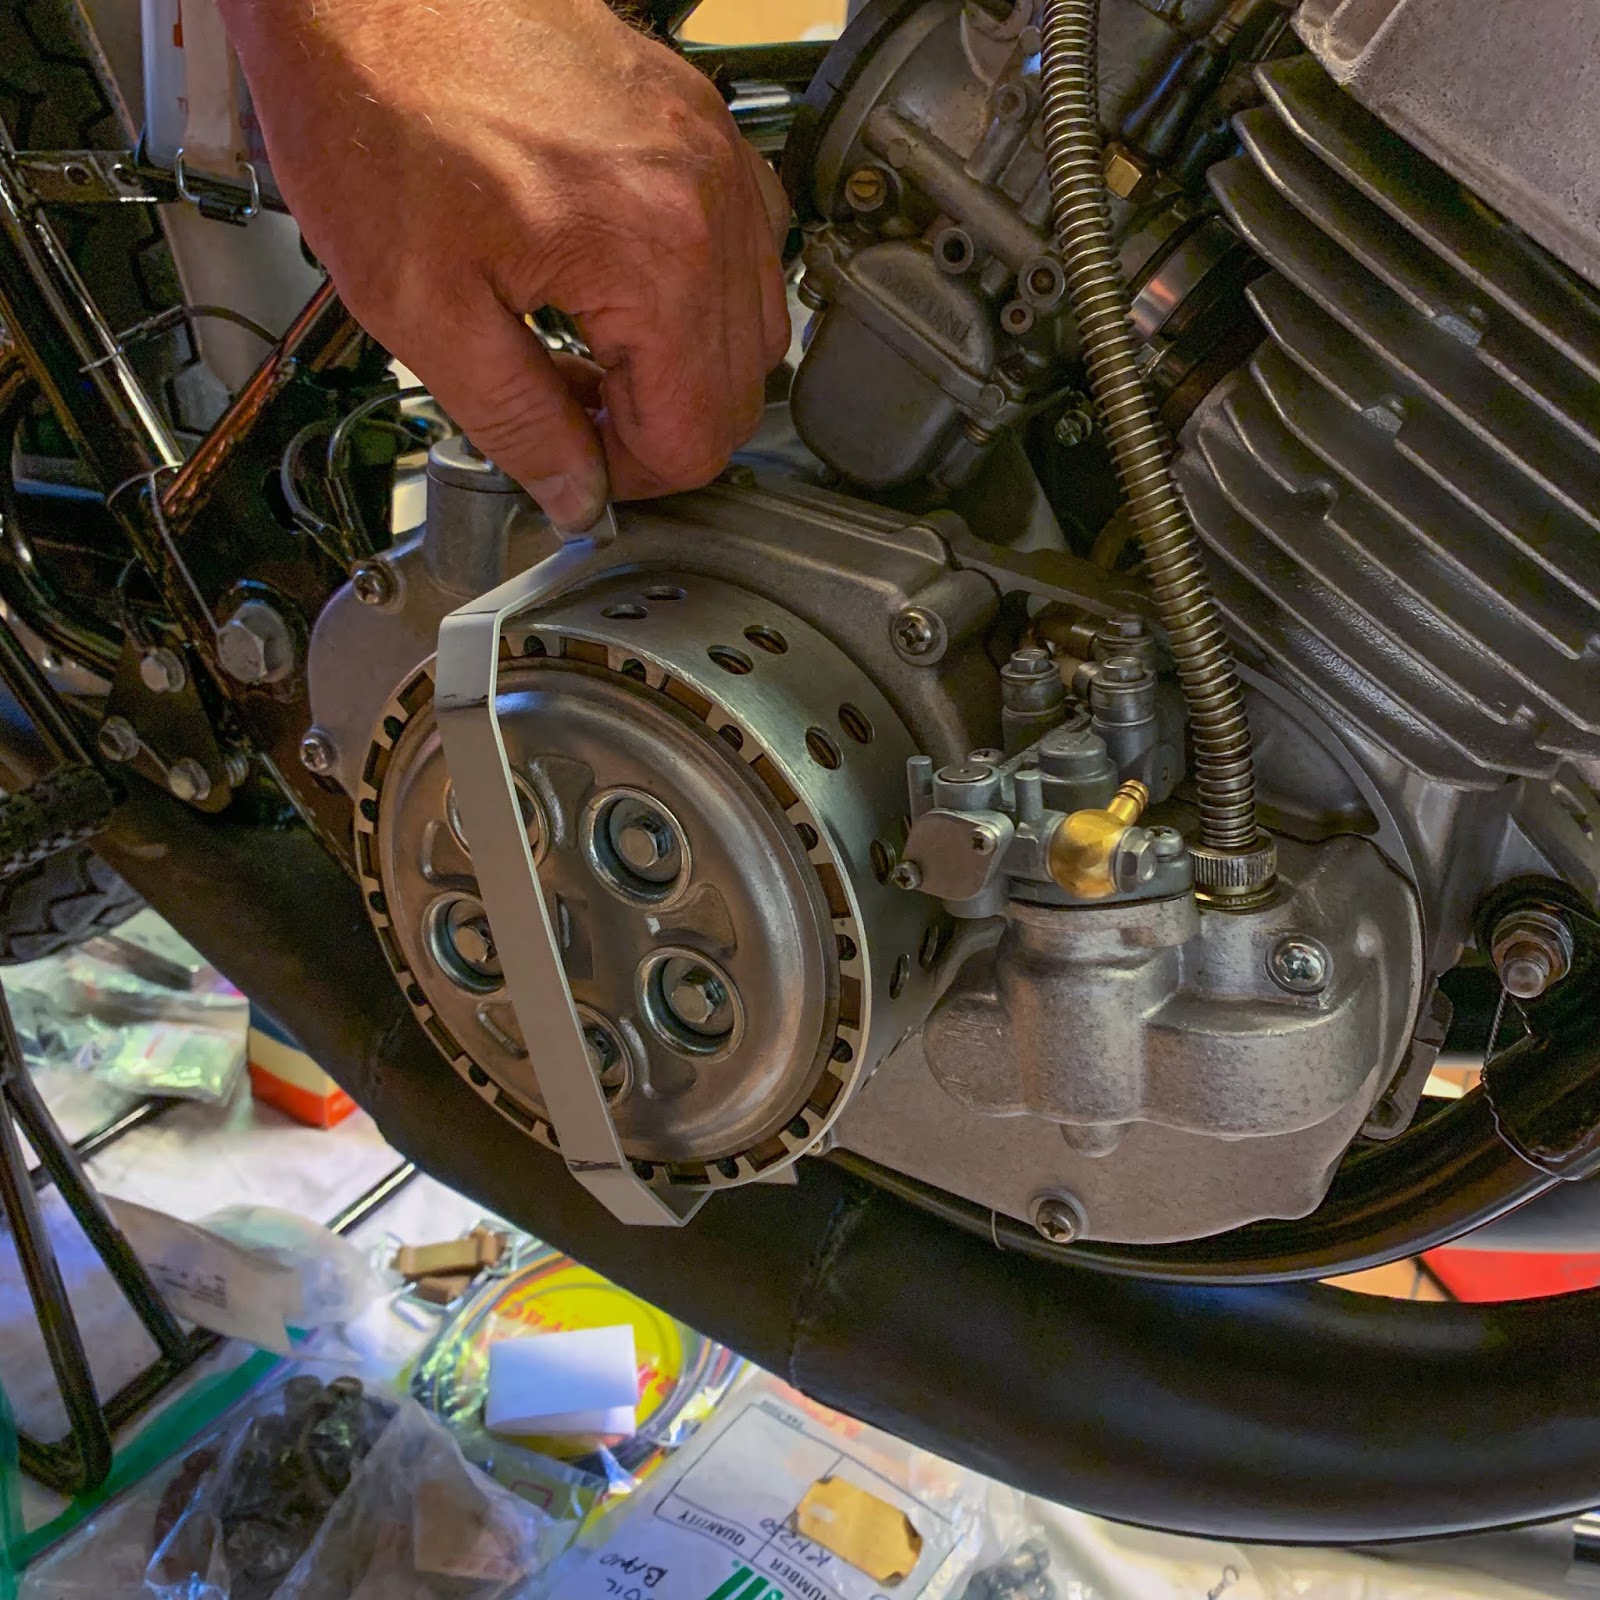
Right here it’s! Accomplished. Not too dangerous for the primary try… It ended up getting too far-off from the clutch and it wasn´t very symmetrical.
OK, that´ll cross as instructing time and cash. Let´s strive one other one!
The appropriate facet of the protector didn´t match the left facet, which was the one I most simply might measure and get appropriate.
Higher luck subsequent time!
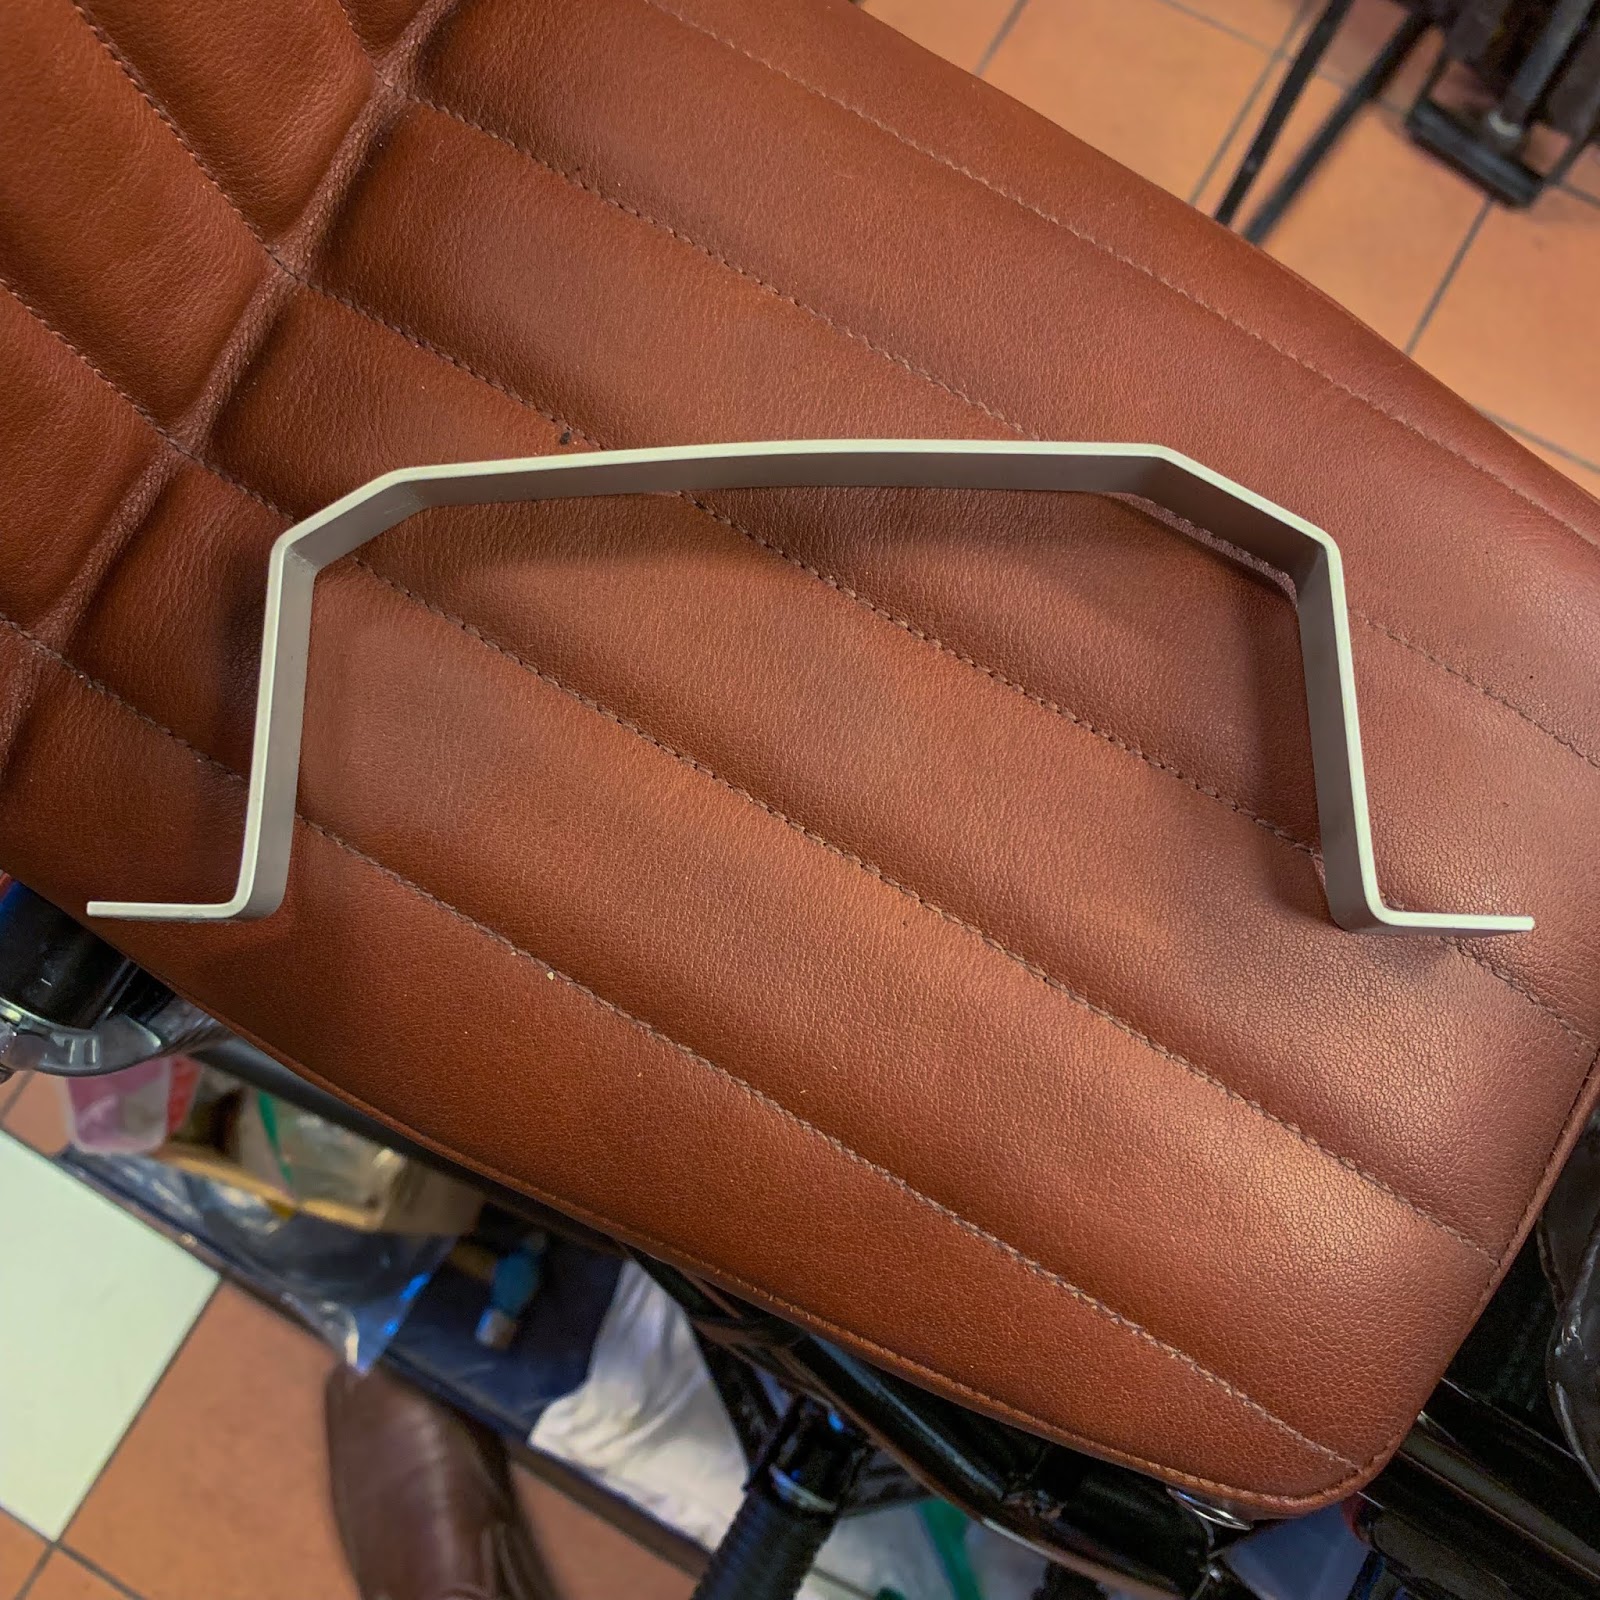
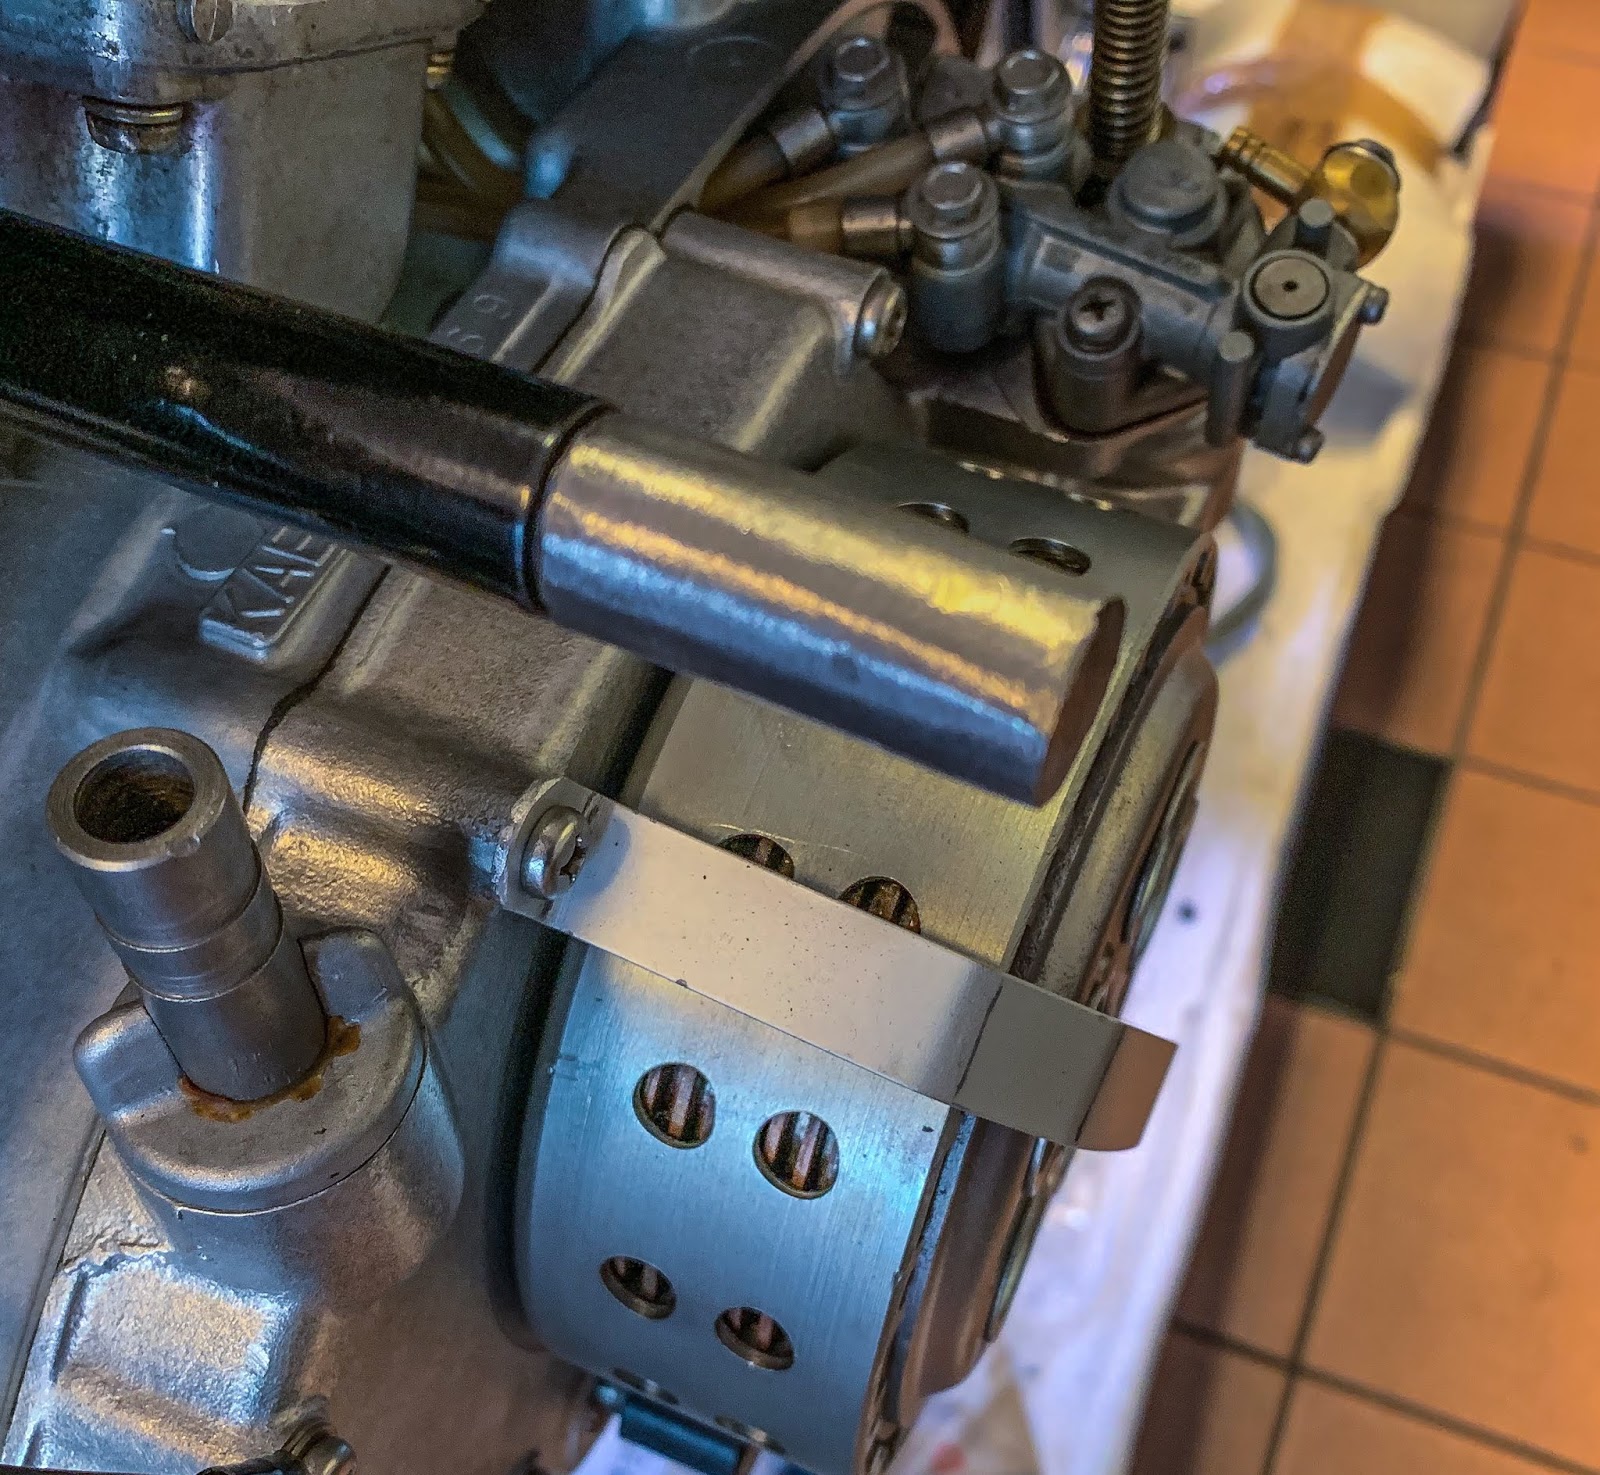
Significantly better this time! Nonetheless a bit near the rotating clutch however very good distance from the transferring a part of the dry clutch. Perhaps the third will likely be good…

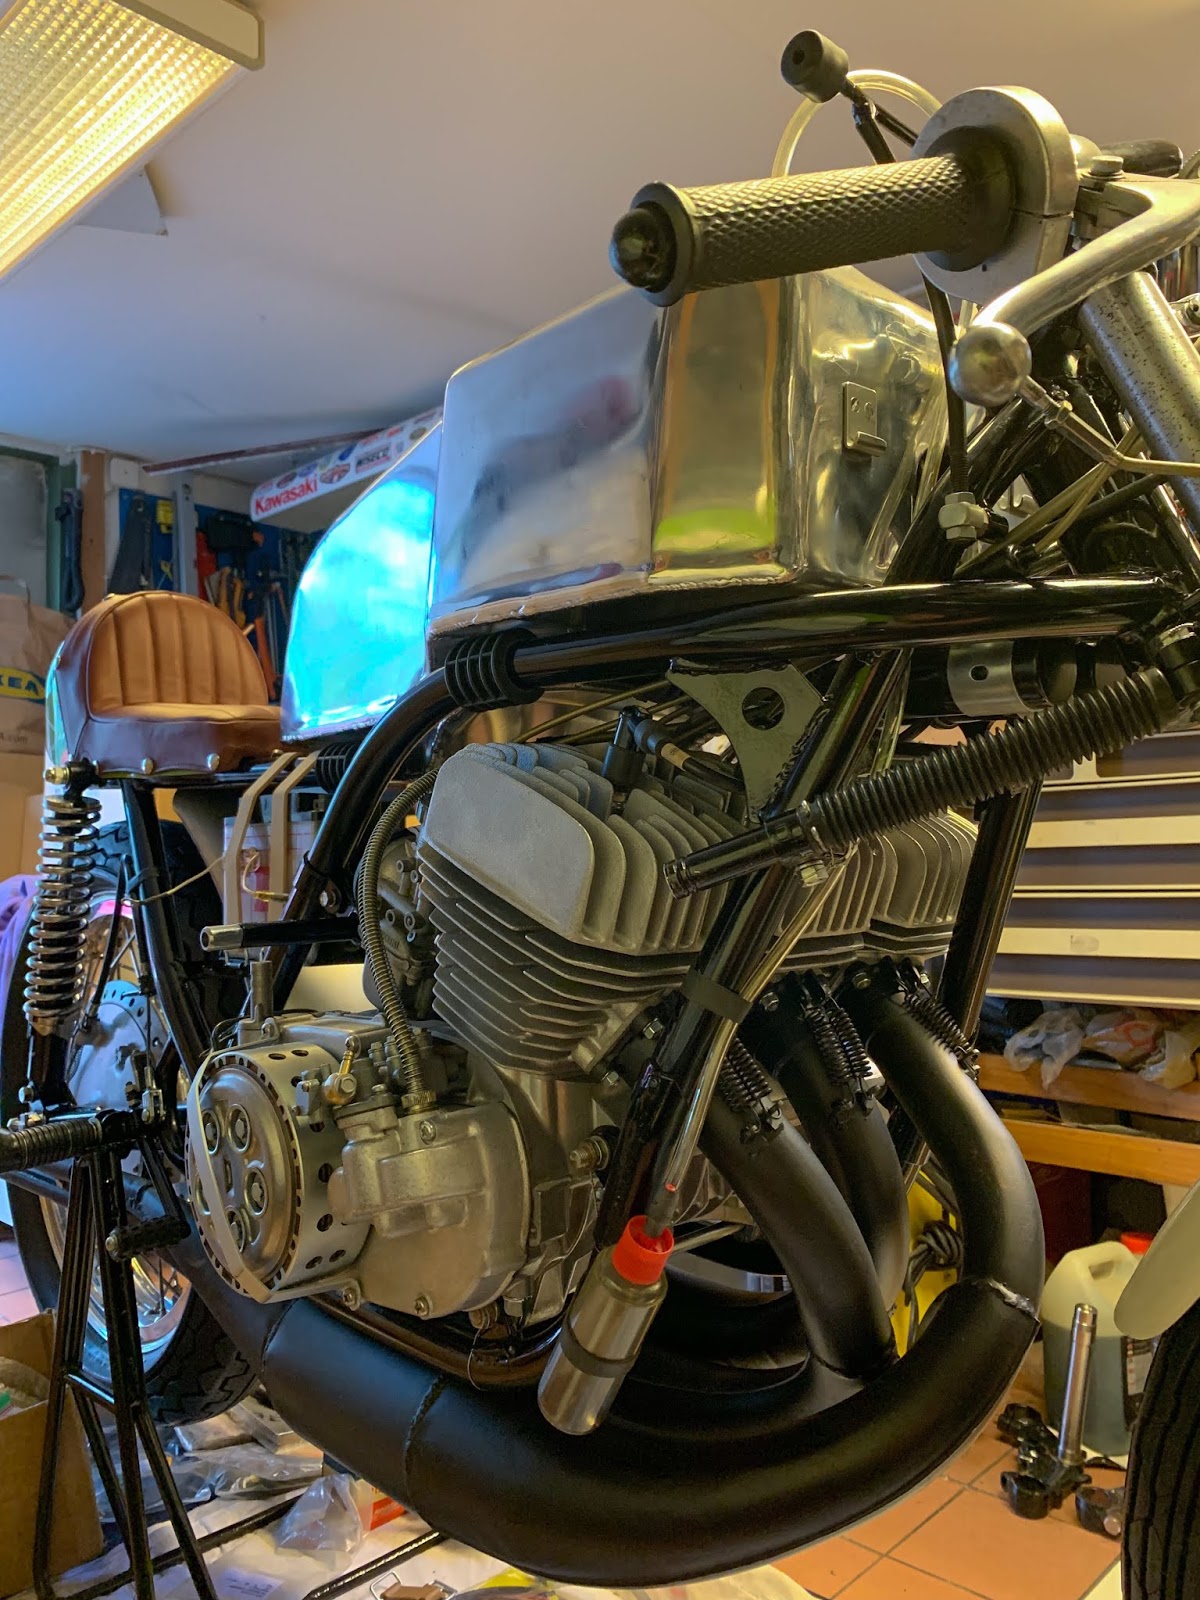
On the correct right here you’ll be able to see the overall thought with this bar.
It is going to be sure the fairing by no means comes into contact with the clutch.
We are going to quickly see if I´m going to wish it in any respect…
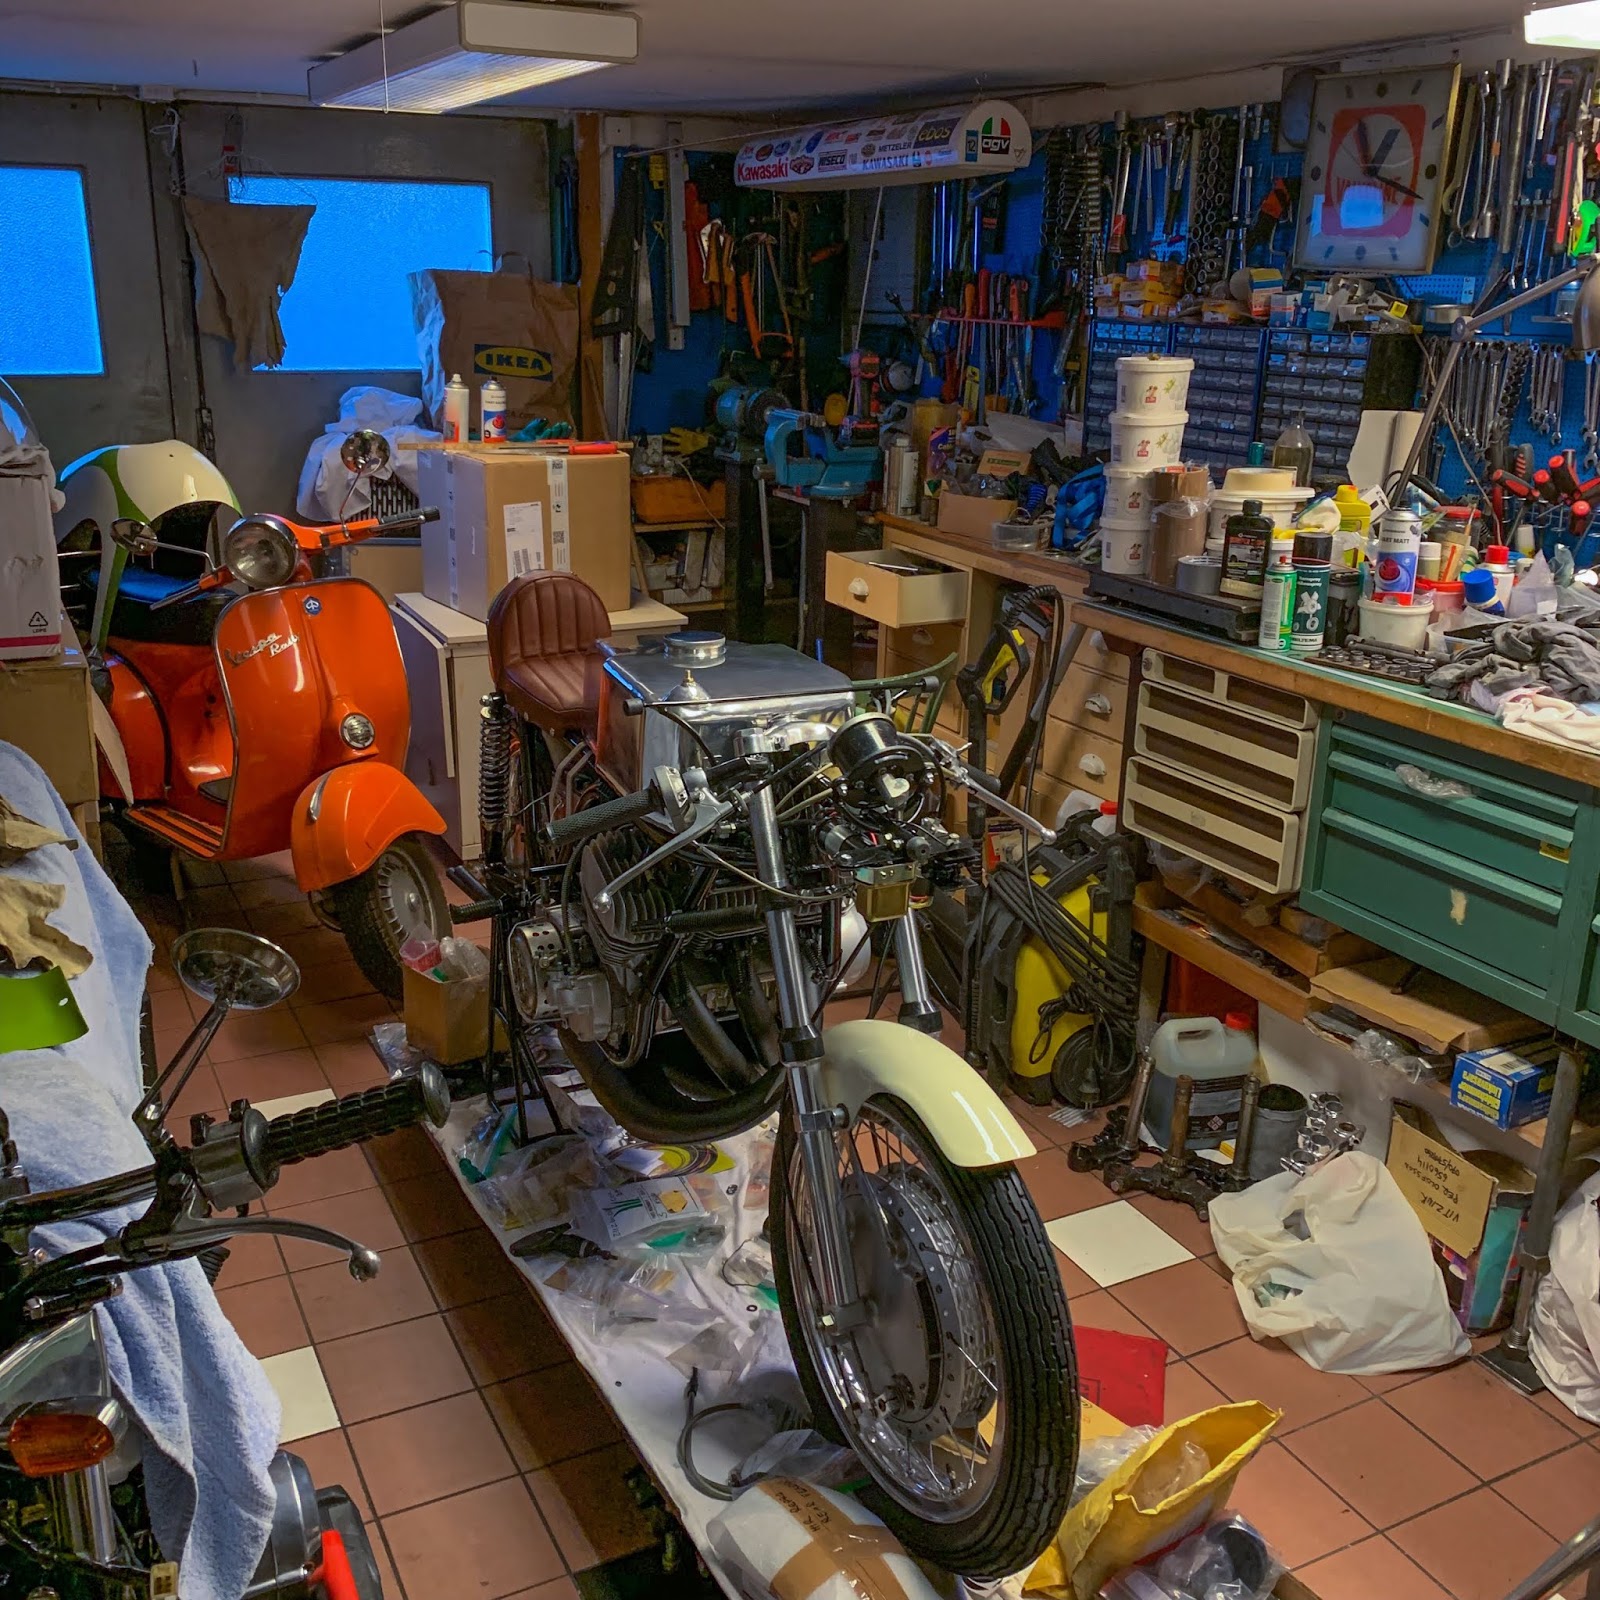
Time for a nights relaxation… On the left is an image of the storage as I left it just a few days in the past. Extra work to come back!
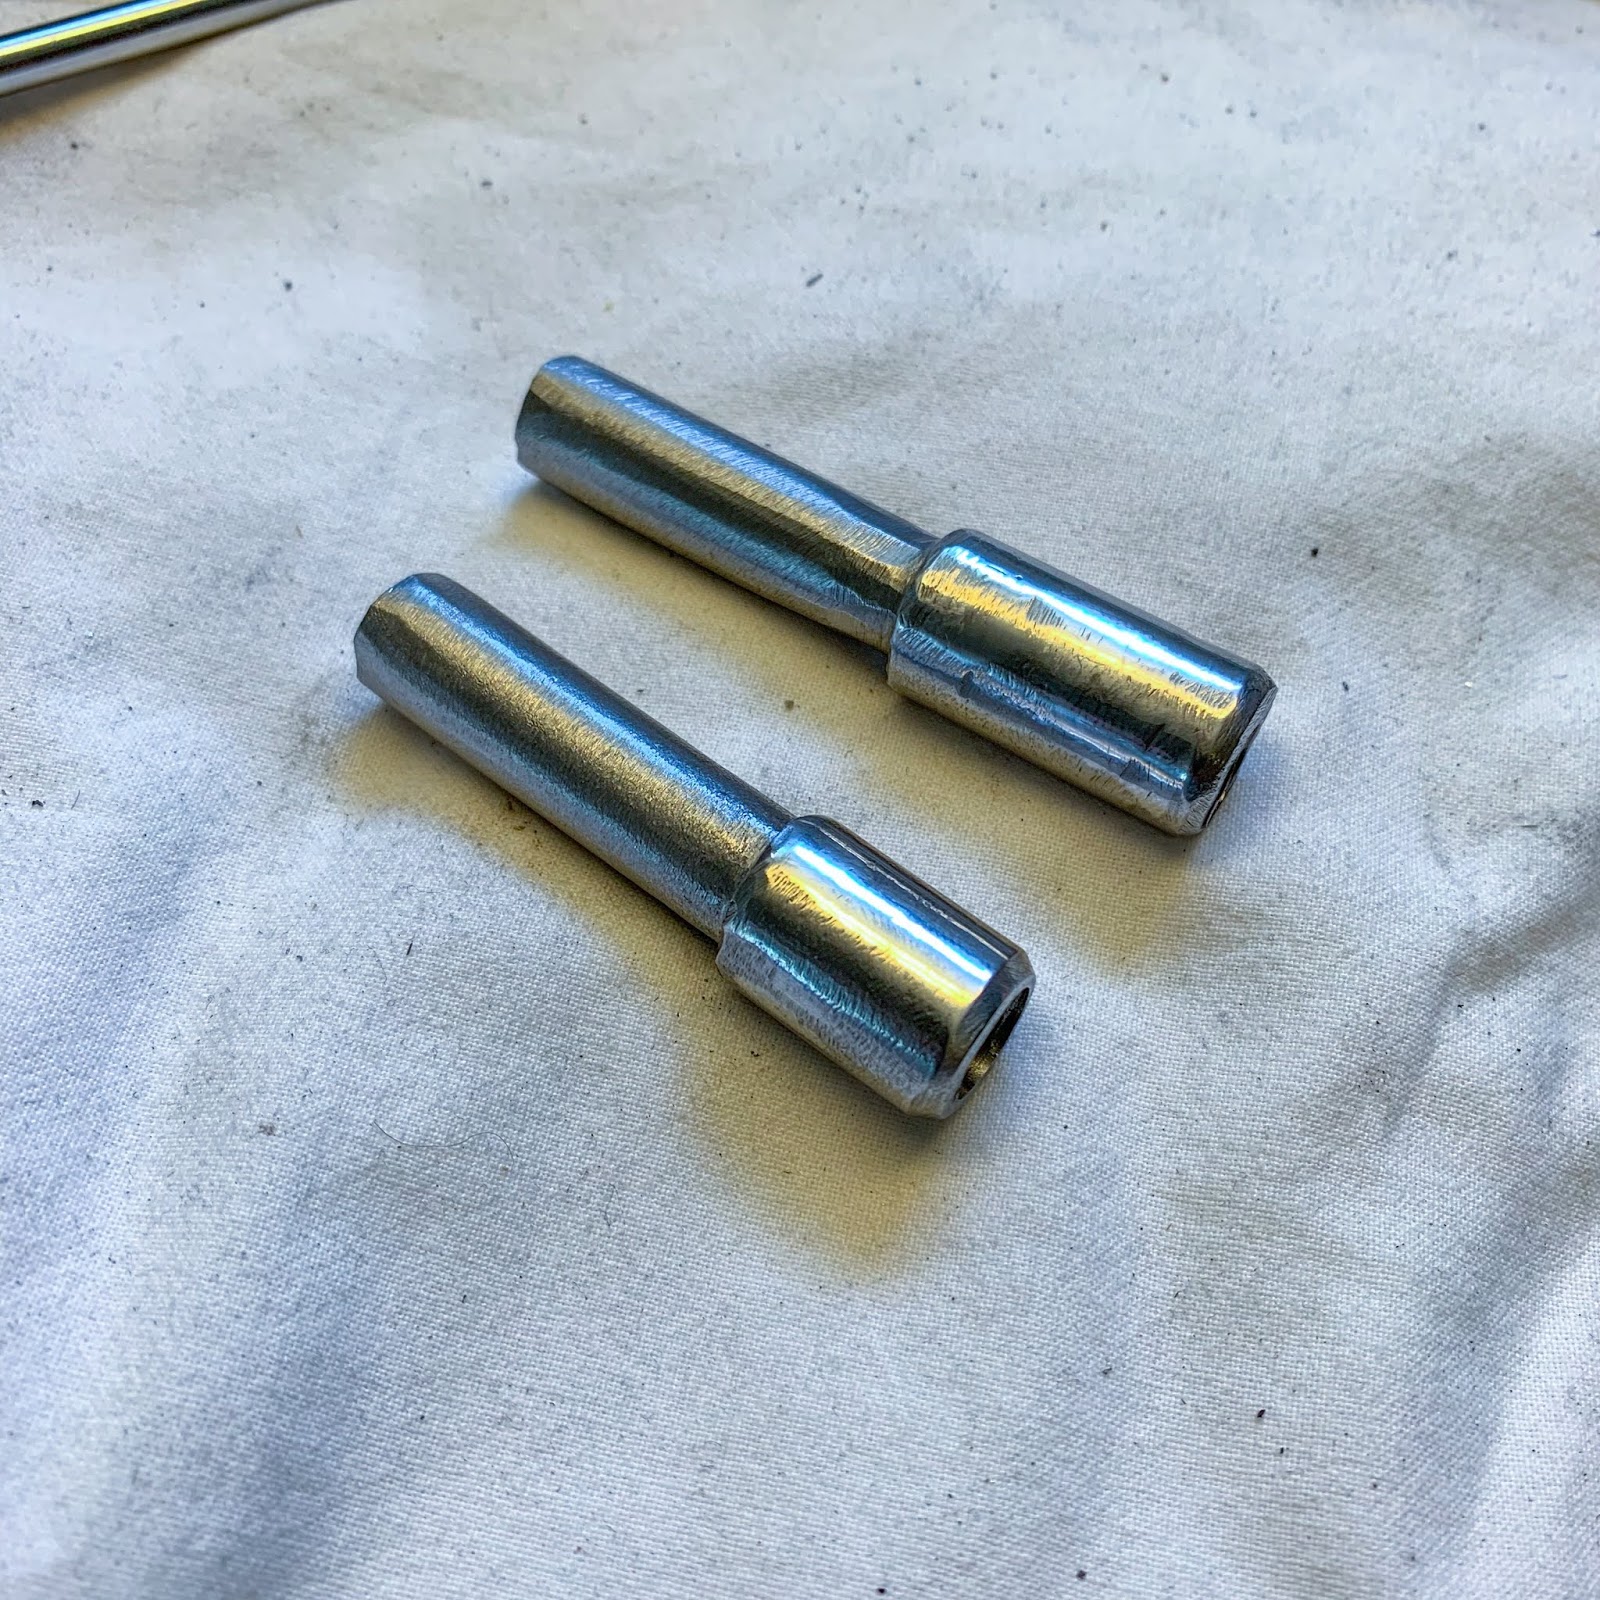
I discussed earlier I would want to get two extension lugs made for the fairing brackets on the body. There’s NO method the fairing will attain the brackets and nonetheless depart sufficient area for the clutch and the ignition cowl.
My two sources for making issues on the lathe right here in Stockholm have been out of city.
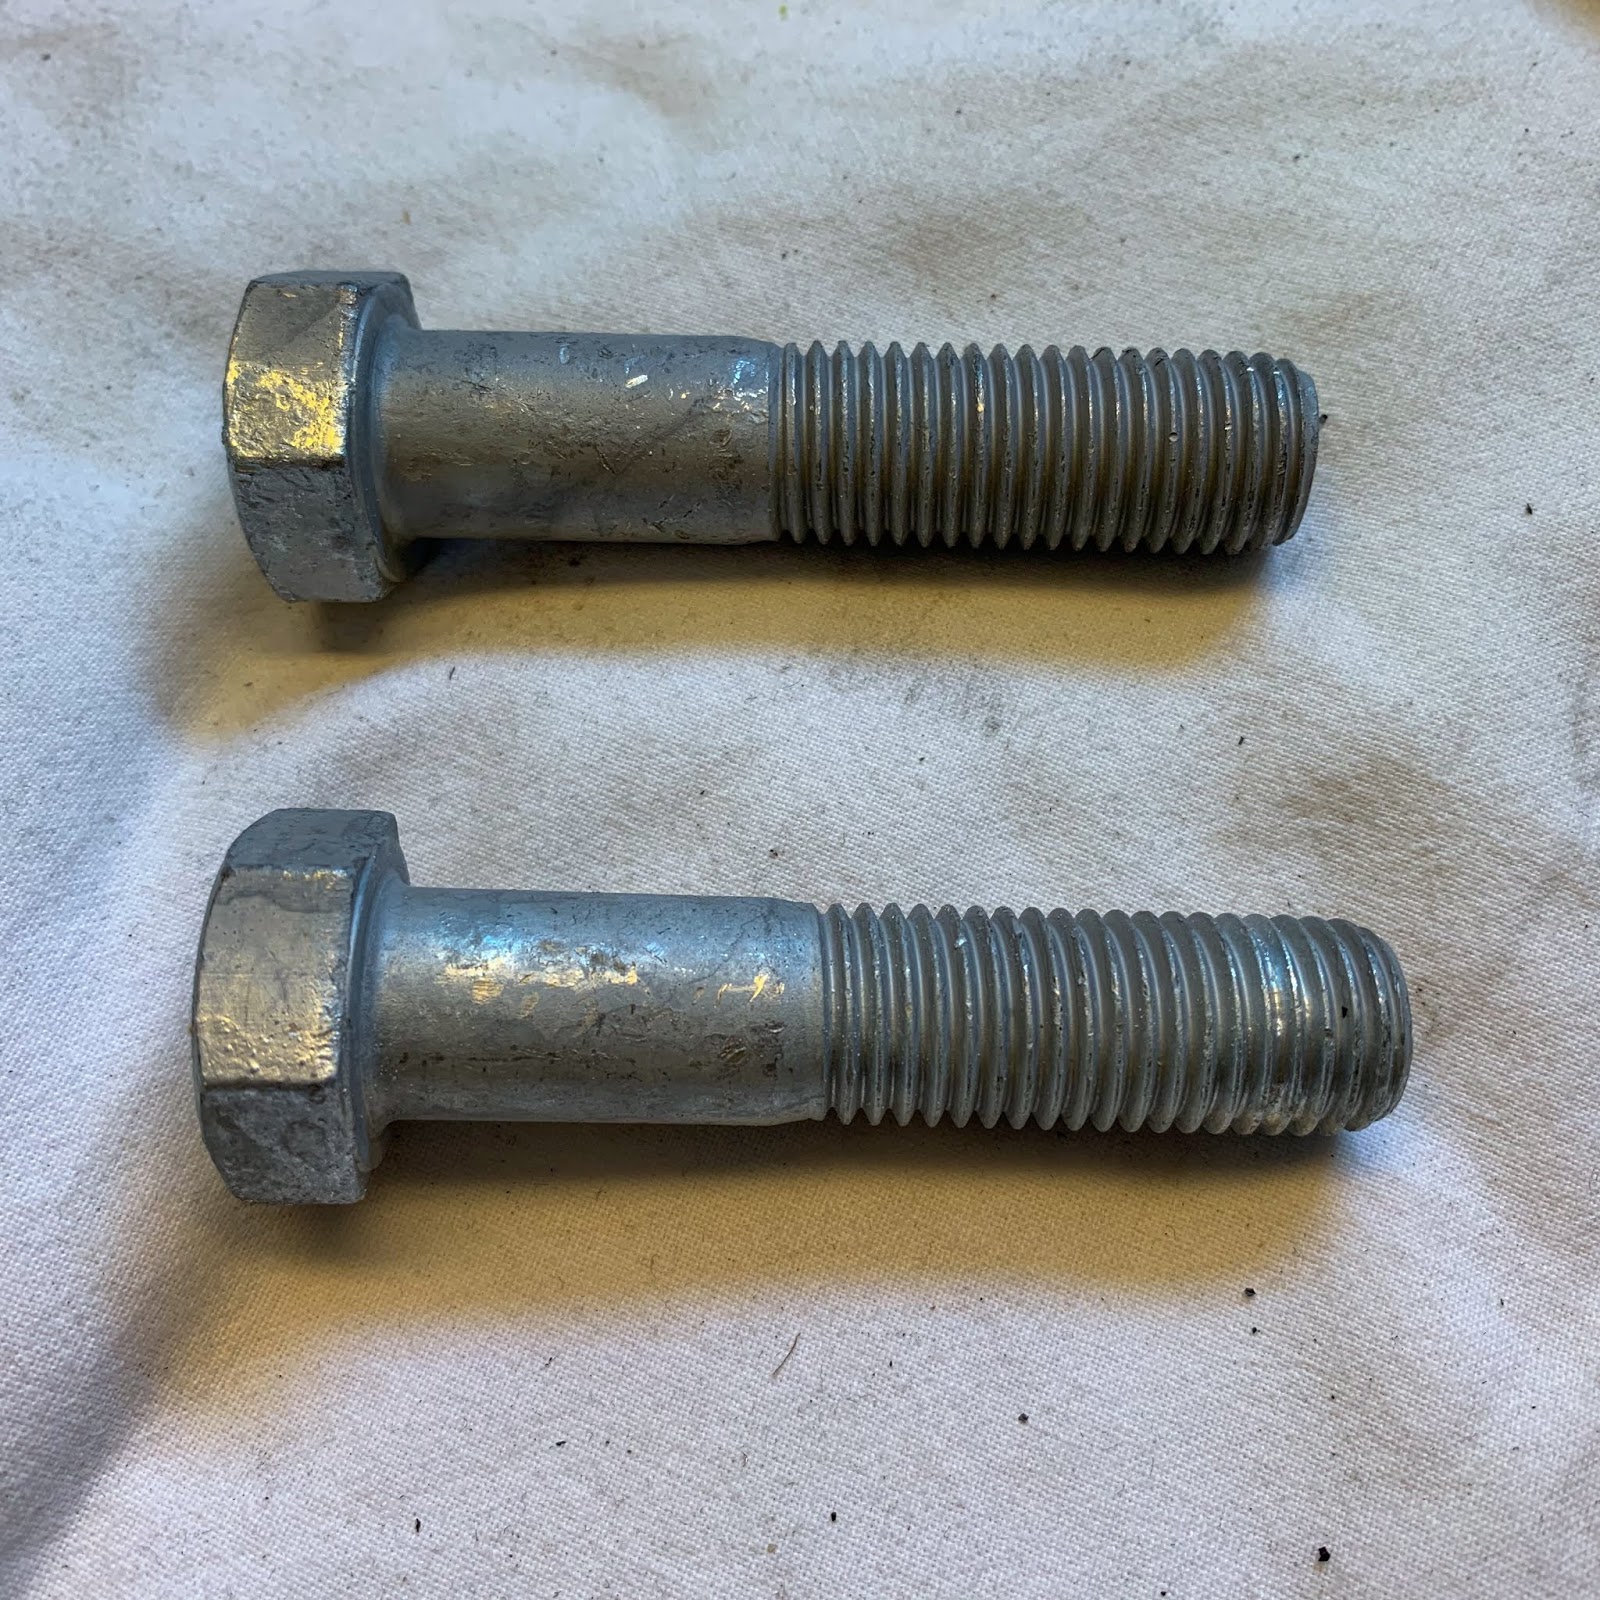
Higher do it myself then. I went to the ironmongery store and purchased two M16 gentle iron bolts as materials. After all I had been sitting on the laptop for greater than an hour shopping for materials over the online for rather more cash after I figured I might use these infants. Silly, however so usually me.
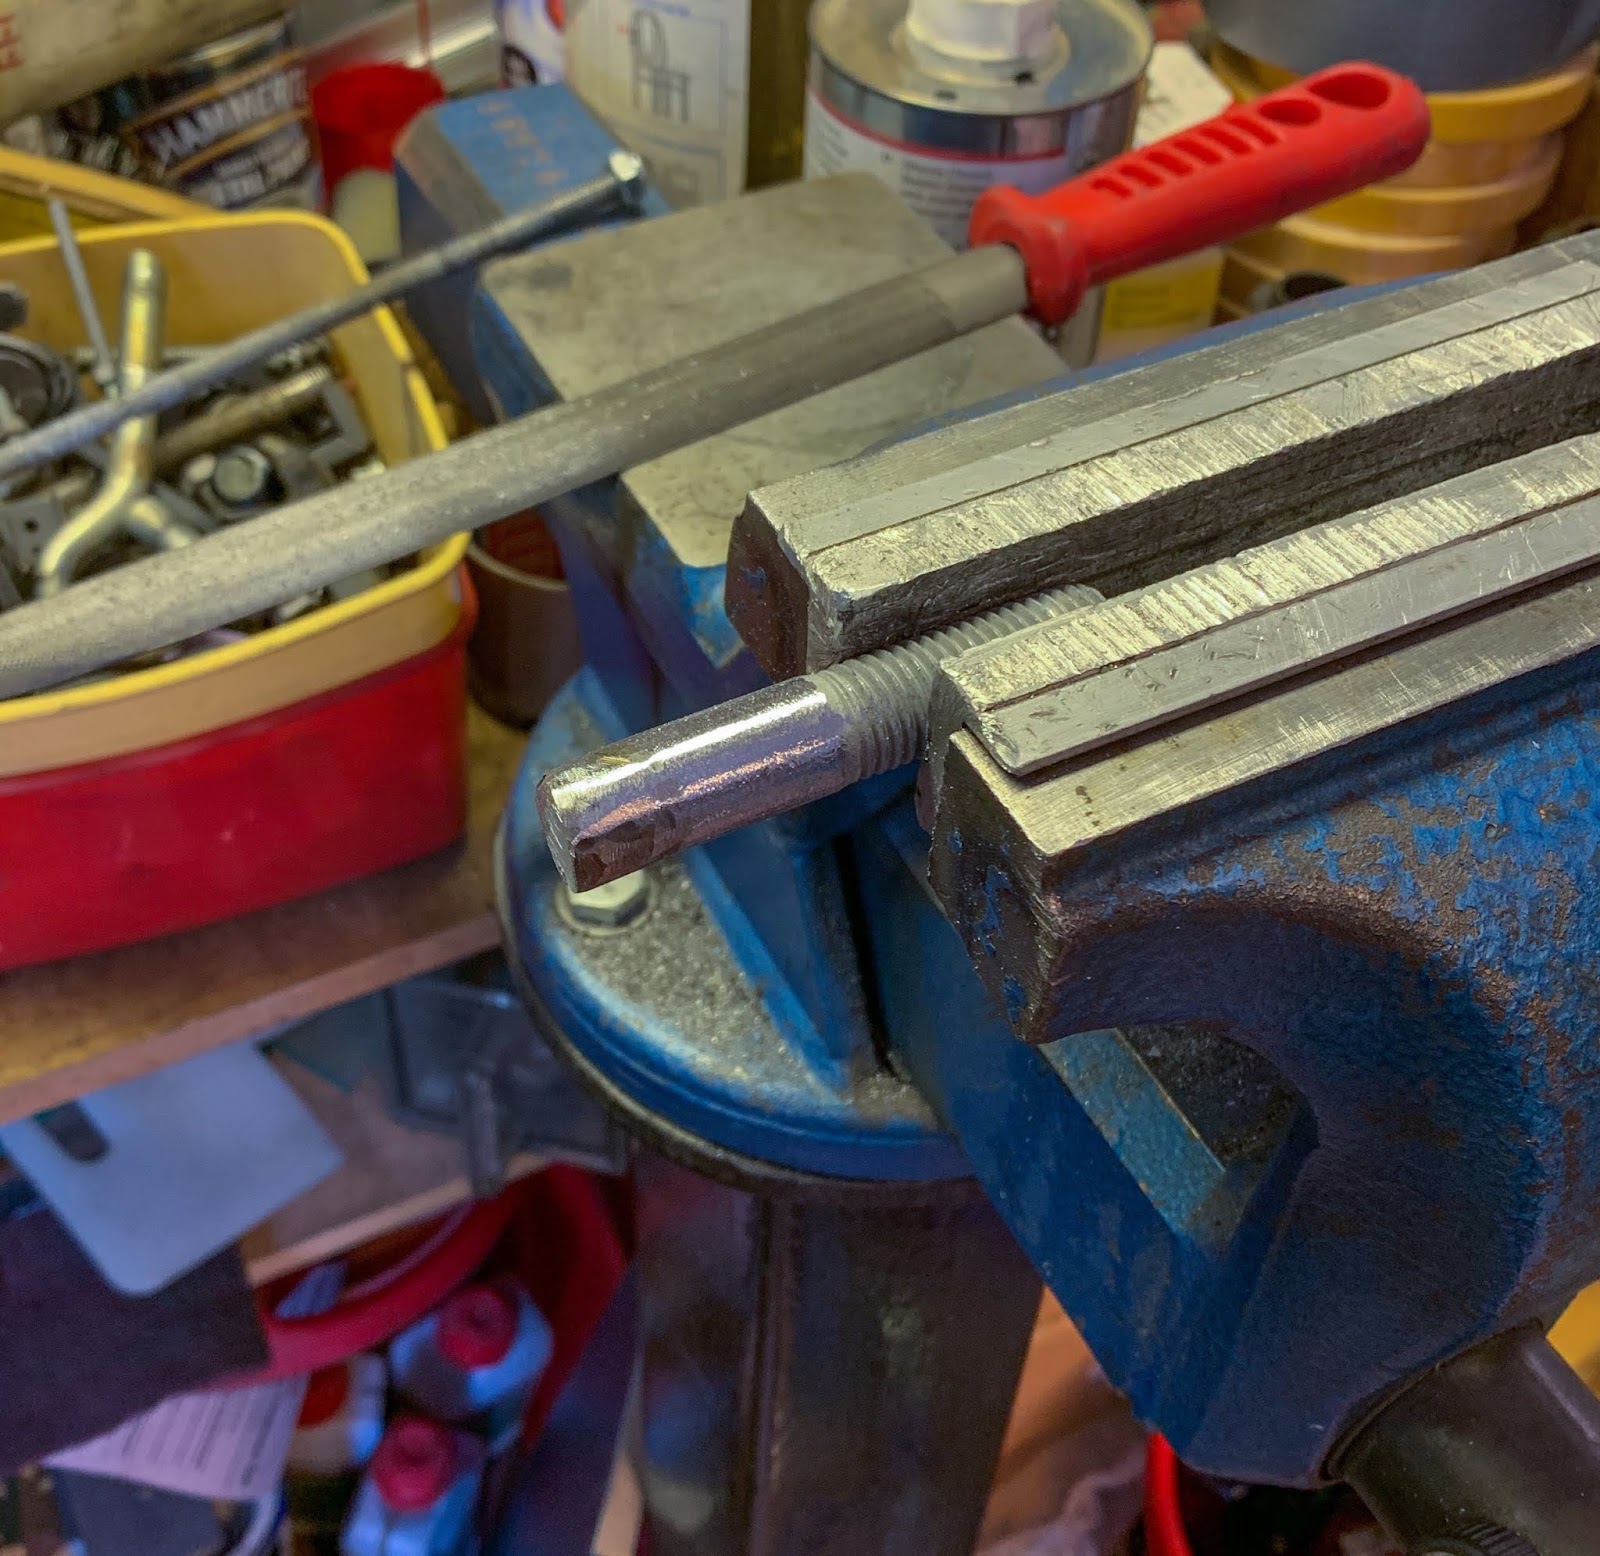
First I took the hex head off with my grinder after which I used a file and the grinder on and off till I had an outer diameter of 16 mm for a big sufficient of size and 12 mm outer diameter the place the lugs enter the body brackets.
This stuff don´t belong on an area ship, simply an outdated race bike. I would remanufacture these in a while relying on how good they get.
First trial on the bracket. Doesn´t look too dangerous, truly.
Janne needed to make this one, the correct facet, 15 mm lengthy. I´m aiming at 20 mm to make sure. You possibly can all the time shorten them if wanted.

The left facet needs to be 25 mm. Right here I´m aiming at 30 mm. Higher with bigger clearance for starters.
A bit extra fettling and these lugs are carried out!
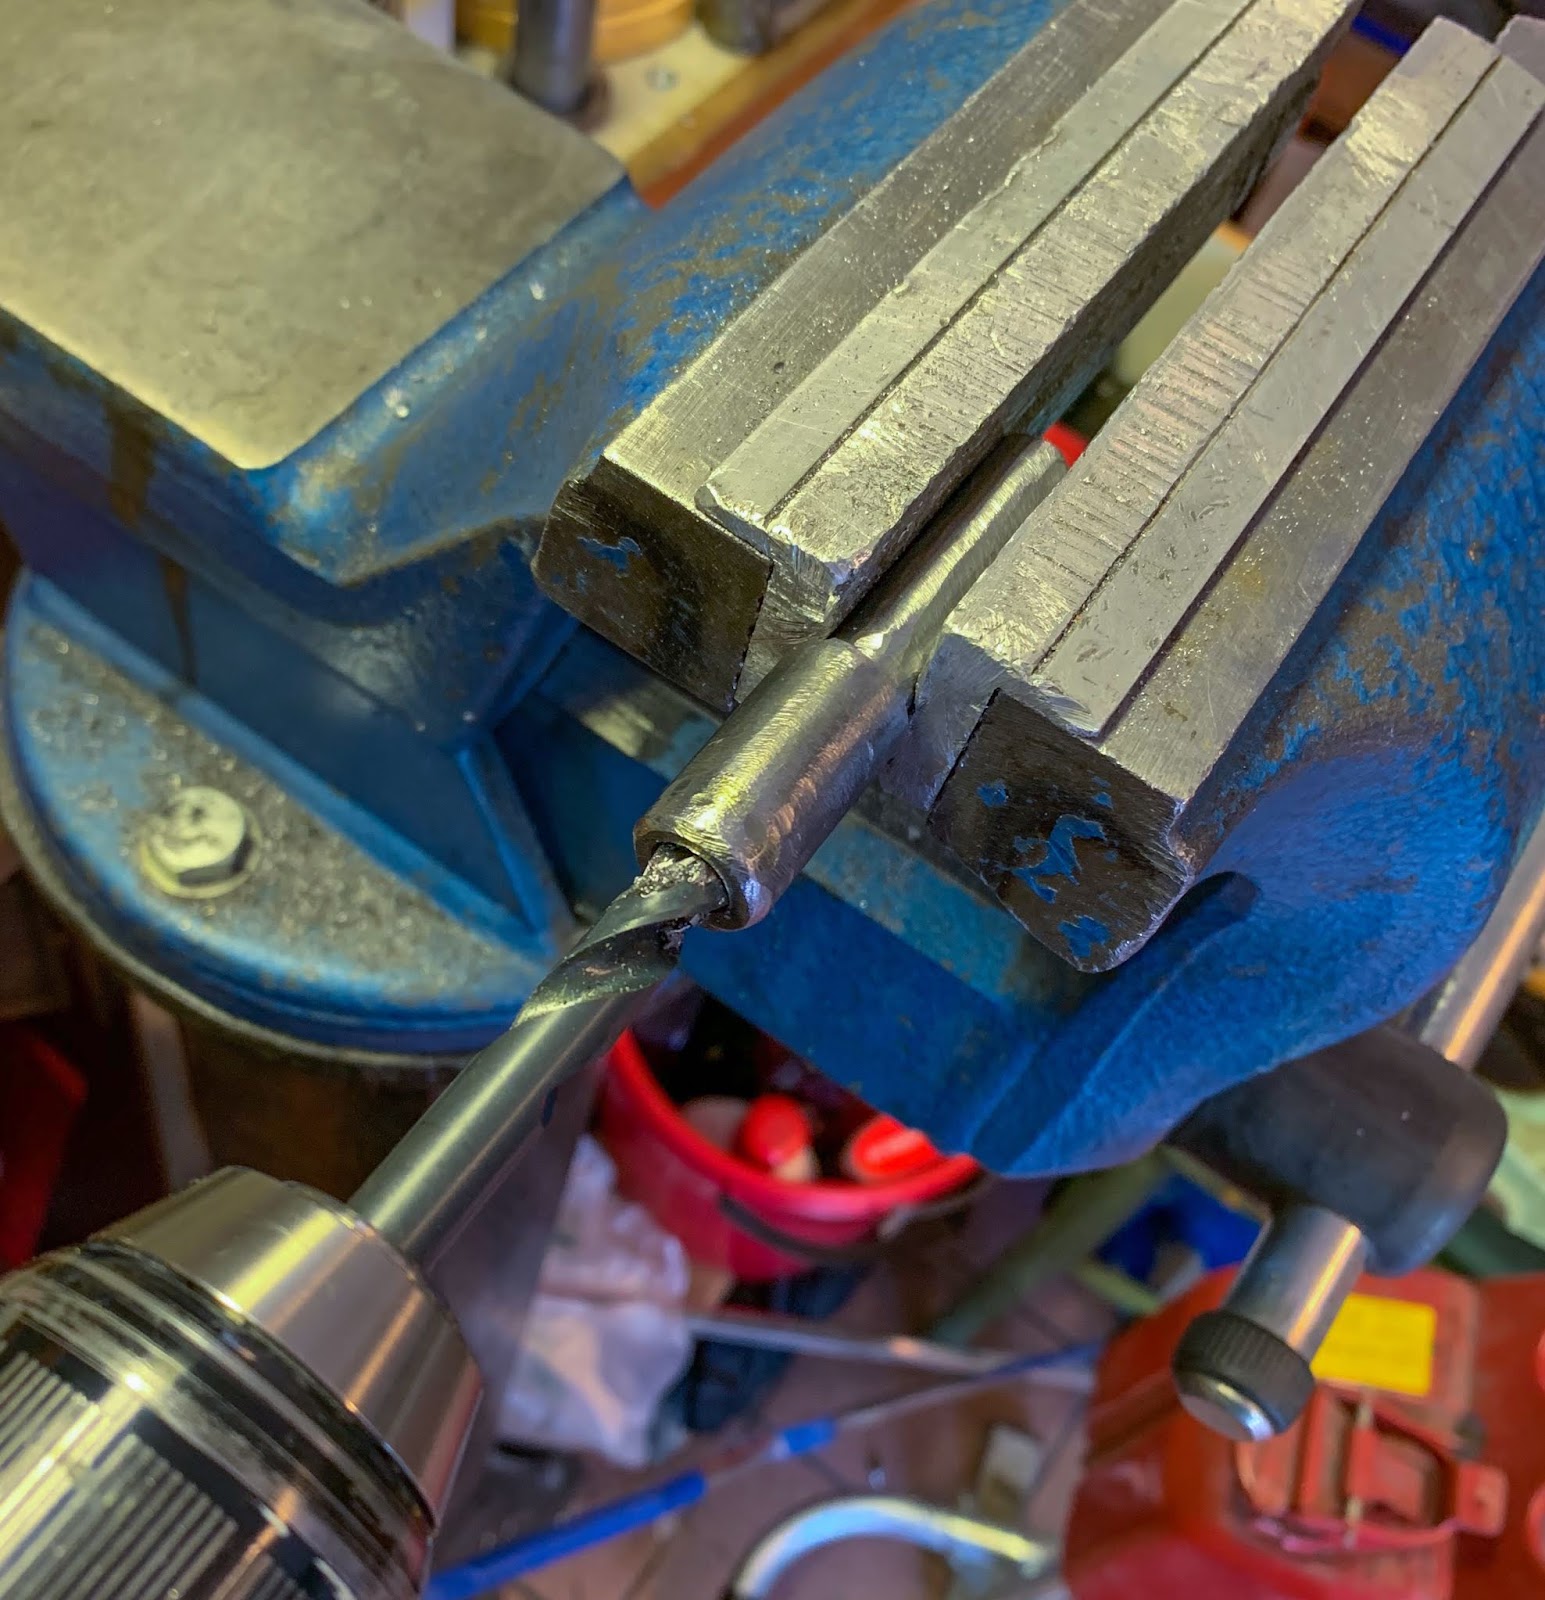
Because the fairing screw will cross proper by the fairing and in addition the aluminium “cup” that attaches to the body bracket, the lugs should be hole.
A 9 mm drill bit and a little bit of pushing and lubricating received the holes carried out.
I don´t have any press drilling machine both…
You simply use what you could have.
Two hours value of grinding, submitting and drilling and they’re carried out.
A little bit of sprucing and so they look fairly all proper.
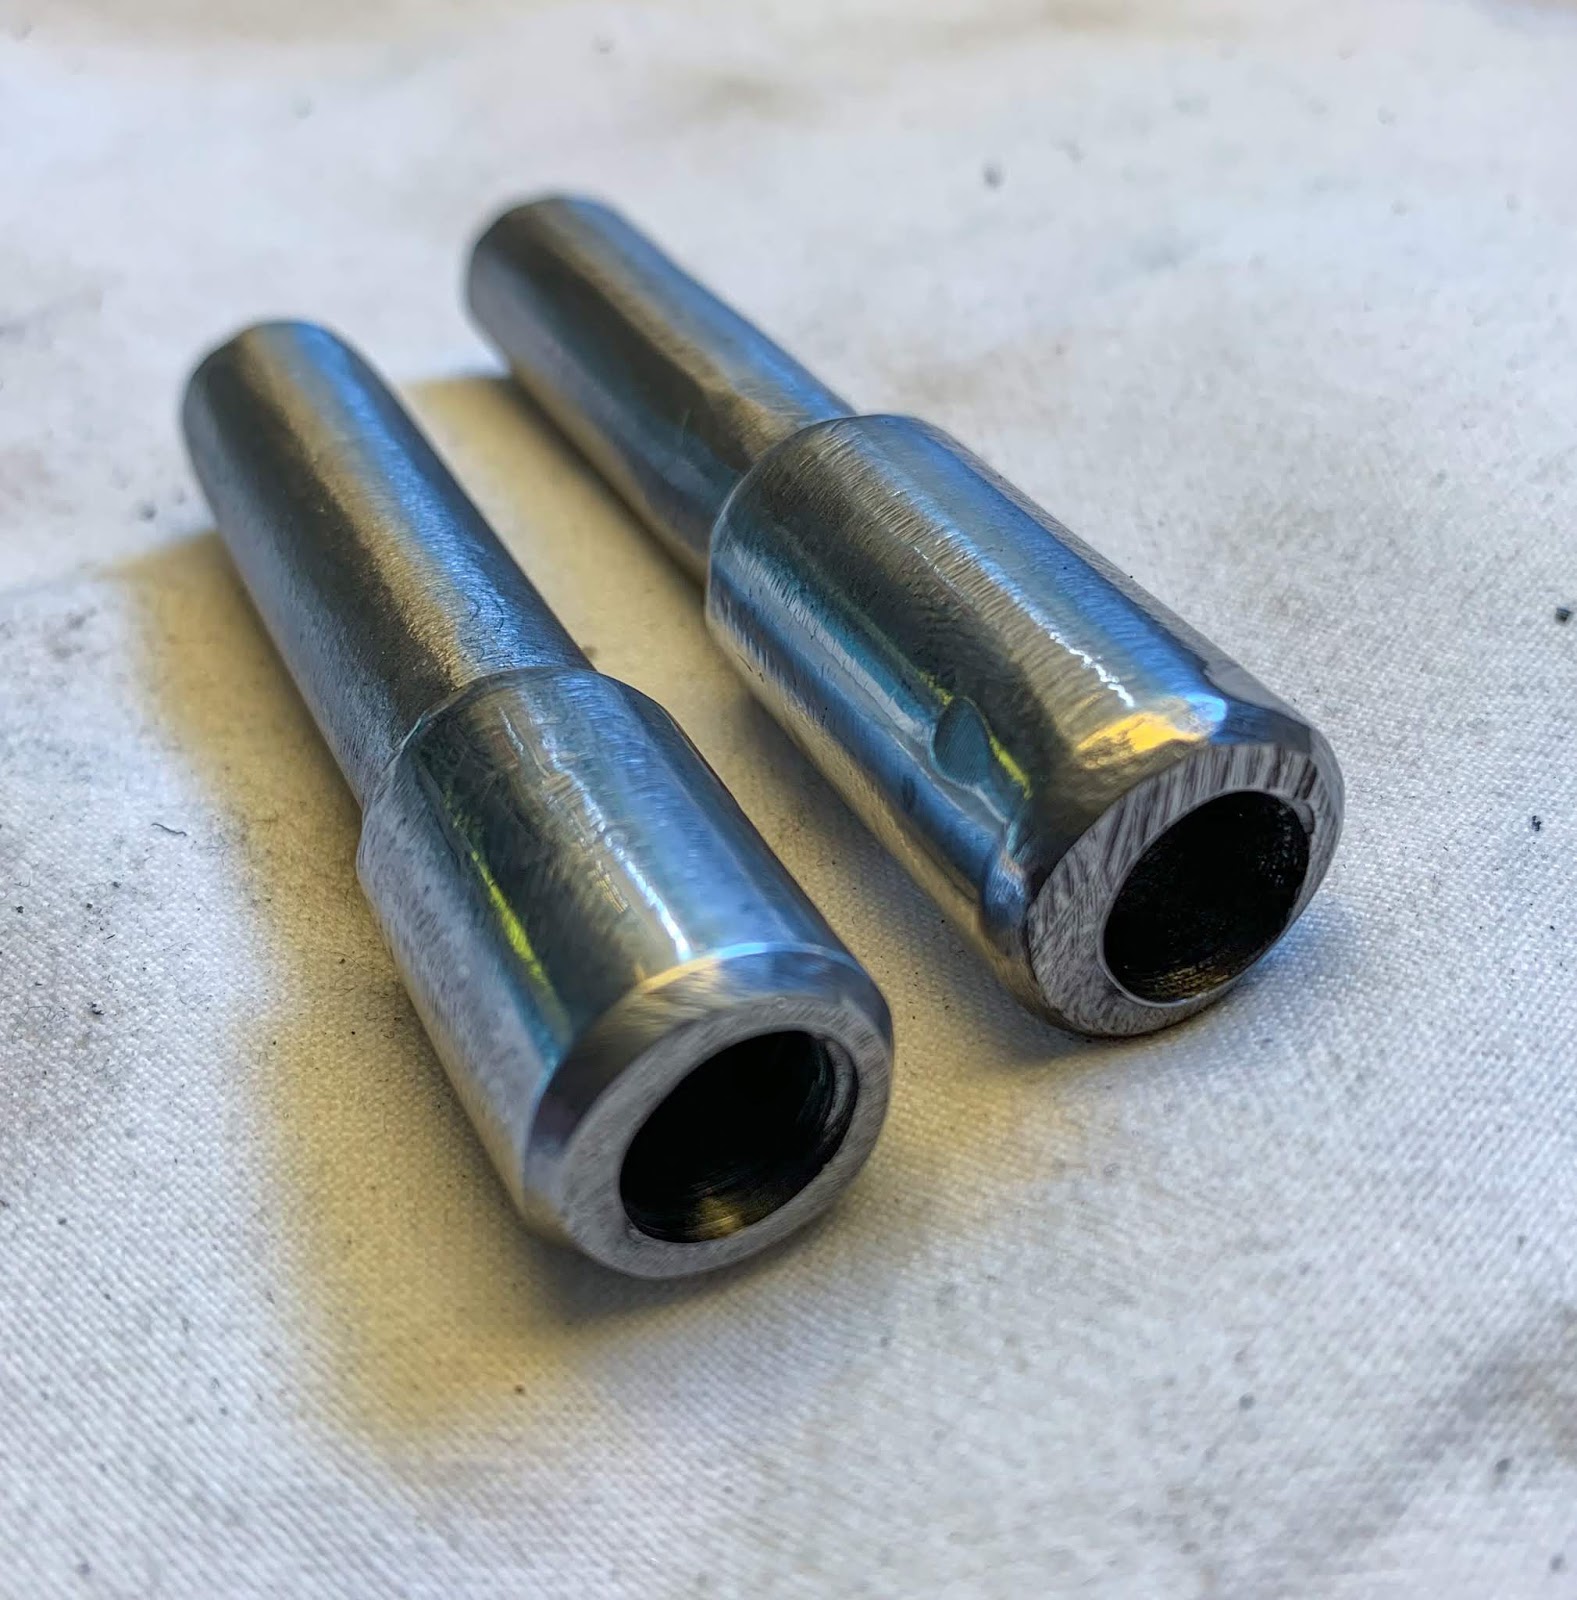
I virtually received the holes centered.
Sure, I did use a punching device however I assume the drill labored its method off heart anyway on one in every of them. It doesn´t matter that a lot. Nobody will ever see these holes anyway.
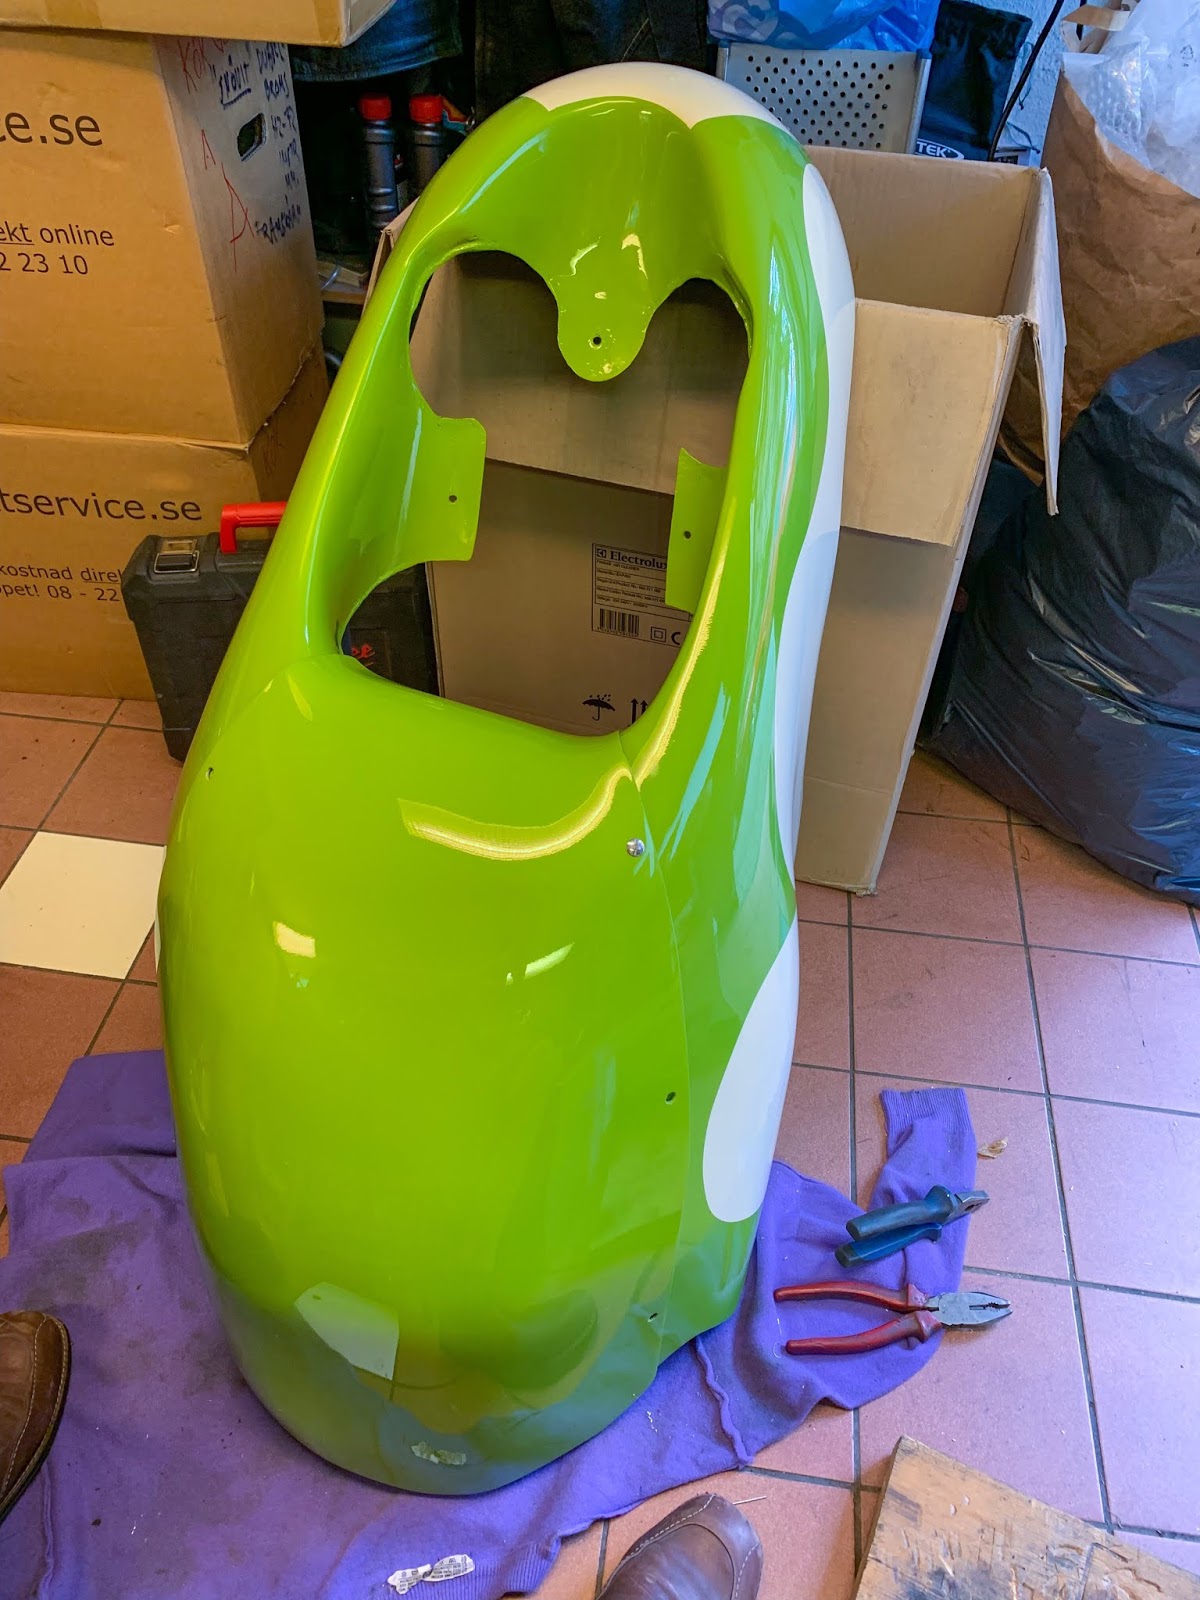
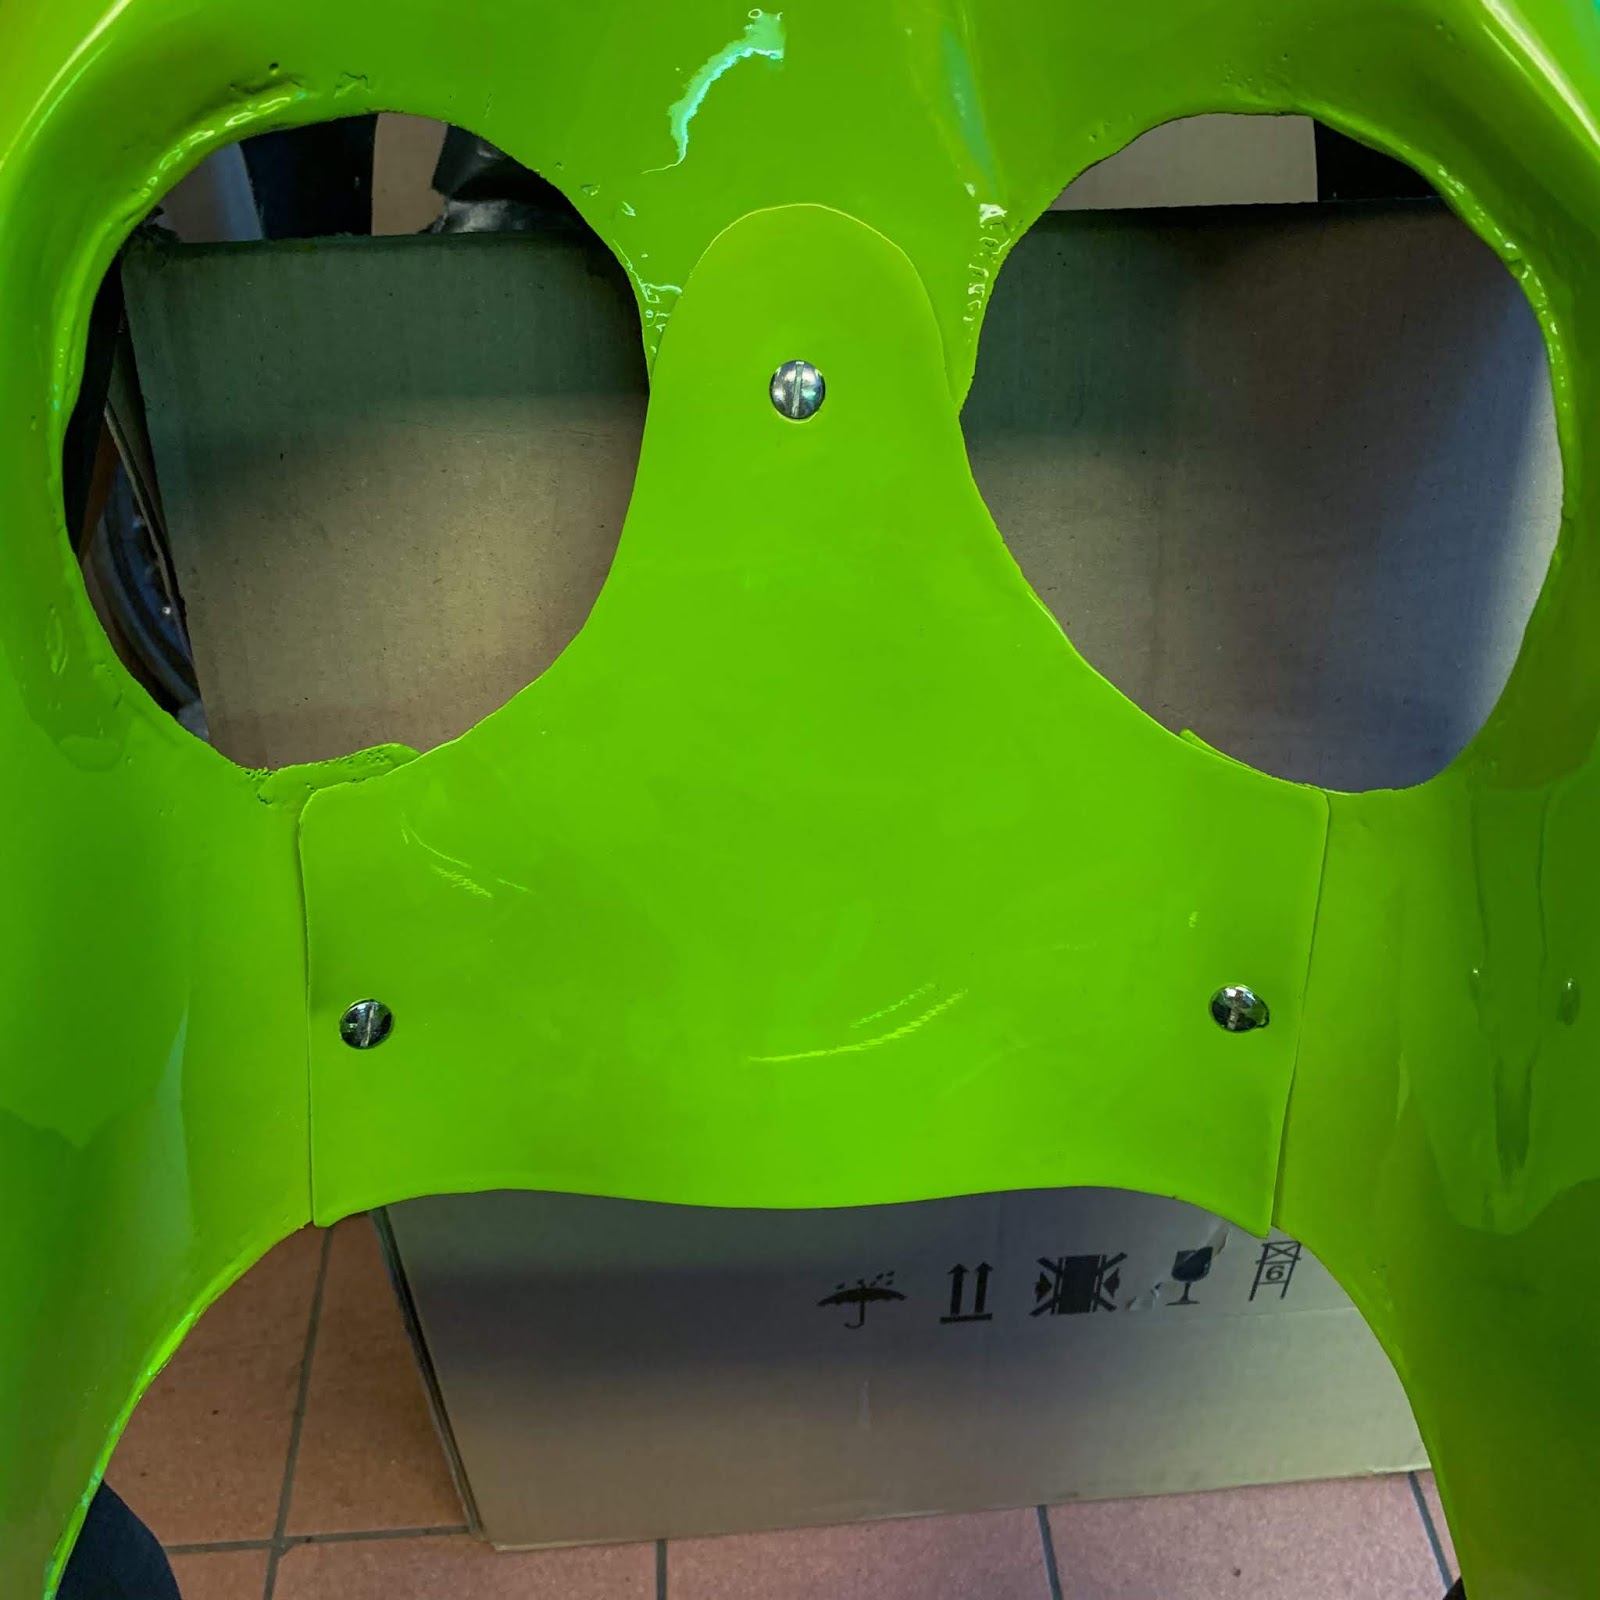
Now after I had the lugs carried out it was time to start out engaged on the fairing itself.
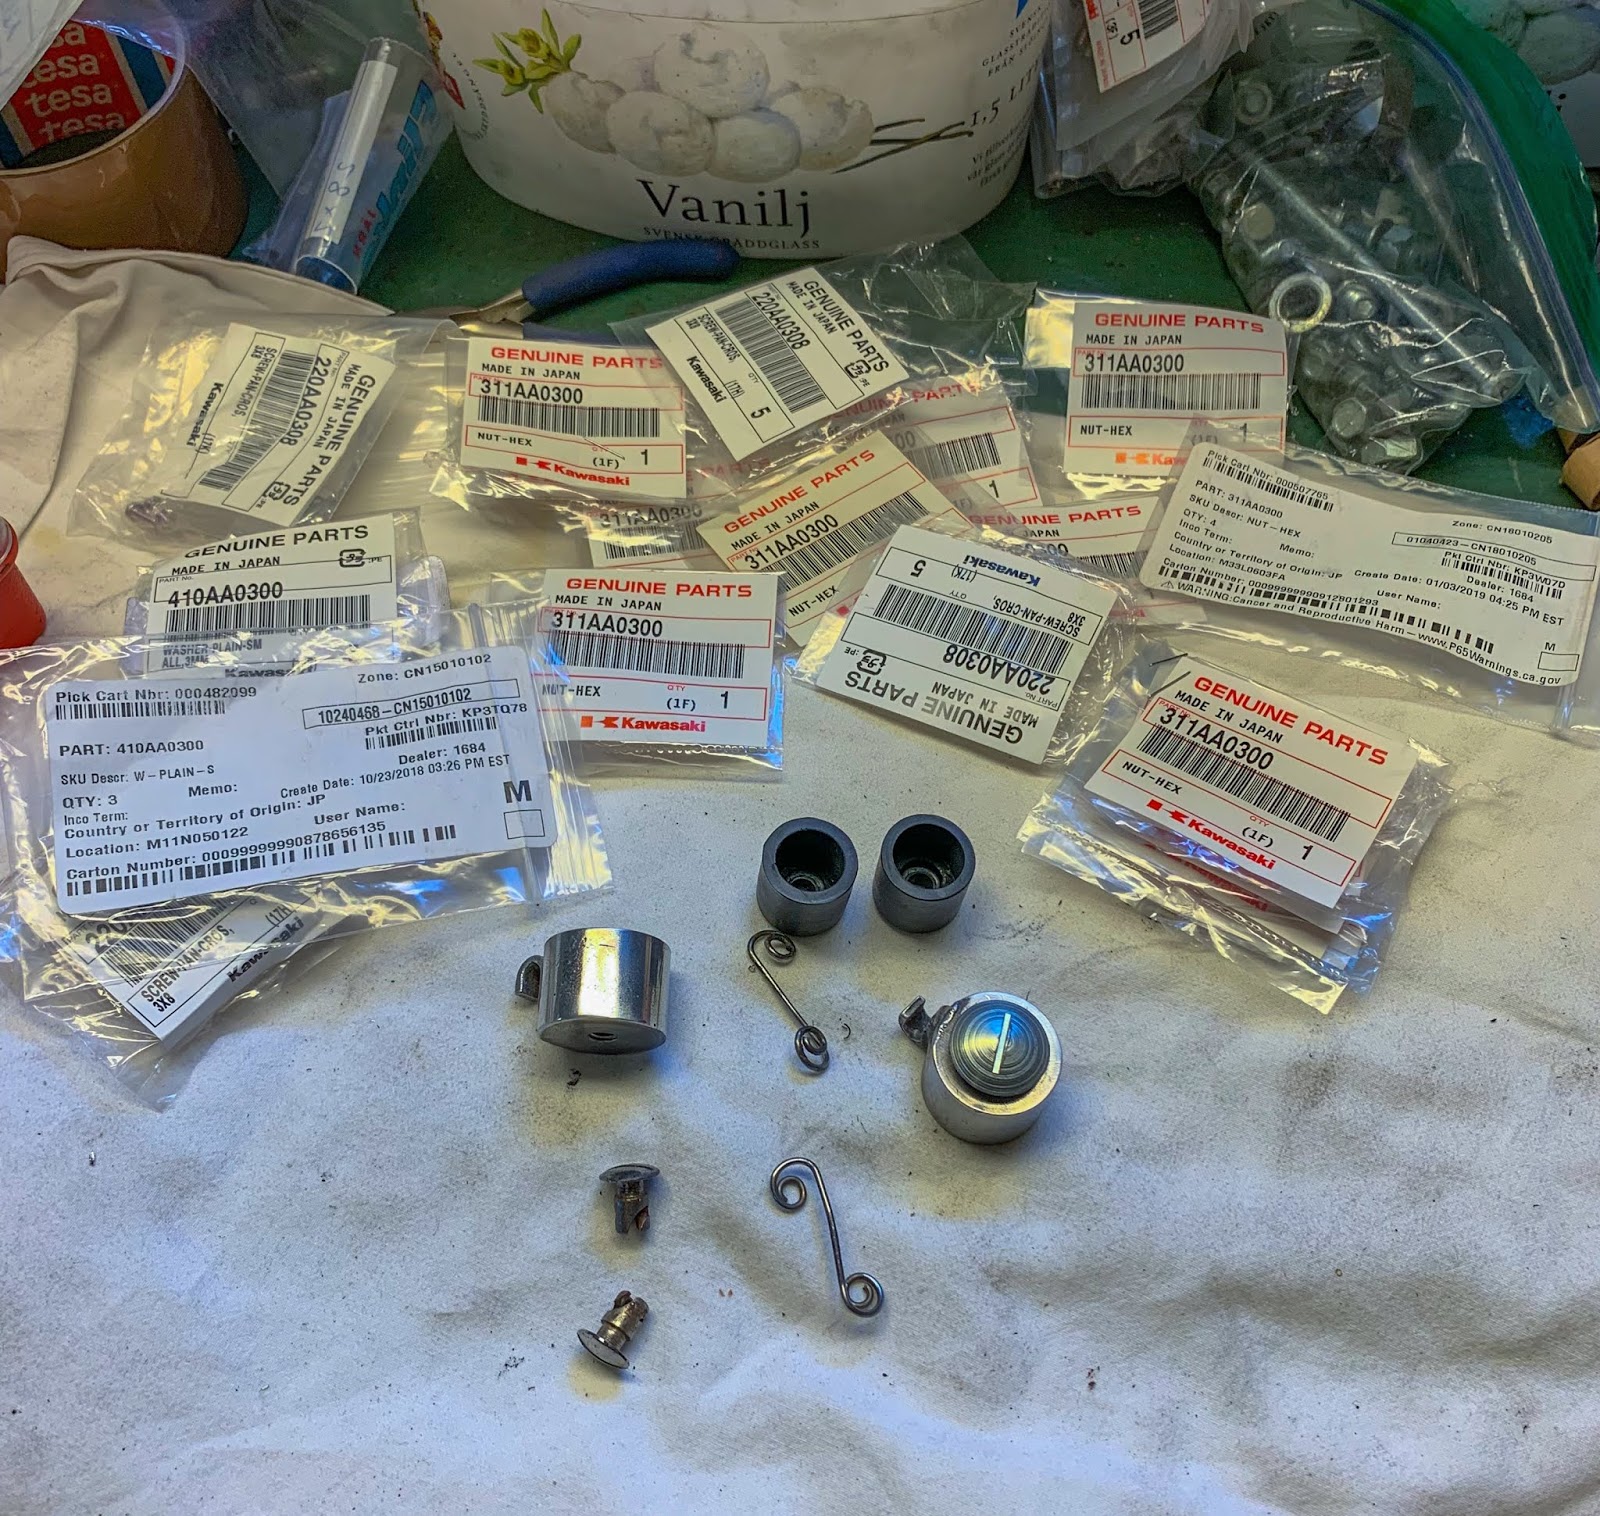
There are 9 Dzus fasteners that I have to get proper. 3 on either side of the fairing and three up entrance under the triple tree.
They’re ingenious little issues. By compressing a spring and turning the outer screw 1 / 4 flip you lock issues collectively in a method that withstands vibrations even on a racebike.
You simply have to get them accurately aligned and the spring fixed within the precise proper place for the outer screw to succeed in it and be capable to catch the spring after which lock all of it up…. Easy? Sure, in idea, however a ache in actual life till you determine learn how to do it the best method!
The primary one took me two hours to get proper. In accordance the guide the springs are fixed by small M3 screws, washers and nuts. I’ve been accumulating these through the three years and now I had sufficient of them. Measure, measure and measure once more and at last the primary one was in place.
No method I might flip it!
The outer screw didn´t even attain the spring on the within of the fairing.
OK, Strive what Janne did on his fairing. Use blind rivets. They’ve a way more flush head in comparison with the M3 screws. Hmm. Perhaps that´ll work….
No, it didn’t… And it didn´t look proper both. Again to the screws.
After a little bit of pondering I discovered the answer. The springs might be adjusted in peak by urgent the retched issues to a smaller “carry”.
One other “Halleluja second” was after I discovered I might put the components along with all of the dzus screws, modify the path of the outer screws so that they align in a pleasant method on the surface and easily lock them collectively, mark the place to drill the holes after which drill all of them on the similar time!
The 2-three first ones took half a day and the opposite six half-hour. Someday you surprise how your psychological state actually is…
Right here we’re! The three prime entrance ones in place.
Look how properly all of them align within the path of velocity….
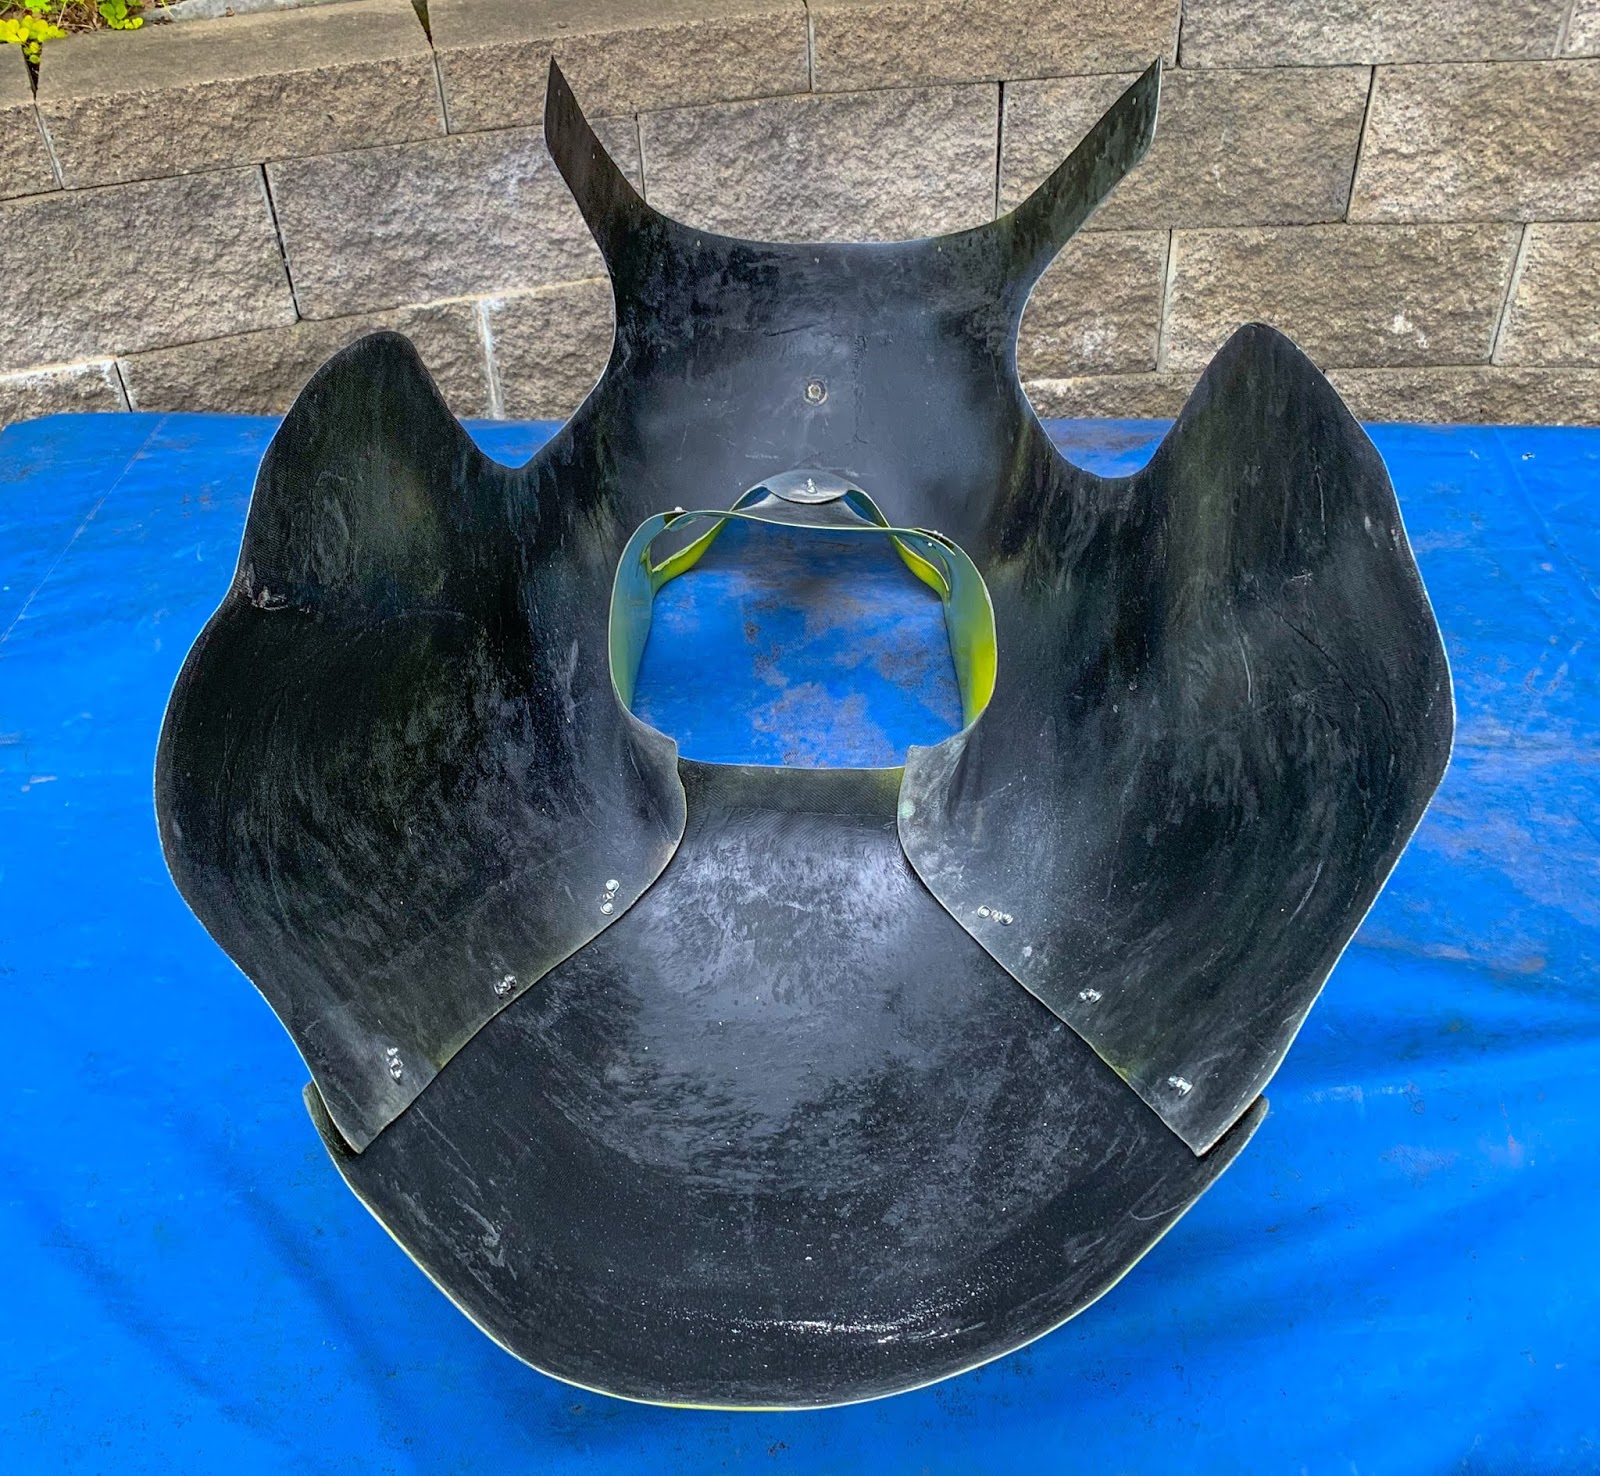
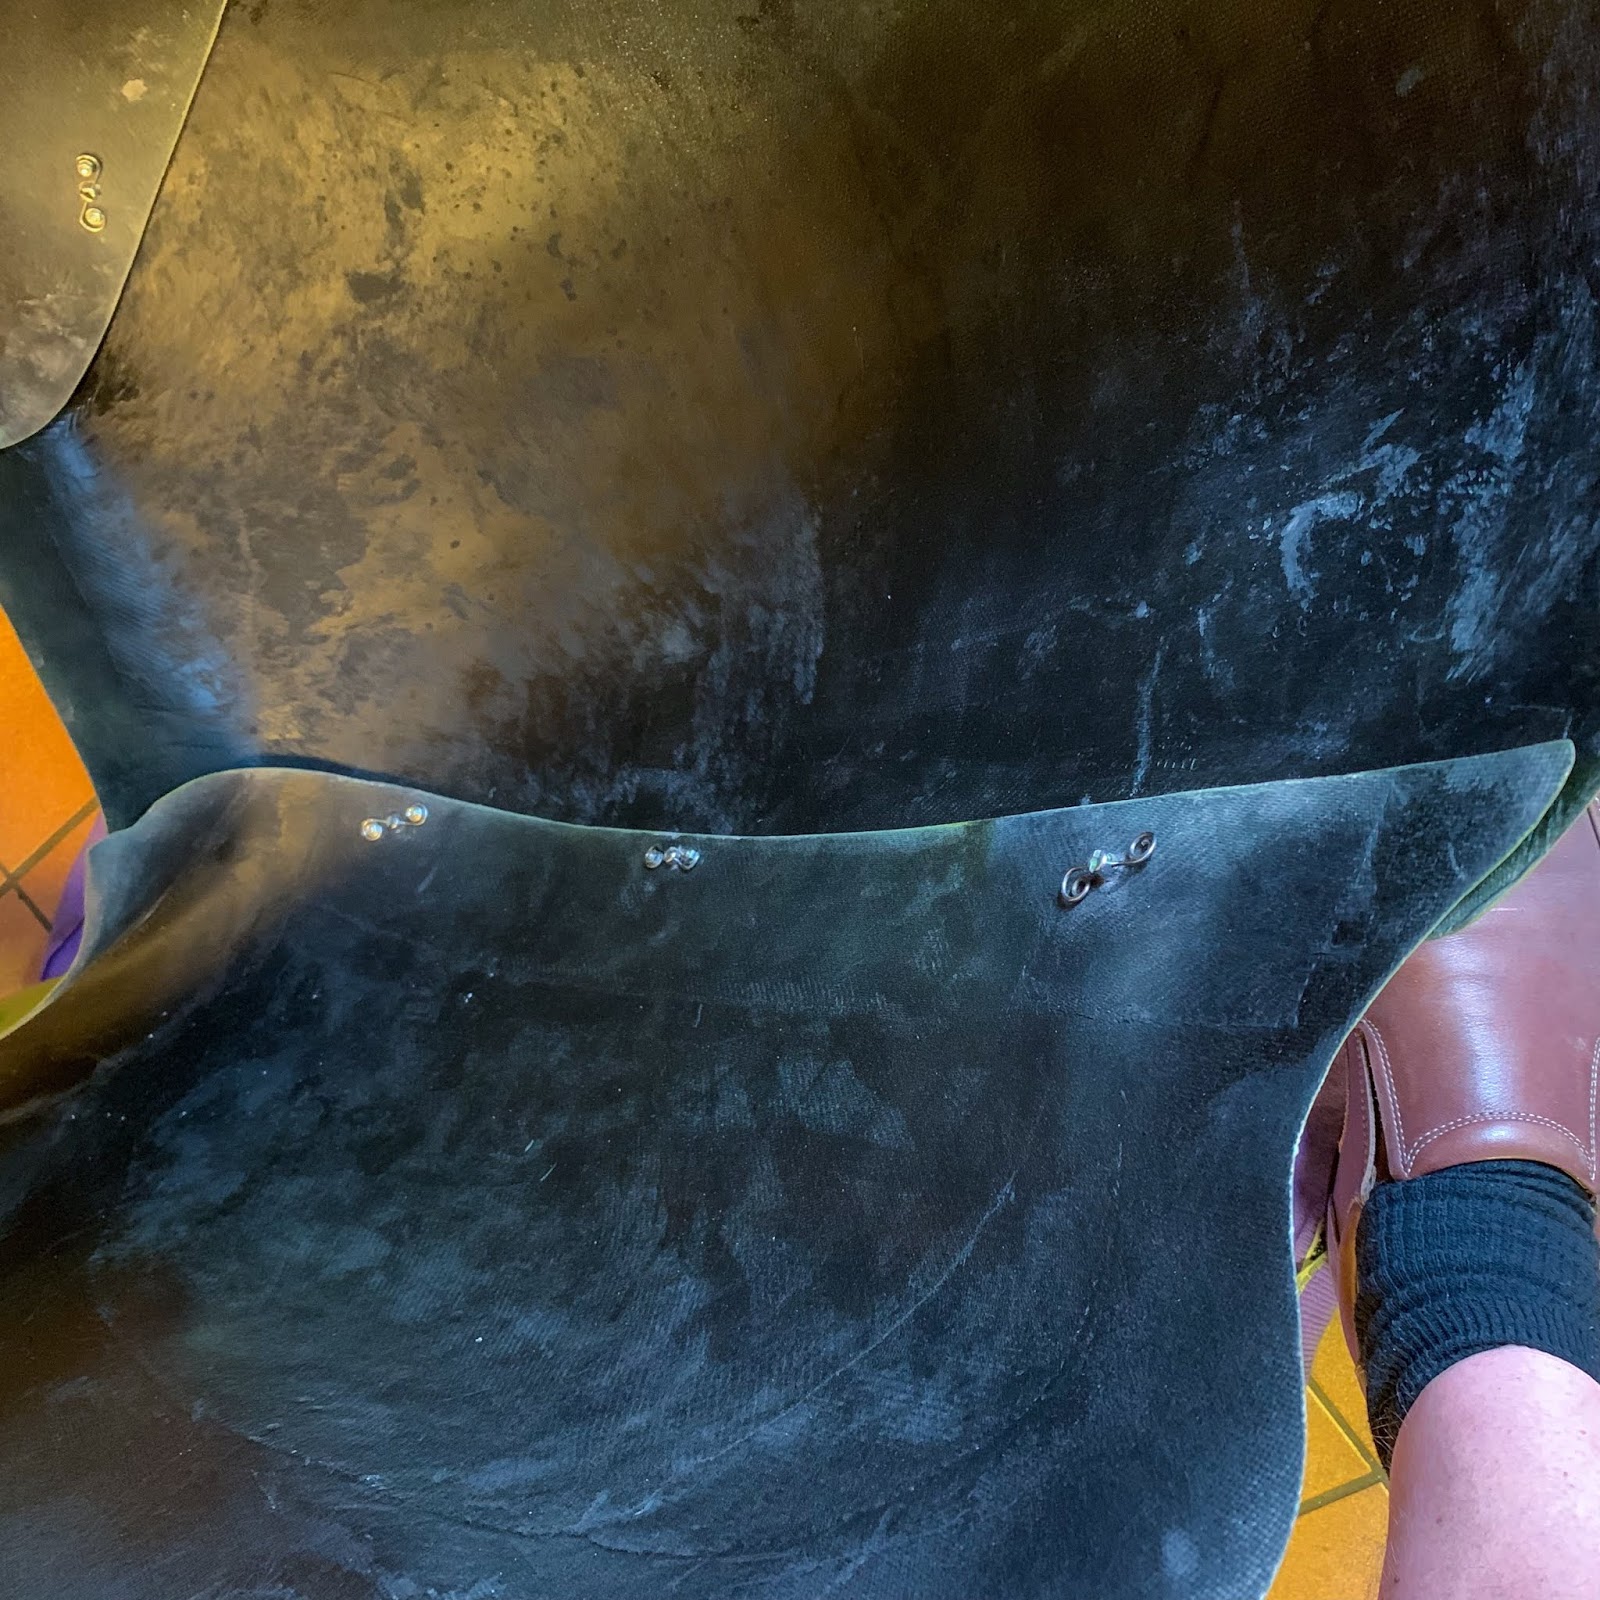
The fairing inside with the Dzus screws seen.
This job took the higher a part of a day to finish.

The completed Dzus spring connected to the fairing with all unique NOS M3 screws, washers and nuts. Completely nuts, however NOS is NOS!
The fairing getting increasingly full. Quickly time to attempt to match it to the bike.

One other day has handed and the venture is ready for the following step.
Right here I´m getting ready the remainder of the components for the fairing. The “cups”, the re fabricated rubber cups and some further Dzus components. All these half luggage held the NOS screws, washers and nuts for the fairing.
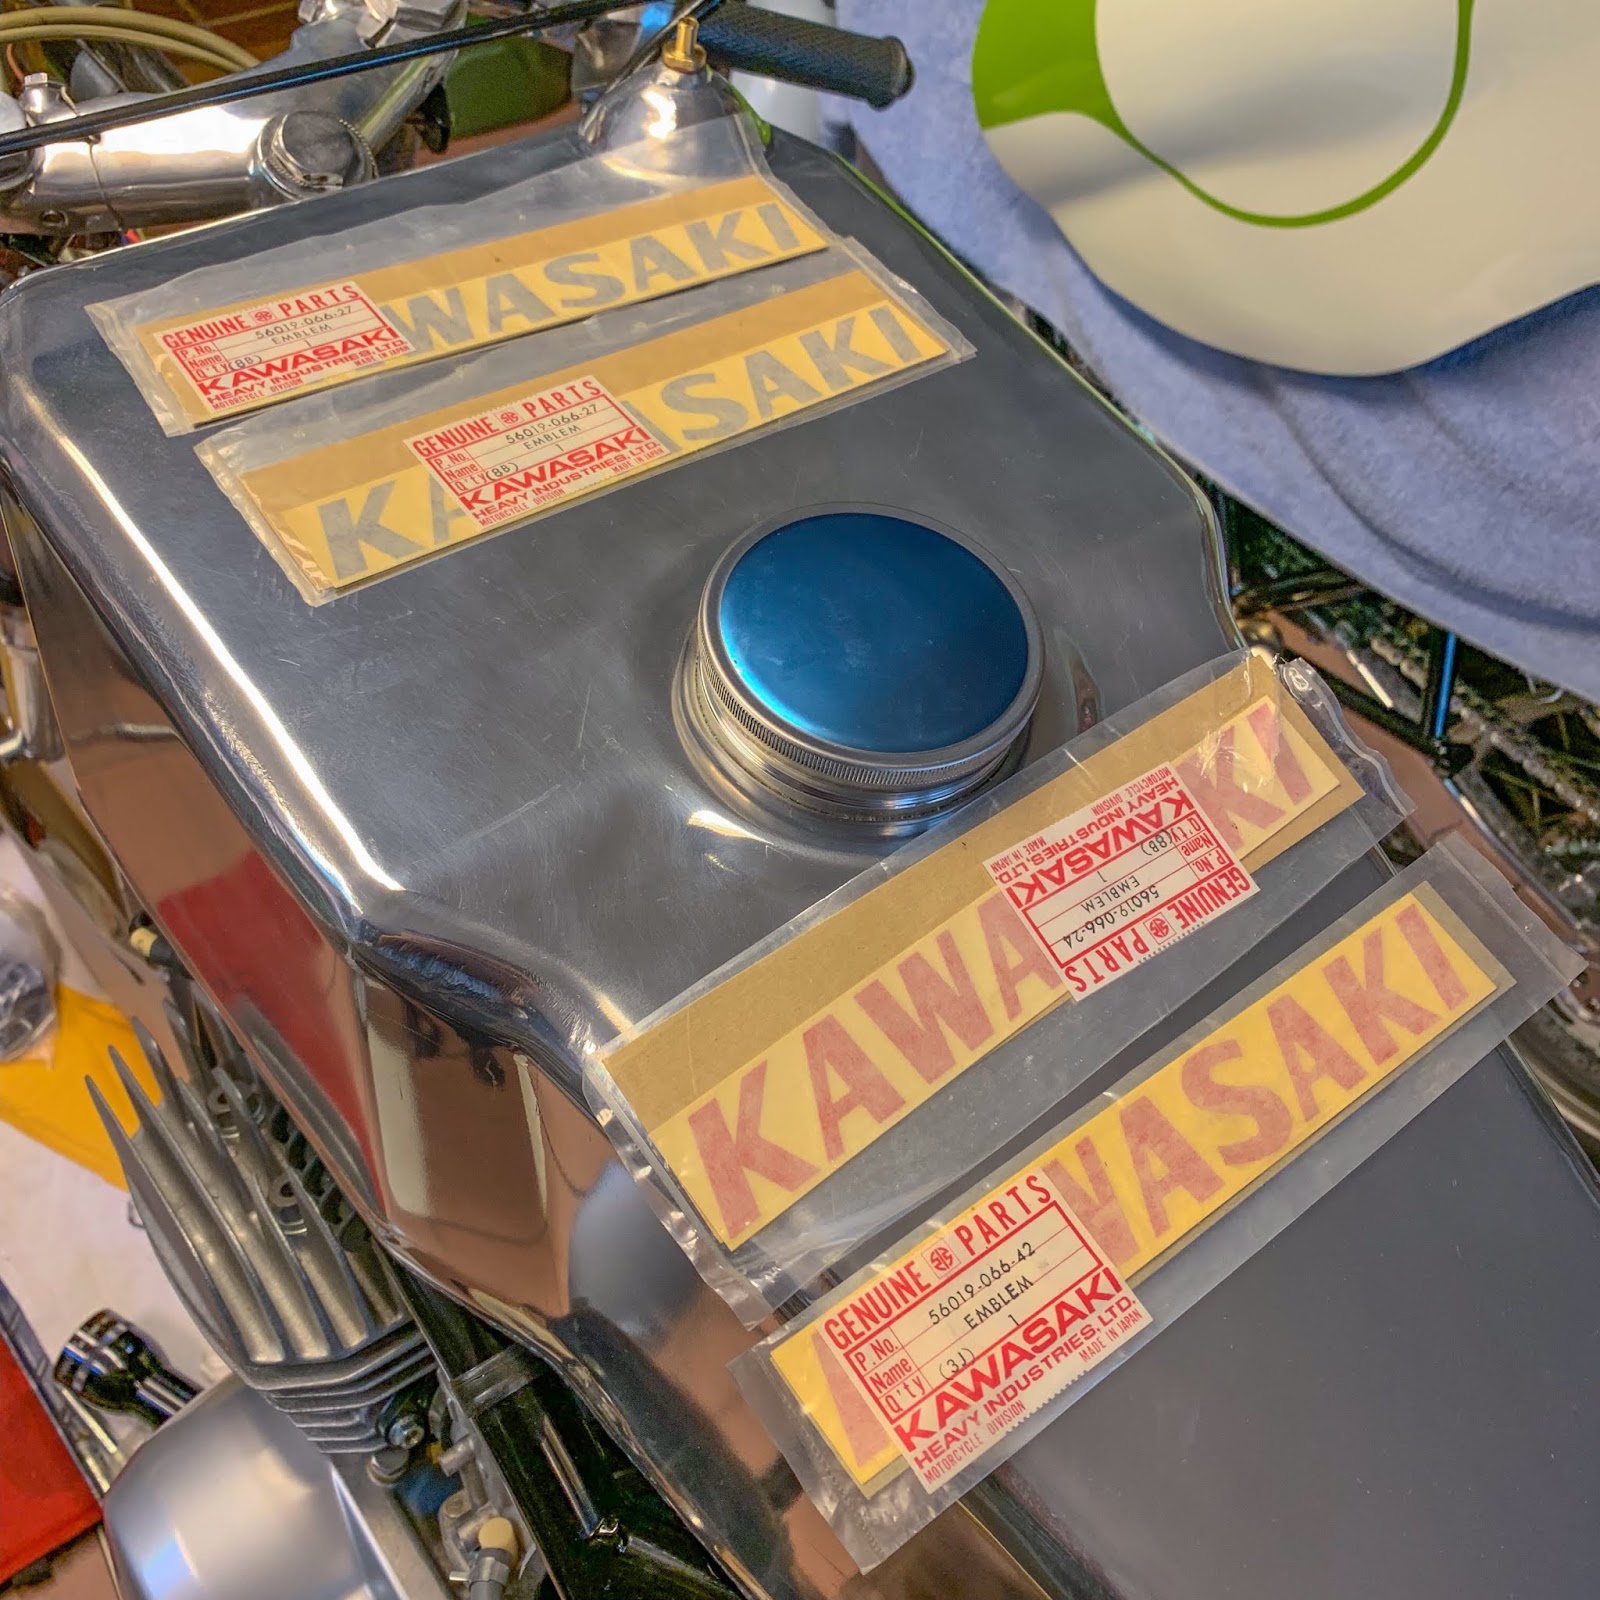
I additionally have to determine what colour to make use of on the aluminum tank lettering. I believed I had black and pink, but it surely was truly blue and pink. I consider I’ve a set of repro black decals as properly…. Black, Blue or Purple. what do you assume?
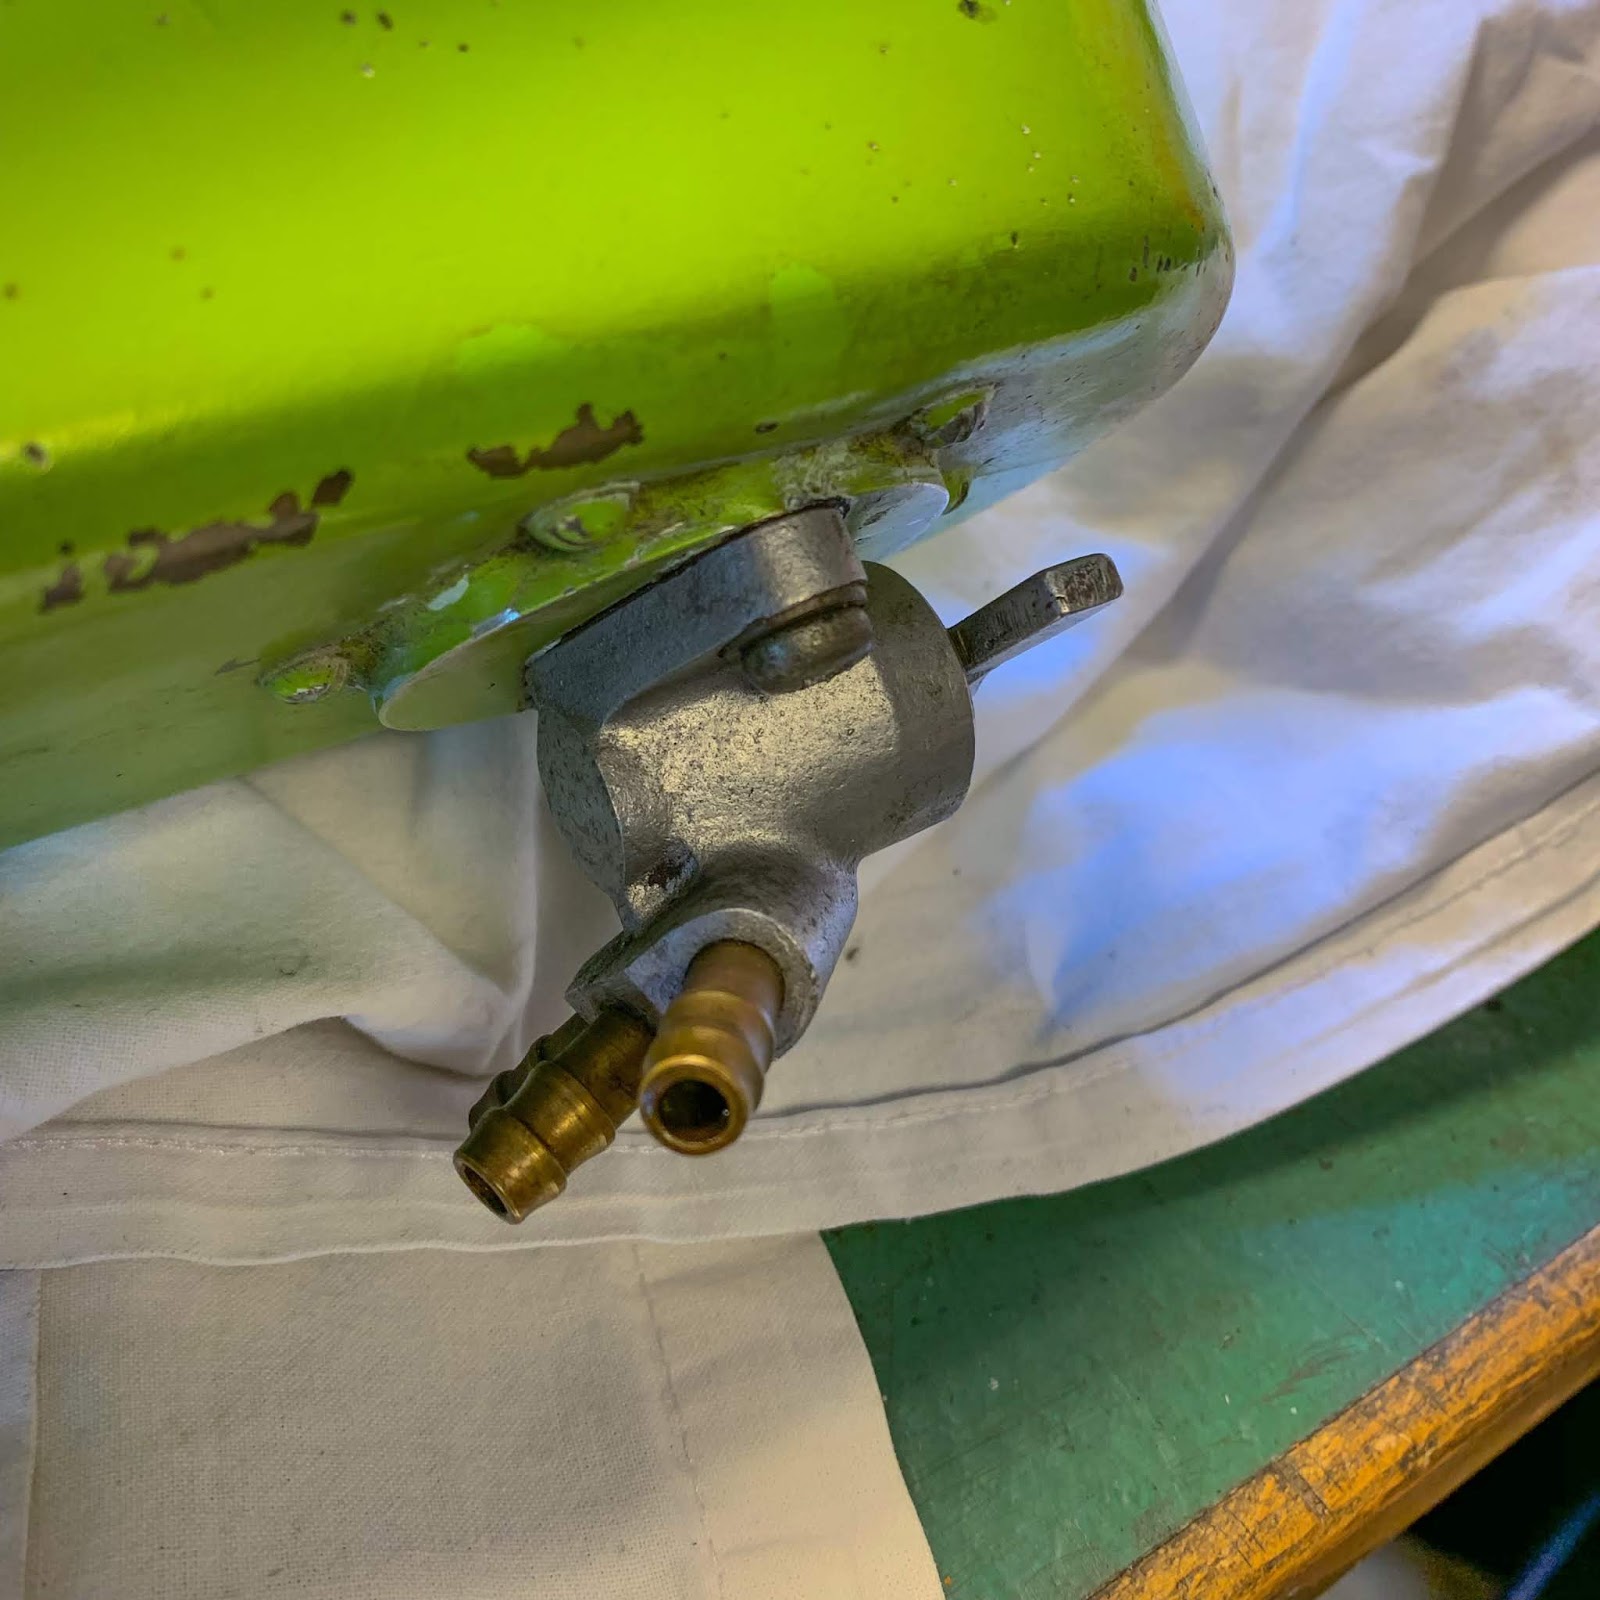
Shifting on… Getting the unique tank prepared for show. The inventory, refurbished petcock received again on the surge tank of the unique tank.
Good, easy motion on the lever. I´m tremendous pleased with that rebuild!
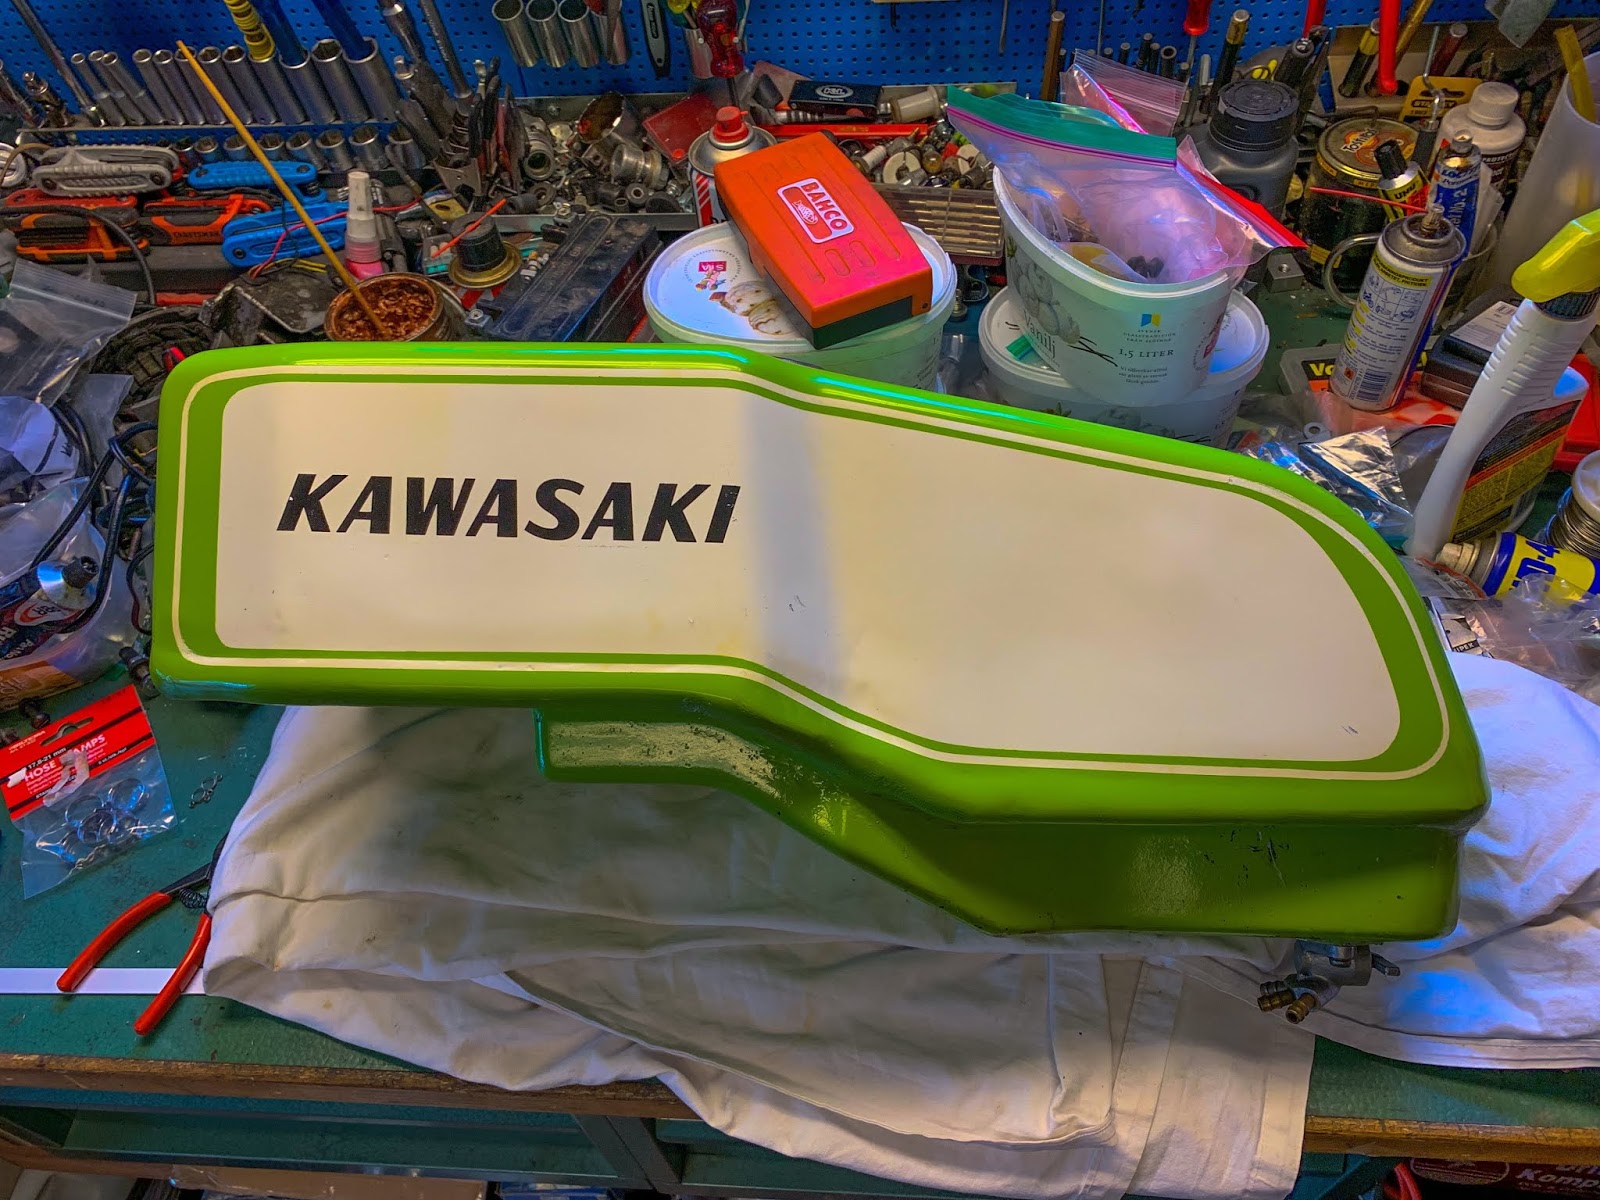
Polished, waxed and able to go on the bike.
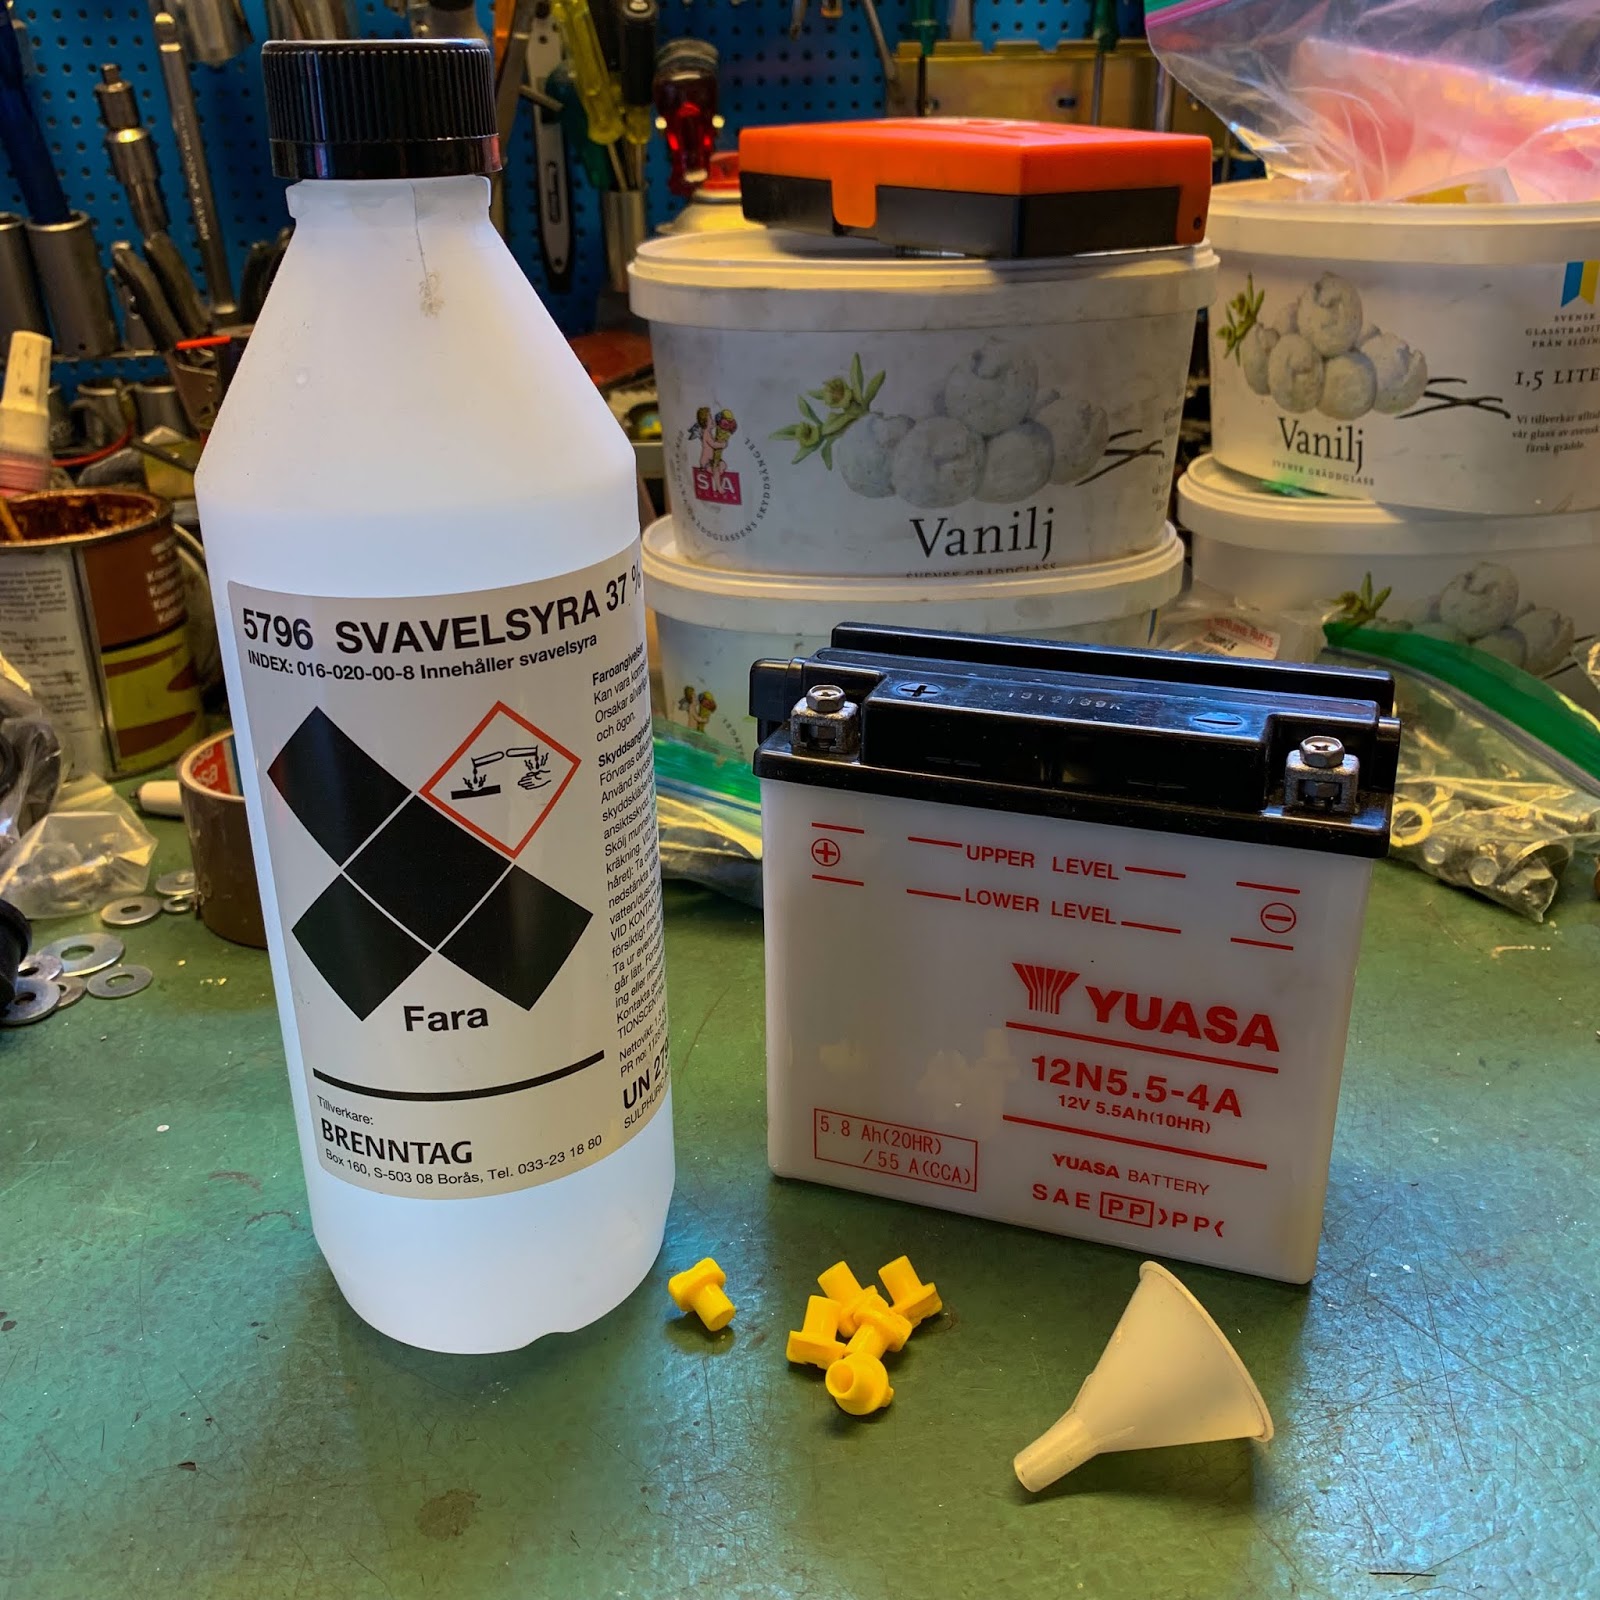
The H1R takes the identical sort of battery the H2 makes use of. Yuasa 12N5,5 4A, the place the 4A is the position of the terminals. On the H2 you should use any sort, actually, simply get longer wiring. Right here I wanted the right battery for the position of the detrimental earth lead.
It’s now stuffed and absolutely charged!
Be very cautious when filling batteries this outdated method with acid. Use goggles and gloves and garments you don´t thoughts shedding…
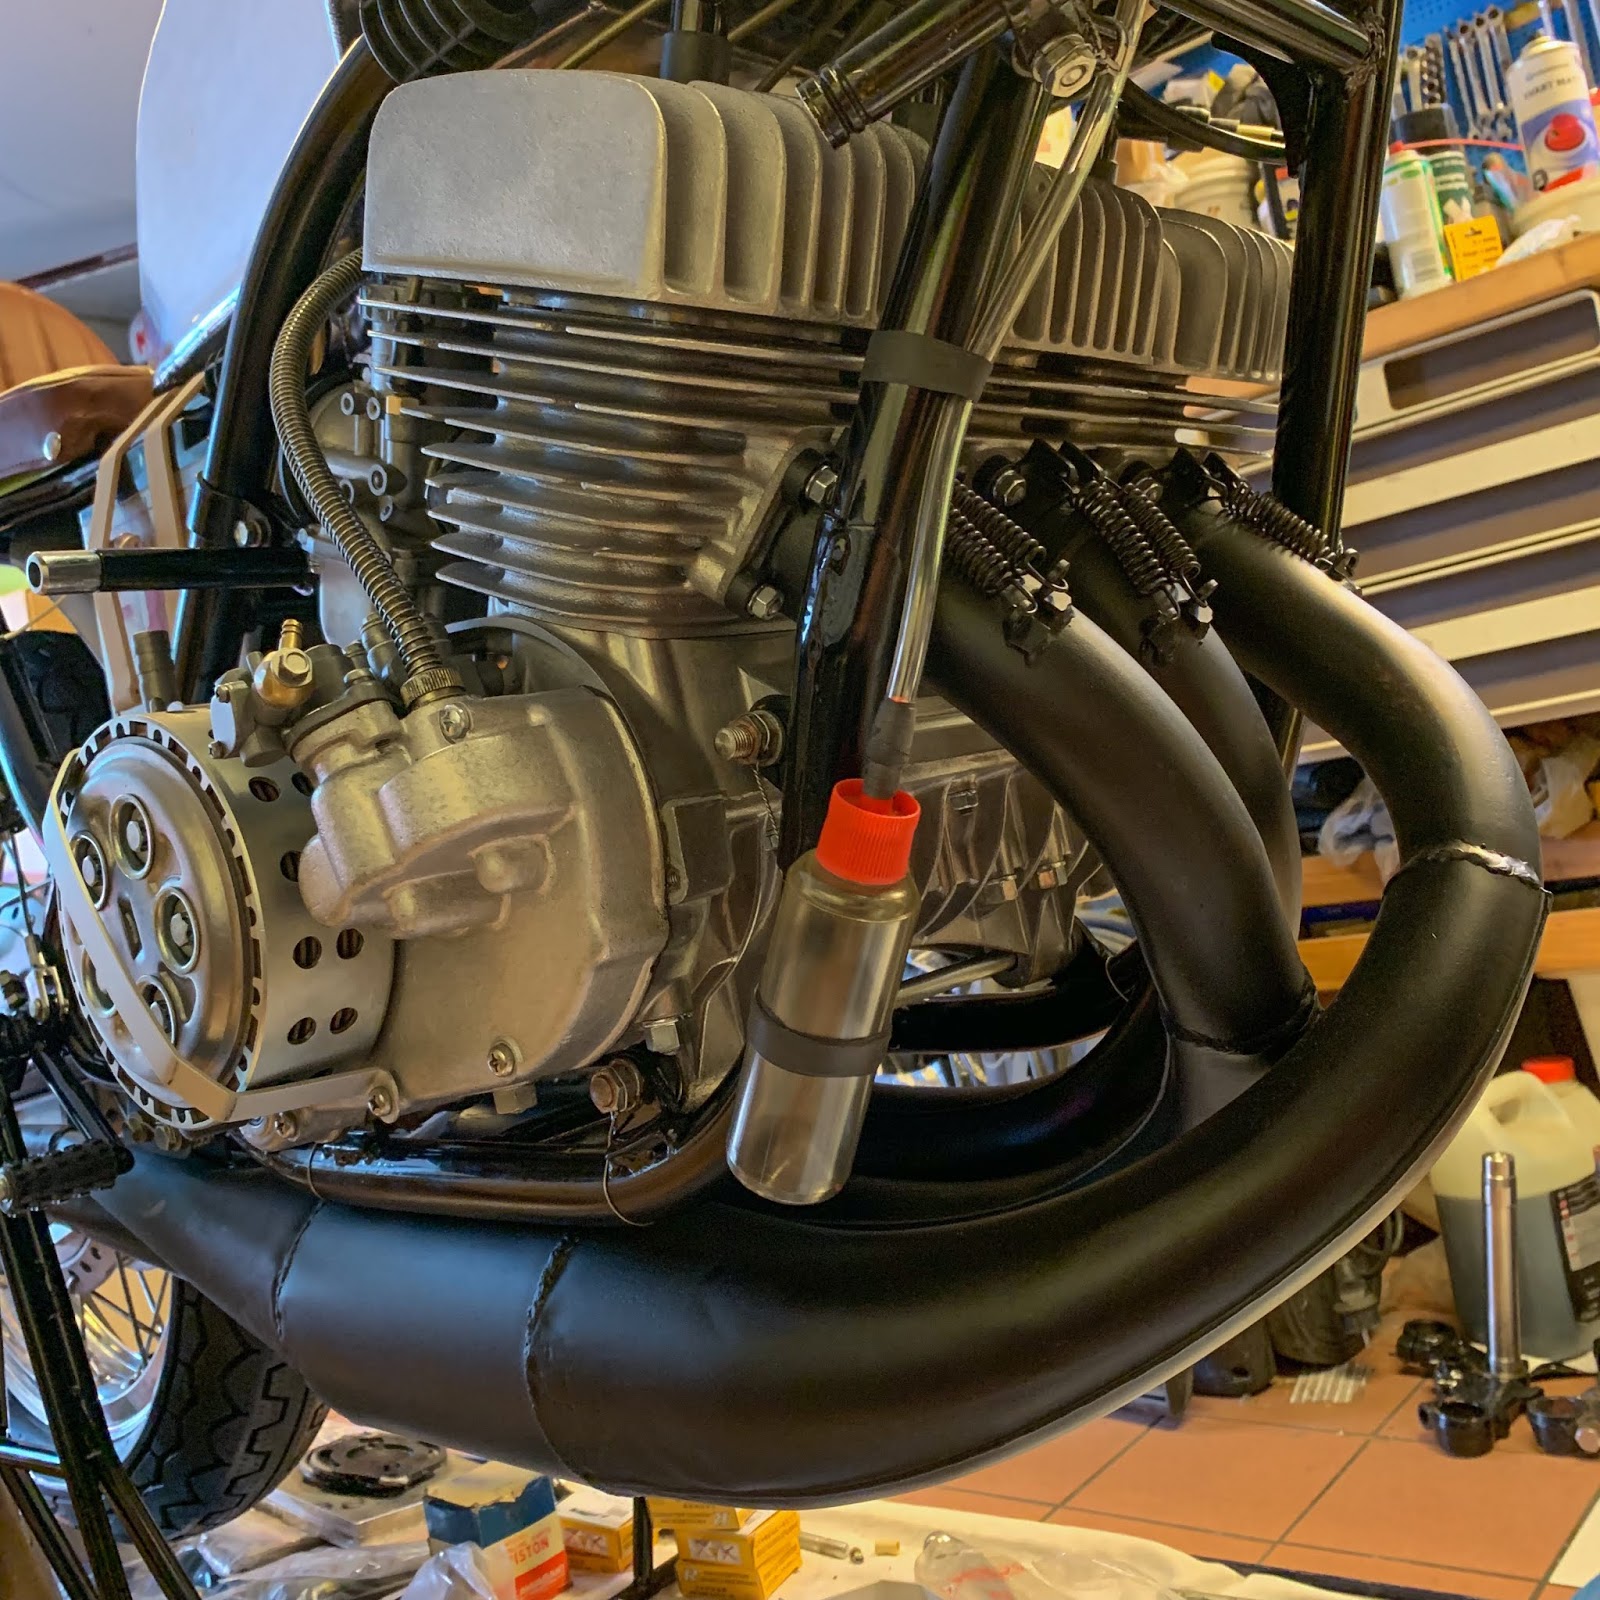
One other small drawback surfaced in my communication with the race chief for the parade. All open vents on the bike have to finish in a container of some type. First, lets´take care of the air vent hose from the gas tank.
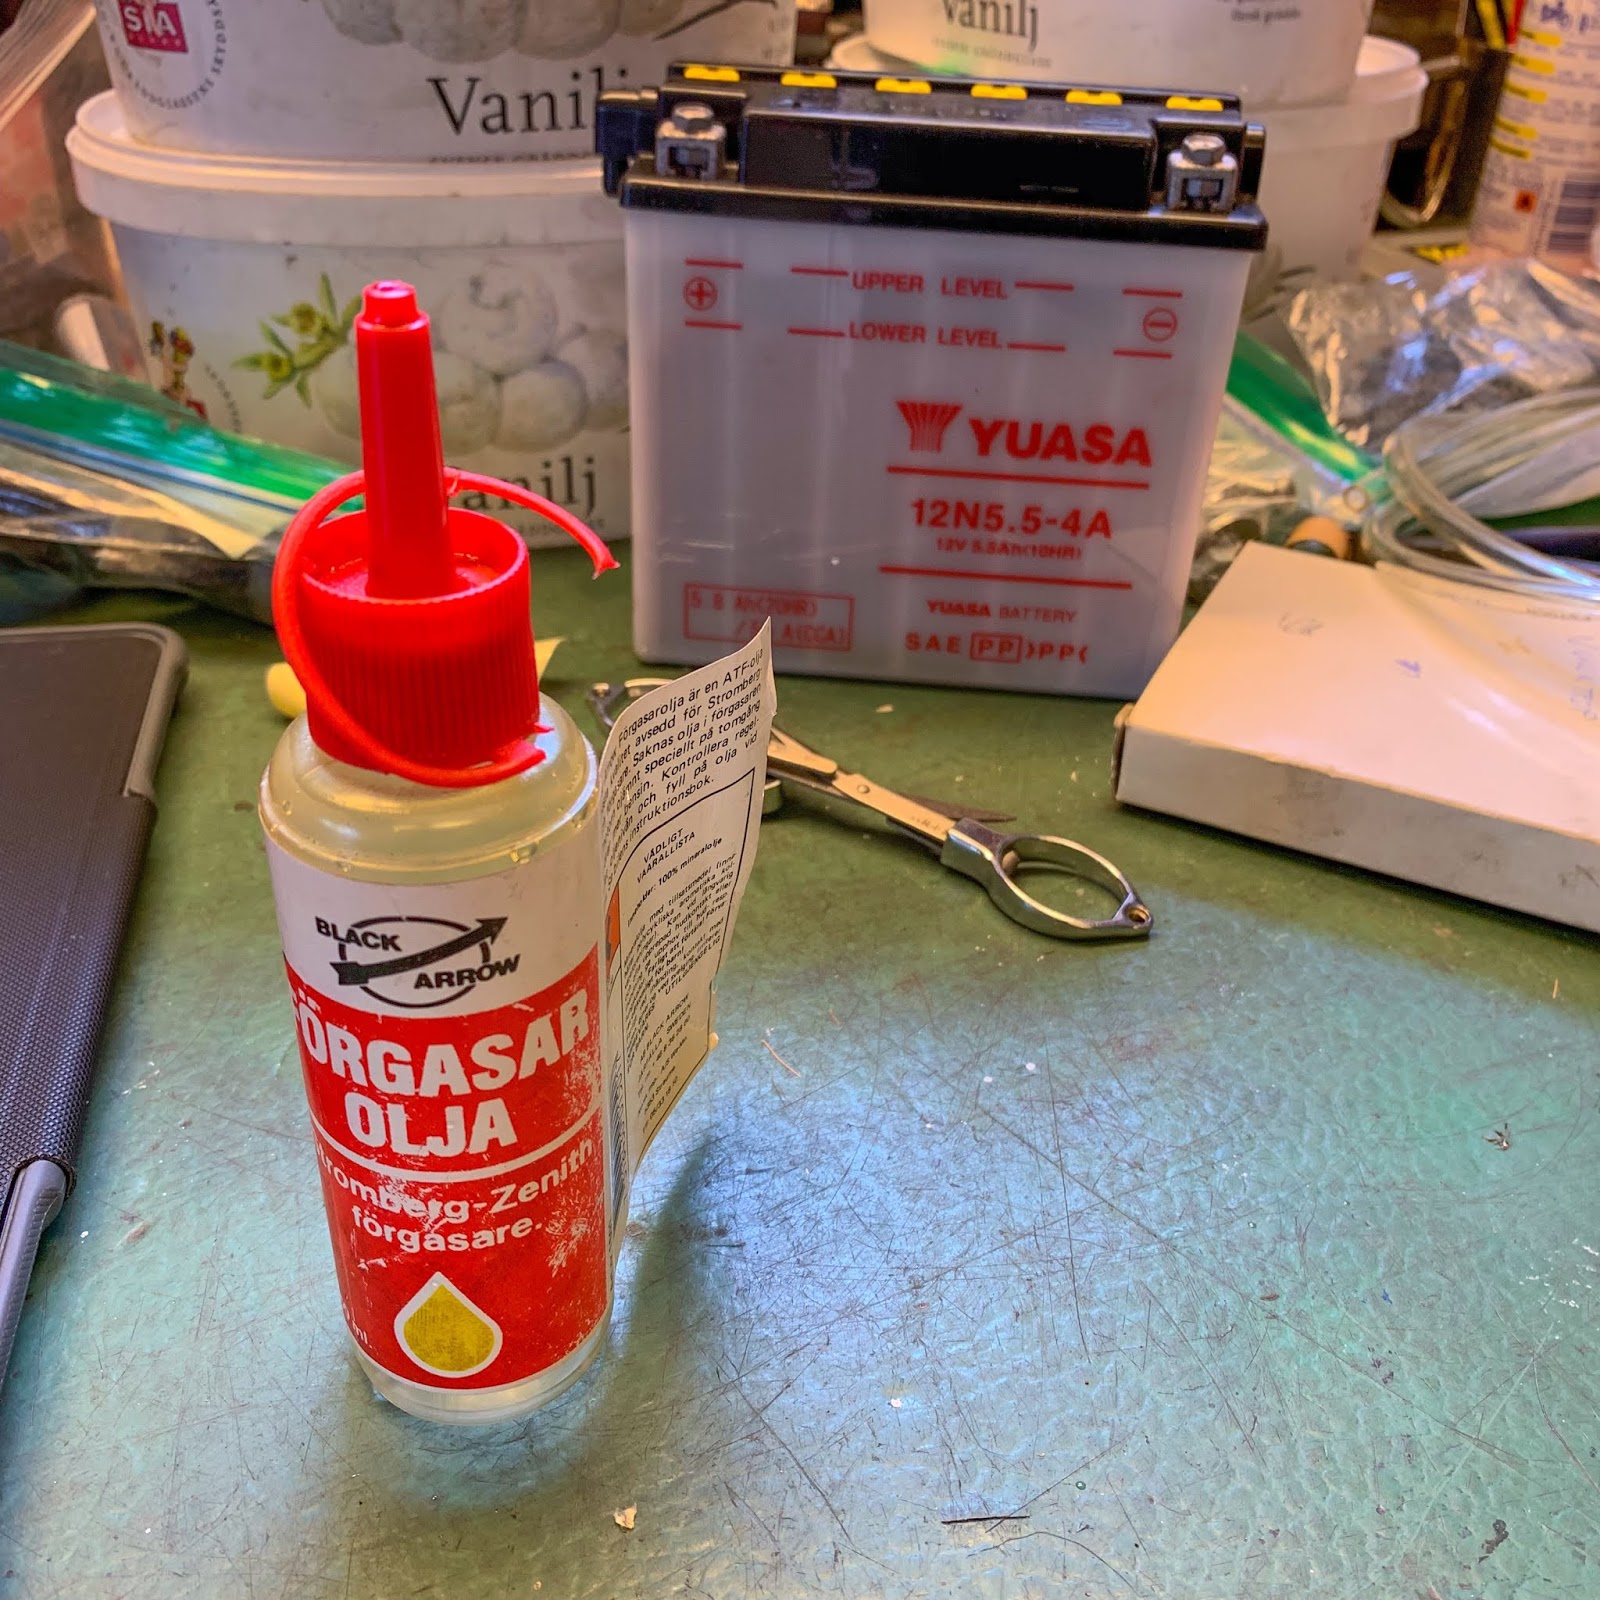
I discovered this outdated carburetor oil container that might match my wants completely. Off with the label and trim off a number of the pink plastic from the cap and the bottle appeared OK.

I don´t thoughts utilizing this clear tube. I believe it seems nice.
I´m additionally so more than happy with Bert´s work on the tank and that brass becoming is simply lovely.
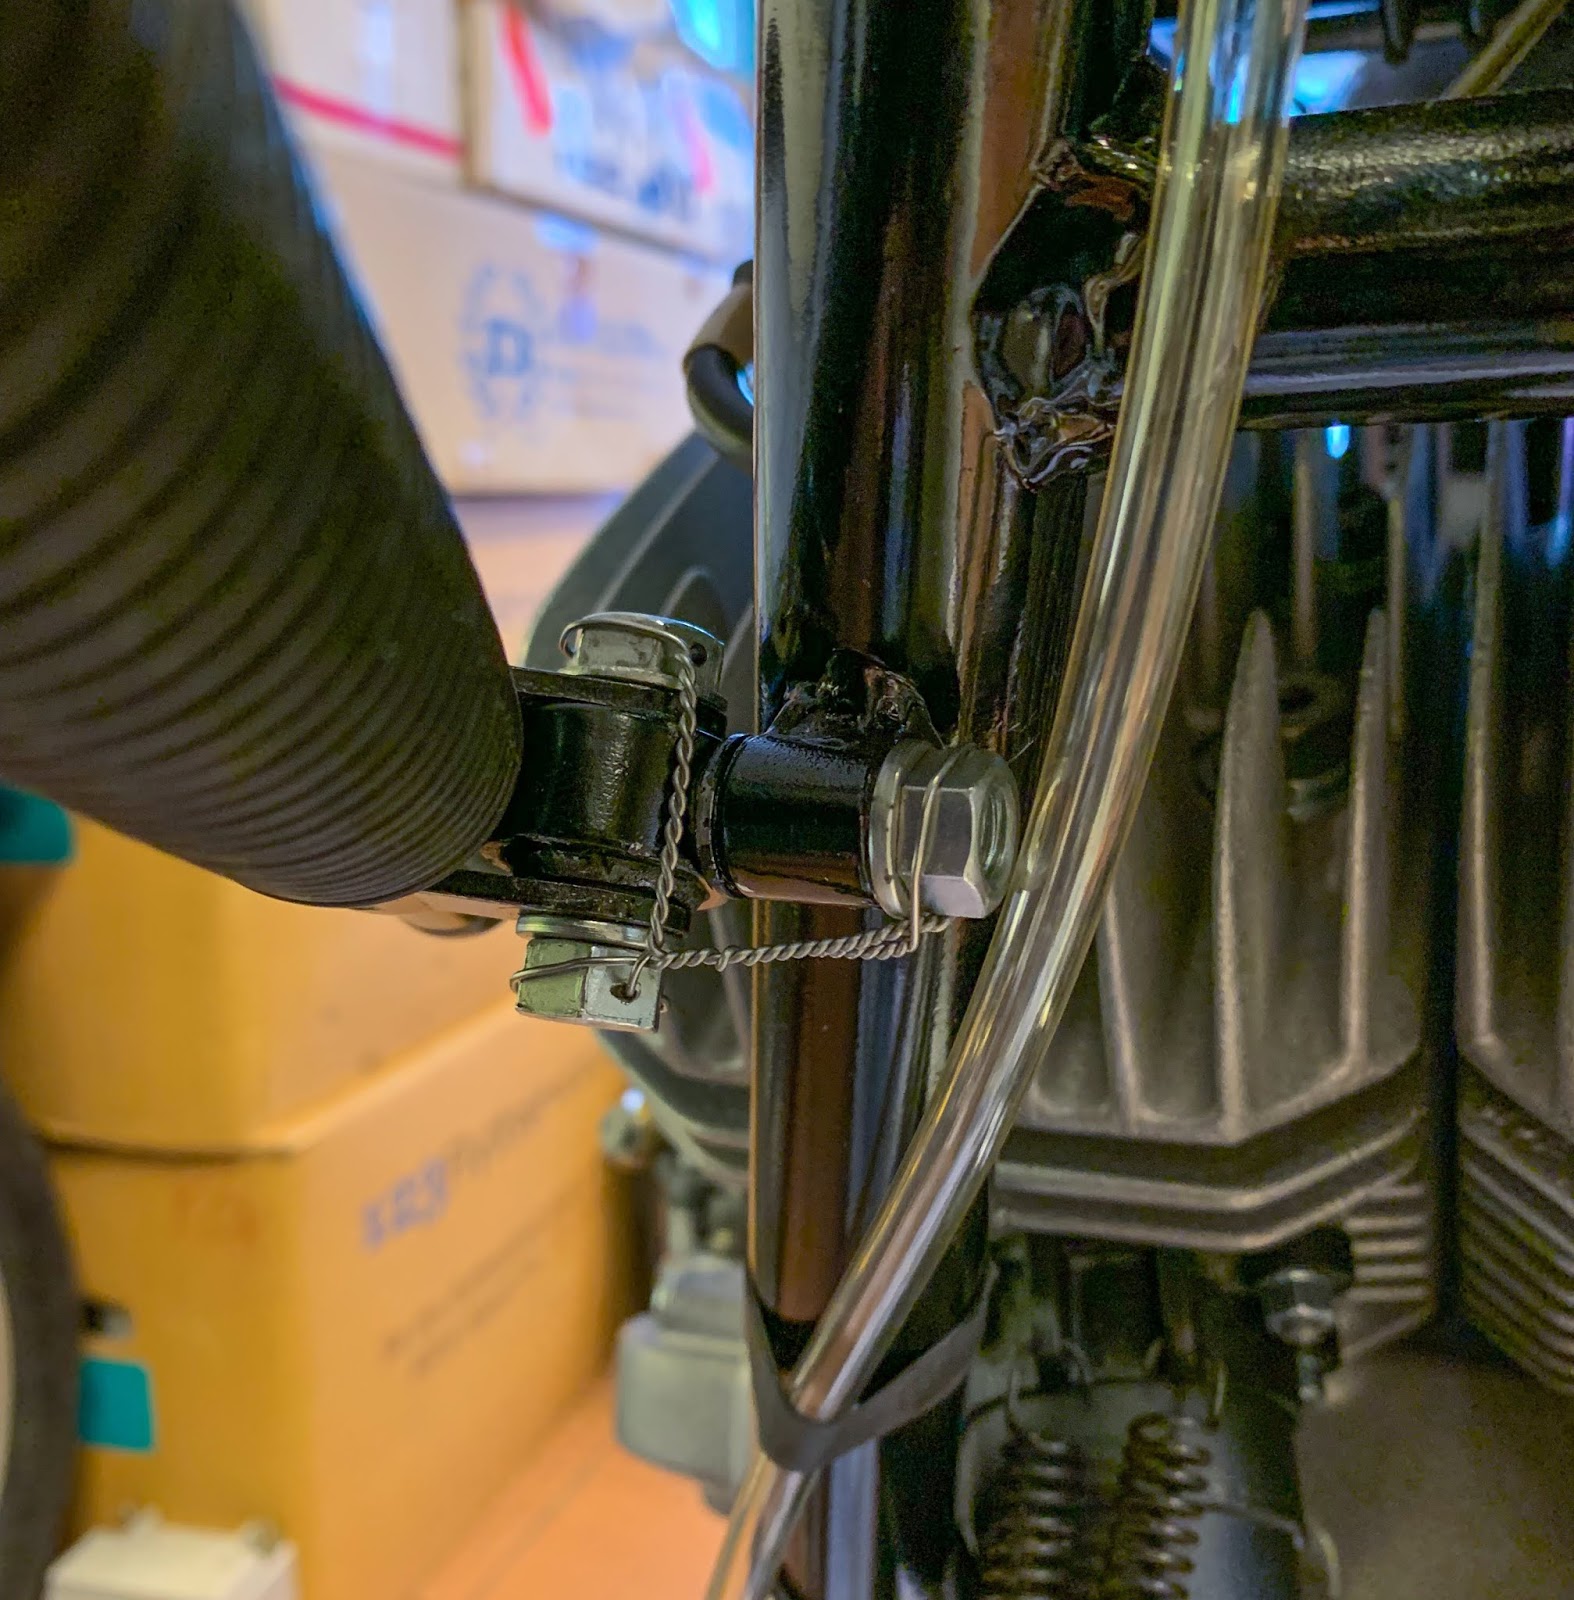
And right here´s the completed resolution. A small, plastic container connected to the body tube with vulcanizing tape. The tube from the tank even match completely on the snout of the bottle. Good success!
Yeah, I drilled a small air gap within the pink cap of the bottle. If not, this could not be an air vent hose in any respect, proper?

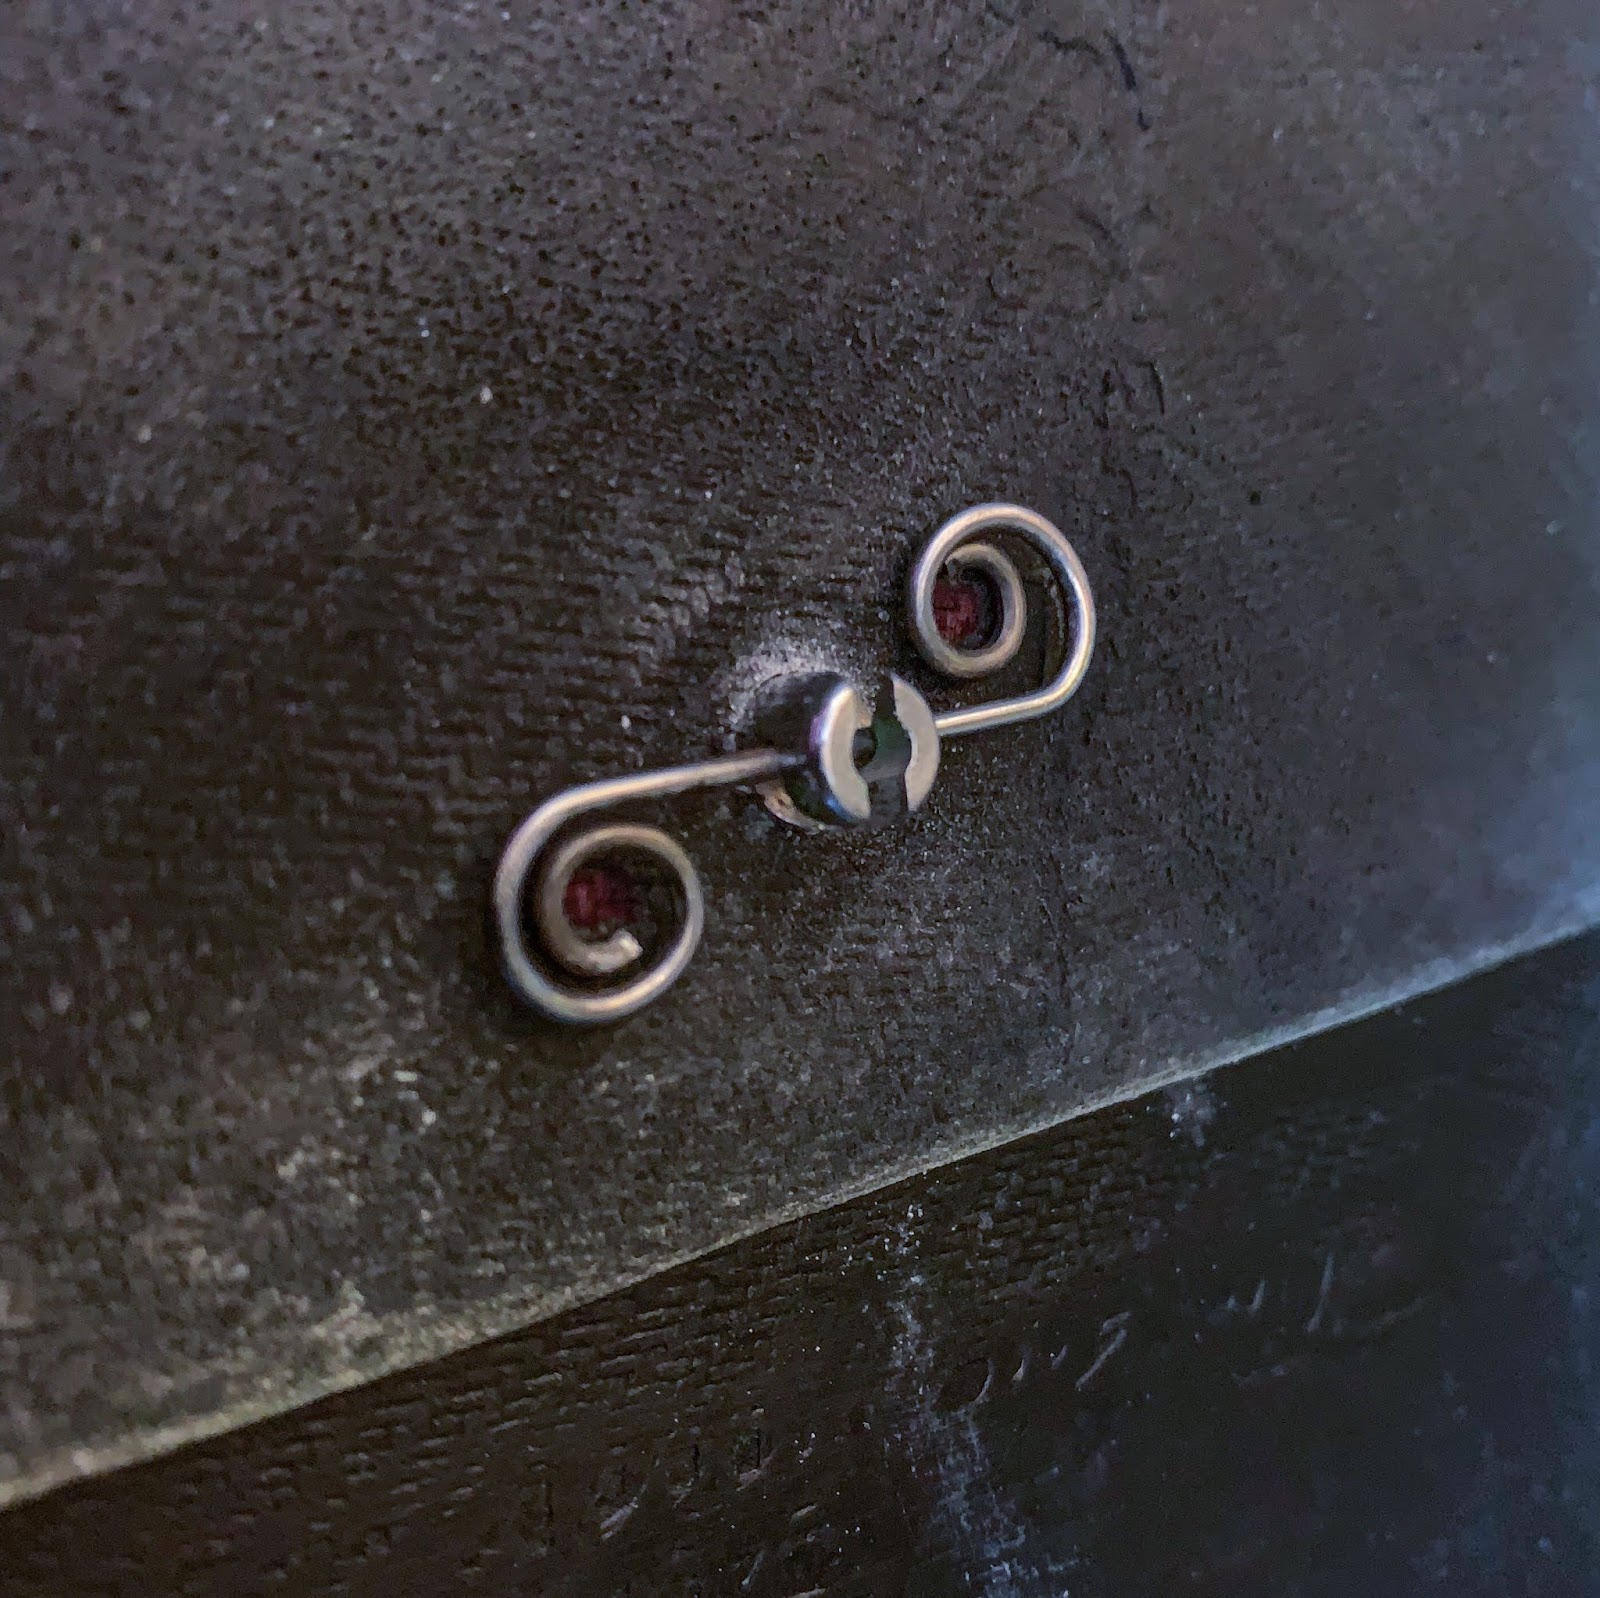
Keep in mind I had some security wiring to do as properly?
Yeah, fairly just a few, truly. Right here´s the steering damper and the decrease triple tree fork pinch bolt carried out.
All three of the fasteners for the steering damper decrease bracket carried out.
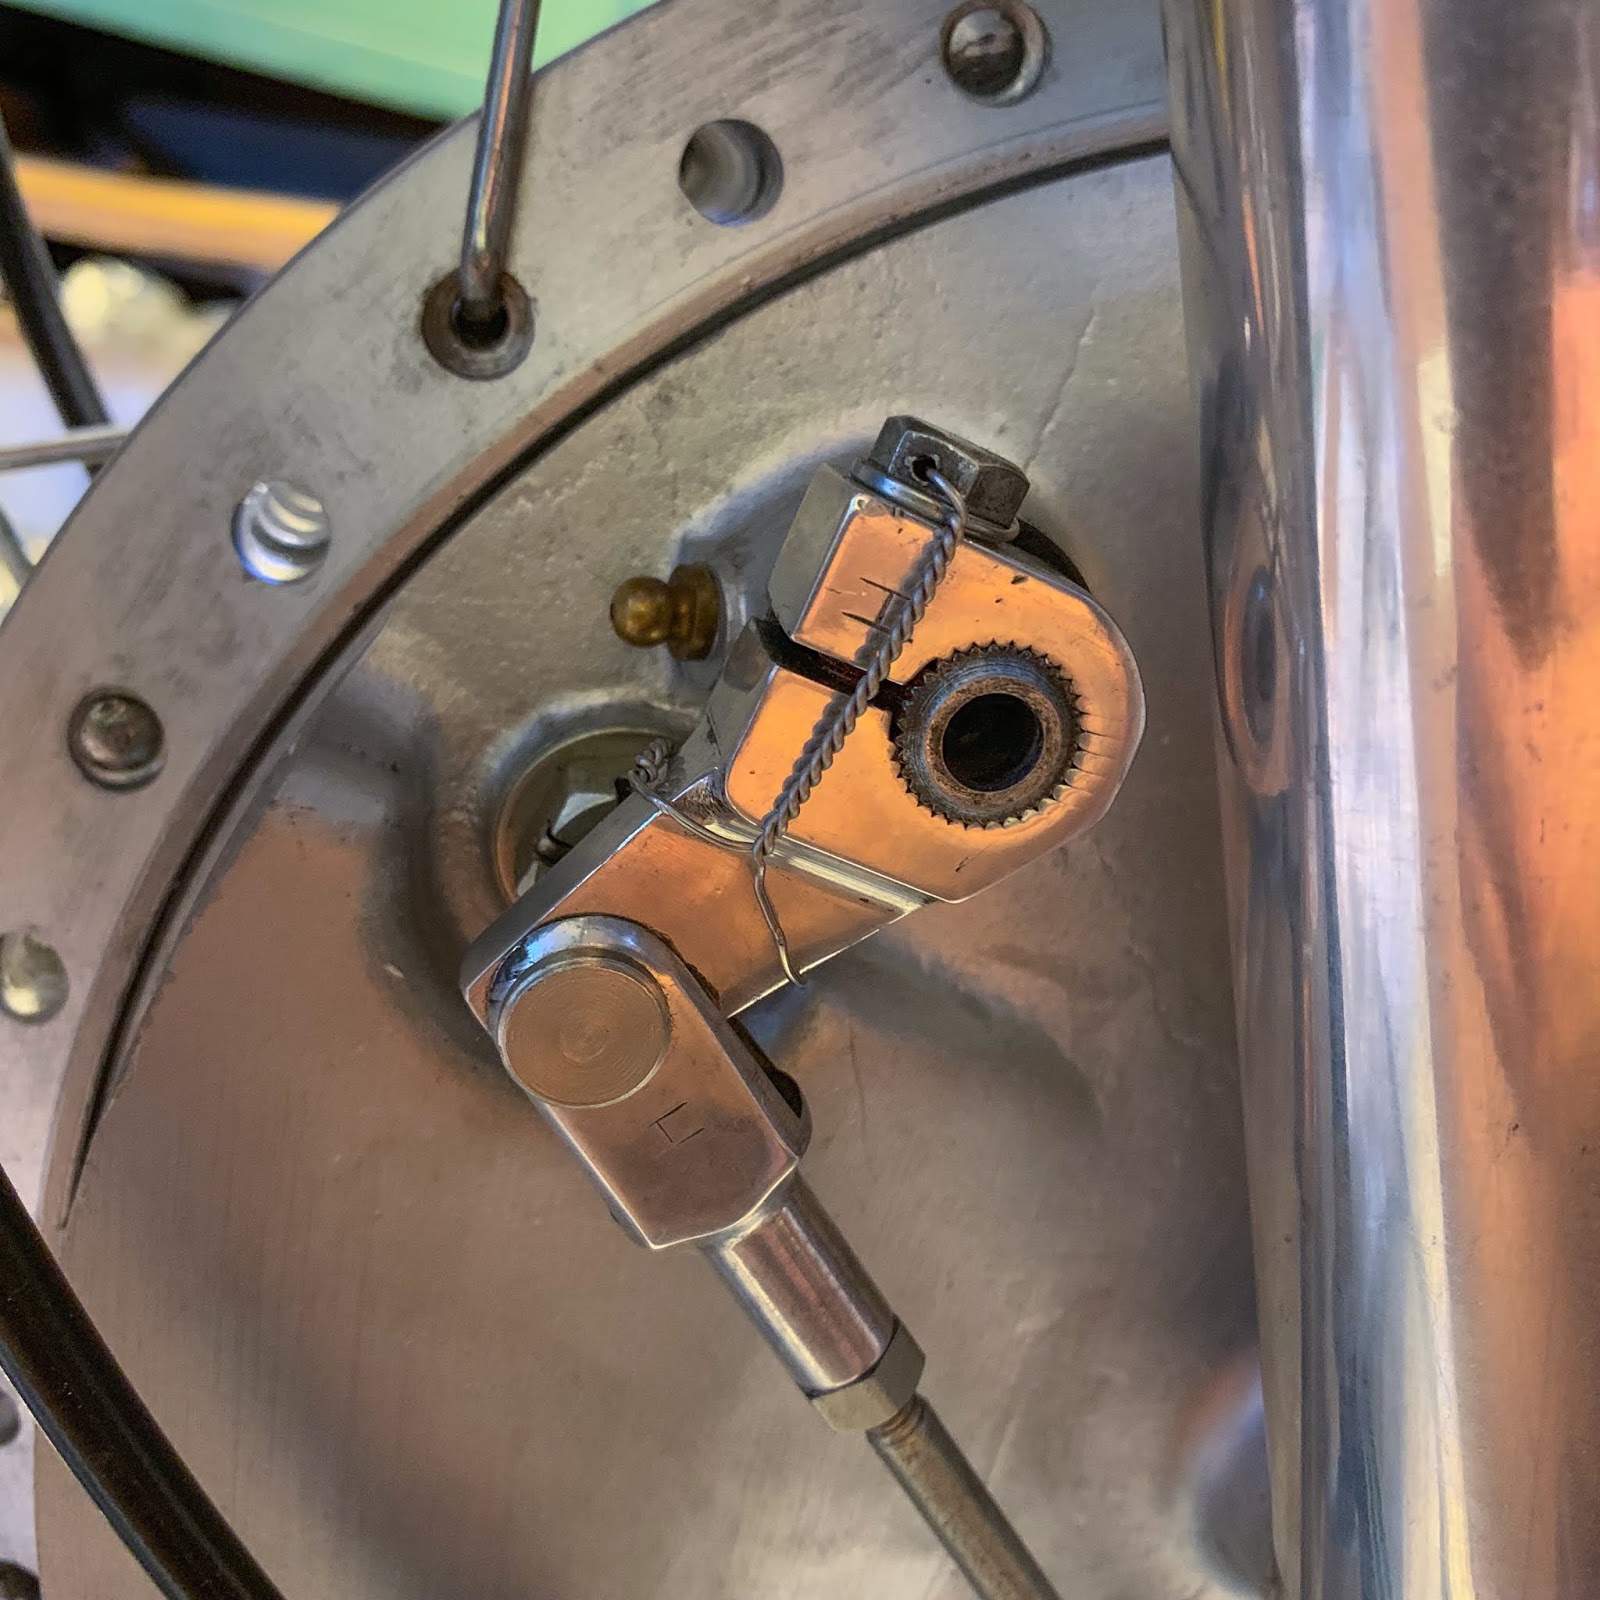
All components on the entrance proper facet brake plate.
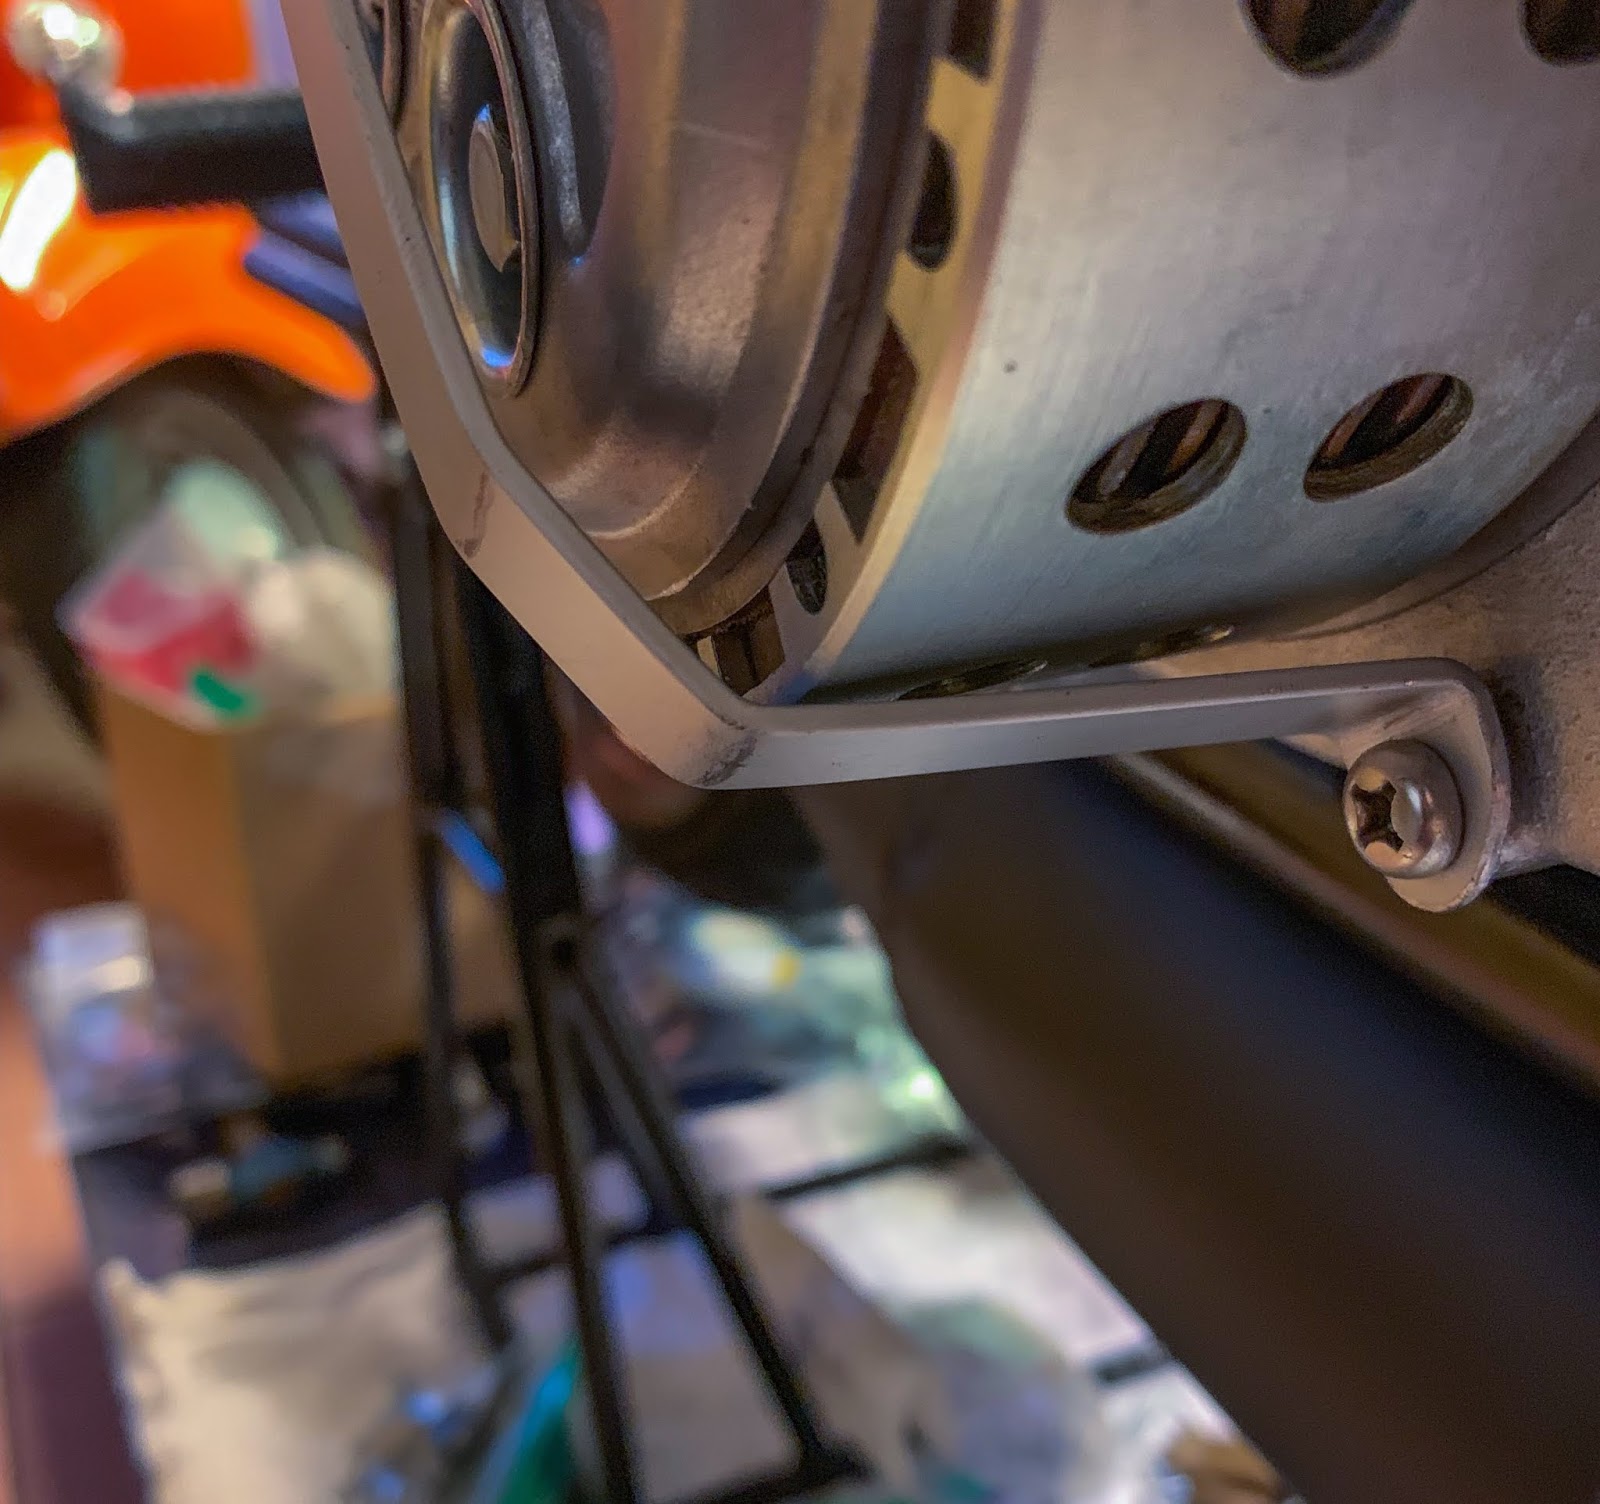
The final image right this moment will likely be this close-up of my proudest second right this moment. I believe it seems nice and a factor that would have been used through the day if it could have been obligatory.
I nonetheless have quite a lot of issues to do and time is operating brief.
Keep tuned for the ultimate posts!
Thanks for studying and bearing with me.
/Per
[ad_2]