
[ad_1]
Progress, lastly, and the top of the venture approaching.
A few weeks in the past I returned from a visit to Hong Kong and felt weak and powerless. I´m not going to bore you with the main points however I ended up in hospital for 2 days within the “Coronary heart intensive care unit” with pulmonary embolism. Working lengthy haul flights for greater than 20 years complete and 18 years in a row takes it´s toll. So, now my medical certificates has been briefly revoked till additional. Proper now I don’t know how lengthy it will be earlier than I can get it again, if I ever do…
The great half is I´m now capable of attend the largest gathering in Sweden for traditional racing fanatics the primary weekend of August in Linköping, a few hours south from Stockholm. I’ve notified them I´ll be there with the H1R and so they had been very, very happy to listen to that! The theme of the yr is “GP500 racers” Do you assume I must go there with this bike? The well-known H1R “Esso” Gunnarsson received the Swedish GP on July 1970. Yeah, I want to try this!!
Nicely, that provides me lower than two weeks to get it completed… Is that even doable? Proper now I really feel like the fellows in “American Chopper”, Quick and Loud” and people different Discovery exhibits on TV.
“Will we ever have the ability to get this completed earlier than the deadline…”
We´ll see how that´ll play out.
However I´m going to do my easiest!
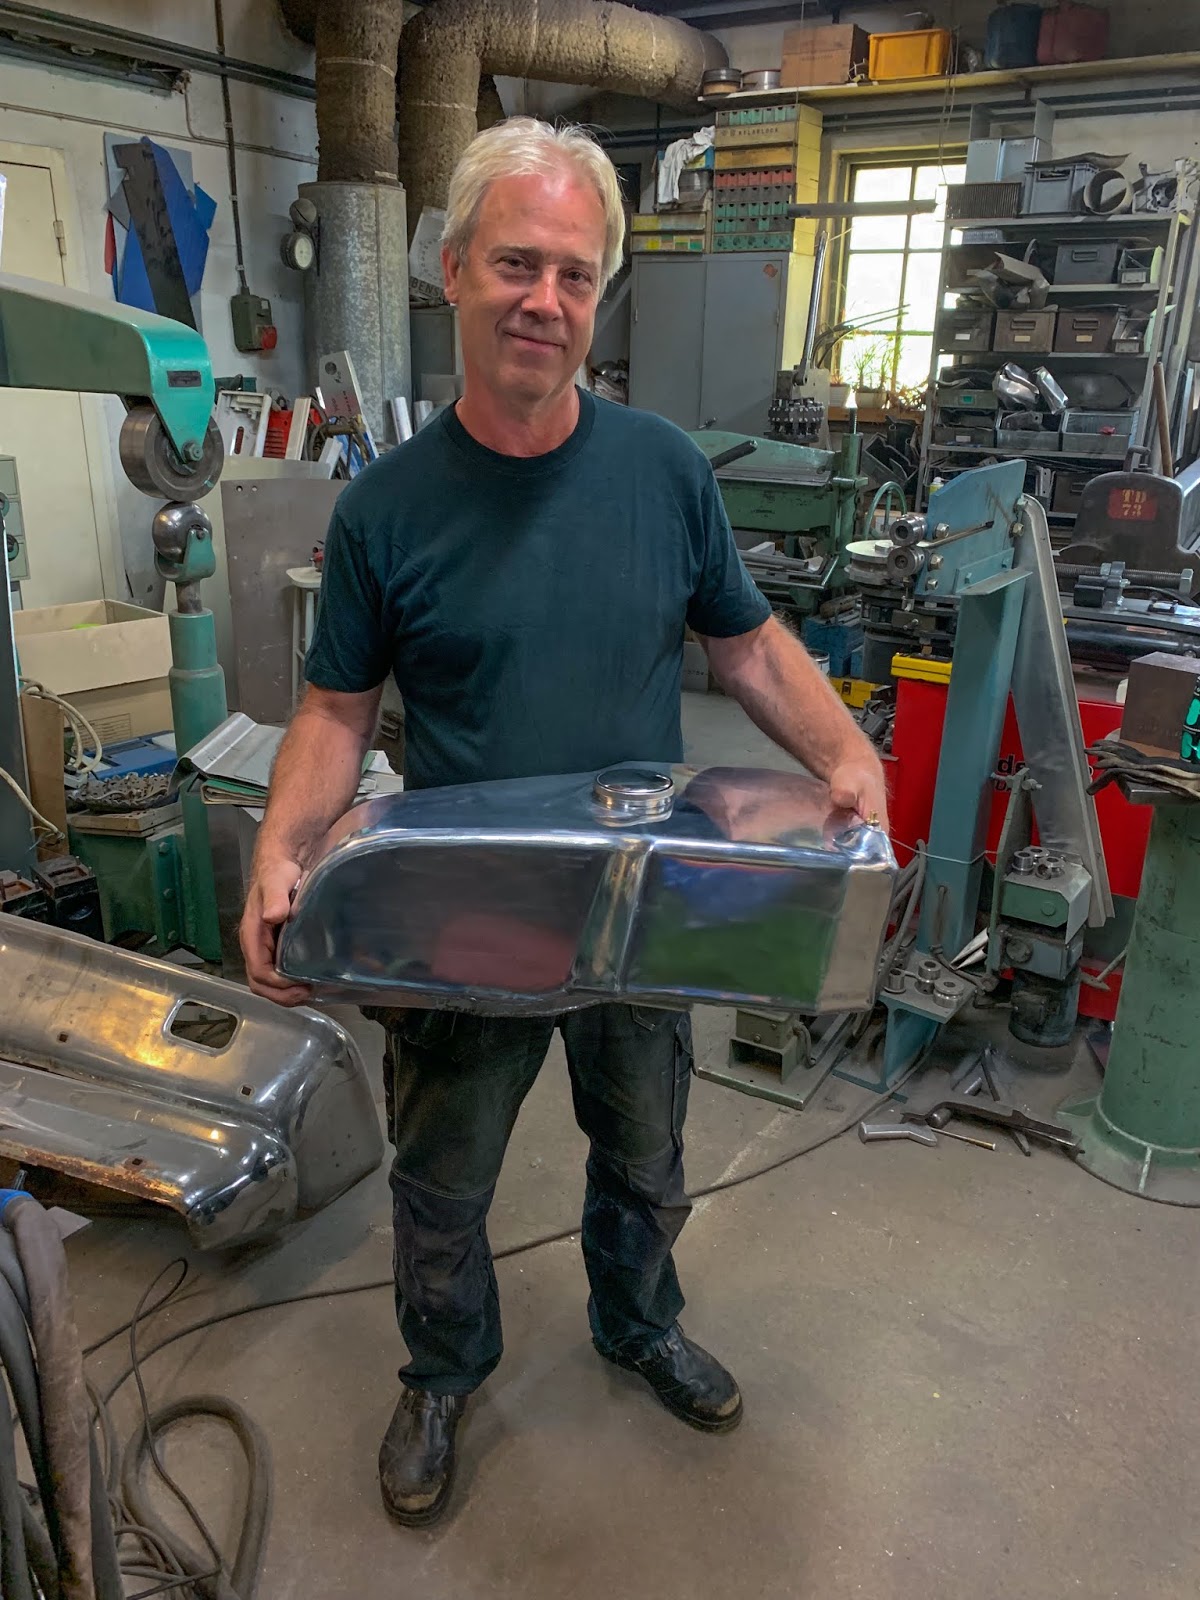
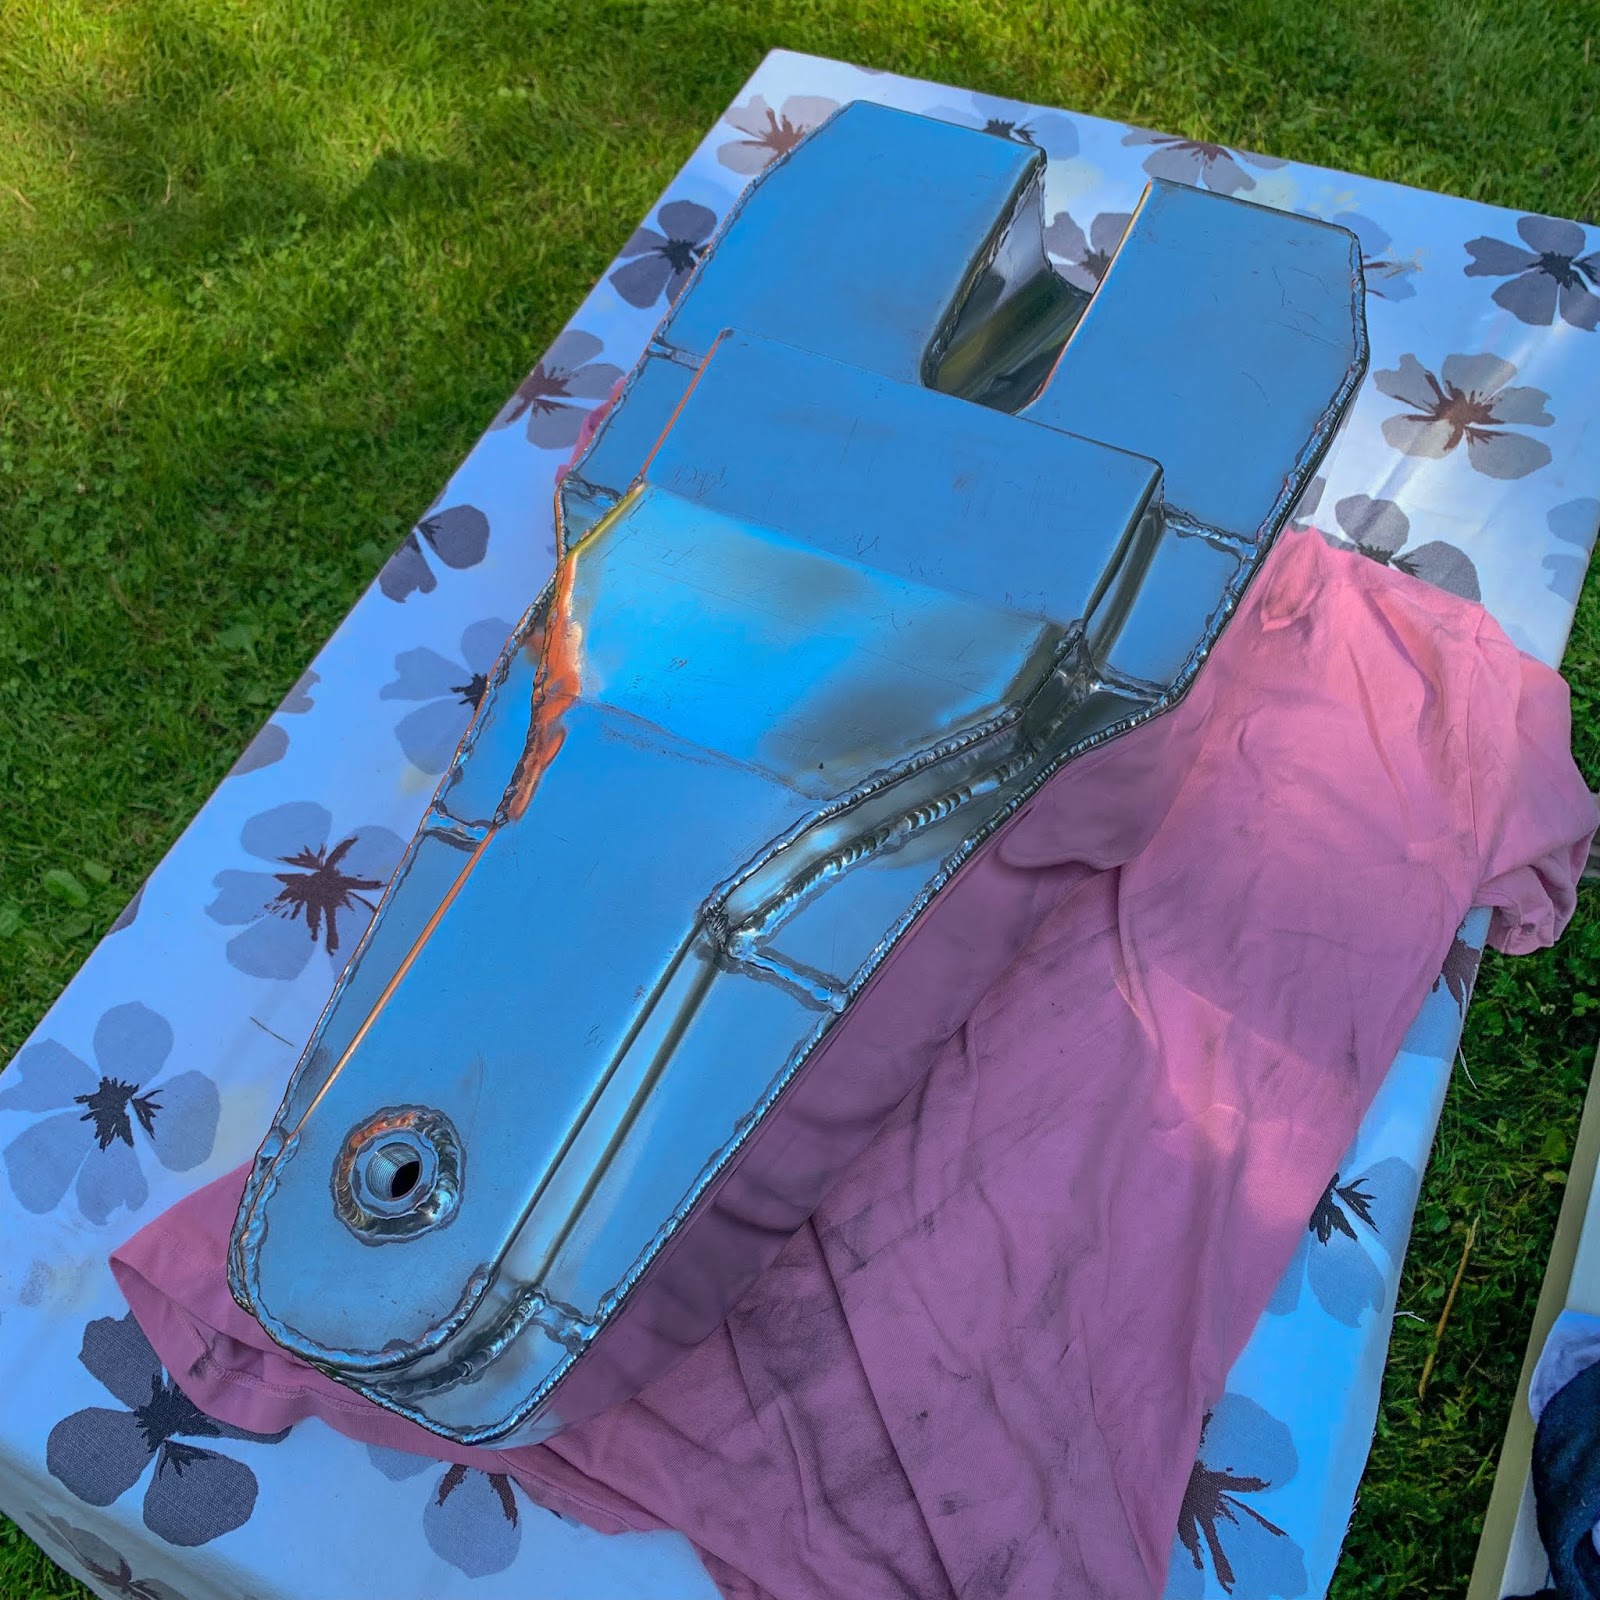
A few days in the past the tank was lastly completed! Bert had labored his magic and completed it in due time for the Racing meet.
Right here he’s, in individual, holding the tank for a pleasant portrait. No time to shine it totally.
I´ll simply have to try this myself.
I believe all of us can agree he did an ideal job! And at a really cheap value as properly.
It didn´t get dearer than one other copy from France I obtained footage of once I had given this job to Bert.
I´m greater than happy together with his work right here. Bert is among the most necessary contributors to this venture! He fastened my enlargement chambers and he copied my tank. There´s no method to thank him for these efforts sufficient. Keep in mind ALUCARS in Hällestad, Sweden, for all of your aluminium welding and developing wants. He’s additionally a wizard with metal sheet metallic…
I went to Hällestad final Friday after which on to our
buddy´s summer time home the place my spouse and I had been purported to spend the weekend with me enjoyable and catching my breath (!) I had different plans, although.
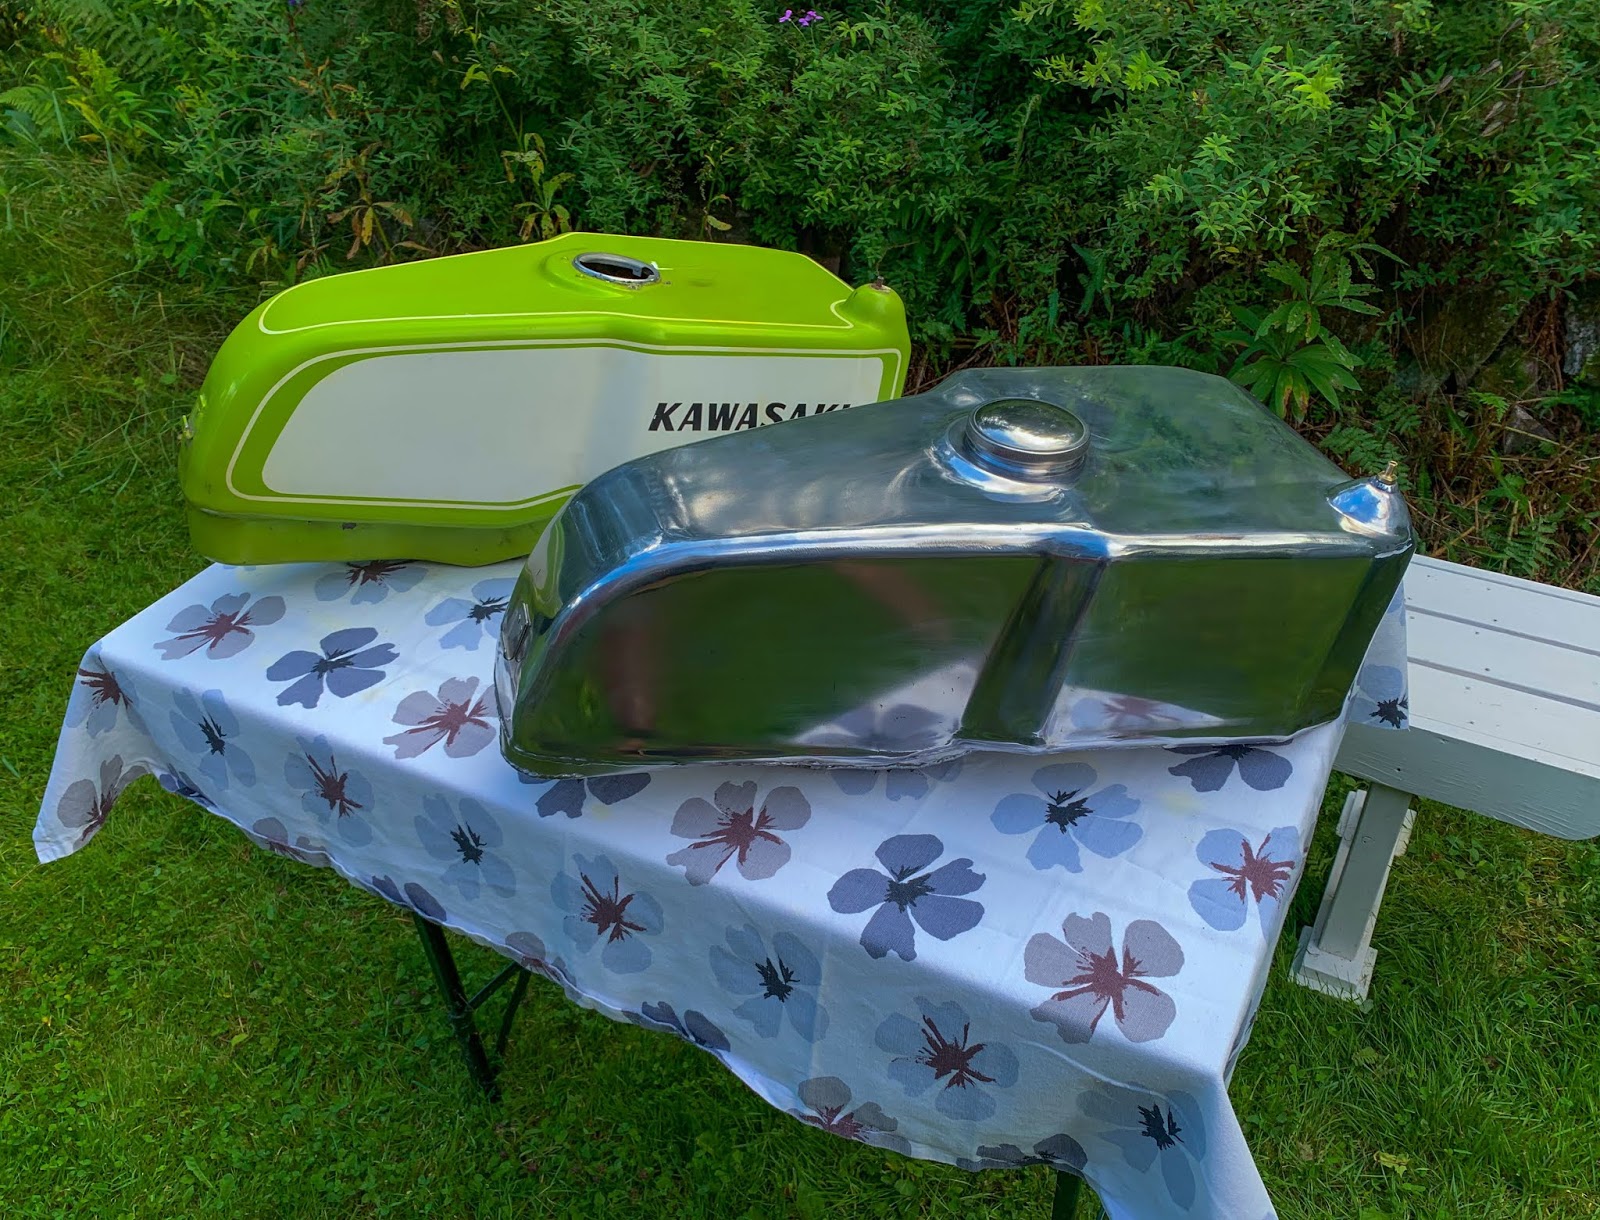
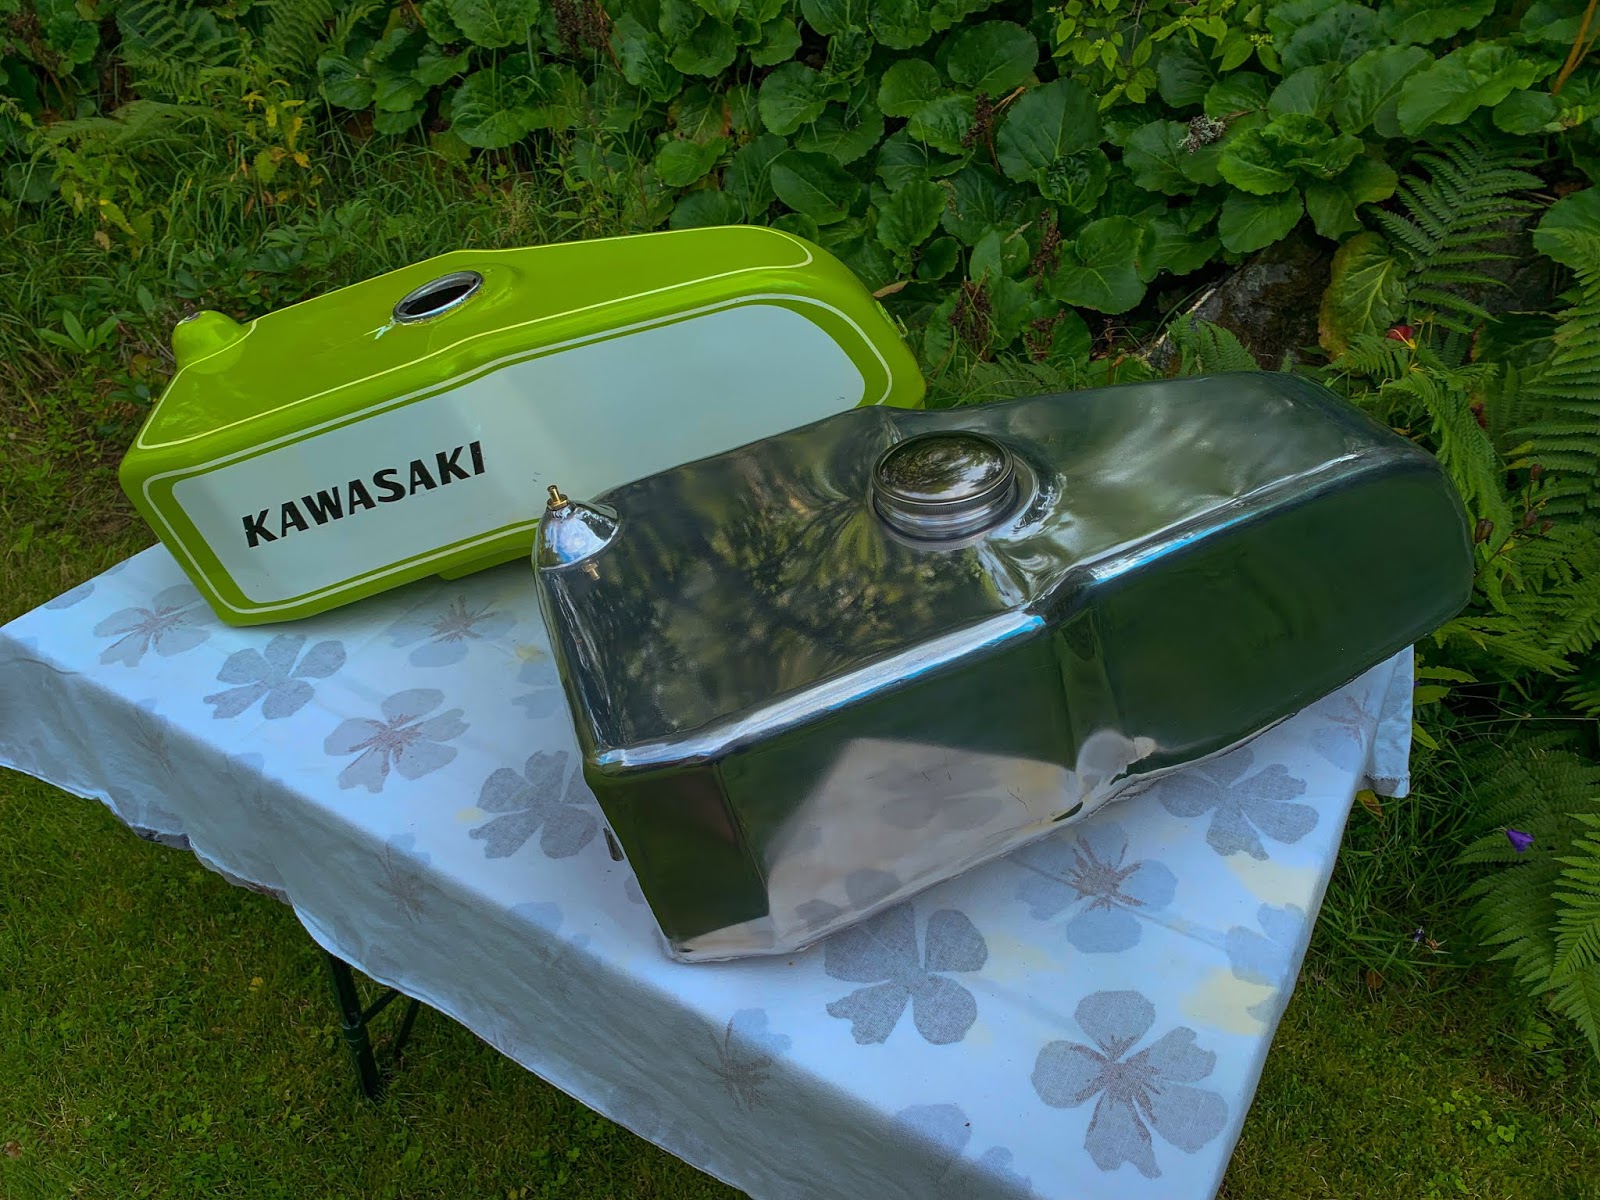
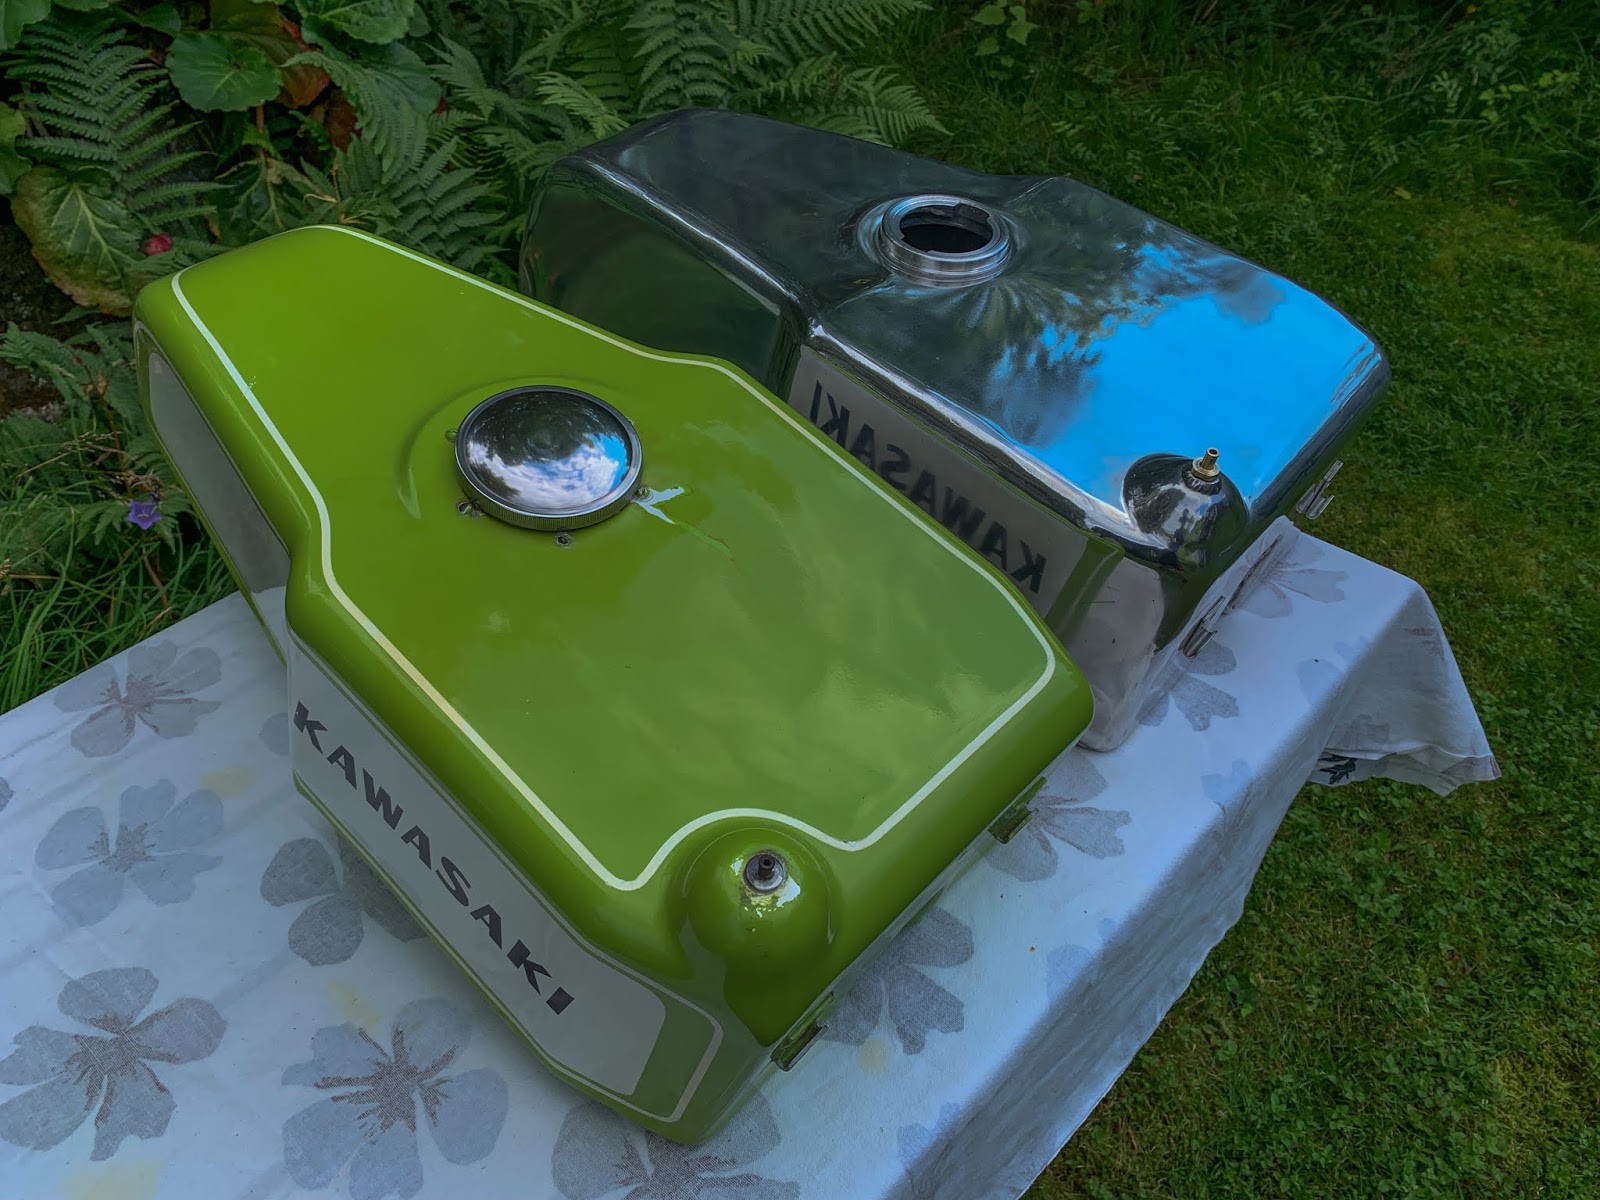
Only a fast comparability between the brand new and the previous tank…. I can´t consider it’s lastly completed. I´m so, so proud of it!

Let´s begin sprucing….
My plan right here was to provide it a superb polish by hand. No machine sprucing in any respect. I do know I might get it tremendous shiny and mirror like, however that´s not what I like simply now.
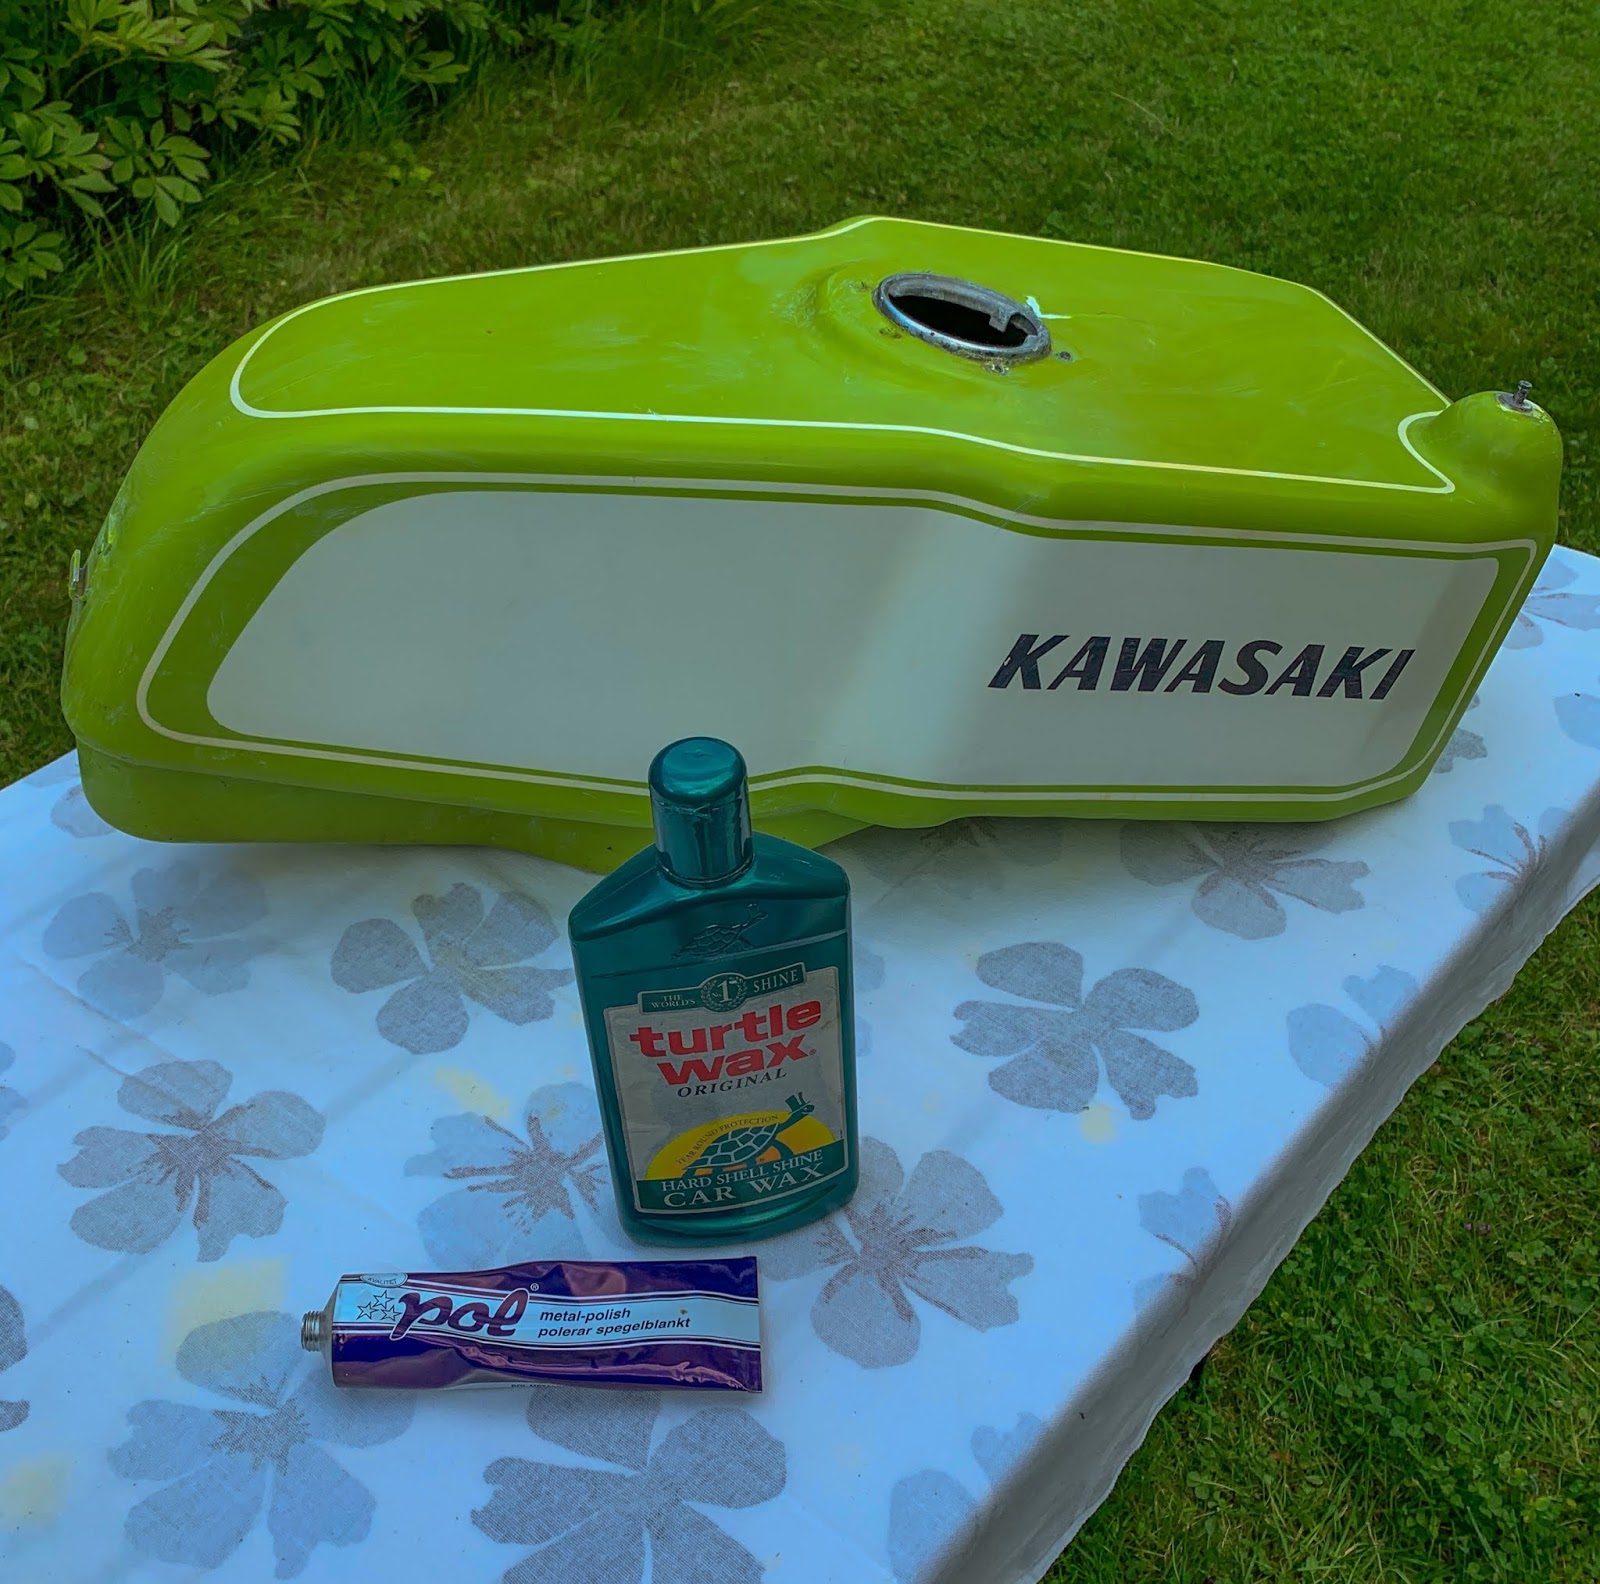
My favourite sprucing compound got here with me to the summer time home along with some rags, Autosol and a few totally different automotive waxes.
A few hours later I´m completed. That shine might be greater than sufficient for this tank. Keep in mind it´ll be used just for using the bike, not for show. The previous, fiber glass tank will get cleaned and polished afterward.
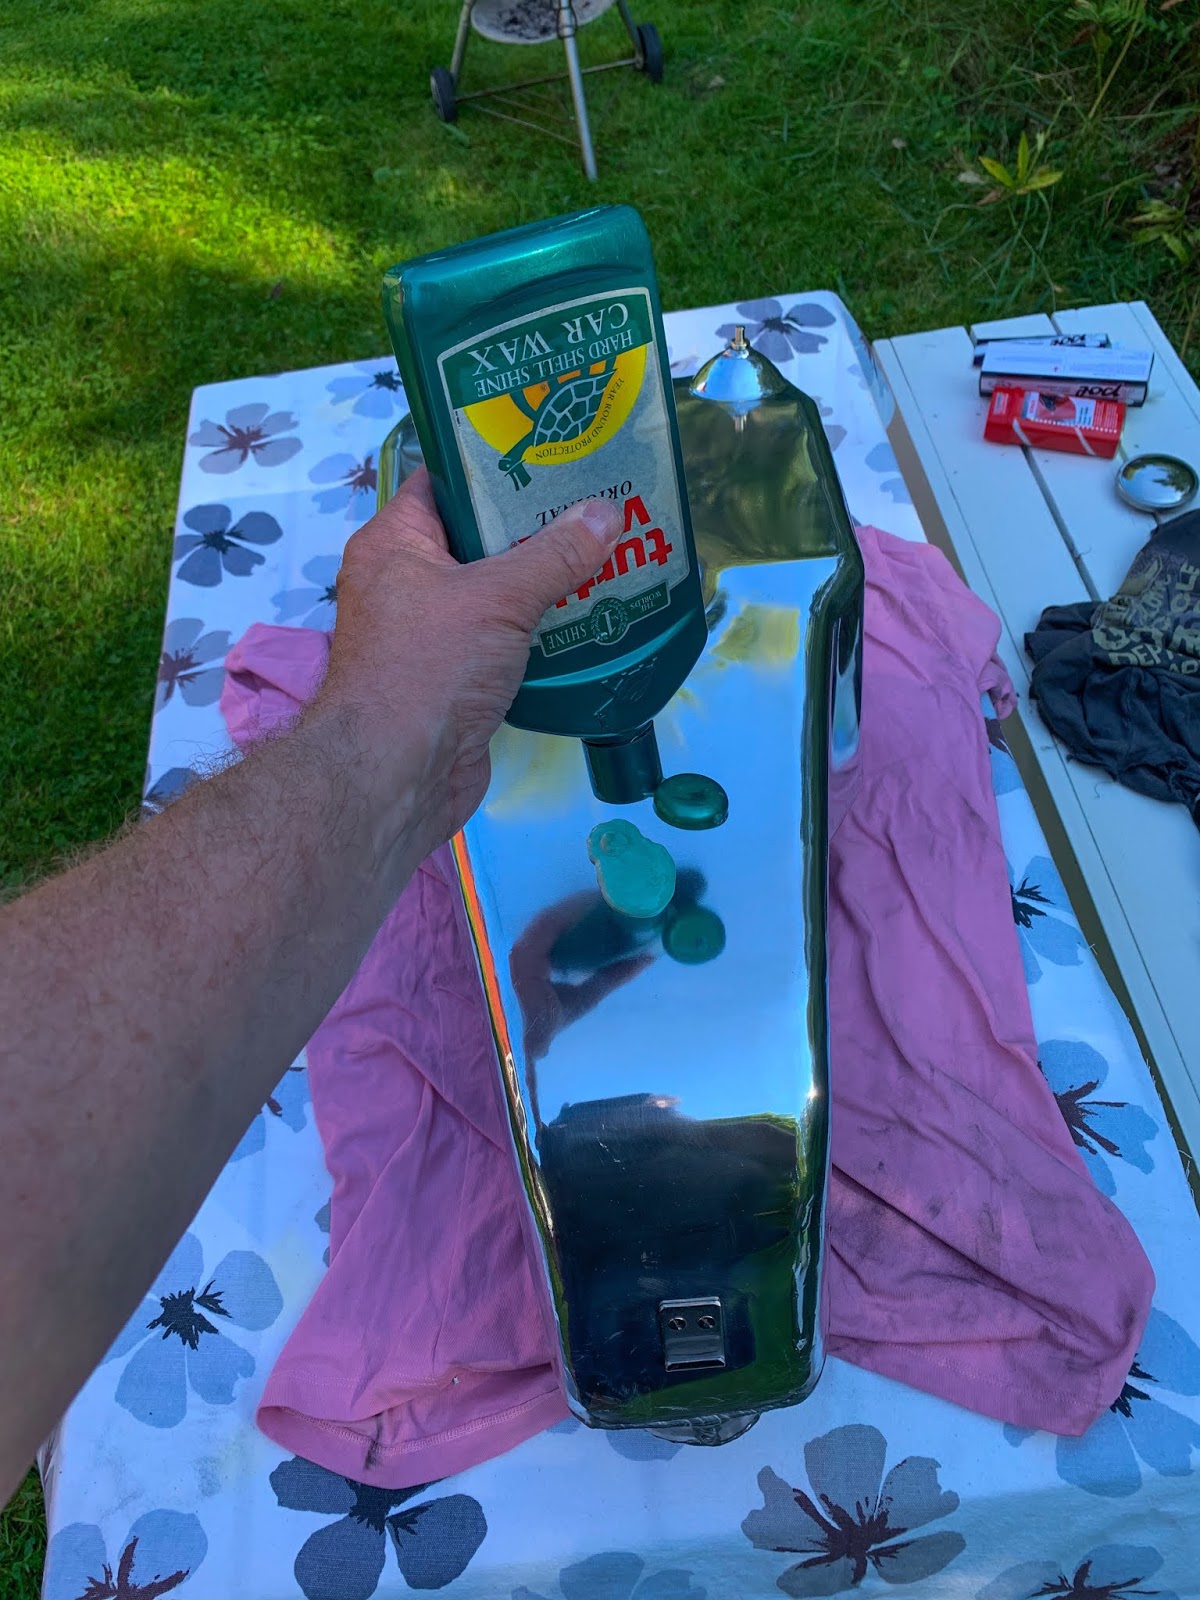
I at all times seal polished aluminium with a superb high quality automobile wax. That is one among my favorites. Turtle automobile wax. It truly seals the polished aluminium floor fairly good for fingerprints and stains and many others.
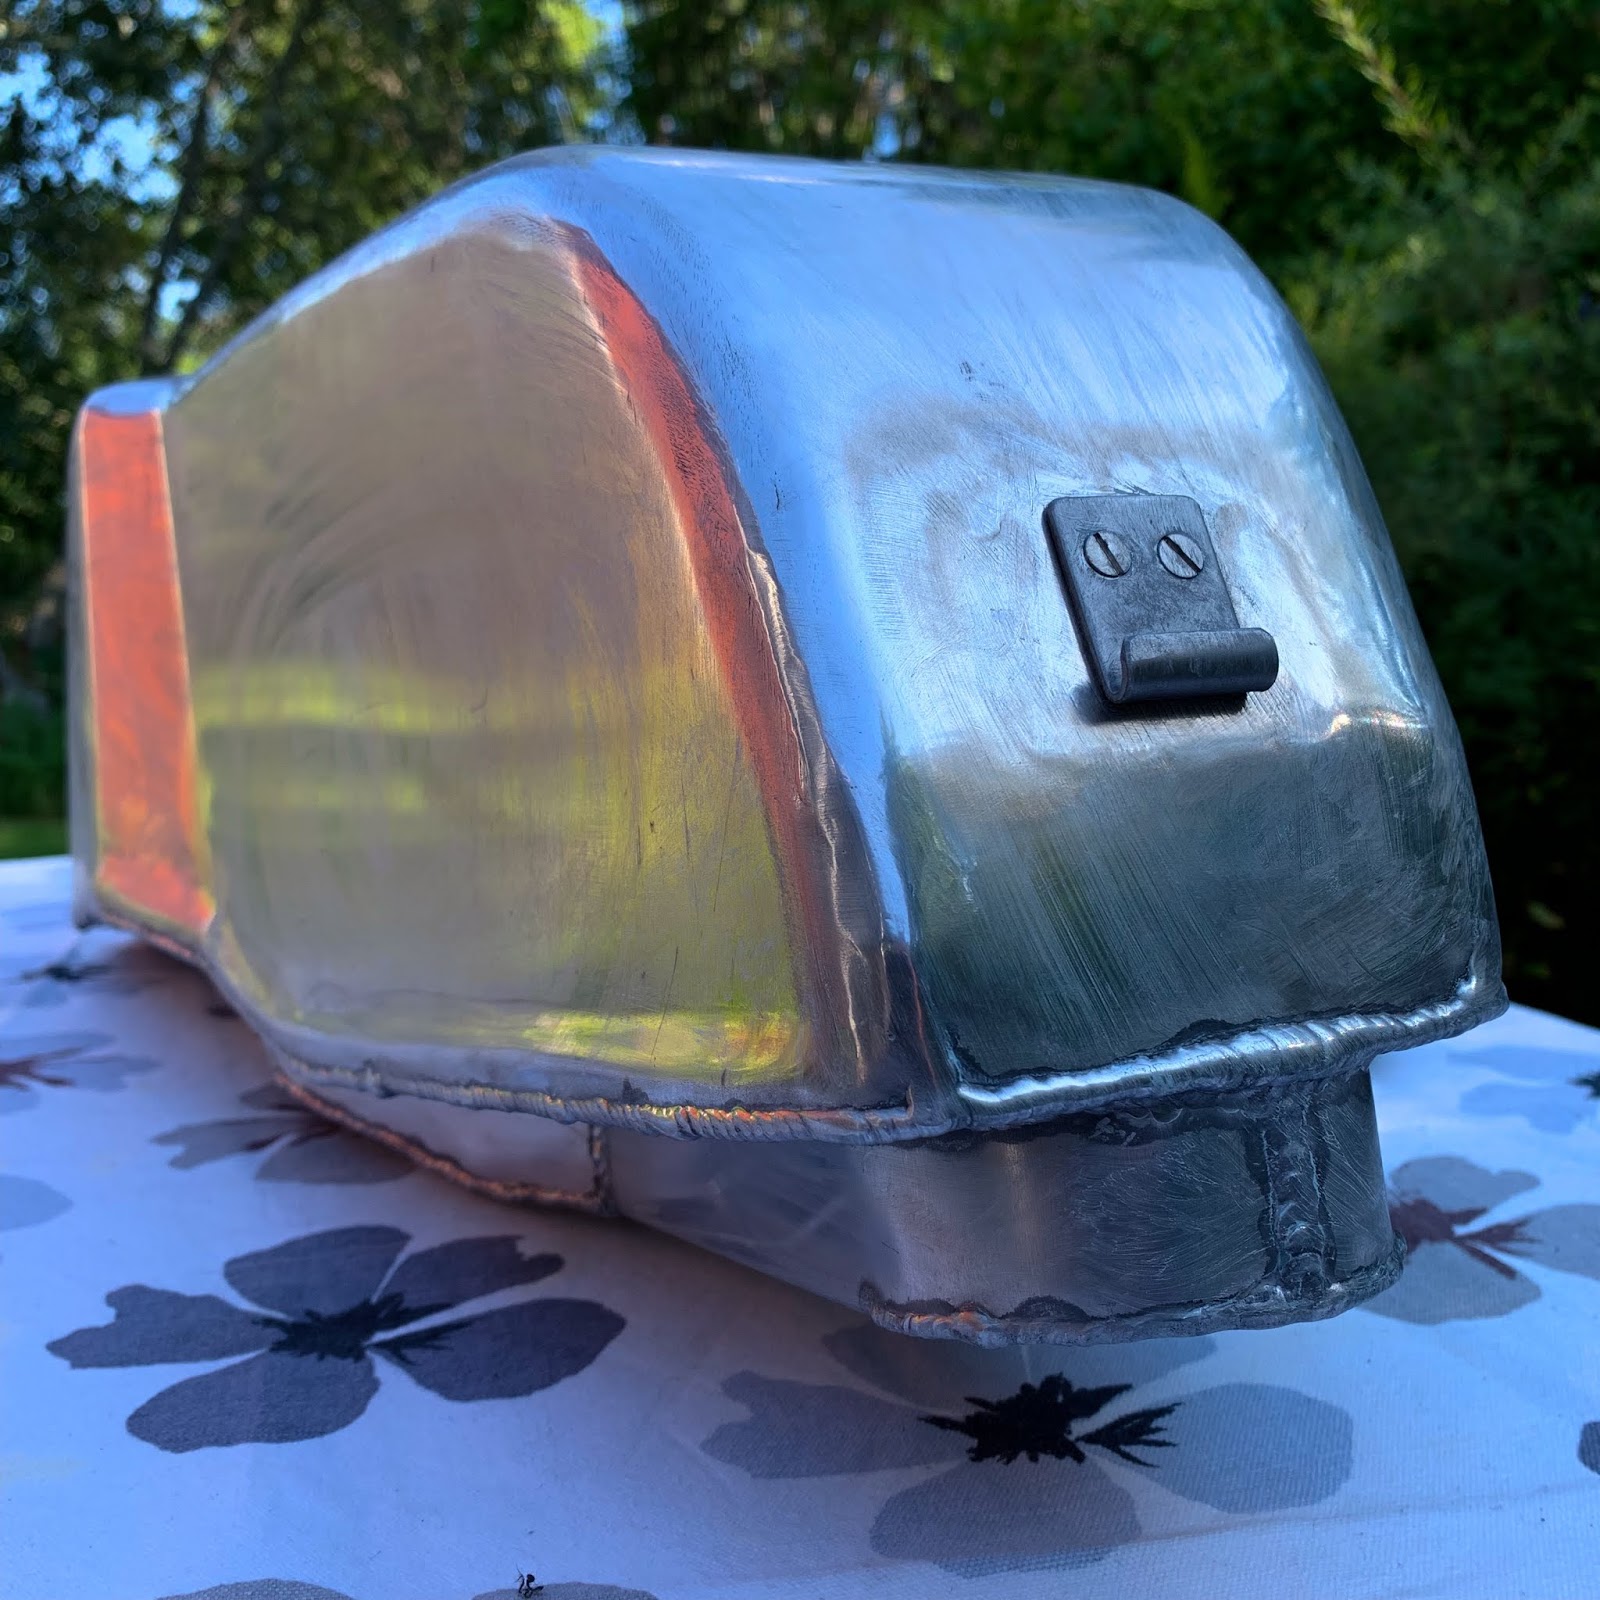
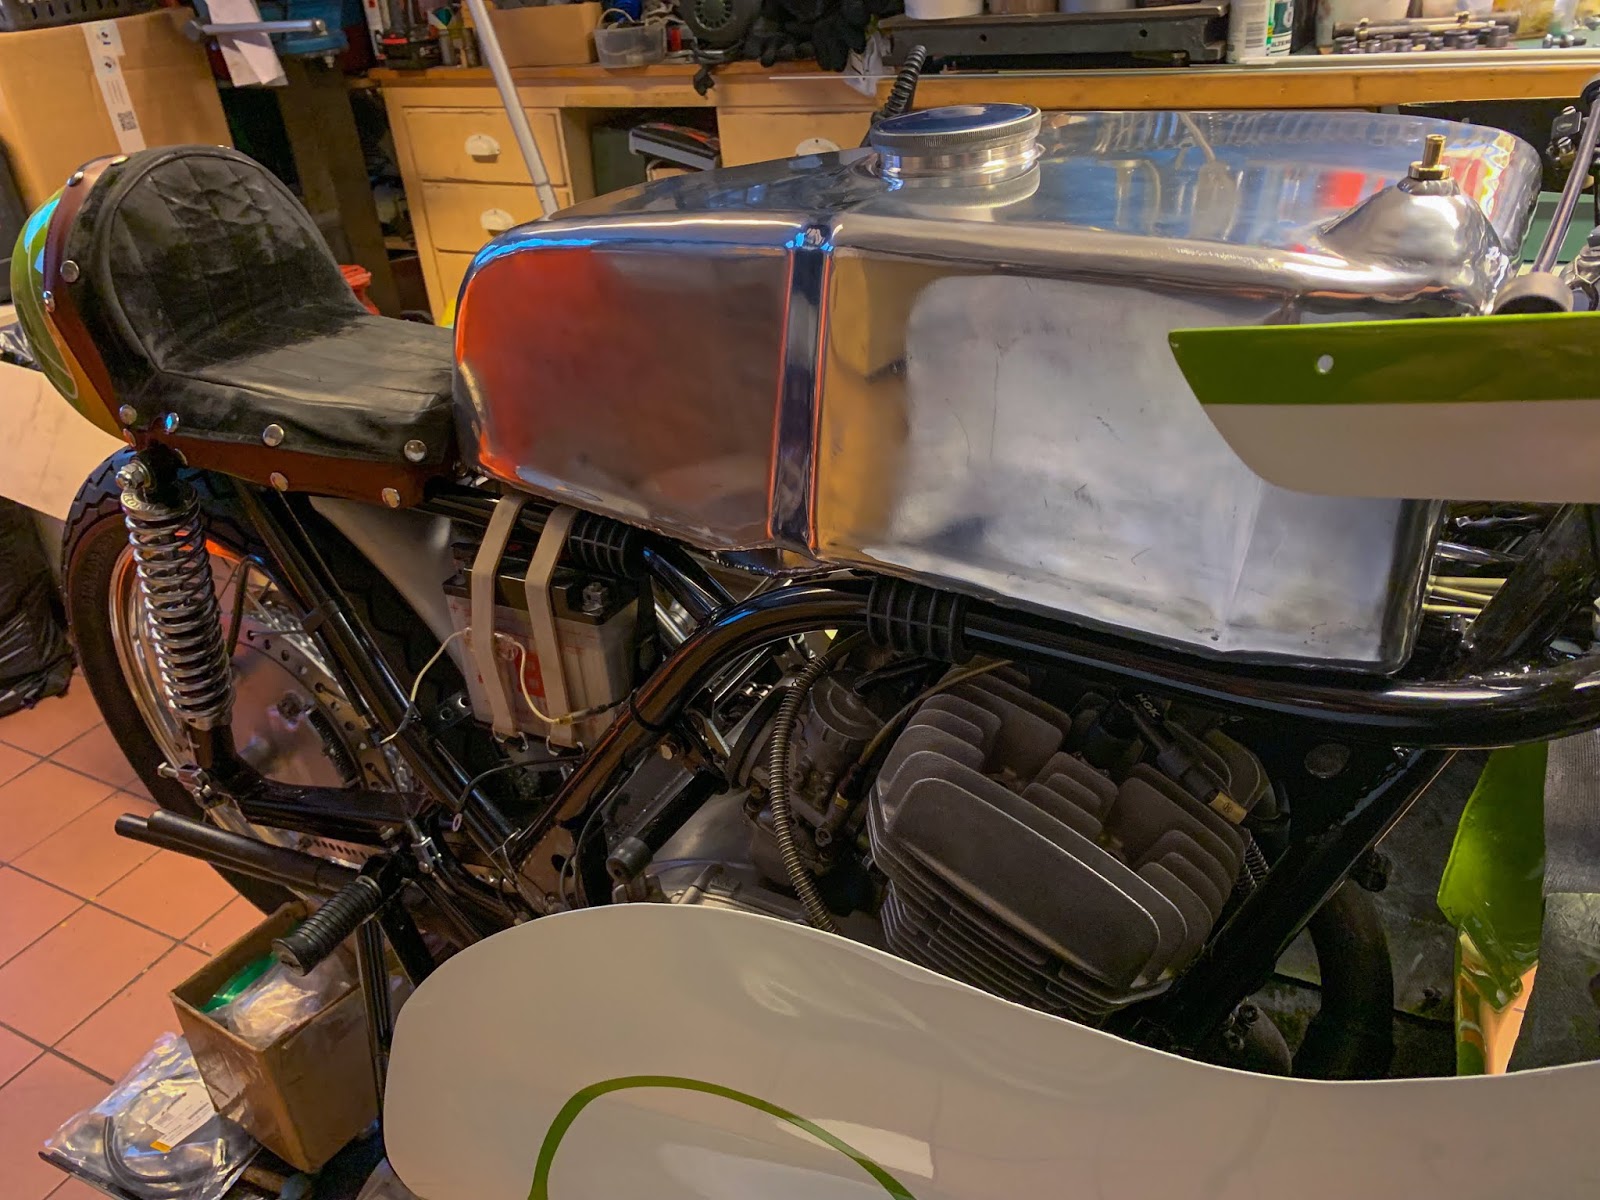
A detailed up of the rear of the tank earlier than wax was eliminated. The rear hook is clearly seen and you’ll simply discern the reinforcement Bert welded on to the within of the tank. That aluminium block was then drilled and threaded to just accept the mounting screws. Actual good!
One other image of the tank with the drying automobile wax on. Quickly to be completed!

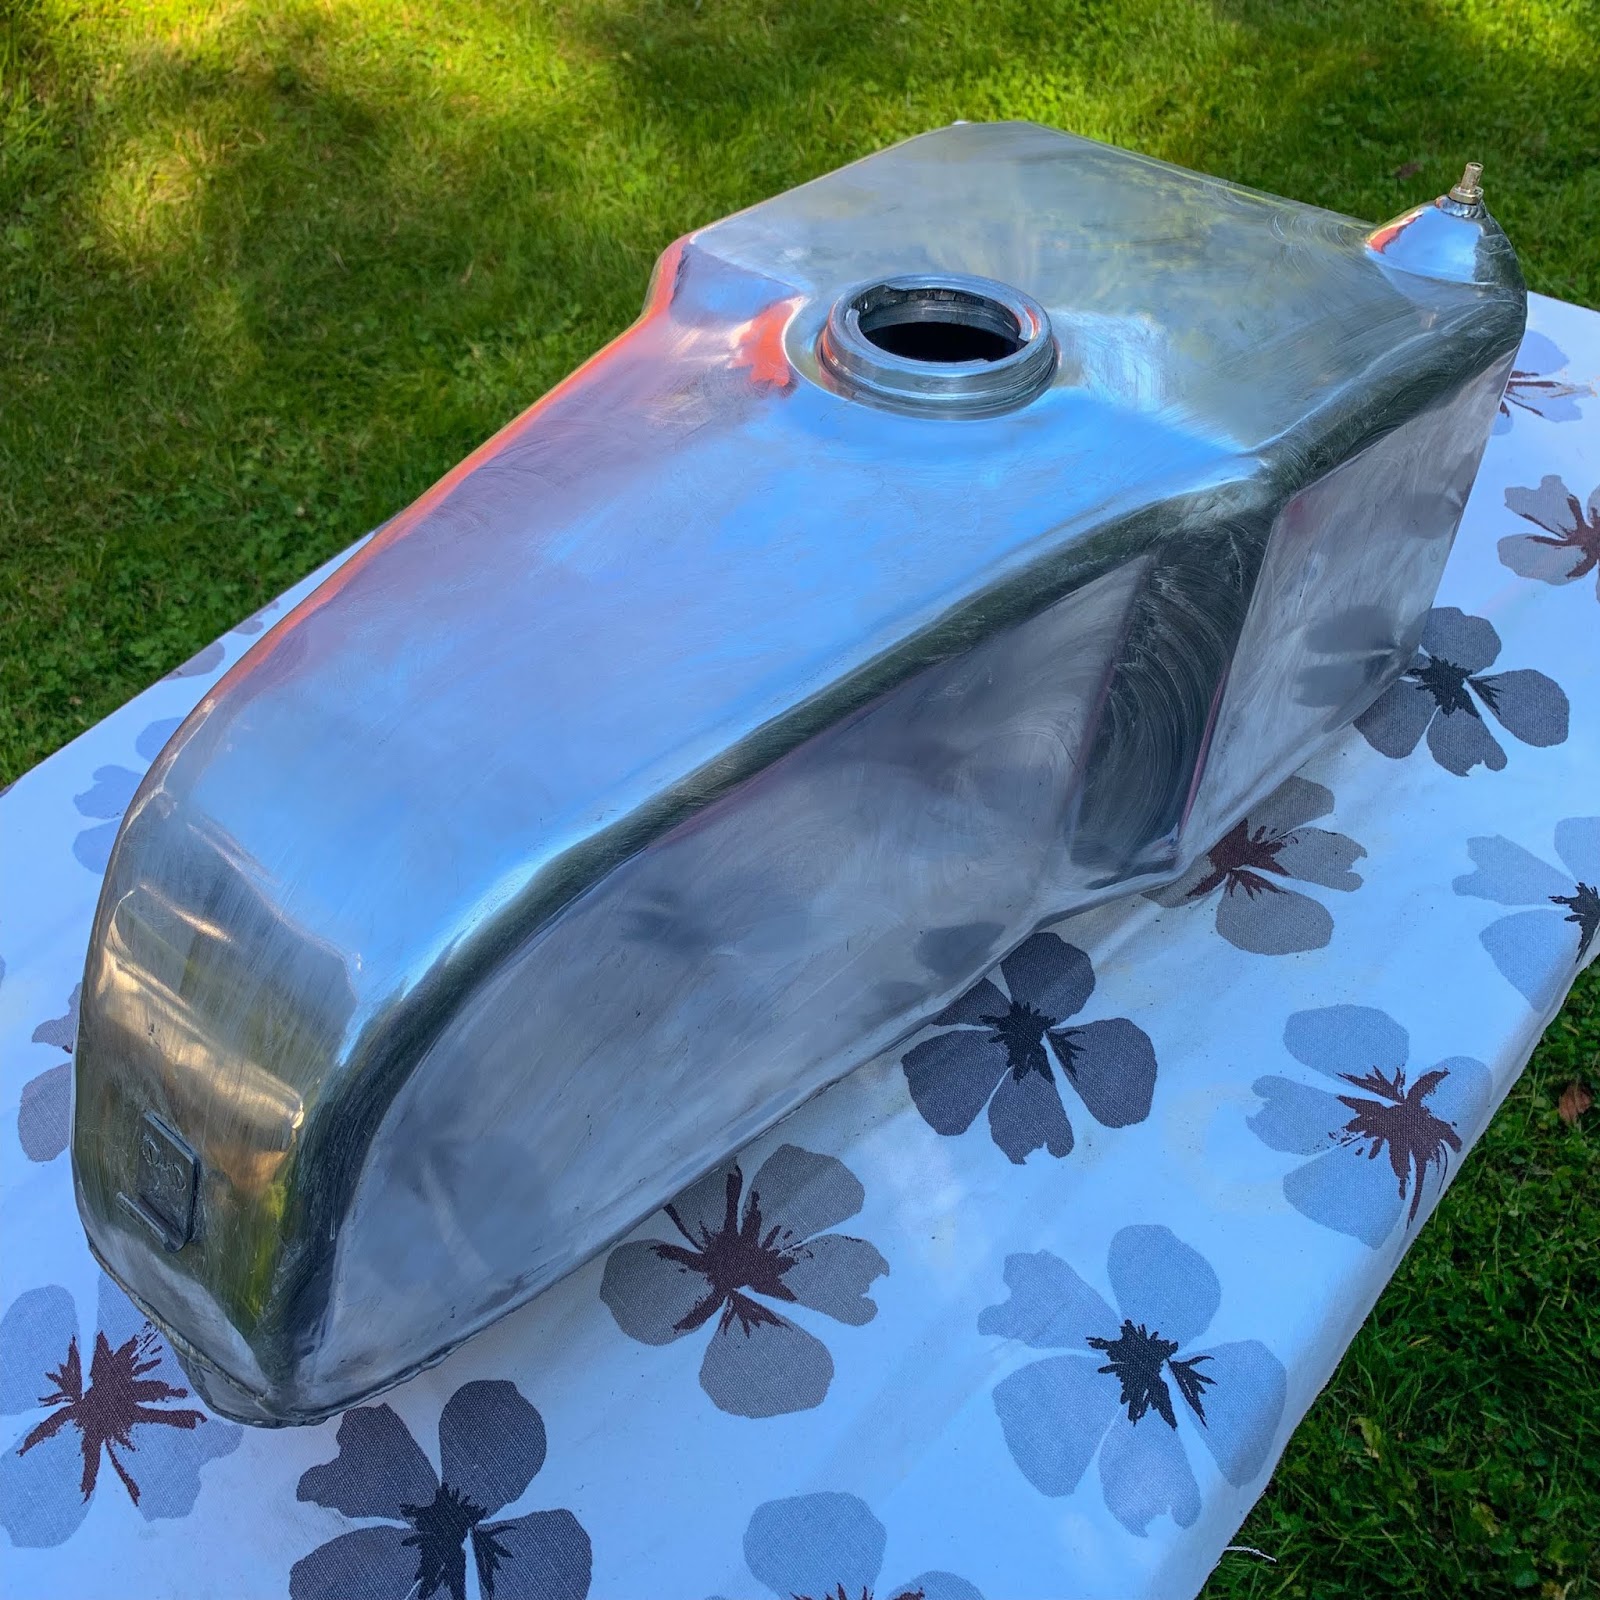
Right here I’ve began to take away the wax and the ultimate end is getting there. On this image you possibly can see the becoming Bert made for my Pingel high-flow petcock. He merely removed the adapter nut and welded a threaded aluminium block in to the underside of the tank. The threads are NPT, “Pipe” threads which are generally utilized in VVS functions. A really elegant answer!
The below facet of the tank cleaned and polished. It was an ideal day to do that work for the reason that sky was all blue and the aluminium displays all the things round it. This fashion the tank obtained the identical shade in all places in every image.

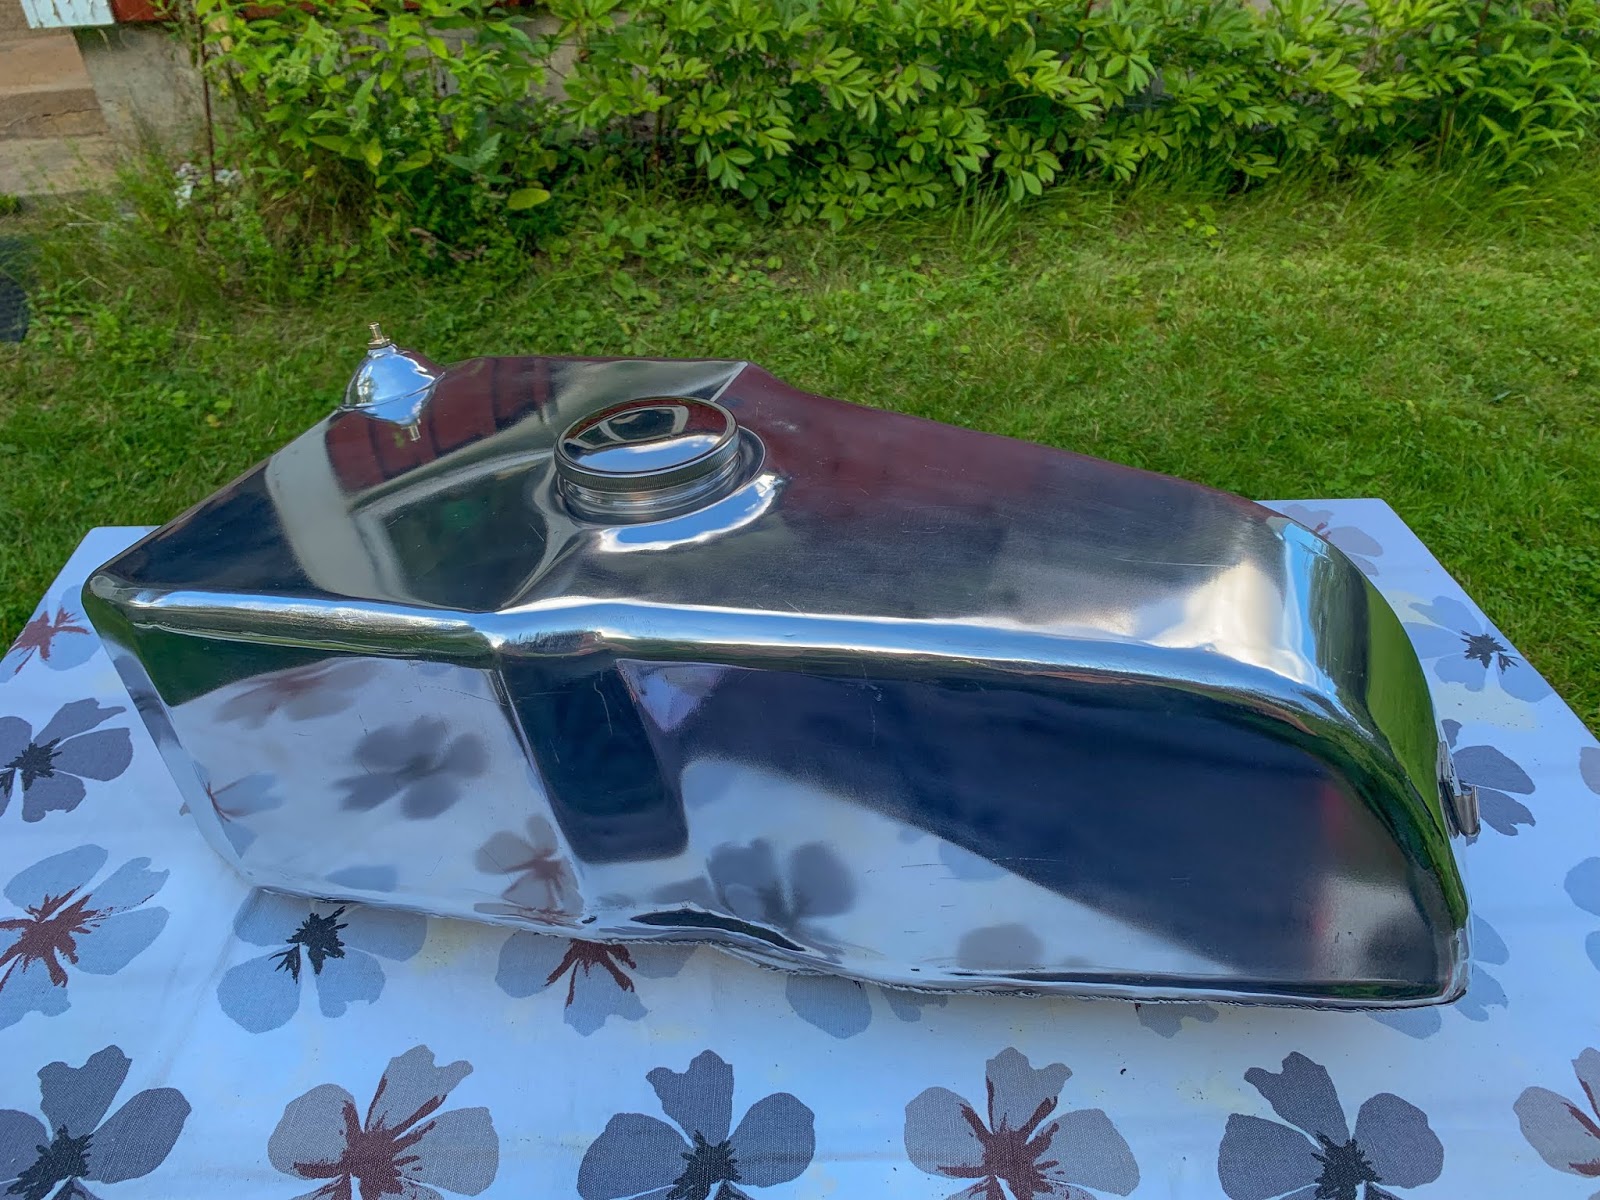
And the highest facet of it.
As you possibly can see it isn´t mirror polished. It has a slight dimness to the end that I like. Right here you may as well see the strengthened tube becoming Bert made. A small aluminium piece welded on to the “bulb” and a threaded brass tube becoming screwed in to it. sturdy and handsome!
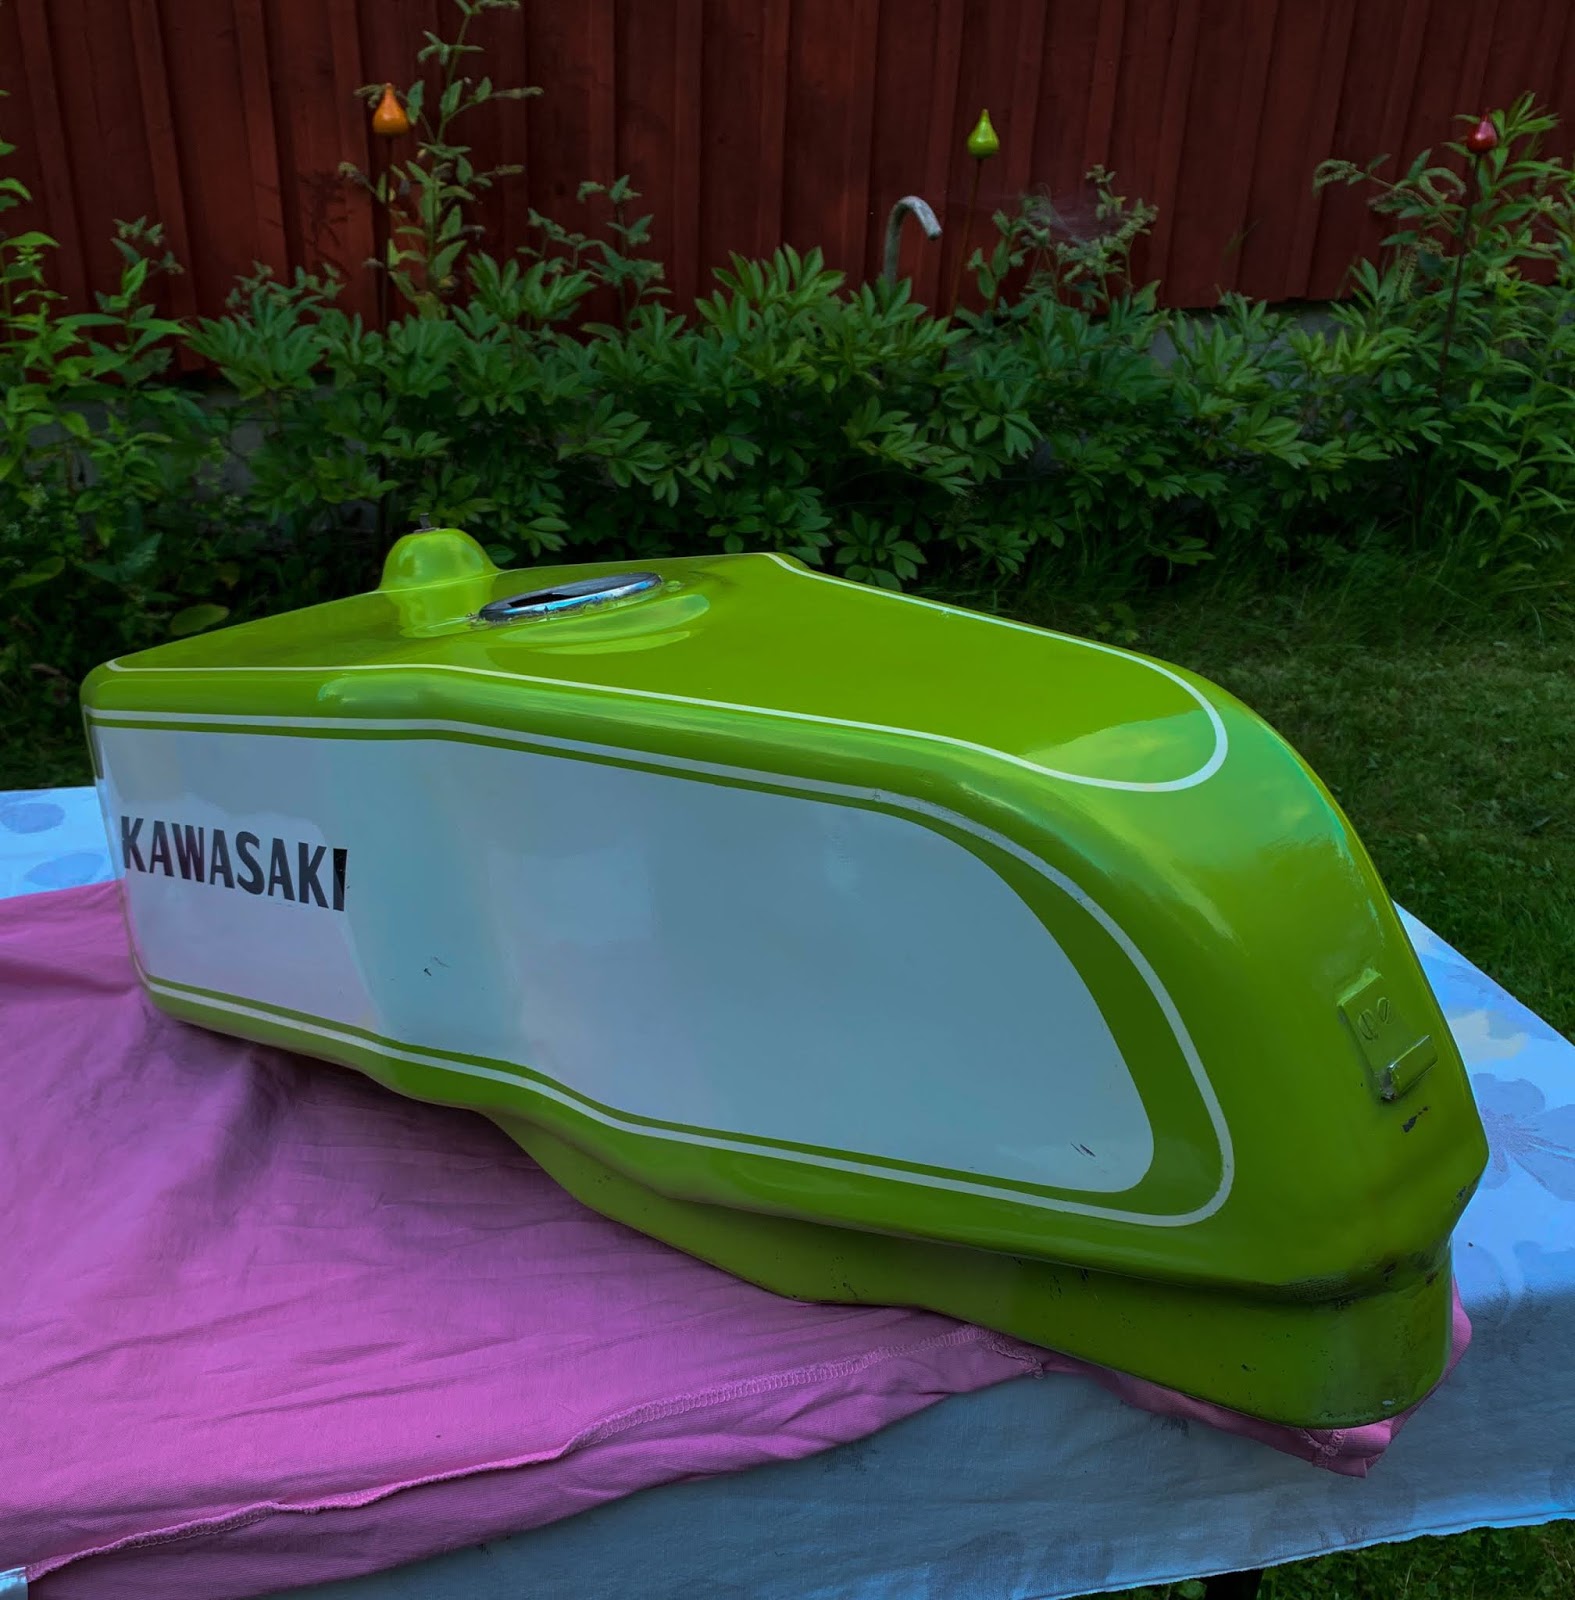
And now I might lastly begin the sprucing and waxing of the unique tank. Bert had it for a couple of months and that stopped me from engaged on it. I had polished a couple of spots on it for Johnny to match the colour when portray the fairings and seat. Now it was time to get all of it polished and cleaned up.

It does present indicators of wear and tear and use. The paint isn´t good and it has its flaws right here and there. It’s most likely an early repaint, however it’s what I would like on the bike. So. let´s simply attempt to make it look pretty much as good as doable.
One other couple of hours in and I´m completed sprucing. Inch by inch. Slowly, rigorously to not over press and polish proper by the very skinny layer of paint on it.
Approx 90% of the blemishes the place detachable with the POL compound plus the Autosol. Time for a layer of that good automobile wax.
Right here we’re!
Each tanks are completed. I want to contemplate getting one other set of “KAWASAKI” lettering for the aluminium tank. I may need a set additional. Really even two units, I believe. One black and one pink. Perhaps pink on the alu tank? Why not? That tank is kind of my very own concept, so perhaps…
Just a few footage for comparability between the 2.
The highest facet right here on the left.
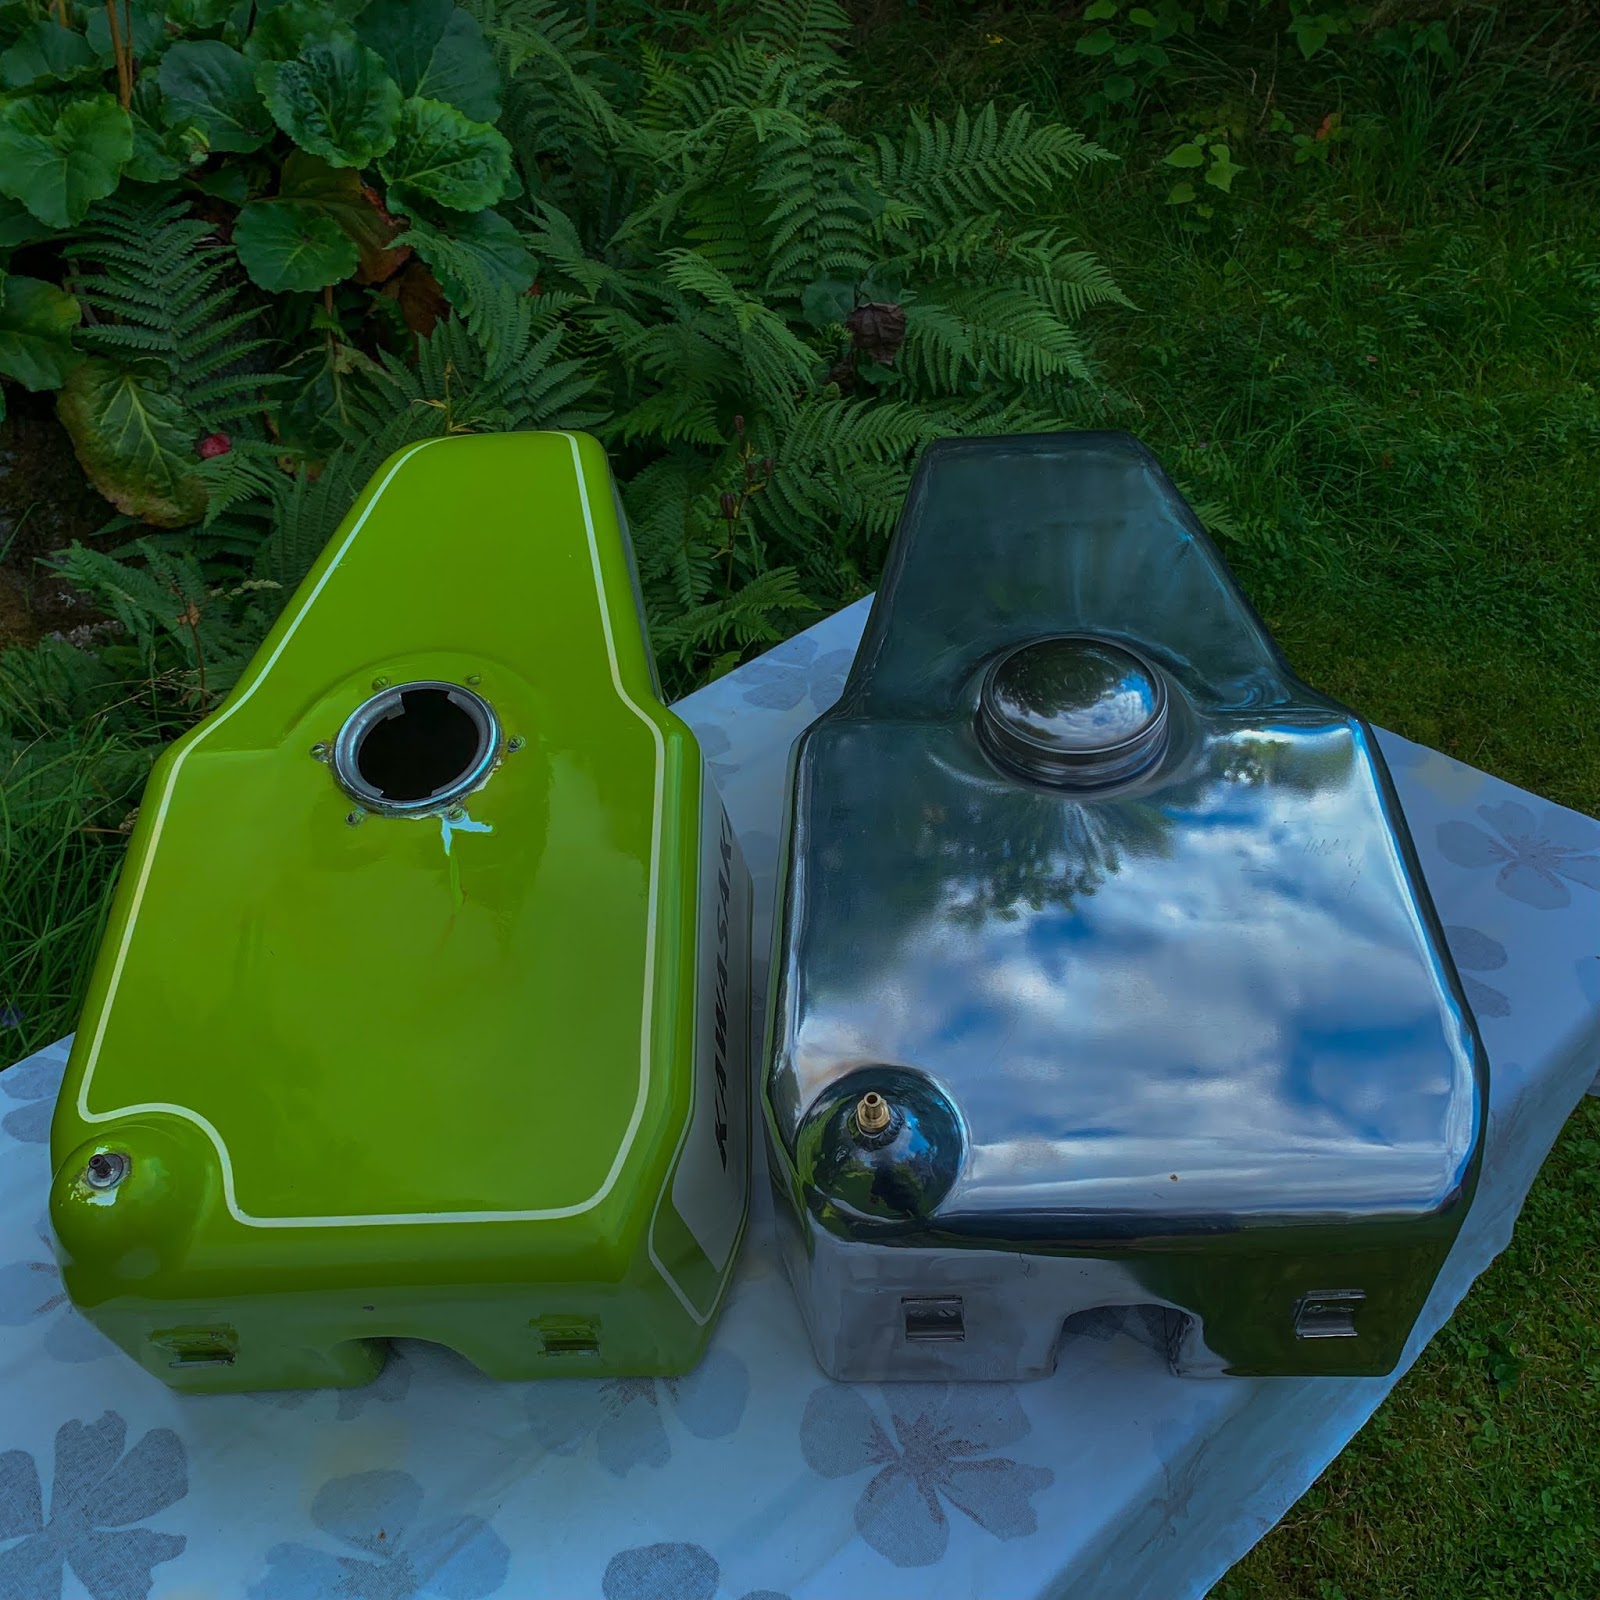
The small injury to the paint on the unique tank subsequent to the gasoline filler may be very seen right here. I don´t thoughts it in any respect. Offers the tank extra character in my opinion.
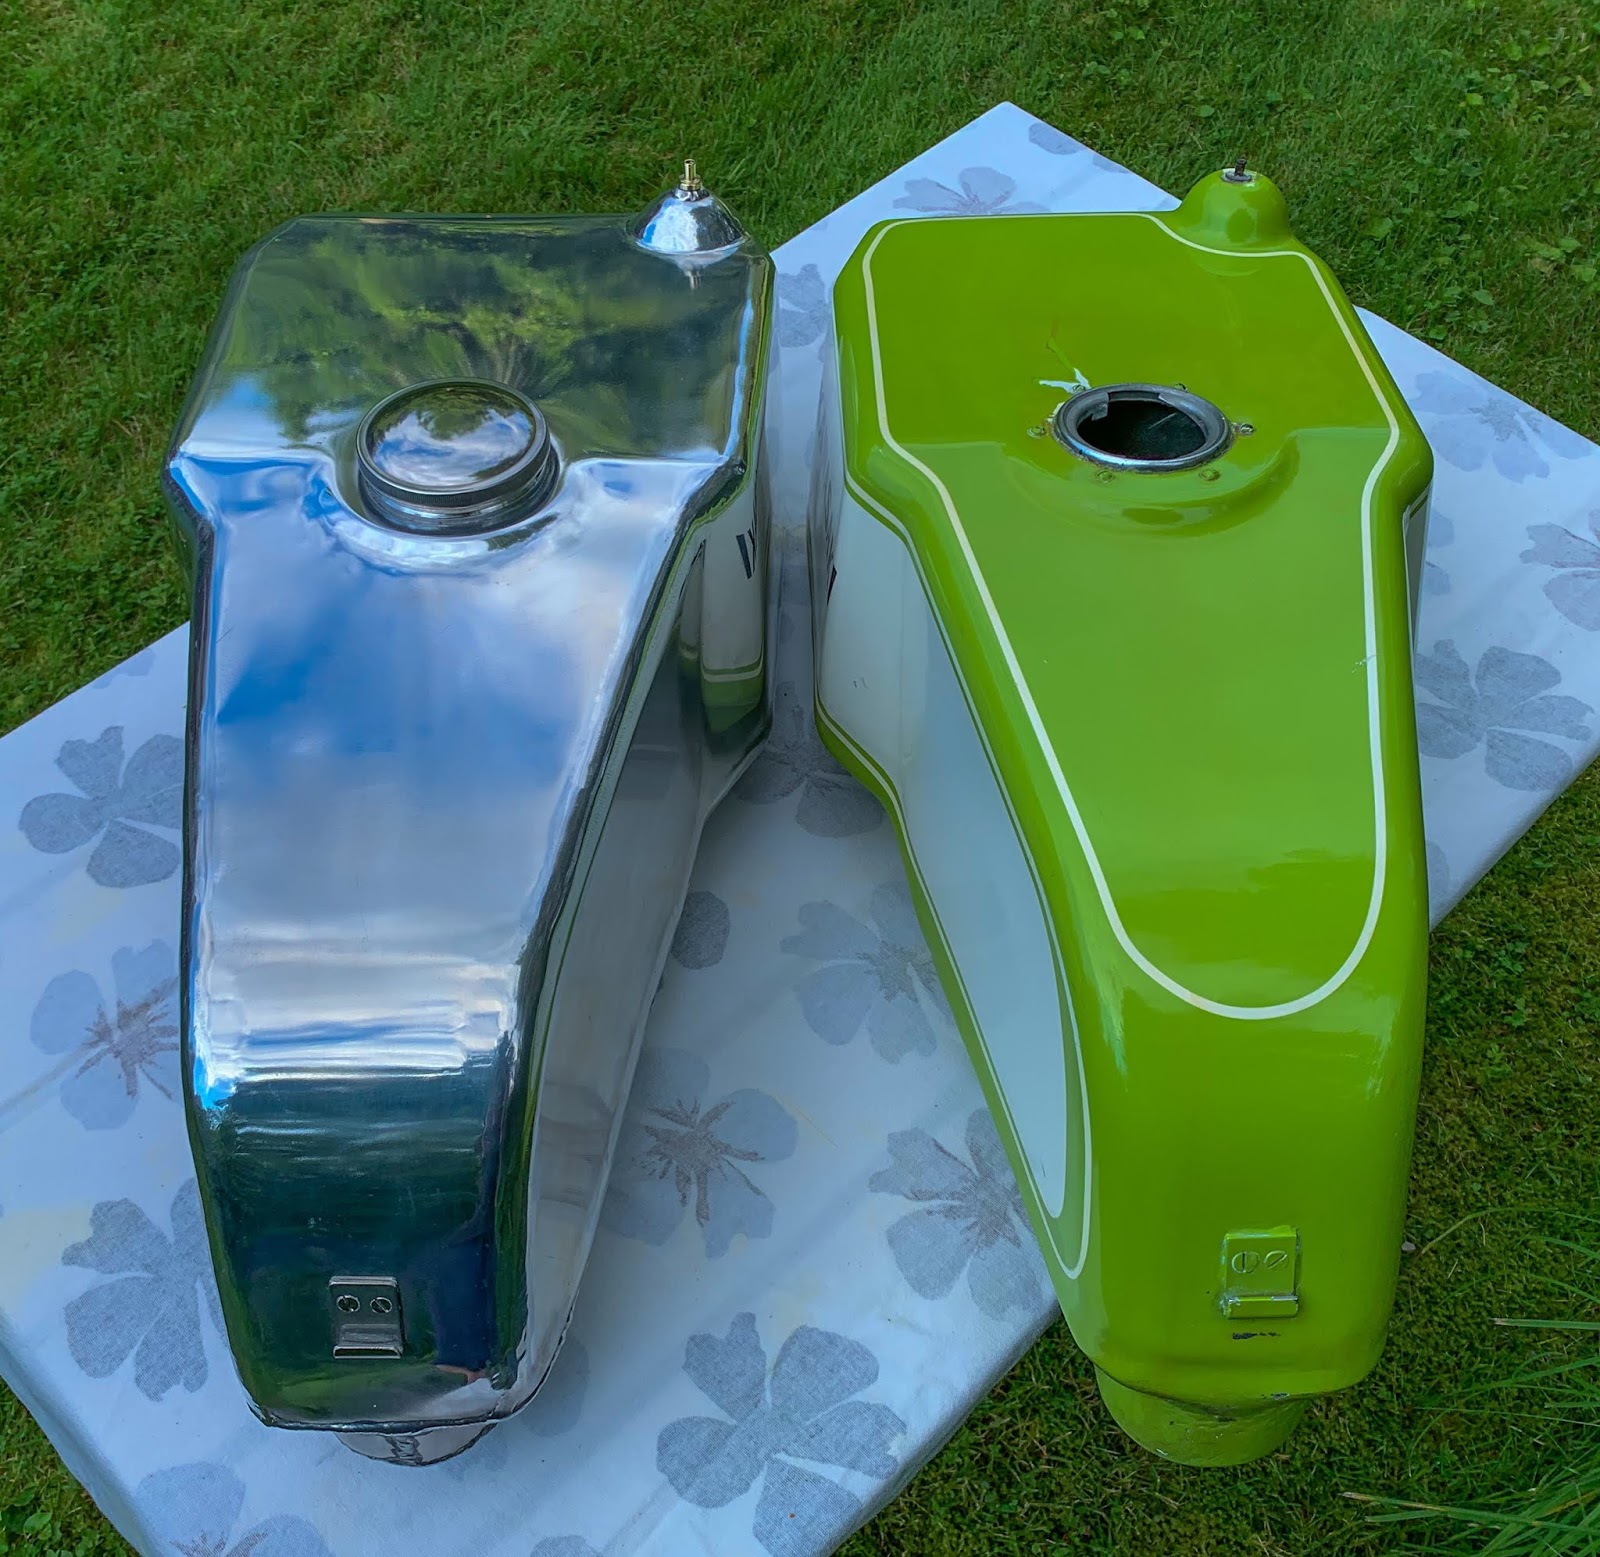
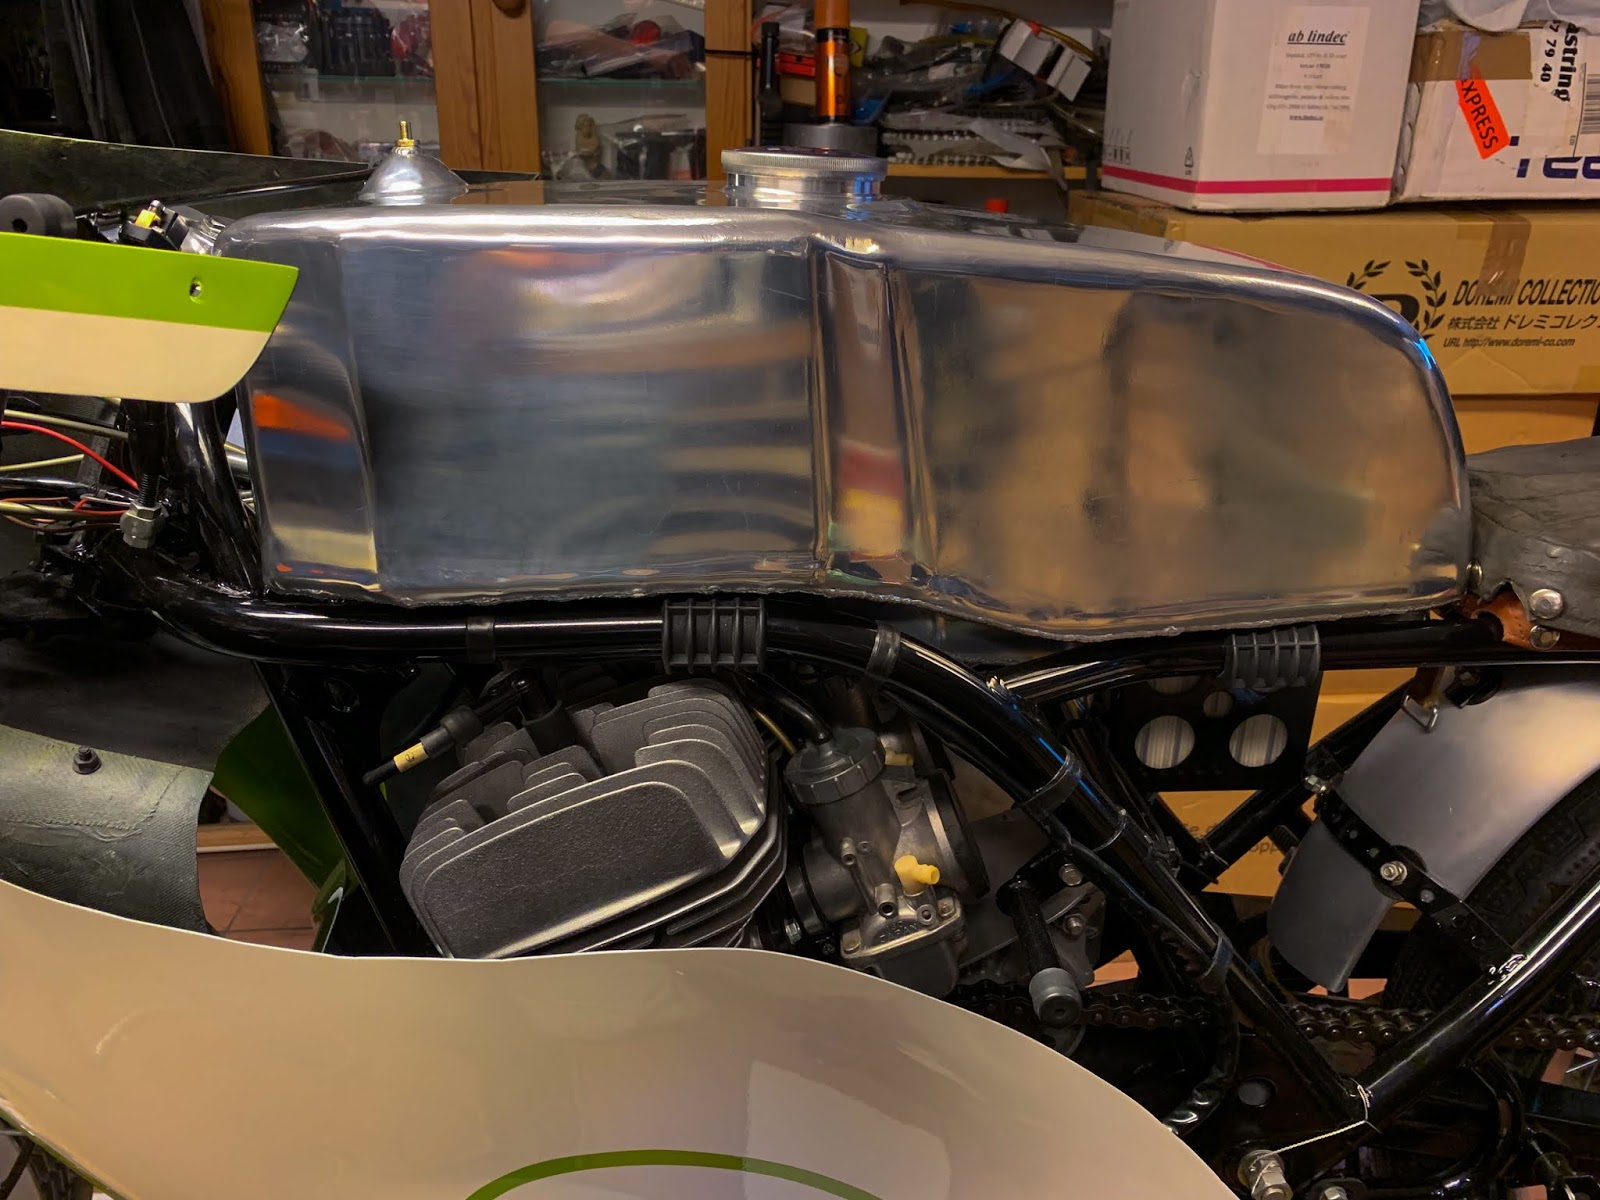
From the rear we will clearly see the distinction between the unique with its deeper surge tank and the brand new one with its lowered one.

The entrance facet. Bert did the identical to the hooks right here. They’re screwed in to a welded aluminium block on the within of the tank. It makes it look way more authentic than for those who simply would have welded them on from the surface. The distinction in angle from the totally different surge tanks will also be seen right here. The aluminium tank sits a lot decrease on the rear than the unique one.
I believe I must get these “KAWASAKI” letters on there.Seems to be higher with it. However black or pink?
I’ve a NOS set of pink decals and a NOS set of black. Take your choose!!
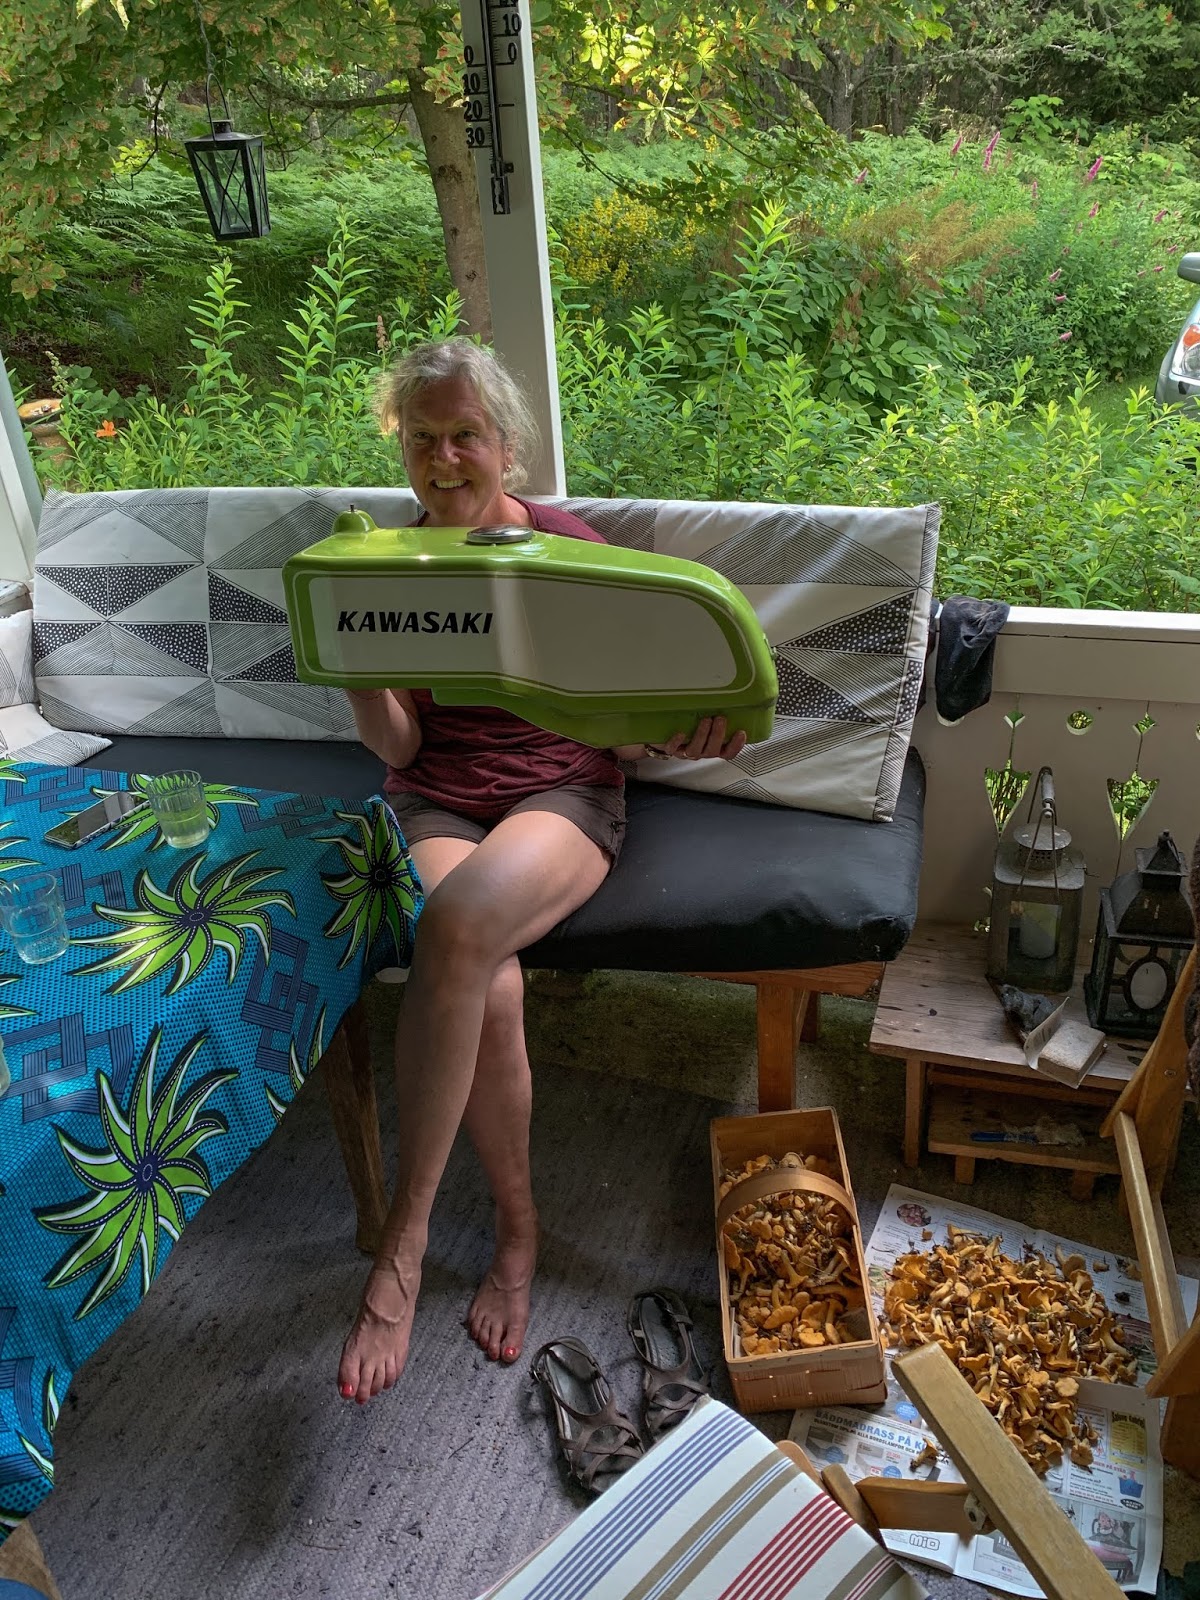
What did my spouse and her buddy do whereas I used to be sprucing tanks?
Yeah, they went in to the forest selecting mushroom…
A pleasant batch of Chantarelle!
I instructed her to carry my tank and really feel the burden… It’s actually very light-weight!
Right this moment I drove again to Stockholm with my two tanks and some elements. I now have one week and perhaps two days extra subsequent week to get this child completed for the present.
A fast check on the body as I obtained again residence.
Yeah, match like a attraction!
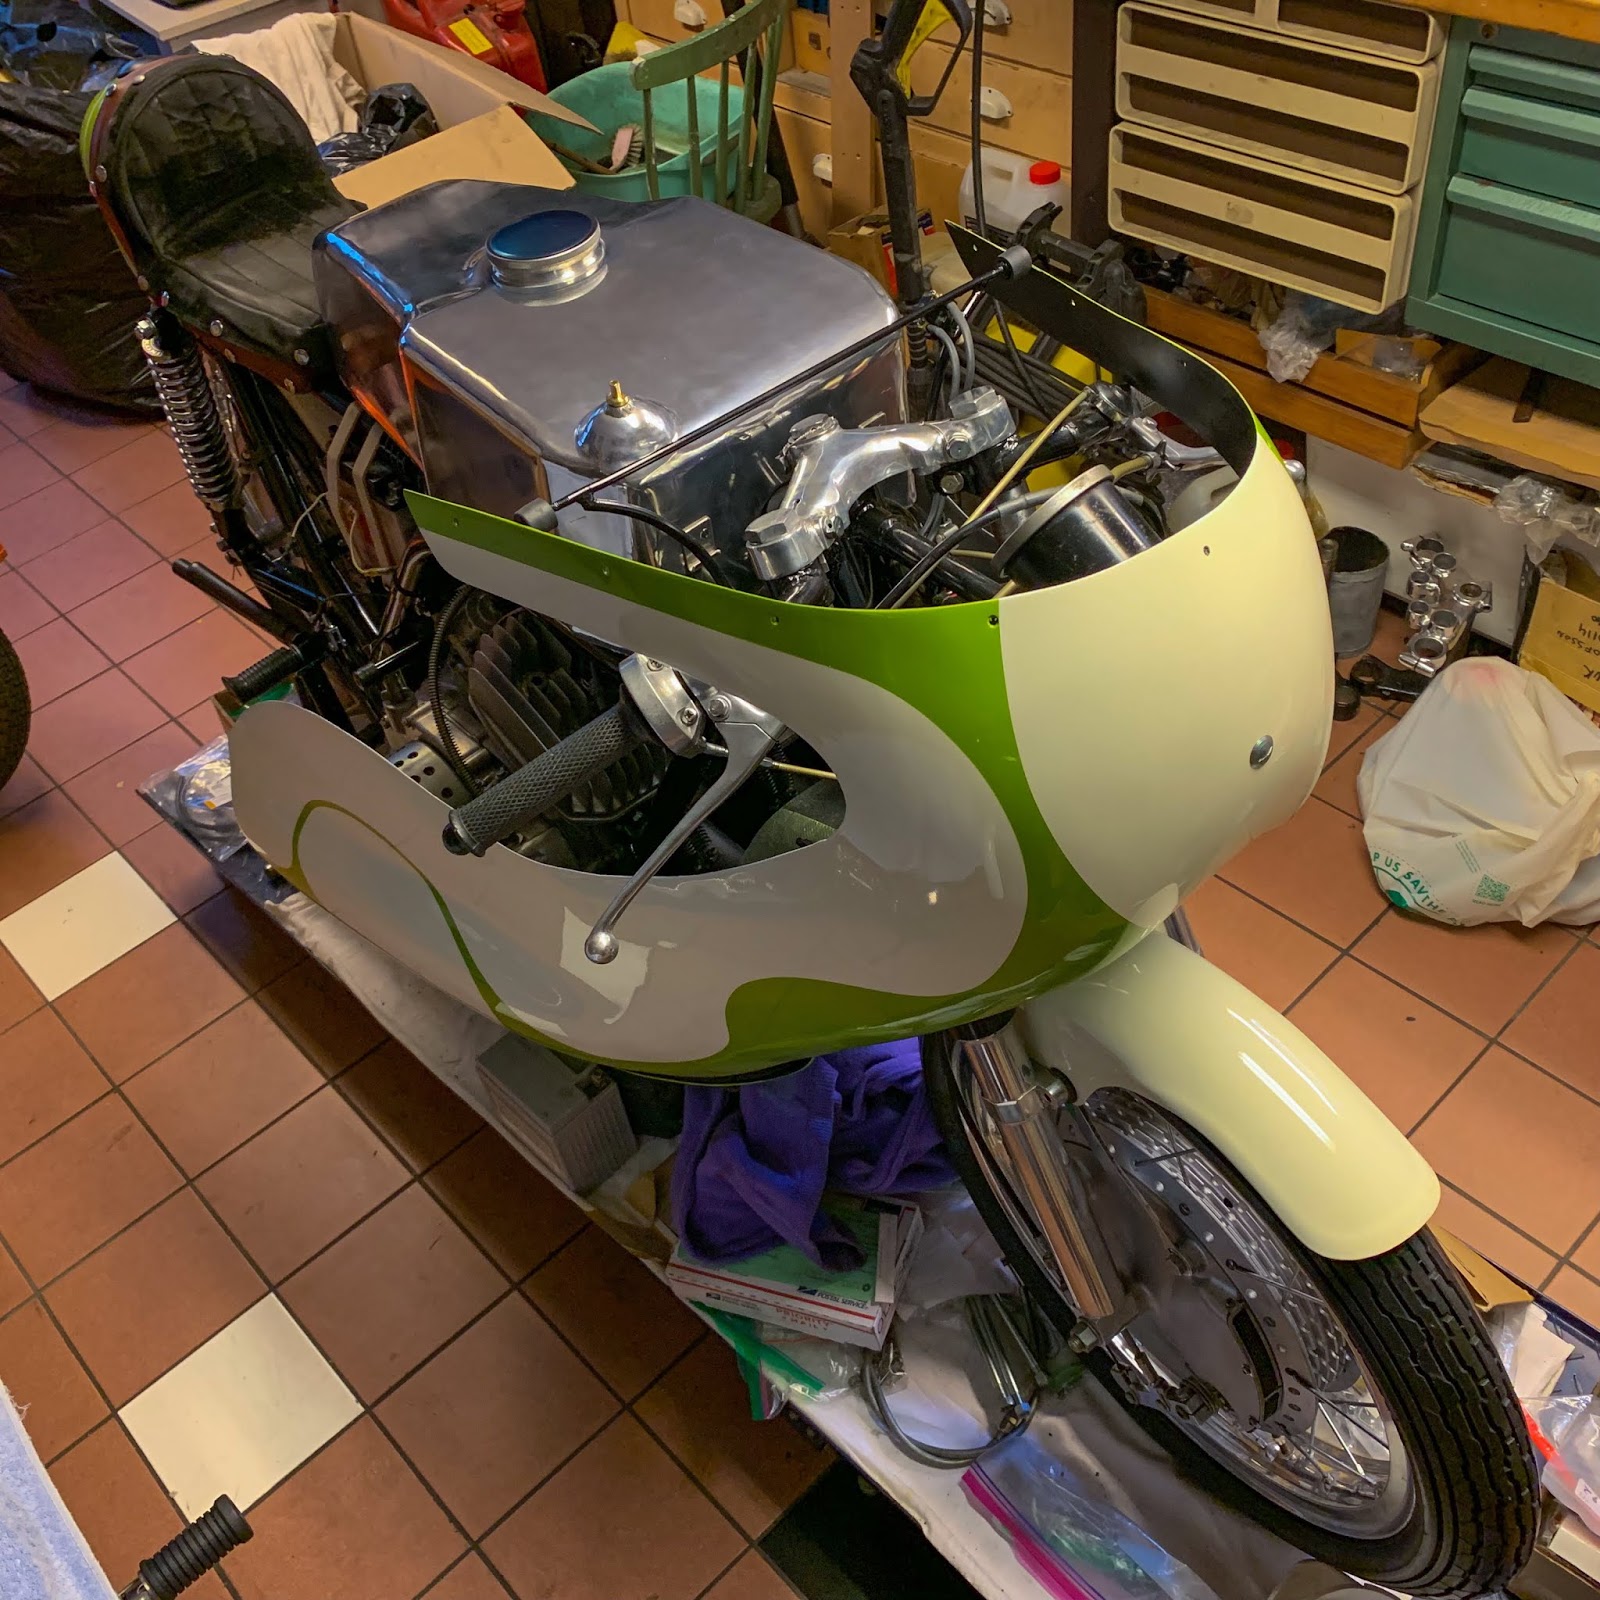
Perhaps you don´t discover what occurred in my storage…?
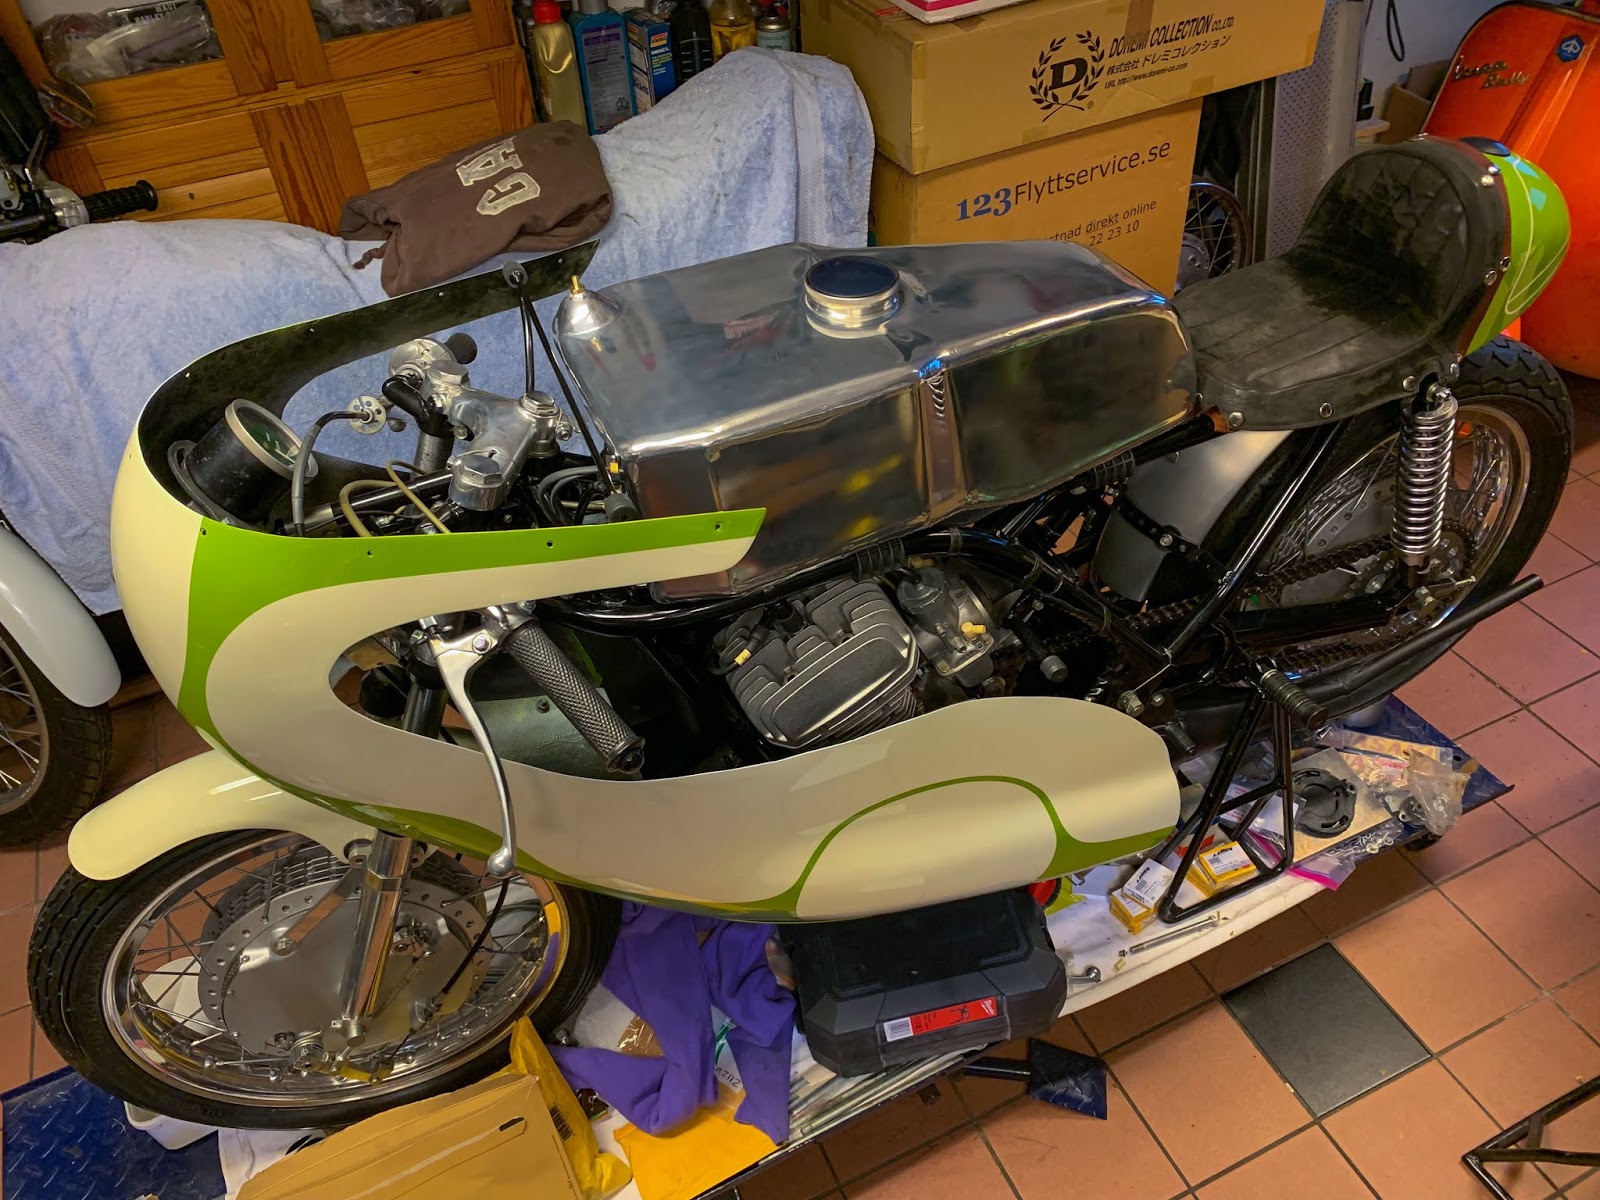
I cleaned it and pulled the racer a bit additional out on the ground to have the ability to stroll round it and work on it. The H2 venture is hiding to the left below covers till additional. Now I must deal with the H1R!
Seems to be good from the best hand facet as properly.
The black, authentic, seat cowl is out and lurking on high of my brown leather-based one. Will probably be changed for the present arising. I´m so joyful to have the electrics and ignition system completed. All I’ve to do there’s replenish the battery with acid and join it to the system. I additionally must route the air hose and the engine breather pipe and join the 2 stroke oil tank and get the fairing completed….
I do have my work minimize out for me the approaching days. I understand how straightforward it’s to get caught with one thing not working or some elements missing.
Please hold your fingers crossed it will work!
Will probably be on show, that’s for positive, however will it begin? Will I have the ability to truly drive it within the “superparadeGP500” class on the present?
Time will inform and I’ll hold you knowledgeable all the best way! The posts might be coming extra frequently the subsequent two weeks after which it´ll all be over. The bike might be completed and the restoration of a lifetime might be completed…
Keep tuned till the bitter (?) finish.
Thanks for studying!
/Per
[ad_2]