
[ad_1]
Wheels coming collectively.

I spent a couple of hours sprucing the entrance rim and entrance spokes with the very same approach as on the rear wheel. Fingers, drill, vice, cotton fabric and a great deal of elbow grease. The of entirety was made with my beloved oil portray brushes and “Hagmans” wheel rim silver paint. The tone of that paint is an ideal match to the colour used on the hubs and brake plates. Pure luck and coincidence.
After I bought the hub carried out I began engaged on the brake plates as properly. One other thorough clear with thinner and a light-weight sanding ready the floor for my “classic patinating brush approach” Broad strokes of silver paint and a light-weight rub with the identical brush dipped in slightly thinner smoothed out any brush strokes nonetheless seen on the floor. The exhausting factor right here is stopping once you assume you’re carried out. It’s simple to go on for too lengthy and by no means end the duty. I do have the identical drawback portray on canvas. Oil portray can go on without end.

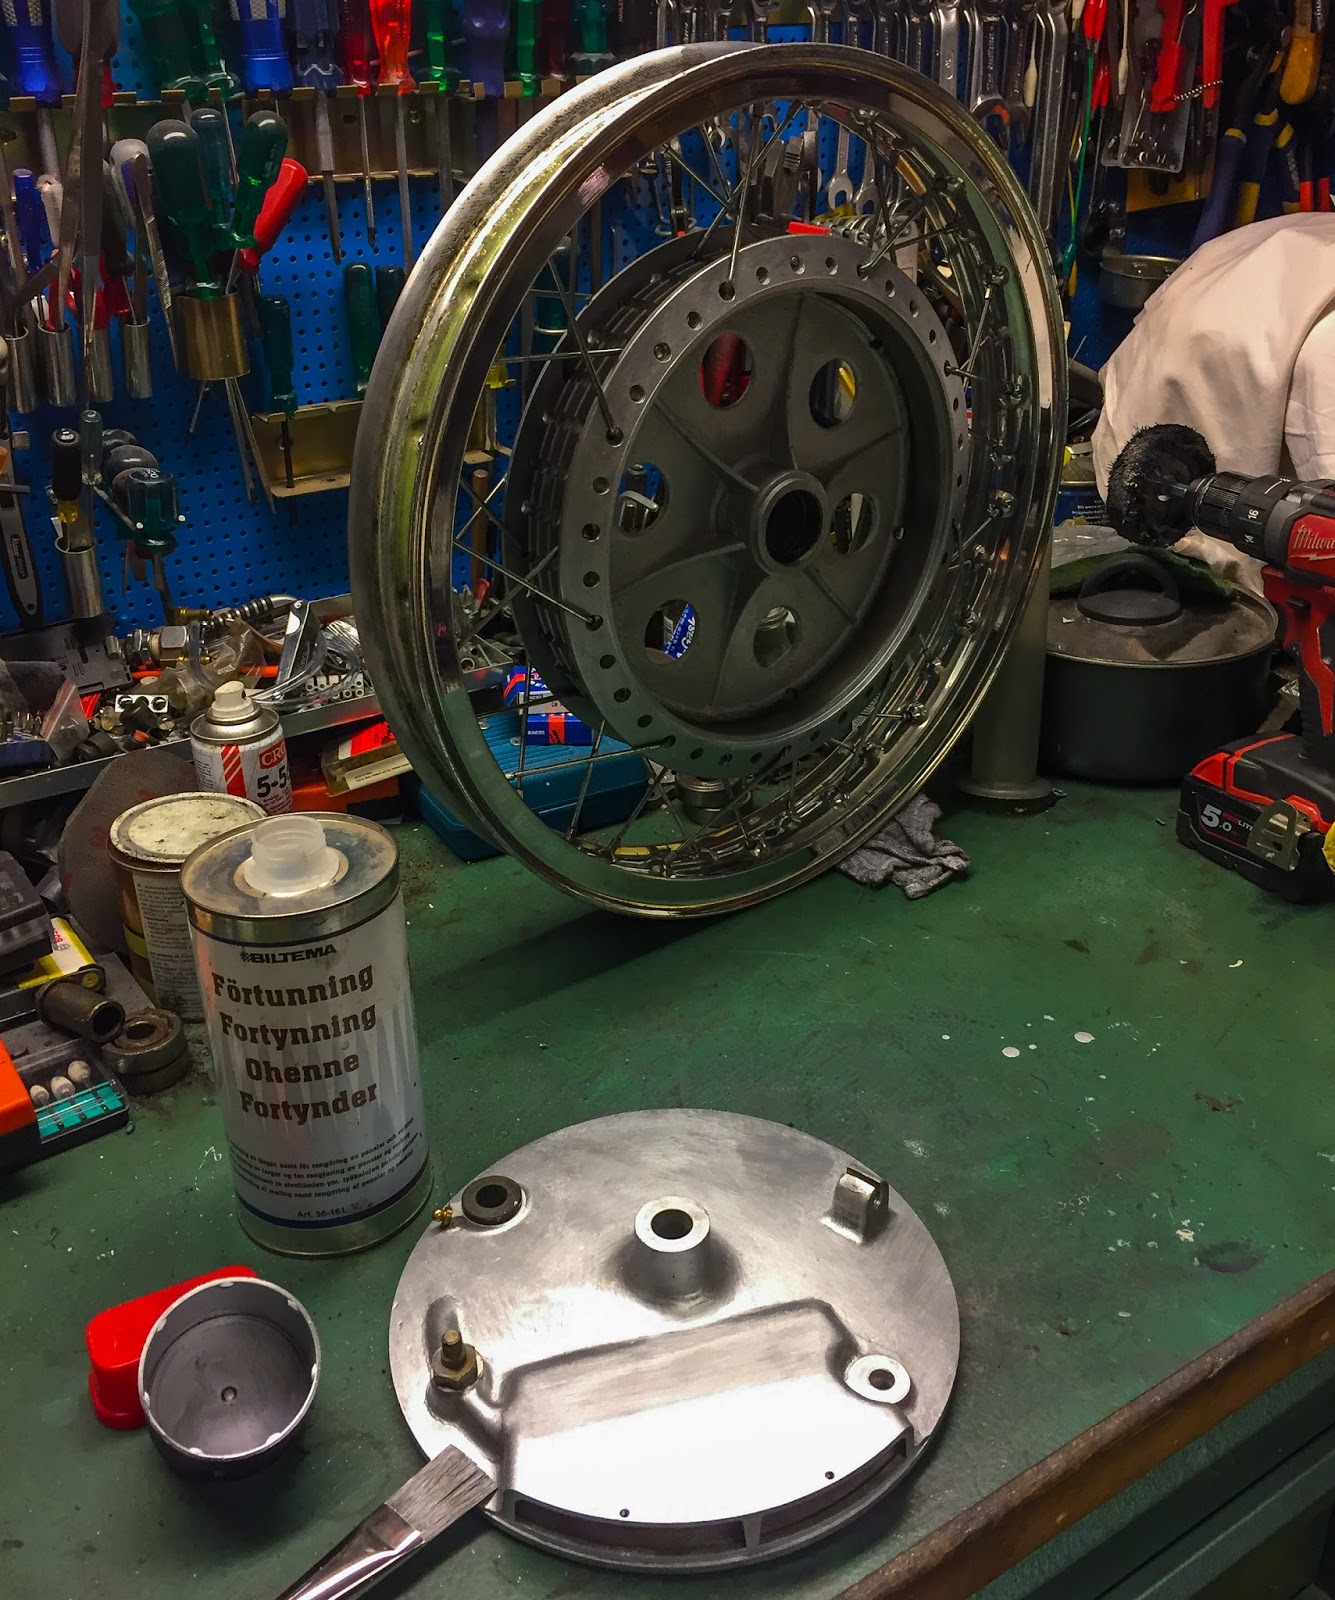
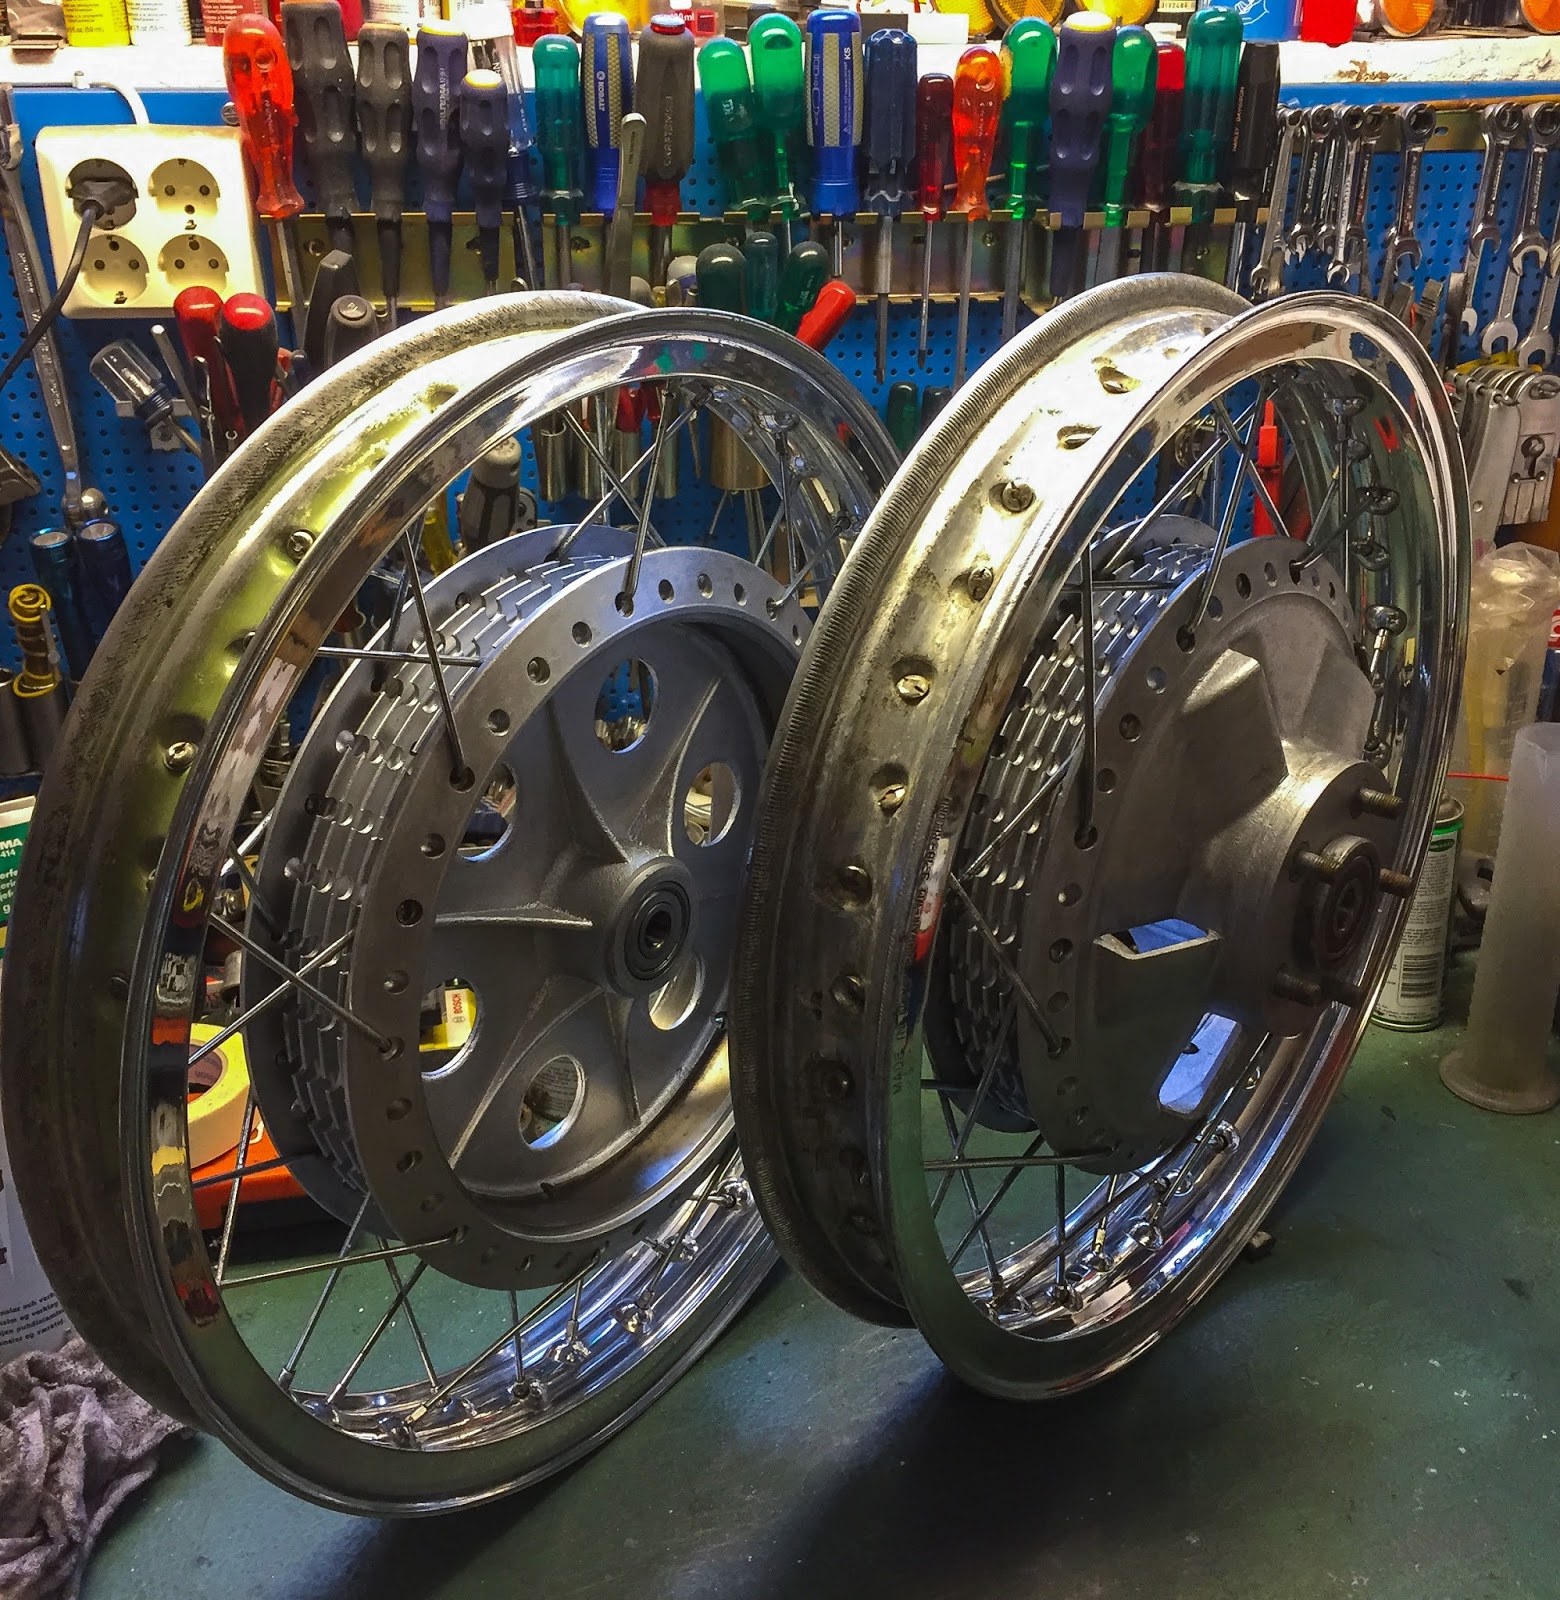
Right here they’re, the brake plates and the wheel. The “patina” will enhance later once I work on the plates. I do not must be that cautious doing that since I don´t thoughts a couple of marks of the components getting used.

And from one other angle. You’ll be able to´t actually inform they’ve been painted with a brush, are you able to? This is an actual good place to begin for the plates to look used, however not battered. The 40 years within the barn has to go. I don’t want that a lot patina on them.
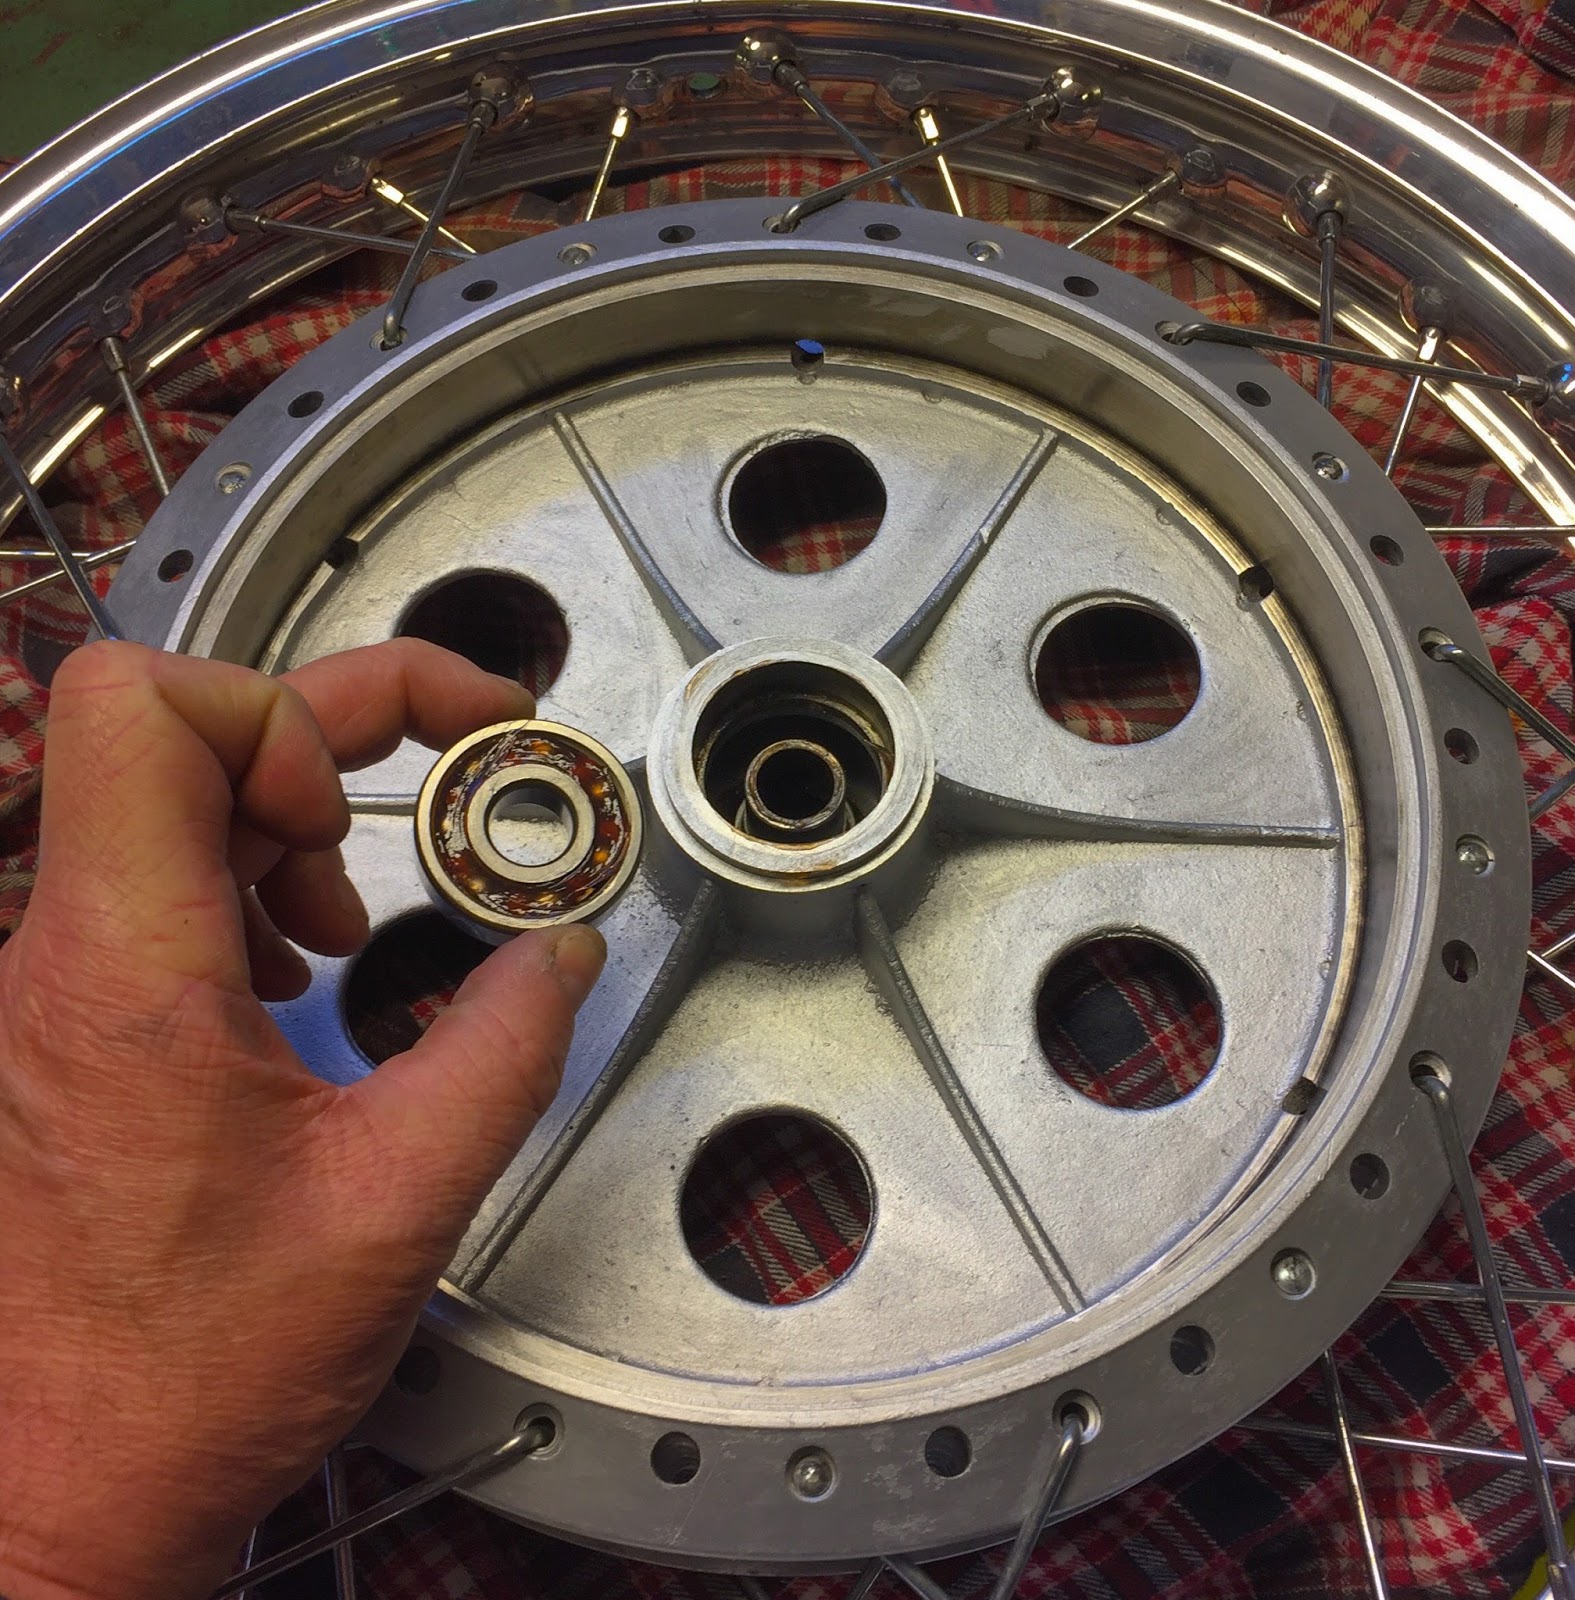
The entrance wheel bearings needed to go in as properly earlier than going again to wheeler seller right here in Stockholm to get the tires again on. These had been the precise right kind, open on one finish and metal coated on the opposite. A great coating of grease and in they went with the spacer tube in between. As you see right here I additionally repainted the interior floor of the brake hub with the wheel rim spray paint. With a brush, in fact!

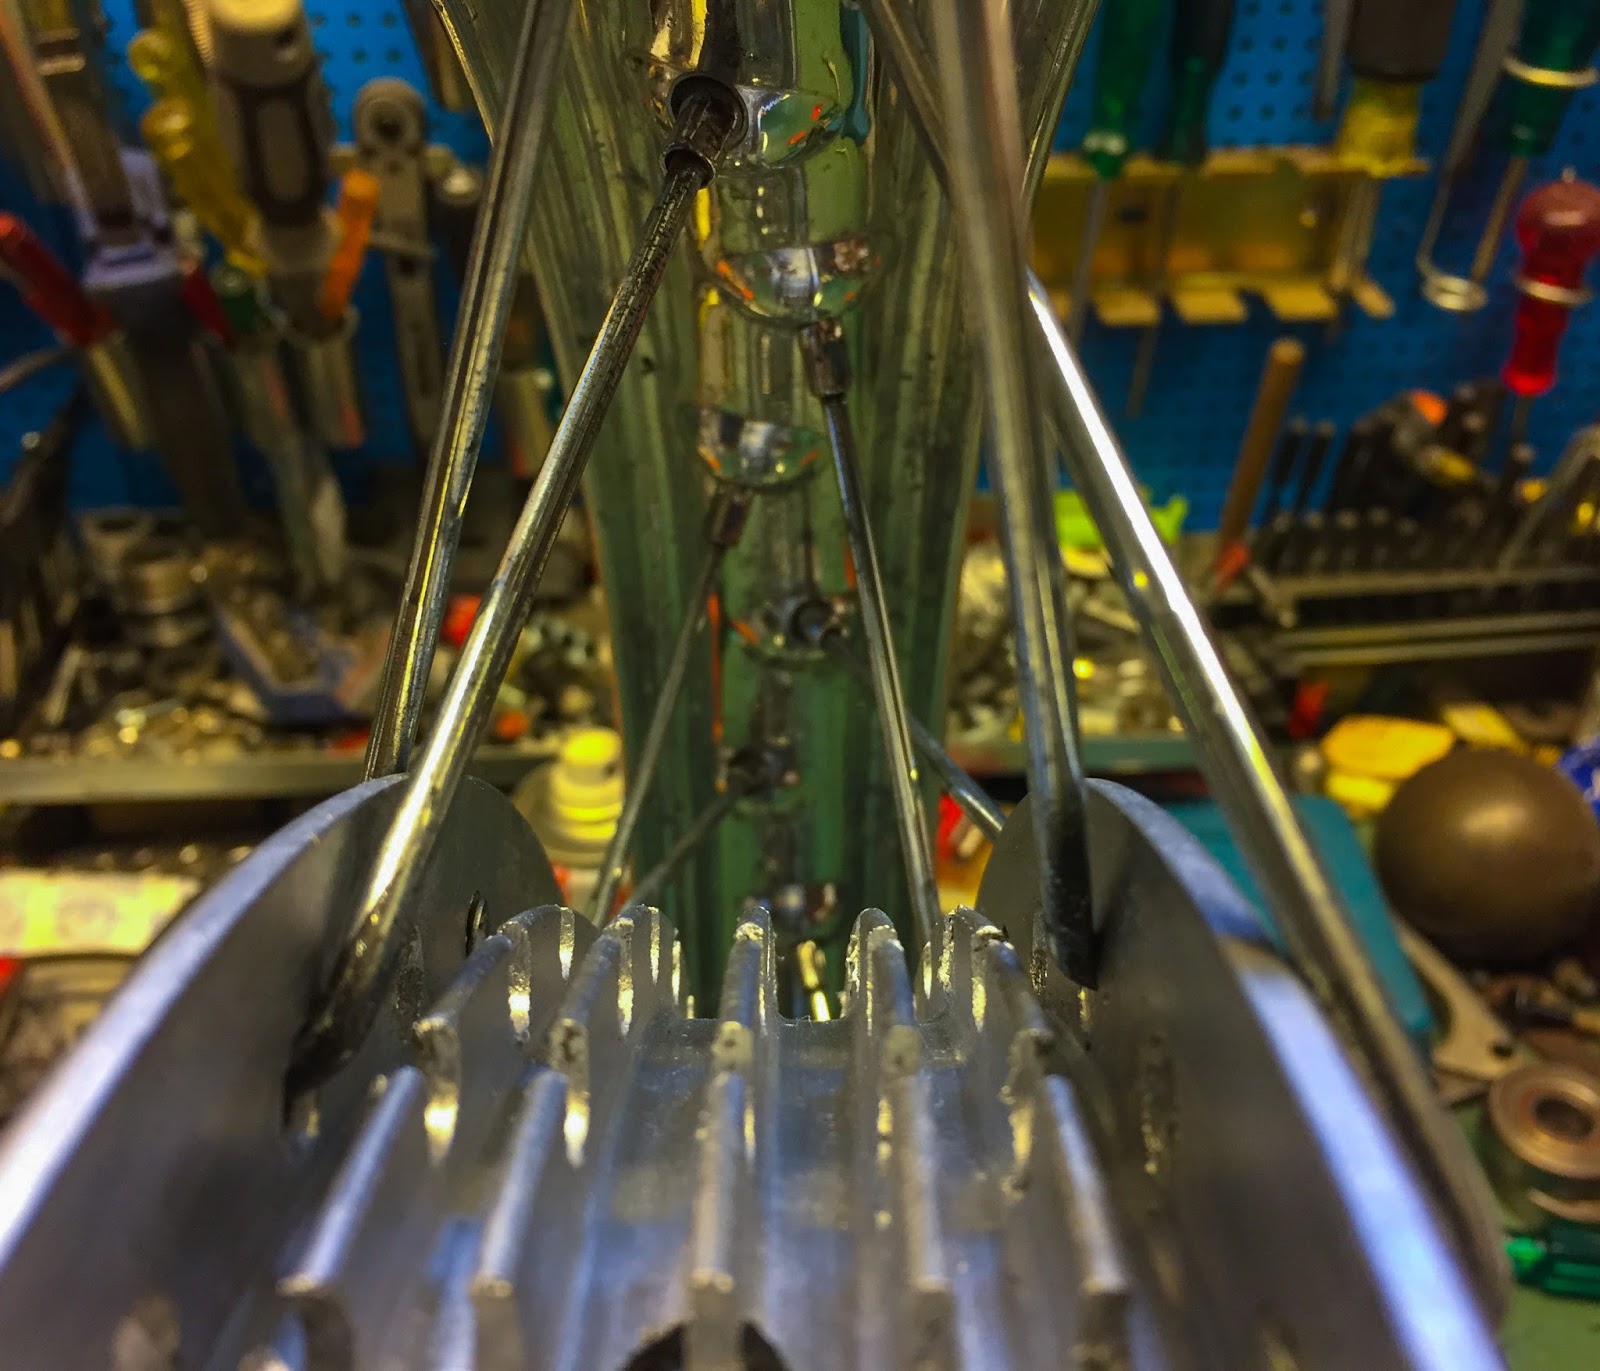
Right here´s an in depth up of the realm between the spokes. I used a smaller and really lengthy brush to achieve between these “fins” and get them painted. You’ll be able to see the decrease a part of the spoke the place I couldn´t attain with my cotton rag. Effectively, sufficient is sufficient. Kjelle at Wheeler Seller really useful an electrical toothbrush and sprucing paste for these hard-to-reach-areas… Effectively, I’m most definitely not the one one right here nerding in on issues!
This angle exhibits the way it all turned out ultimately. That´ll do for me. I just like the end I bought on the hub and in addition the polished floor on the edges and the spokes. I might have spent a couple of extra hours doing this, however when the components all come collectively it would look excellent.
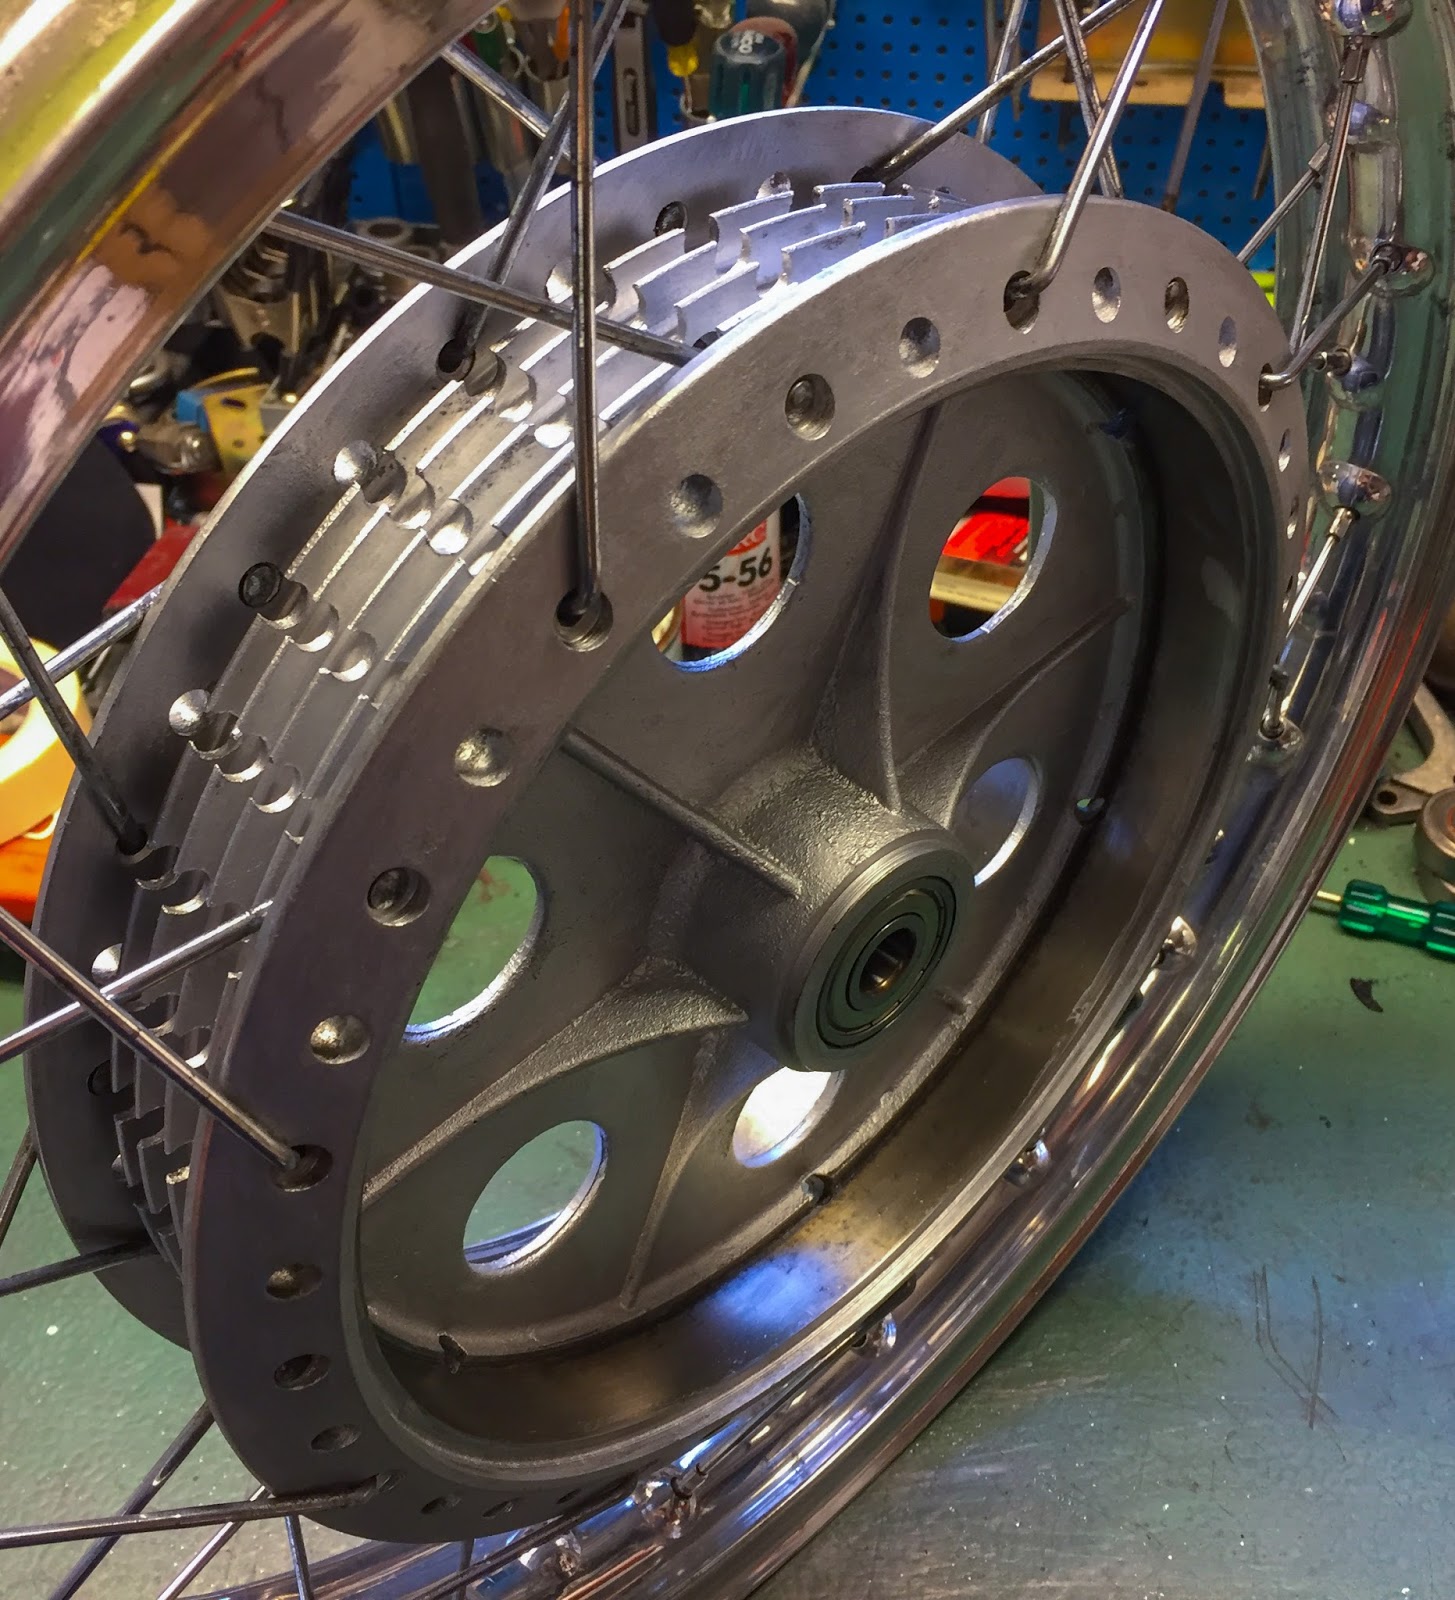
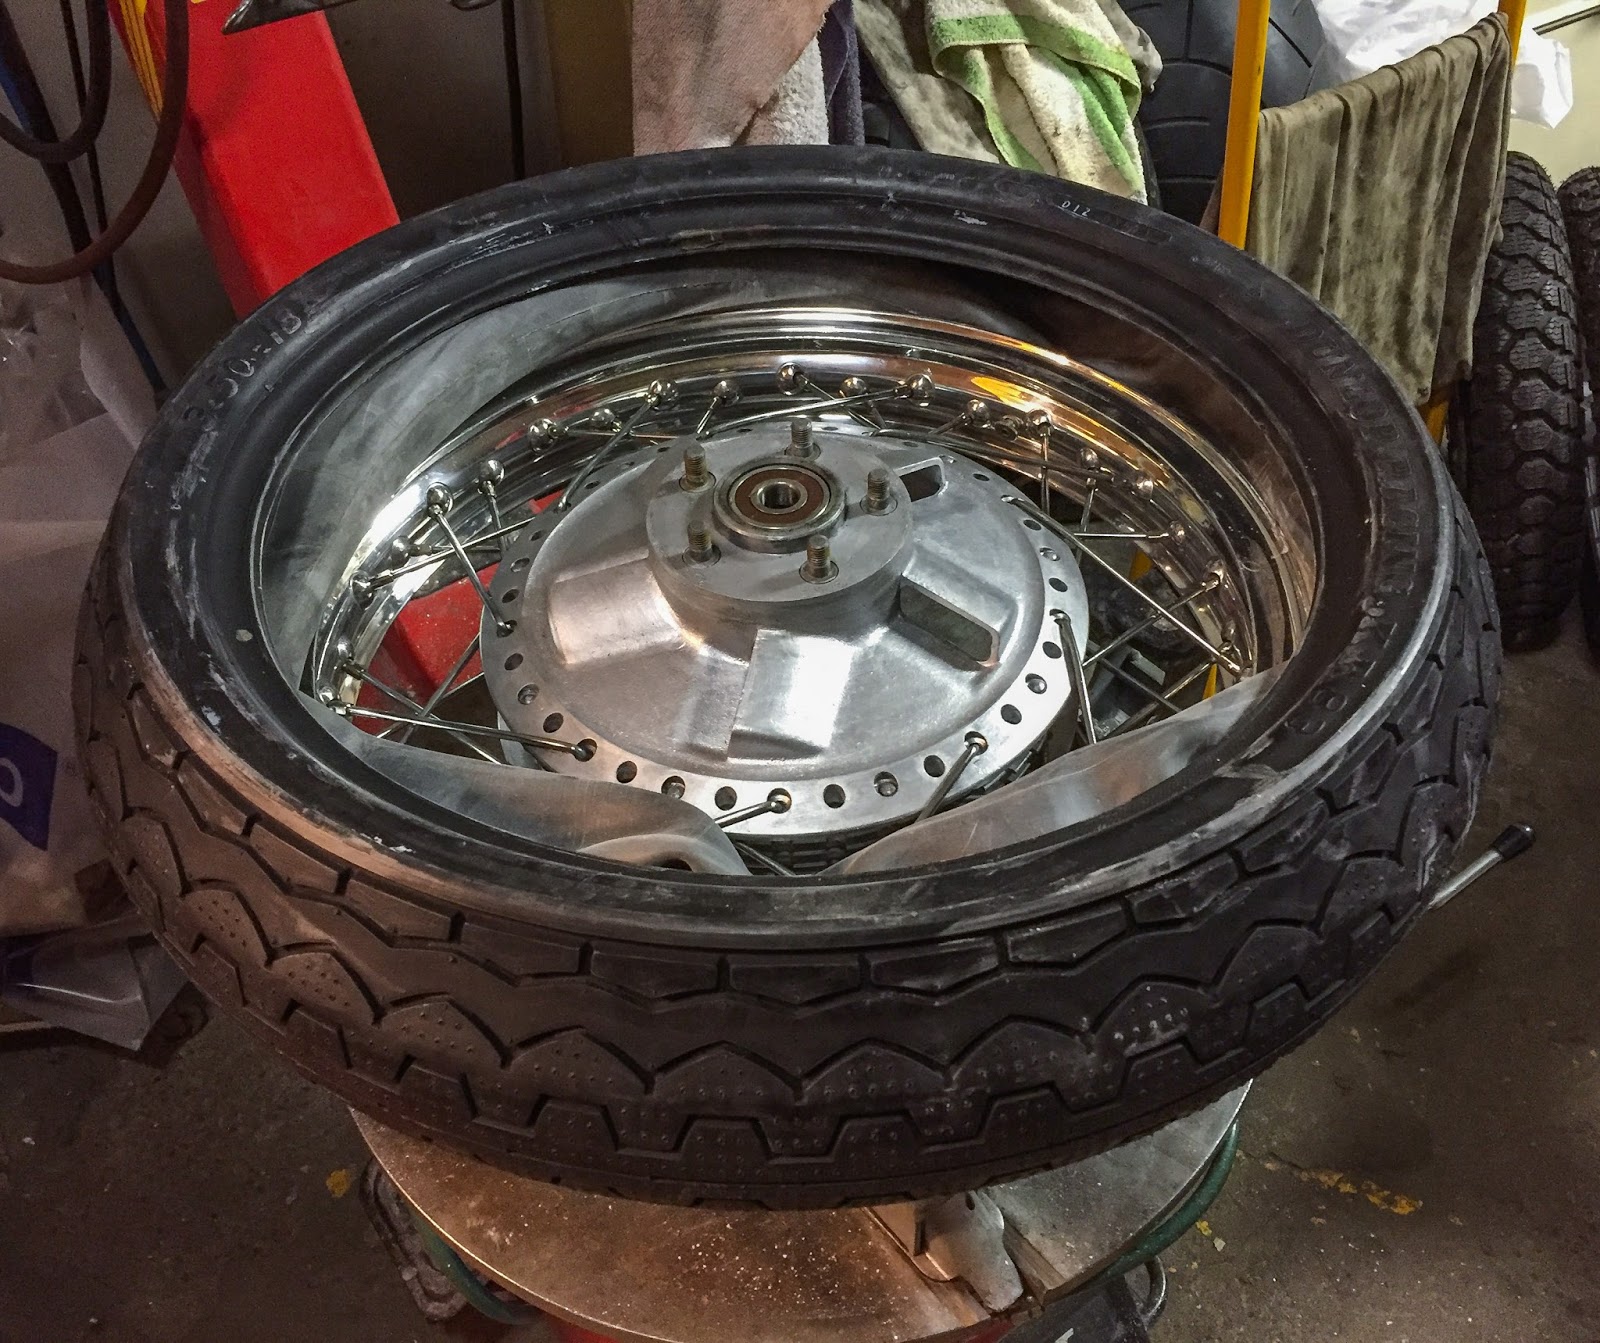
The entrance hub freshened up and able to take the tire and interior tube. The great factor with this route I selected is that it’s reversible in that respect I can all the time return and take the wheels aside and do this 100% restoration the subsequent time if, and when, I really feel that’s obligatory. For now I´m fairly happy.
This comes near “bike porn” in my guide.
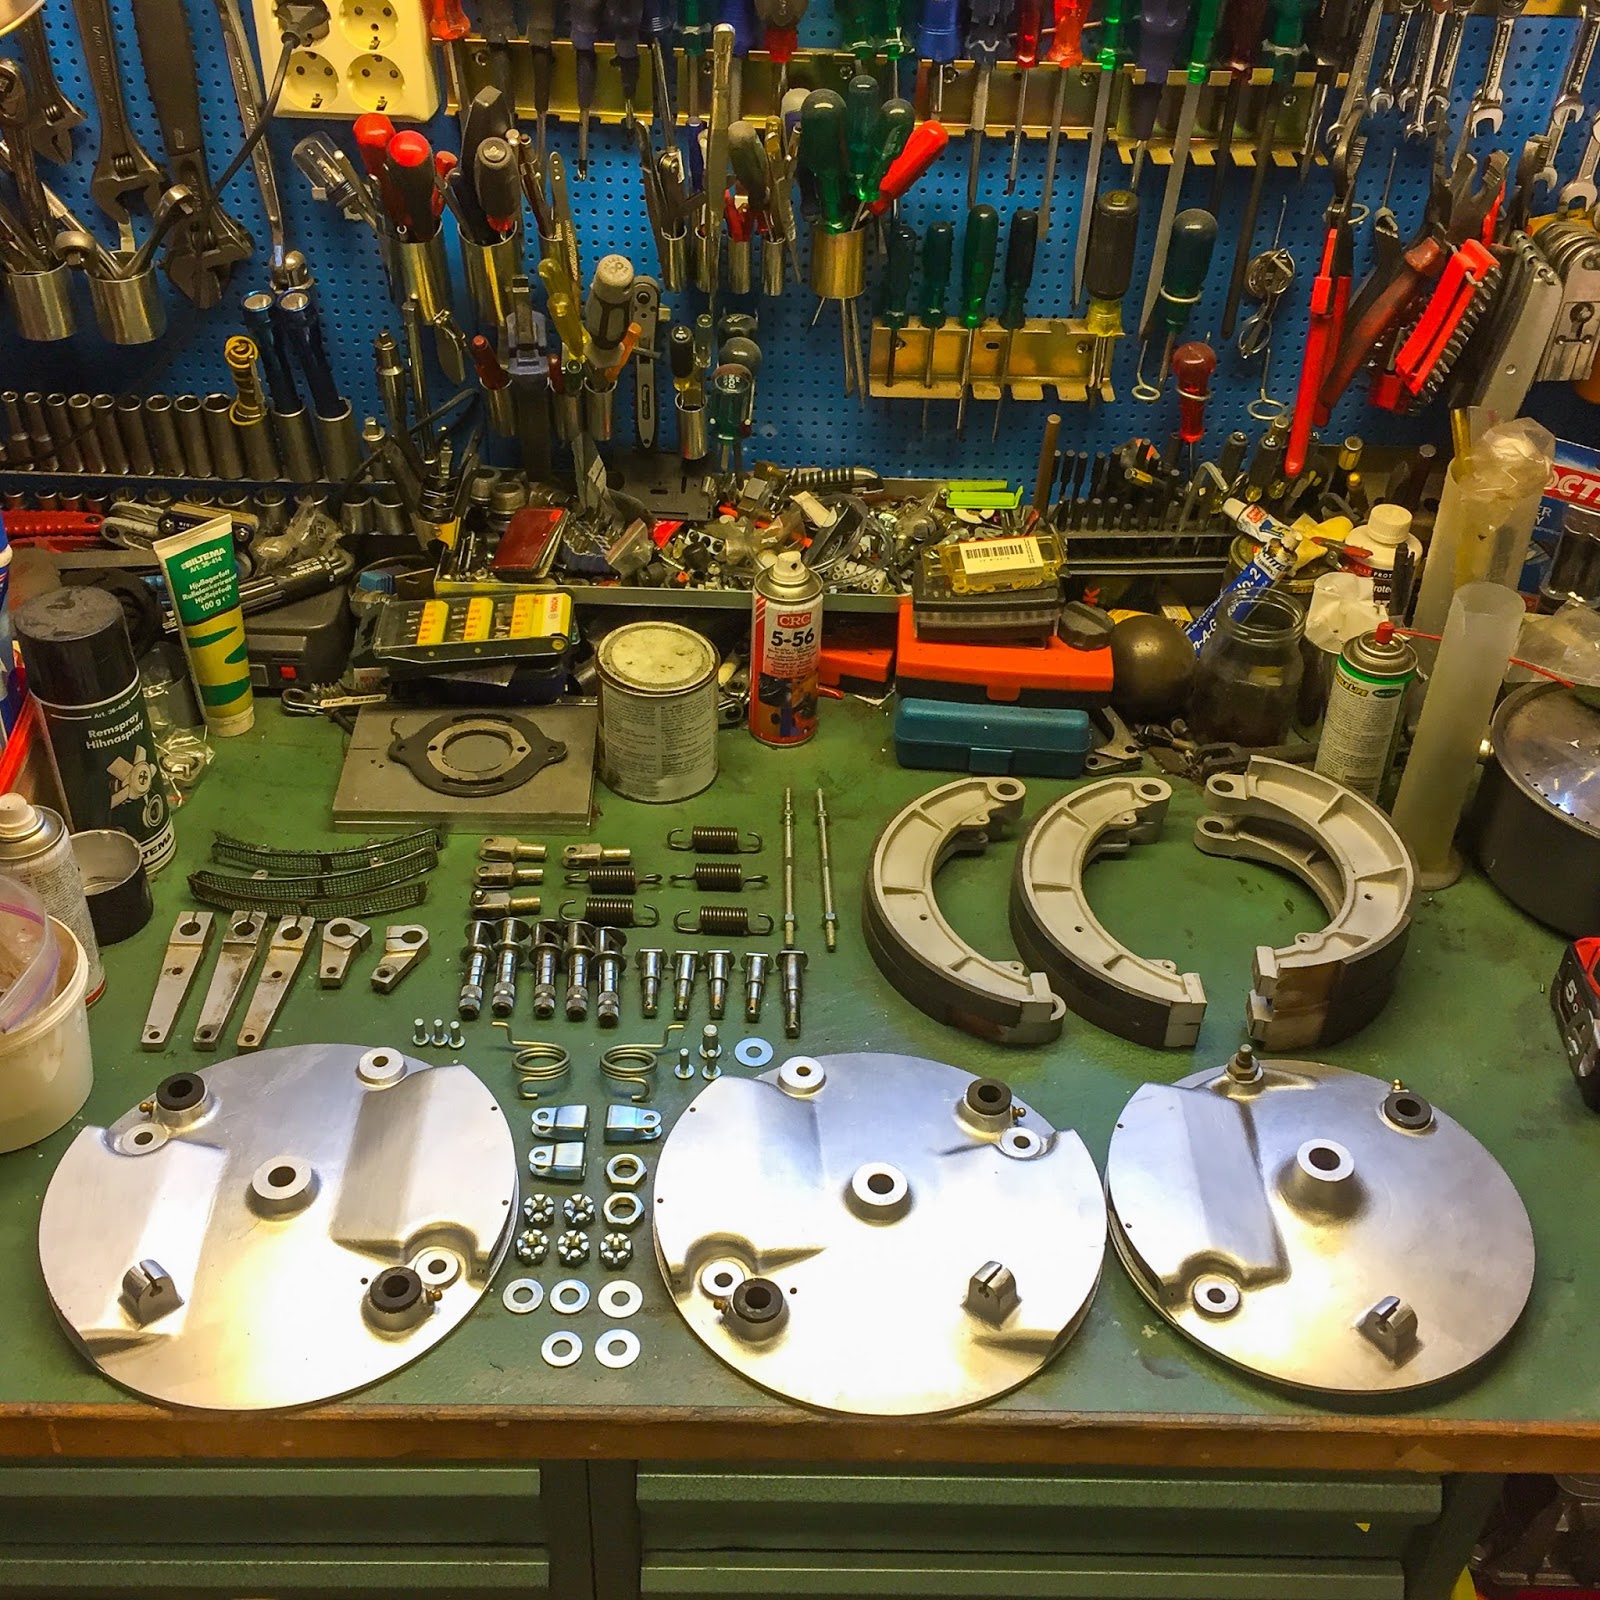
Wheeler Seller is on winter time for his opening hours so I had an additional day to start out engaged on the brake plates earlier than visiting him. Right here I’ve tried to select the varied parts out from the baggage and containers of rezinked and saved components. Fairly a puzzle! Fortunately I’ve taken numerous footage throughout disassembly. Hopefully all of the bits and items are nonetheless right here.

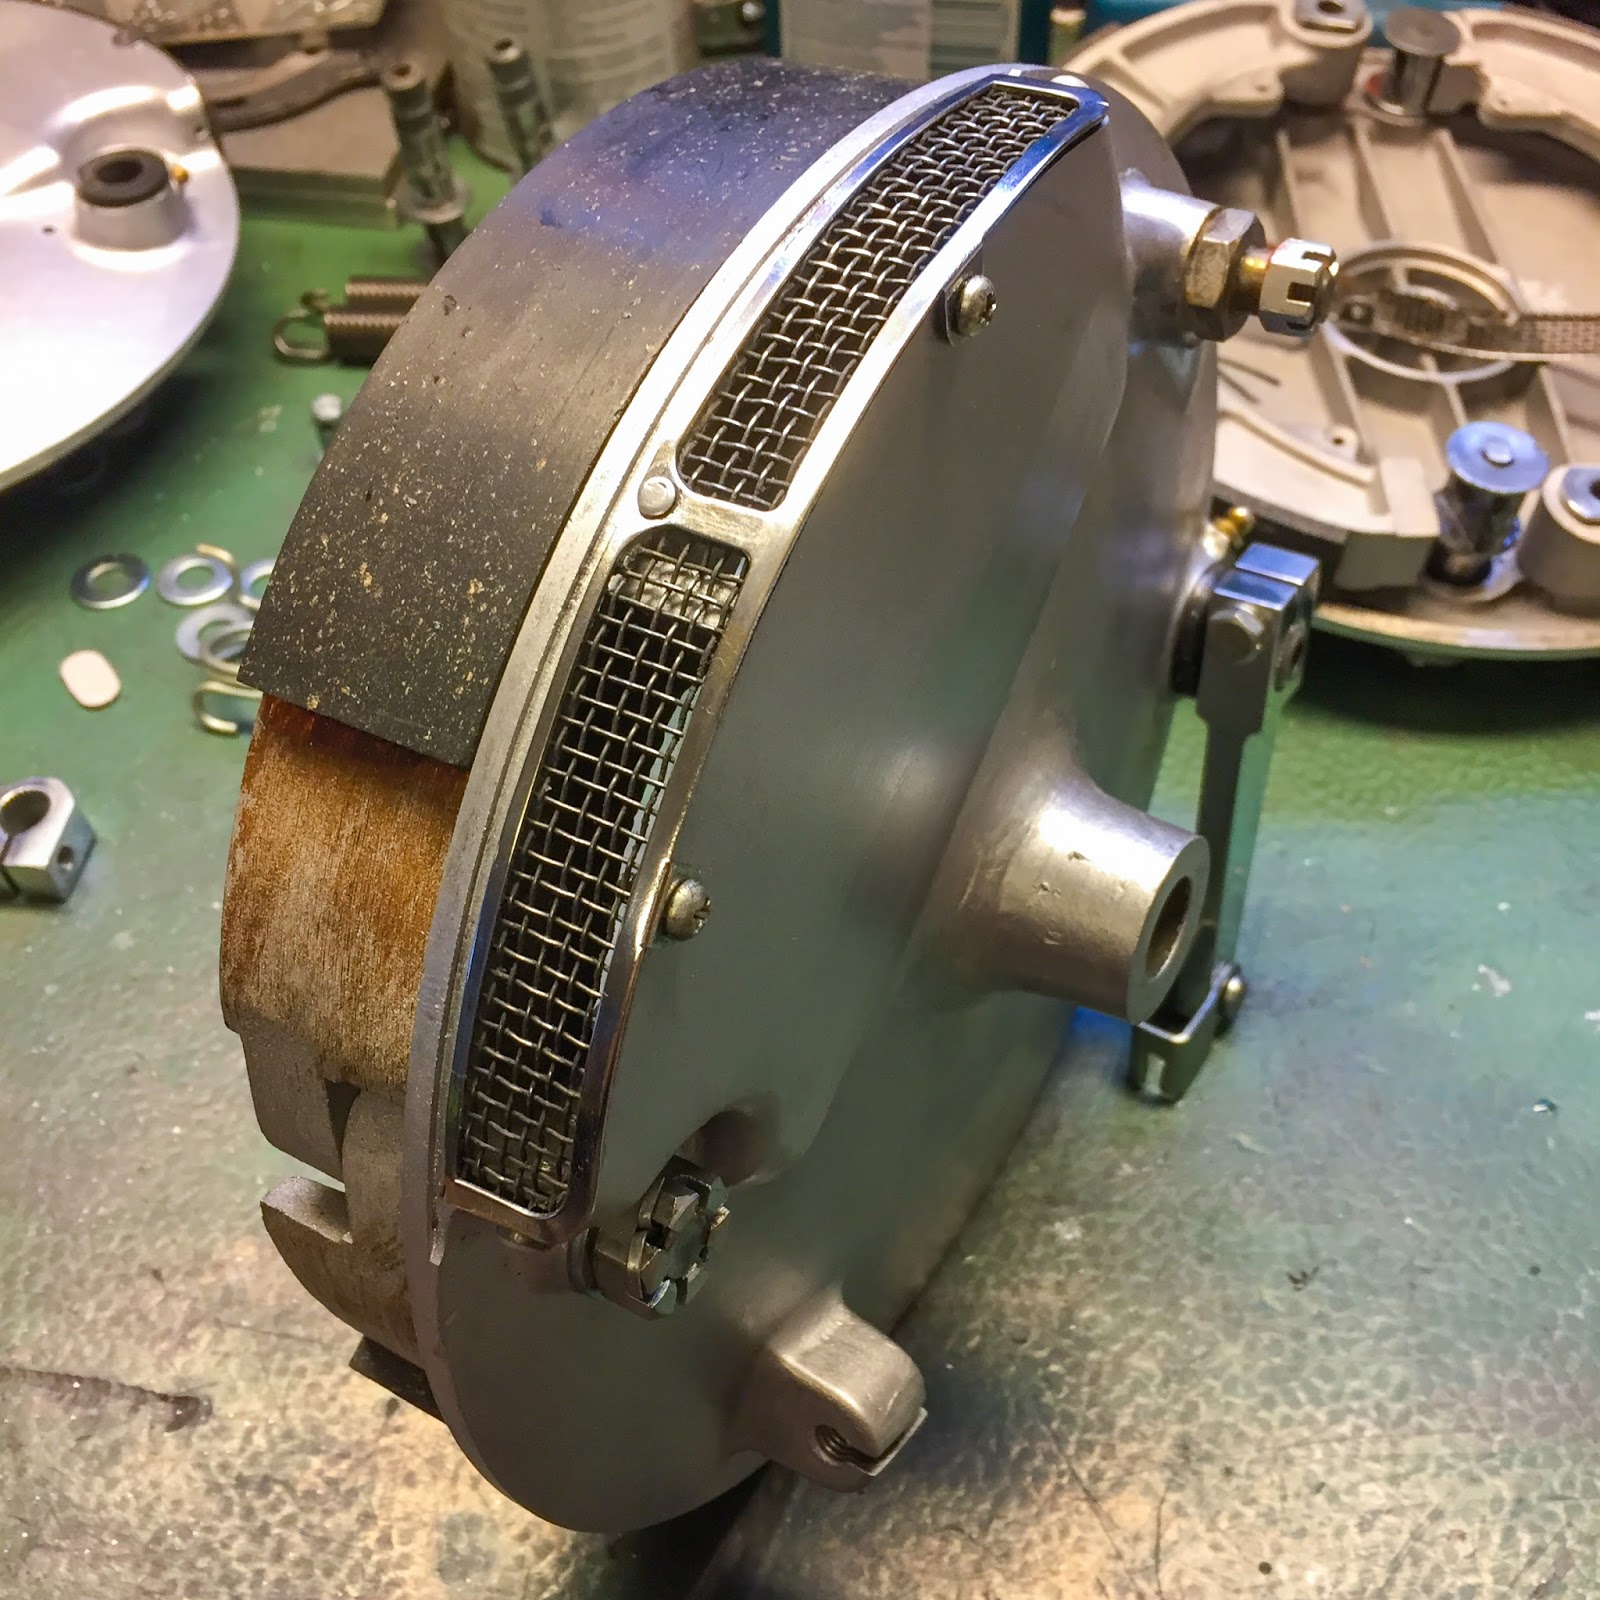
Within the final image you may see all of the aluminium components had been uninteresting and corroded. That was taken care of on the buffing wheel. I´m once more amazed at how mild and skinny most of those components are in comparison with avenue bike stuff. On the high of the image you may see the three ventilator plates. They do want some TLC or to be modified. I did discover 2 of them on eBay so I´m trying ahead to fixing them later!

From footage taken earlier I might begin placing components collectively. There have been nonetheless small marks of damage on the levers and I had marked them “R” and “L” respectively to make sure. This was only a try-out to see if I had all of the components. Appears to be like like I did…
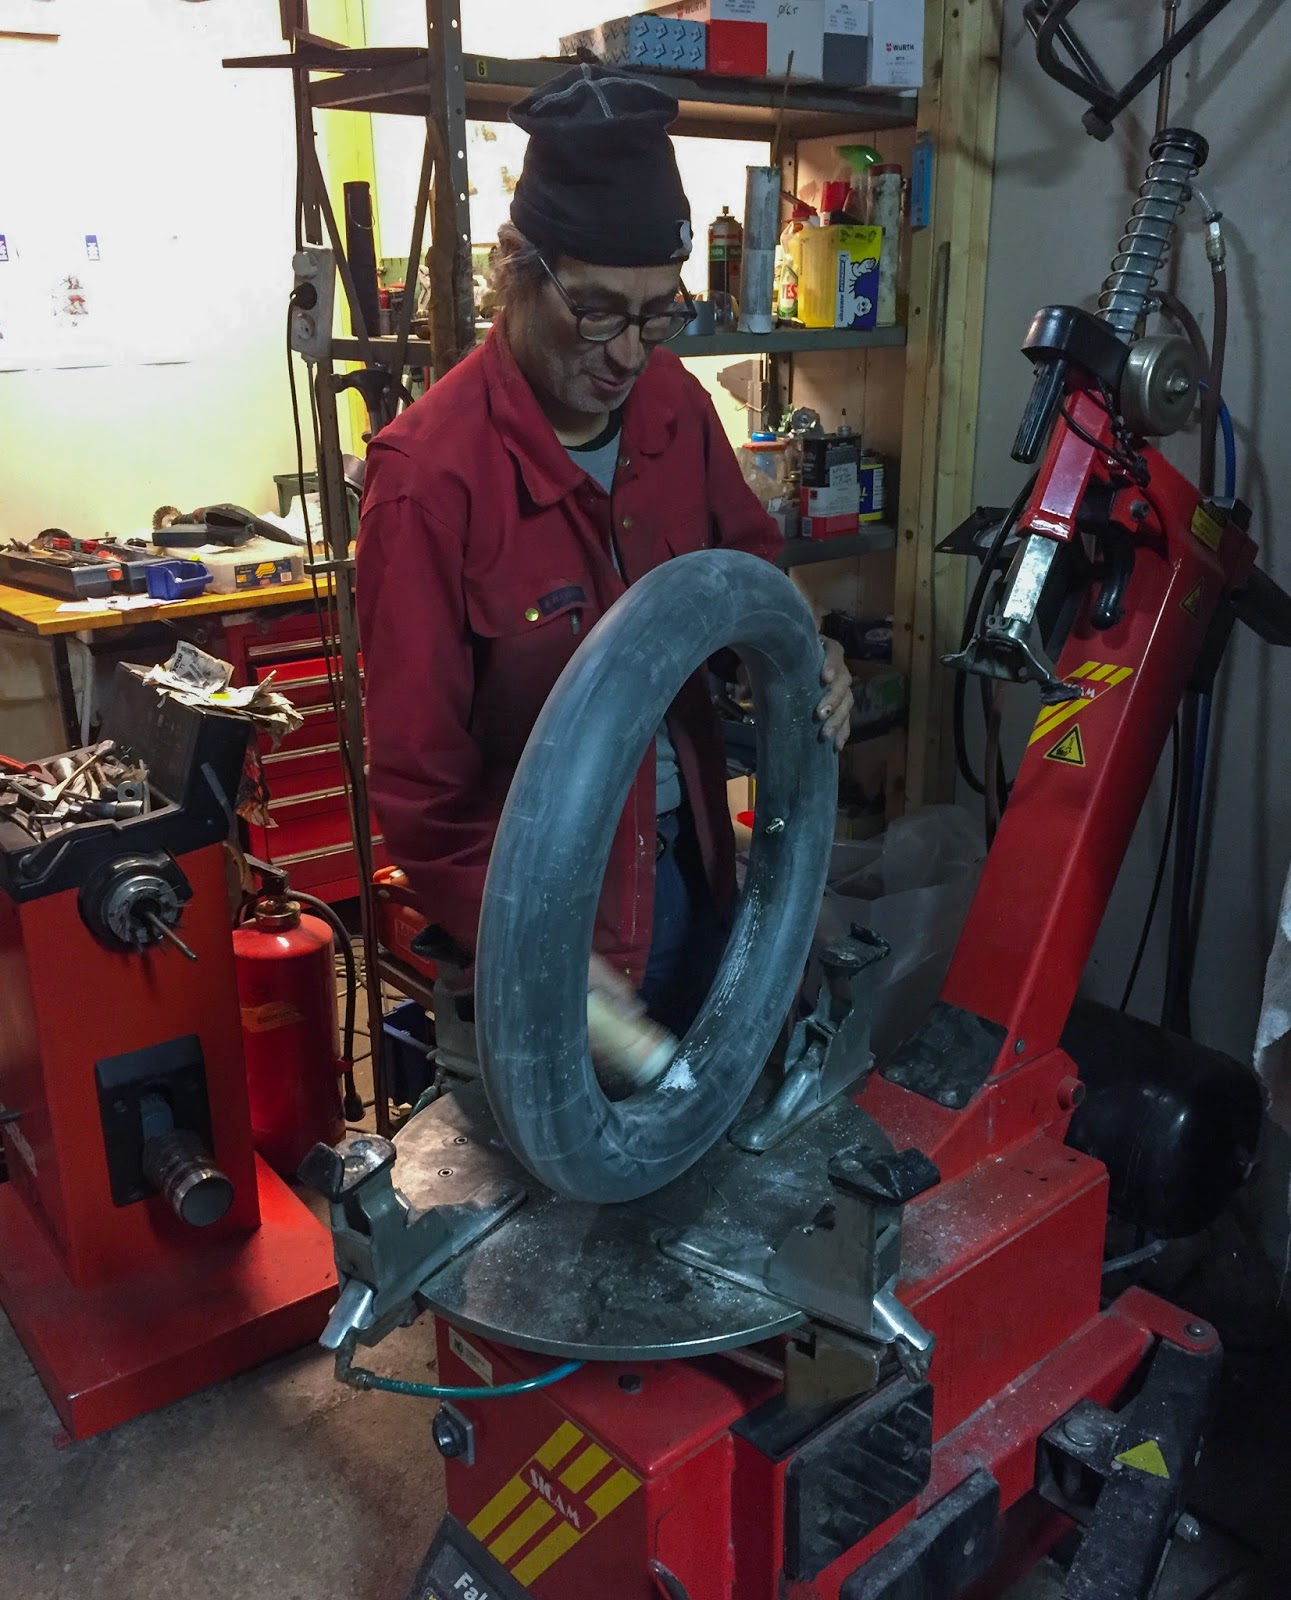
The following day was “Wheeler Seller time” I introduced my new tires, the wheels, the interior tubes and in addition my restored tires. Kjell needed to see how the restored tires seemed and felt. He tried their “hardness” they usually had been truly very a lot softer than earlier than. The brand new tires ended up at 60 models and the restored at 64. Earlier than restoration they had been over 80! Fascinating certainly.
We additionally selected reusing my previous interior tubes. They’d been sitting in my storage stuffed with air for 3 months and nonetheless held strain. No must substitute them for brand spanking new, fashionable, worse in high quality, Chinese language interior tubes. These are classic Dunlop racing tubes and they’ll last more.
The rear tire was very extensive when not mounted. It measured 160 mm and I believed that may be a problem. Turned out to be OK when mounted on the rim and pressurized. It ended up being an ideal 120 mm with a pleasant rounded profile. Good for racing.
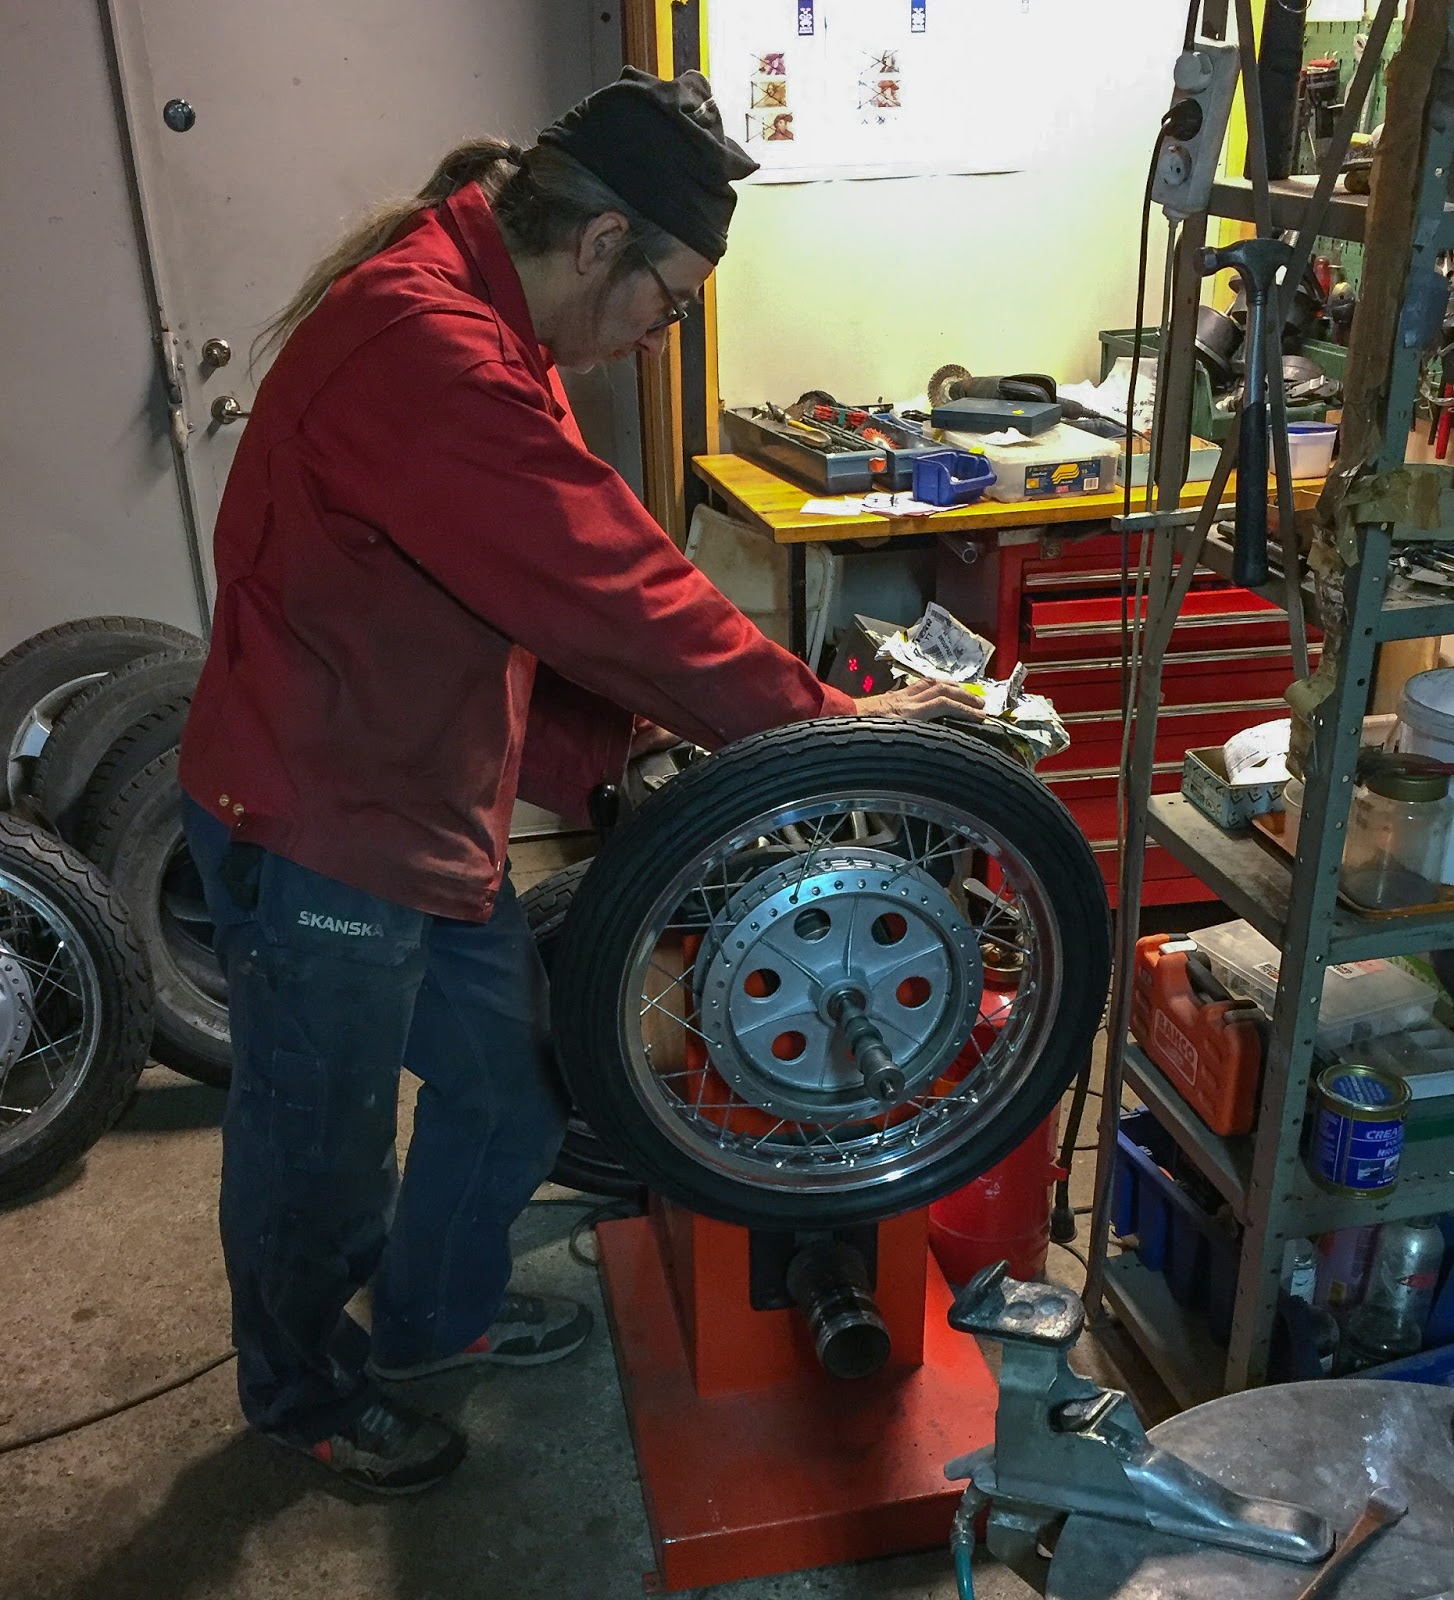
The entrance wheel bought the very same remedy they usually had been each balanced and checked to be working true. Amazingly they had been true and straight. We used classic balancing weights clamped on to the spokes as an alternative of recent ones you glue to the edges. In all, a incredible afternoon spent out within the woods south of Stockholm. 3,5 hours together with a pleasant espresso brake!

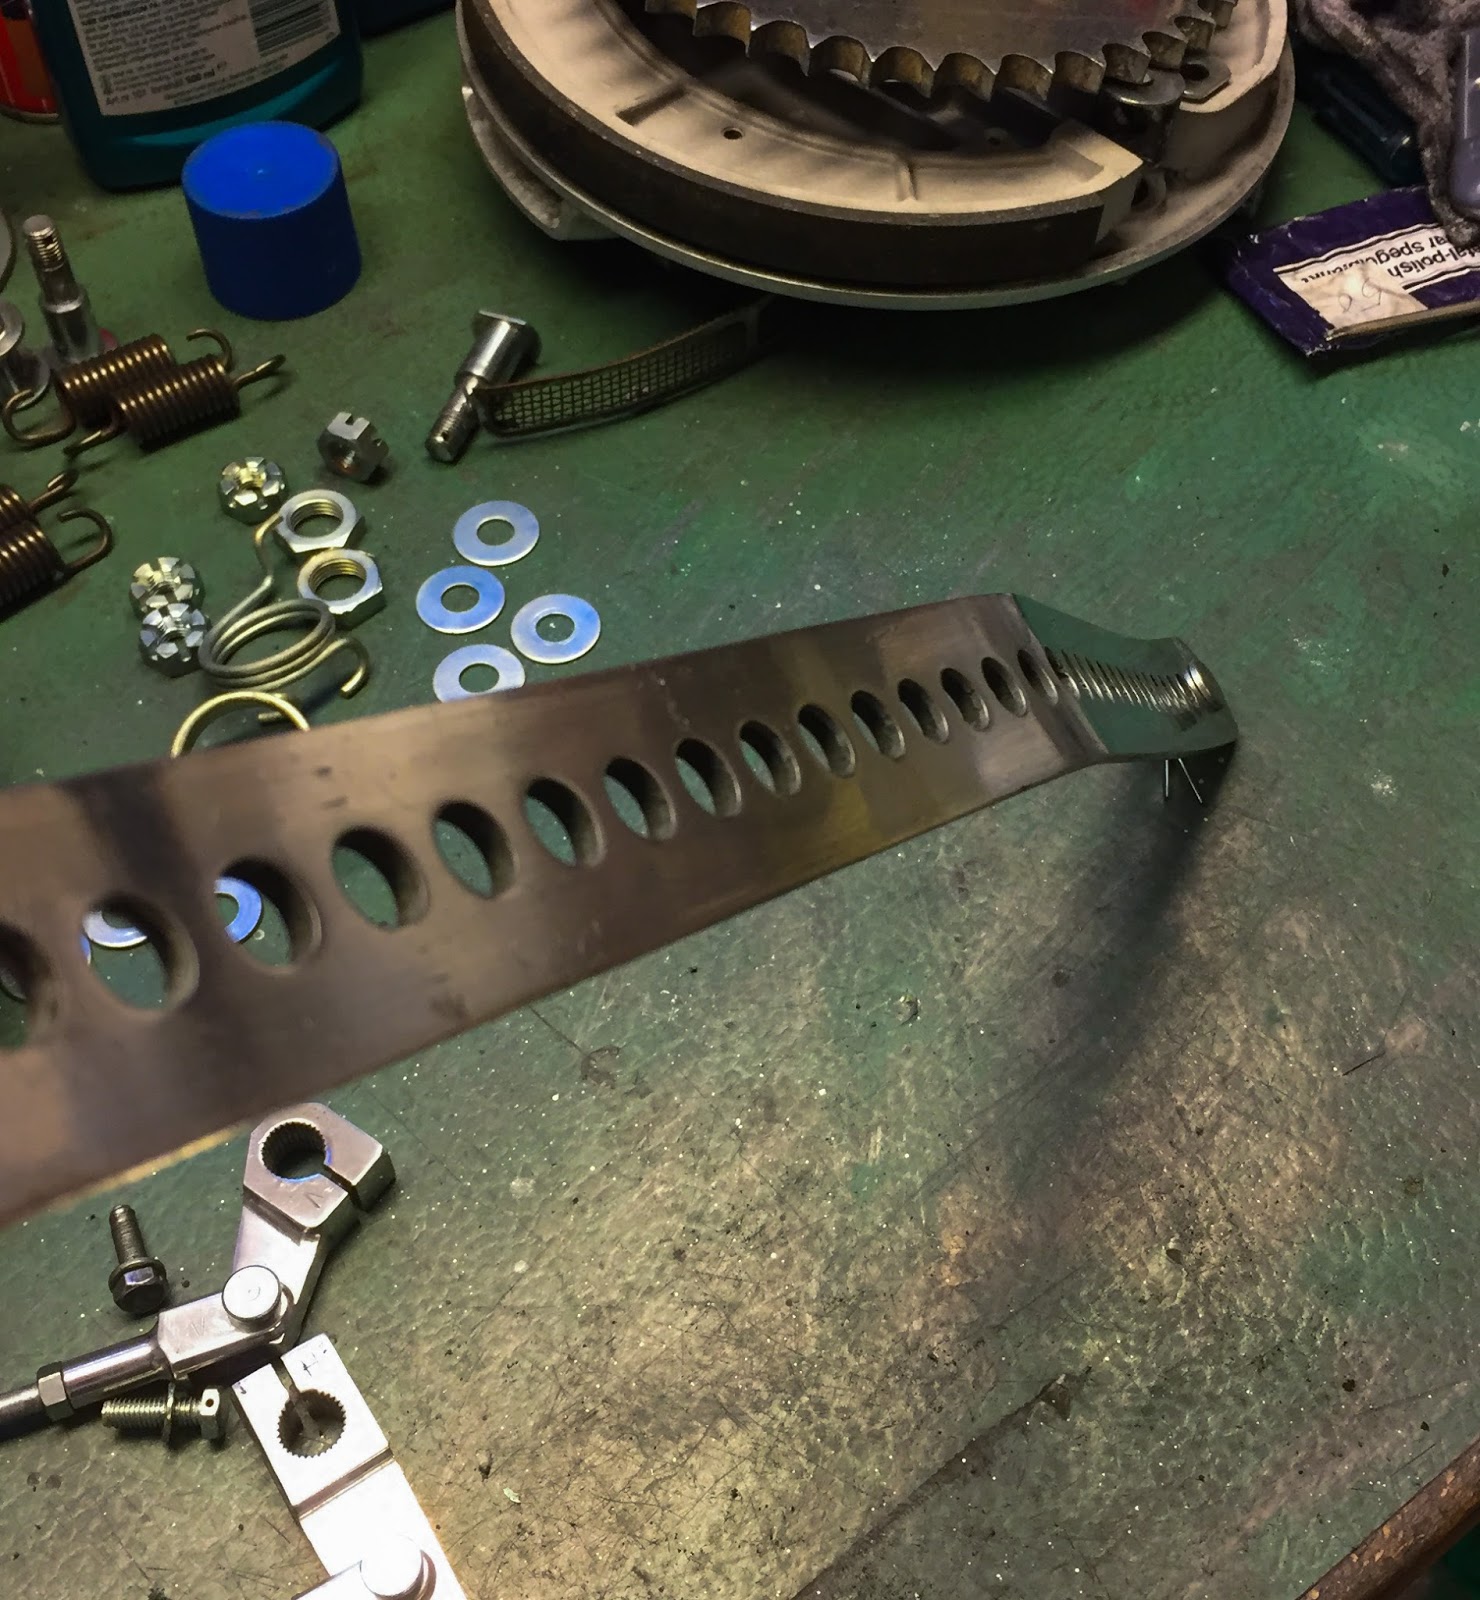
Again dwelling I continued engaged on the brake plates. Right here is the rear one with the brake lever being adjusted from one of many footage taken earlier. The fortress nuts maintain the brake sneakers in place and in addition the brake torque hyperlink.
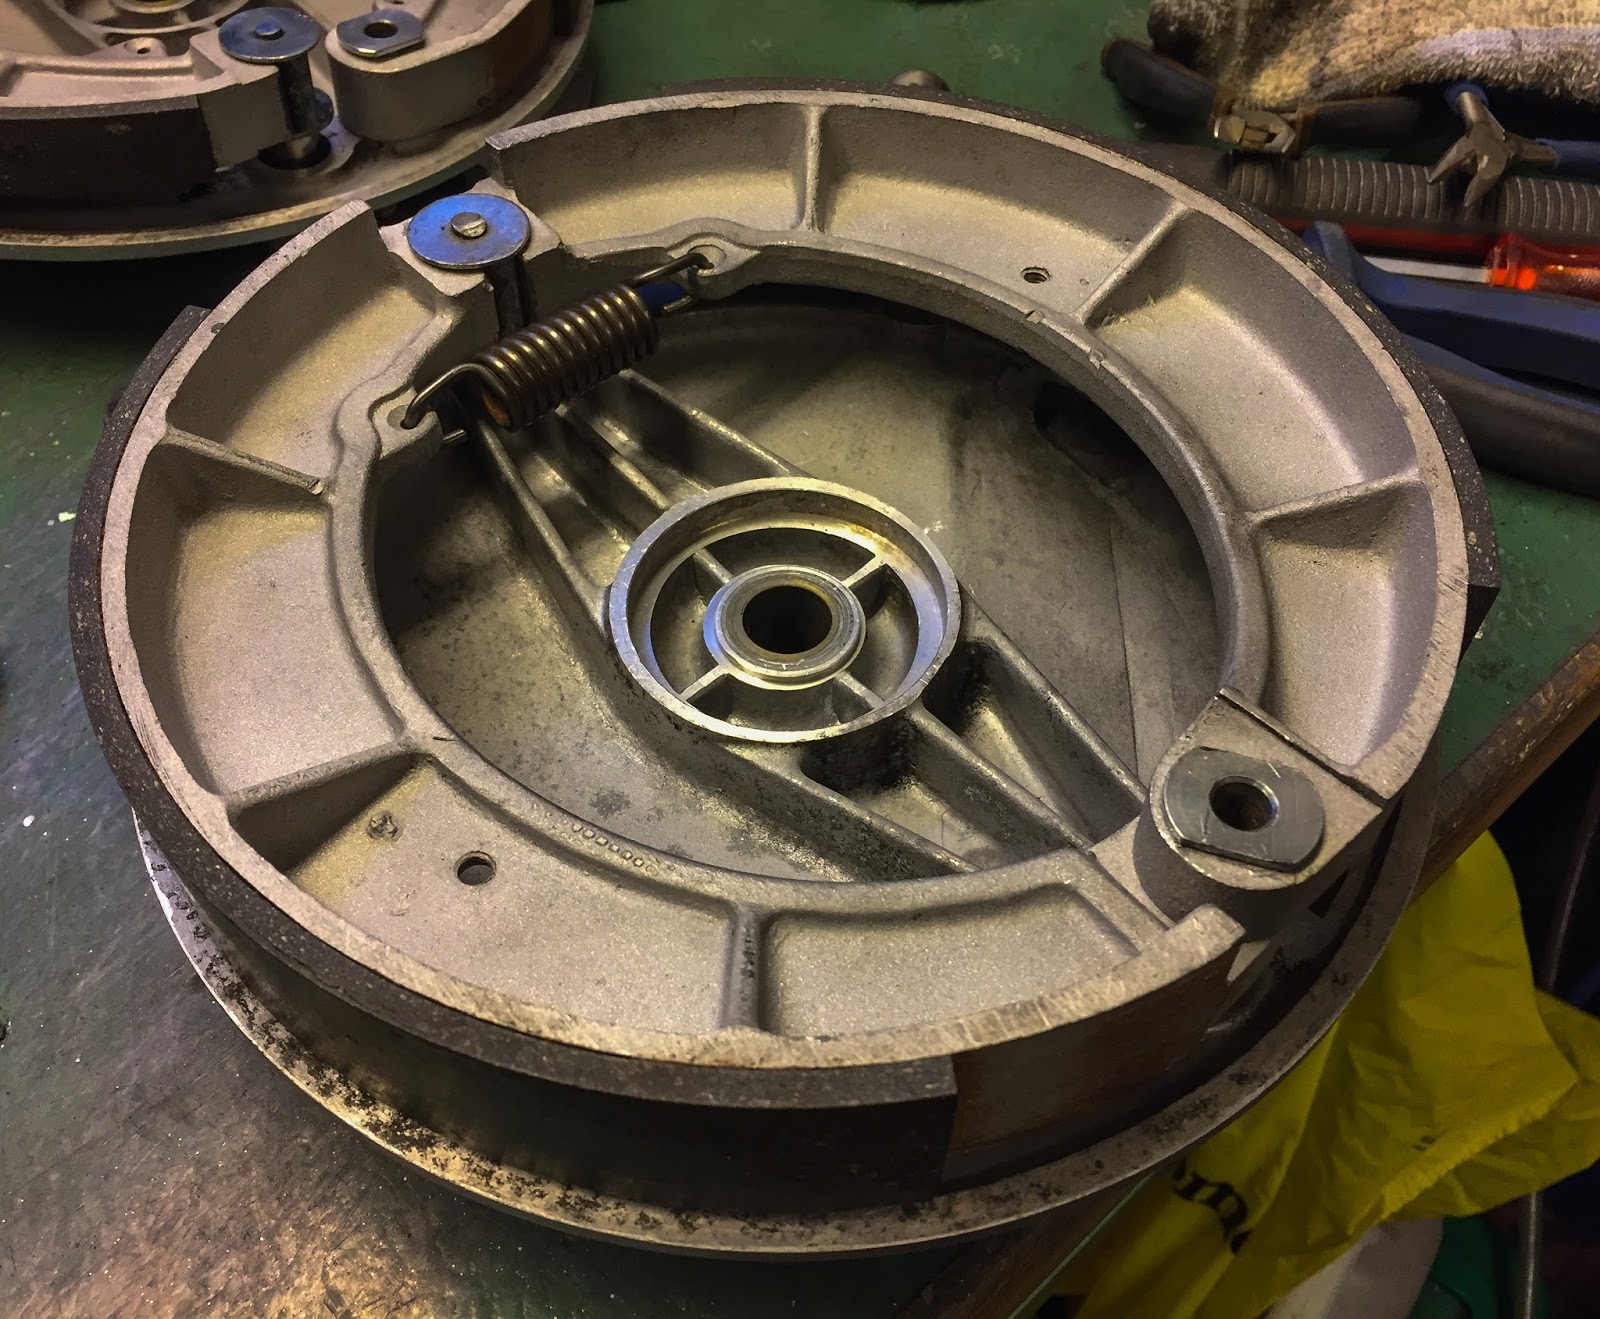
The bottom of it. The tough half right here was to get that highly effective spring that holds the brake sneakers again on. After all I needed to get every thing off and begin once more with that spring getting on first. Tons simpler that manner. All transferring components are greased with a light-weight coat of grease or copper paste to safe they received´t freeze up. There´s even a small grease nipple on the surface of the plate the place you may grease the brake cam. You might want to watch out to not grease these components an excessive amount of. Grease is just not a needed substance near your brake sneakers…
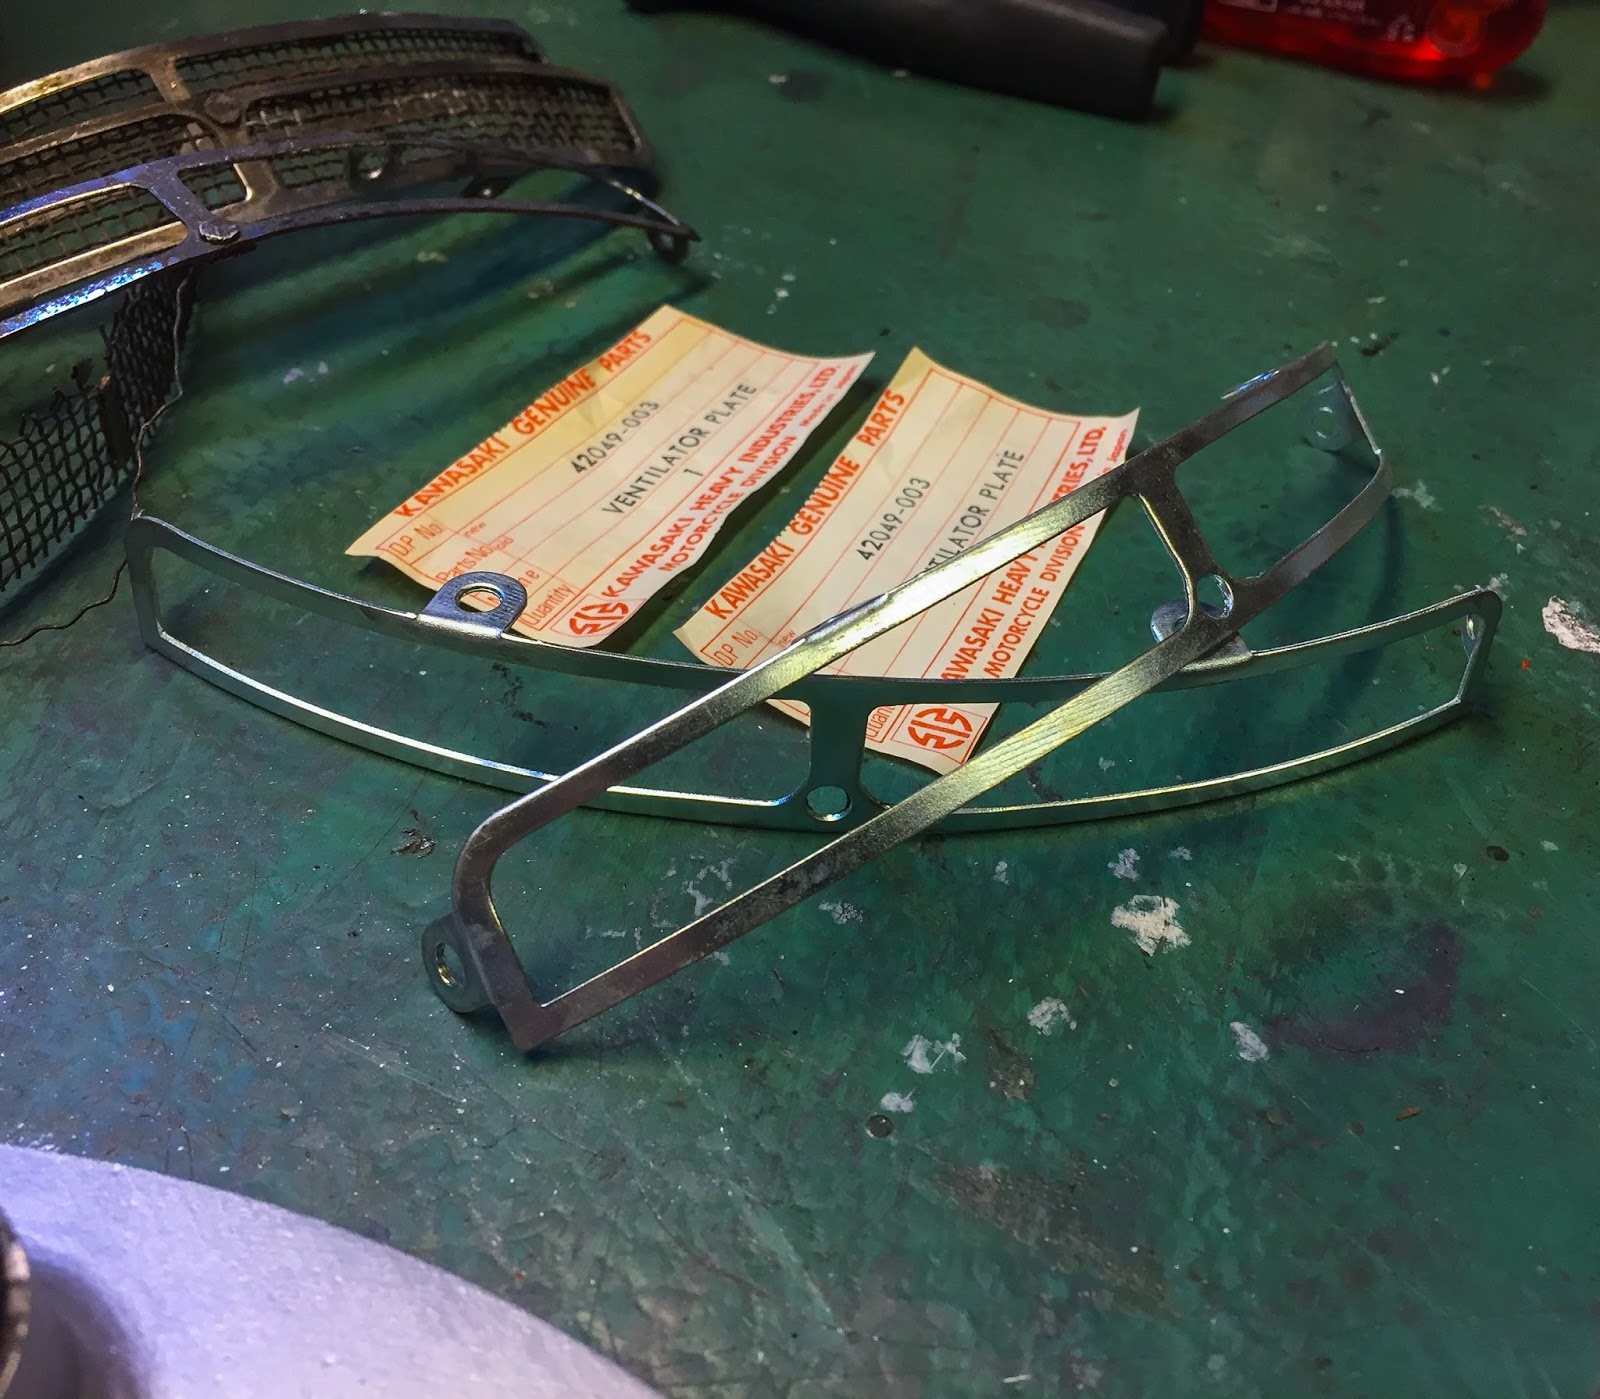
My plan with the eBay buy of the NOS ventilator plates was to exchange the 2 up entrance with the brand new ones and repair the perfect one of many remaining for the rear wheel.

As you’ve got found out by now, I simply love unpacking these small Kawasaki baggage of NOS components. Classic Kawasaki half labels from 1970 or thereabouts. Small artistic endeavors.
Effectively, that didn´t work out. Anybody stunned? Not me… It´s not the primary time Kawasaki engineers made a idiot of me. The entrance and rear ventilator plates usually are not interchangeable. I purchased two NOS ventilator plates for the rear wheel. Right here I´m attempting a entrance ventilator plate on the rear brake plate. No pleasure! My previous, rear ventilator plate was truly my greatest one….

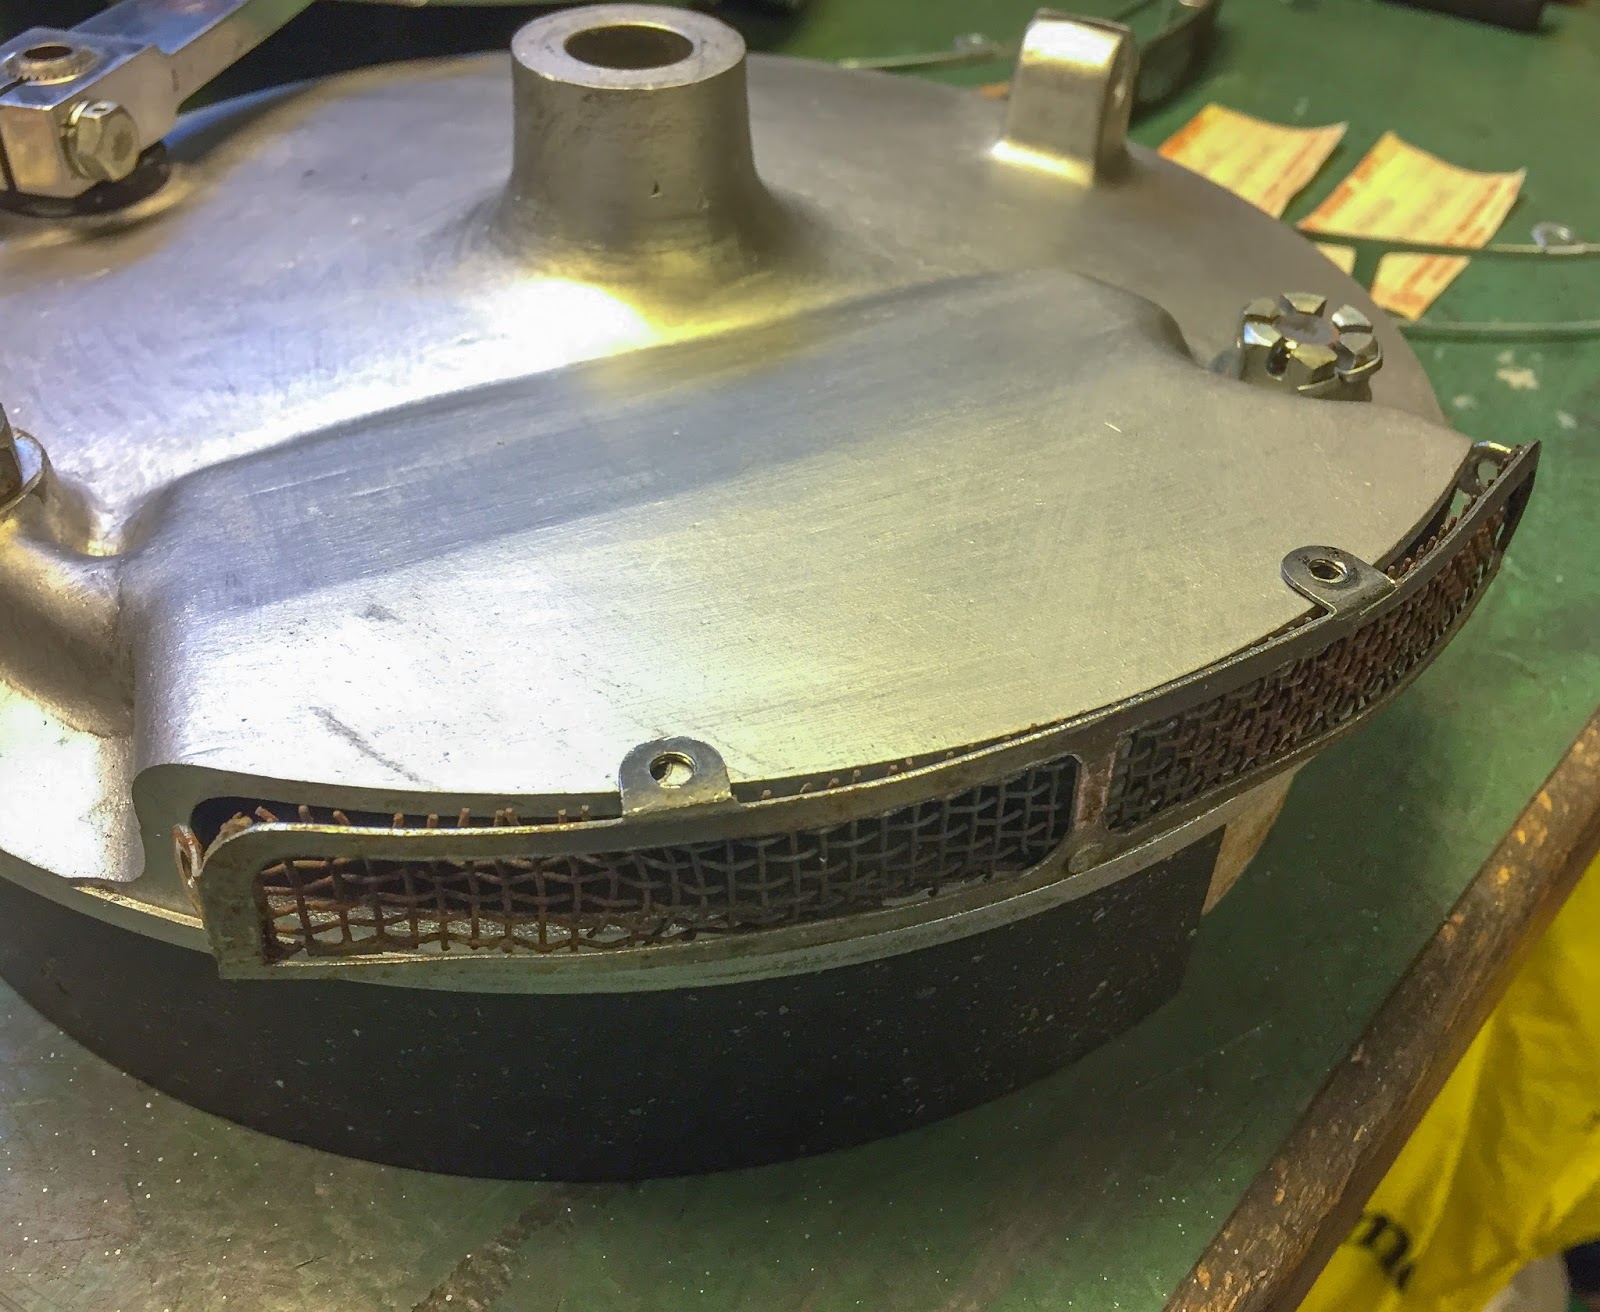
Change of plans. The NOS ventilator plates went again of their baggage along with these stunning tags and I began fixing the previous rear ventilator plate to the perfect of my capability. Buffing wheel, razor blade and the POL creme.
It turned out simply tremendous. Rezinked screws, cleaned and polished internet and buffed body got here collectively properly. It will do exactly tremendous!
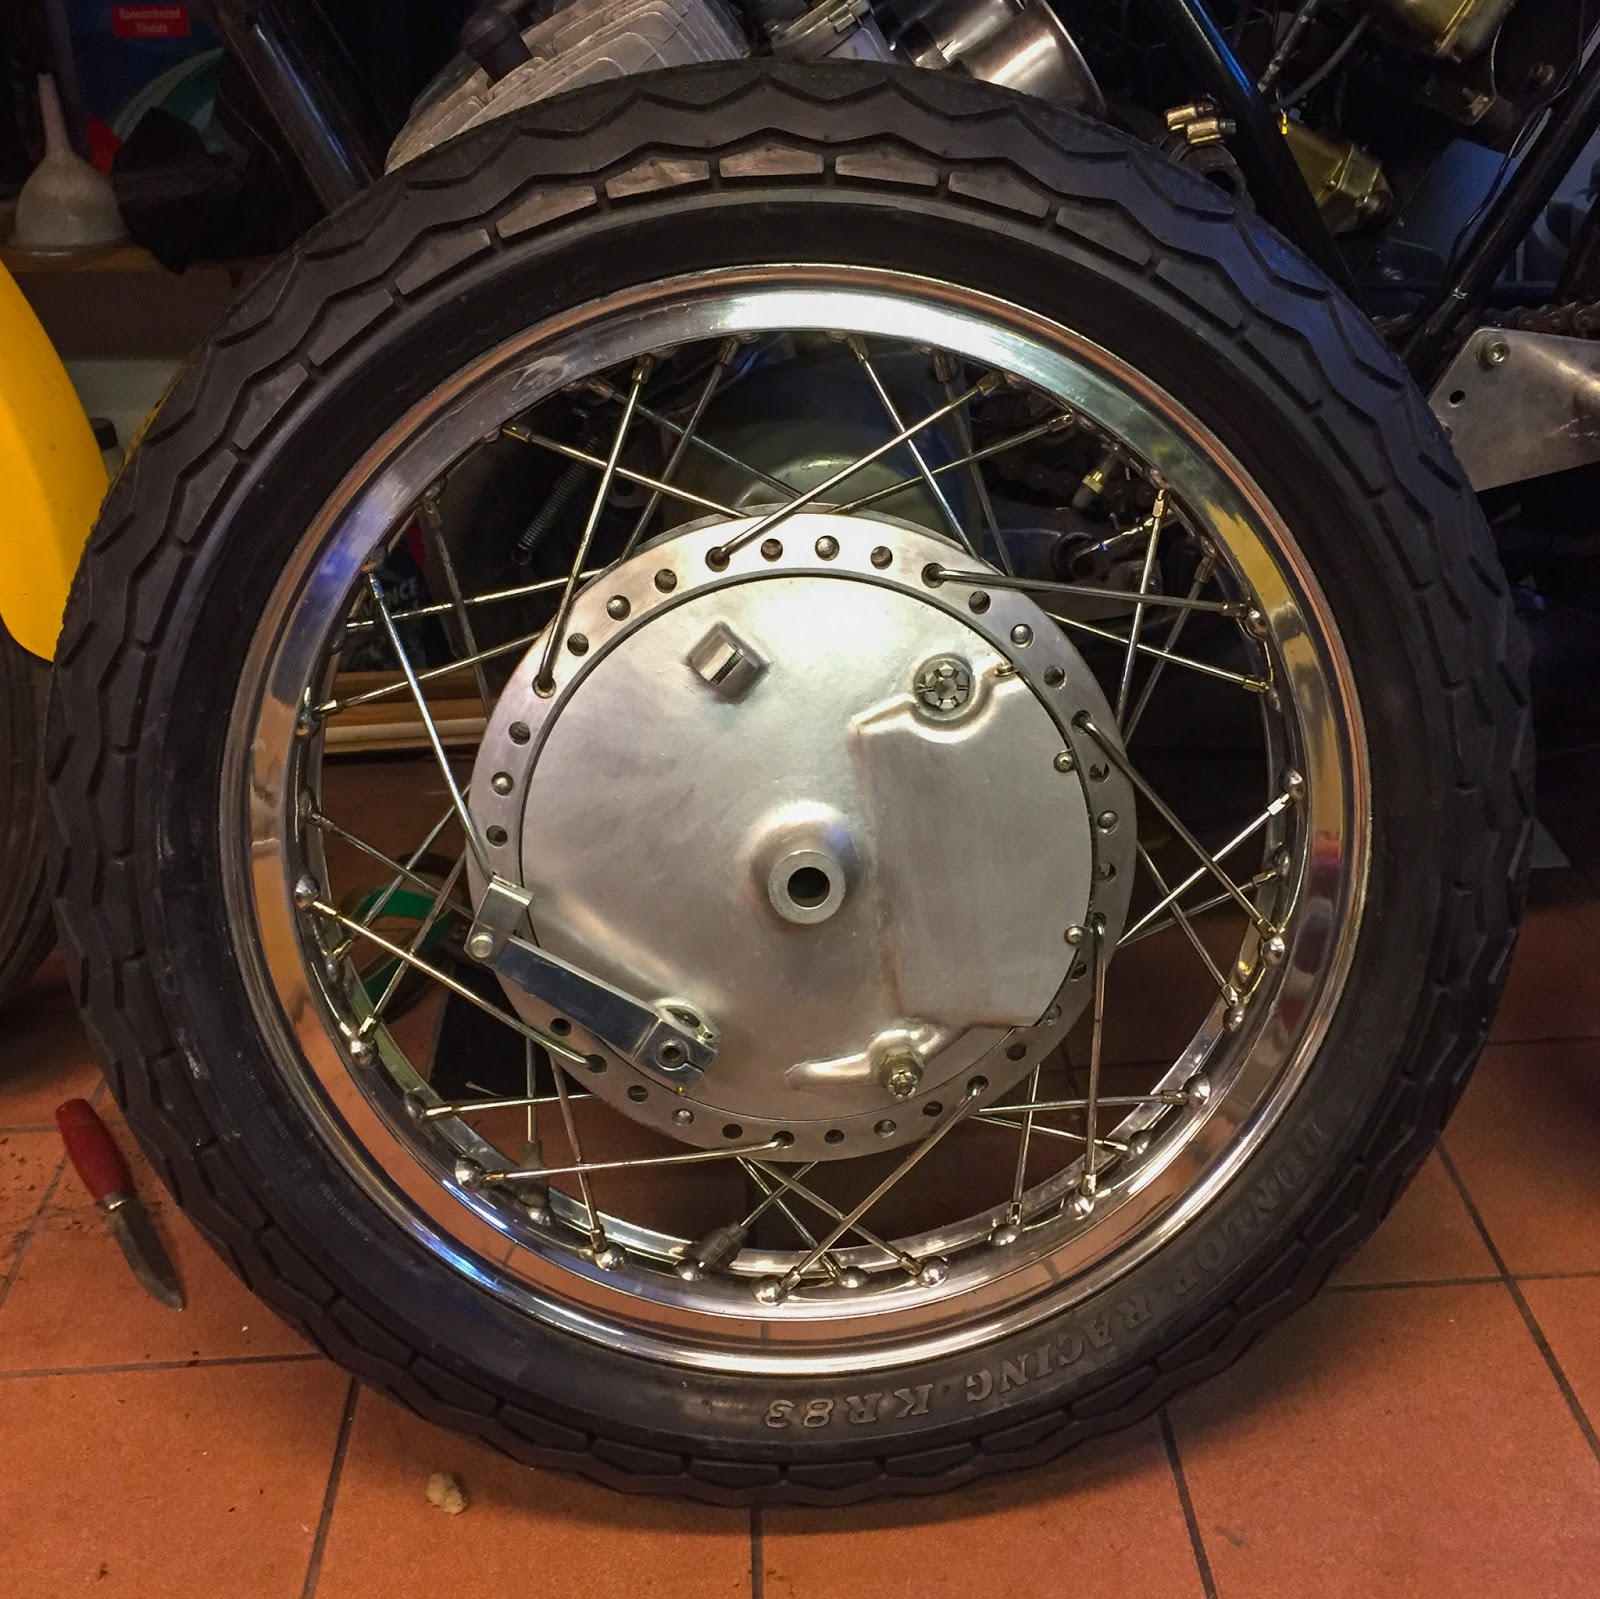
The rear wheel is completed! Model new Dunlop racing tire fitted to the cleaned and polished rim. Brake sneakers restored, transferring components greased and fitted to the refurbished brake plate. This appears greater than OK to me. I´m truly very, very content material right here!
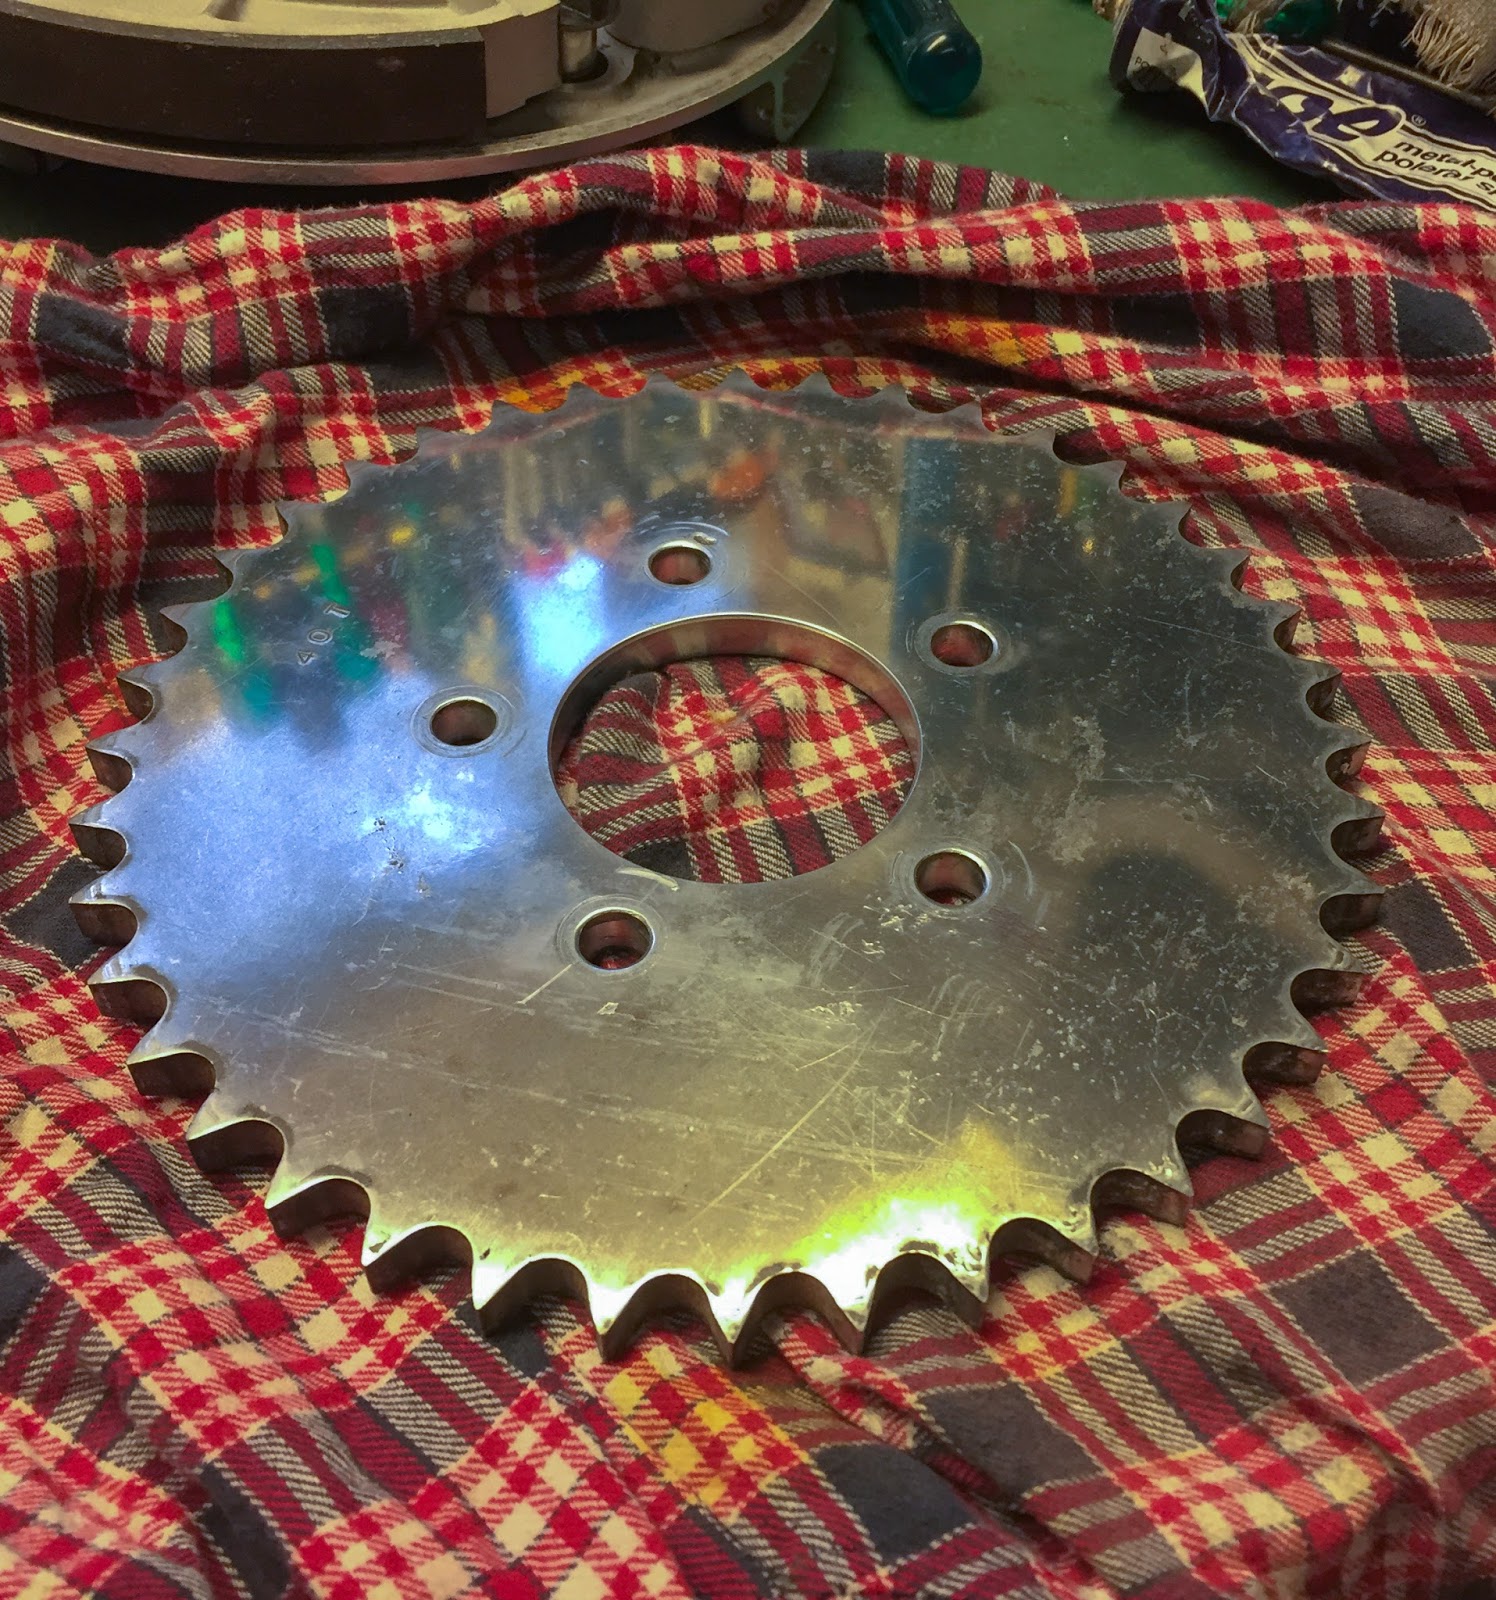
A fast look on the rear sprocket… The guide says 94 hyperlink 530 drive chain, the identical as on the road bikes and in addition the H2:s. As I used to be cleansing the rear sprocket I felt it was a bit thicker than regular. A fast measurement revealed what I suspected. The sprocket is identical thickness the Z1 used, 630 chain. Why would somebody change a 530 chain (that’s truly a bit too heavy within the first place..) to an excellent heavier one, a 630? Beats me! A telephone name to one among our greatest bike salvage yards right here in Sweden, Spinnin´wheel, secured a few rear sprocket blanks in several sizes. hopefully I could make an entire set in 530 and in addition a few units in 520 thickness which is greater than sufficient for this engine´s energy output. This a part of the story continues.
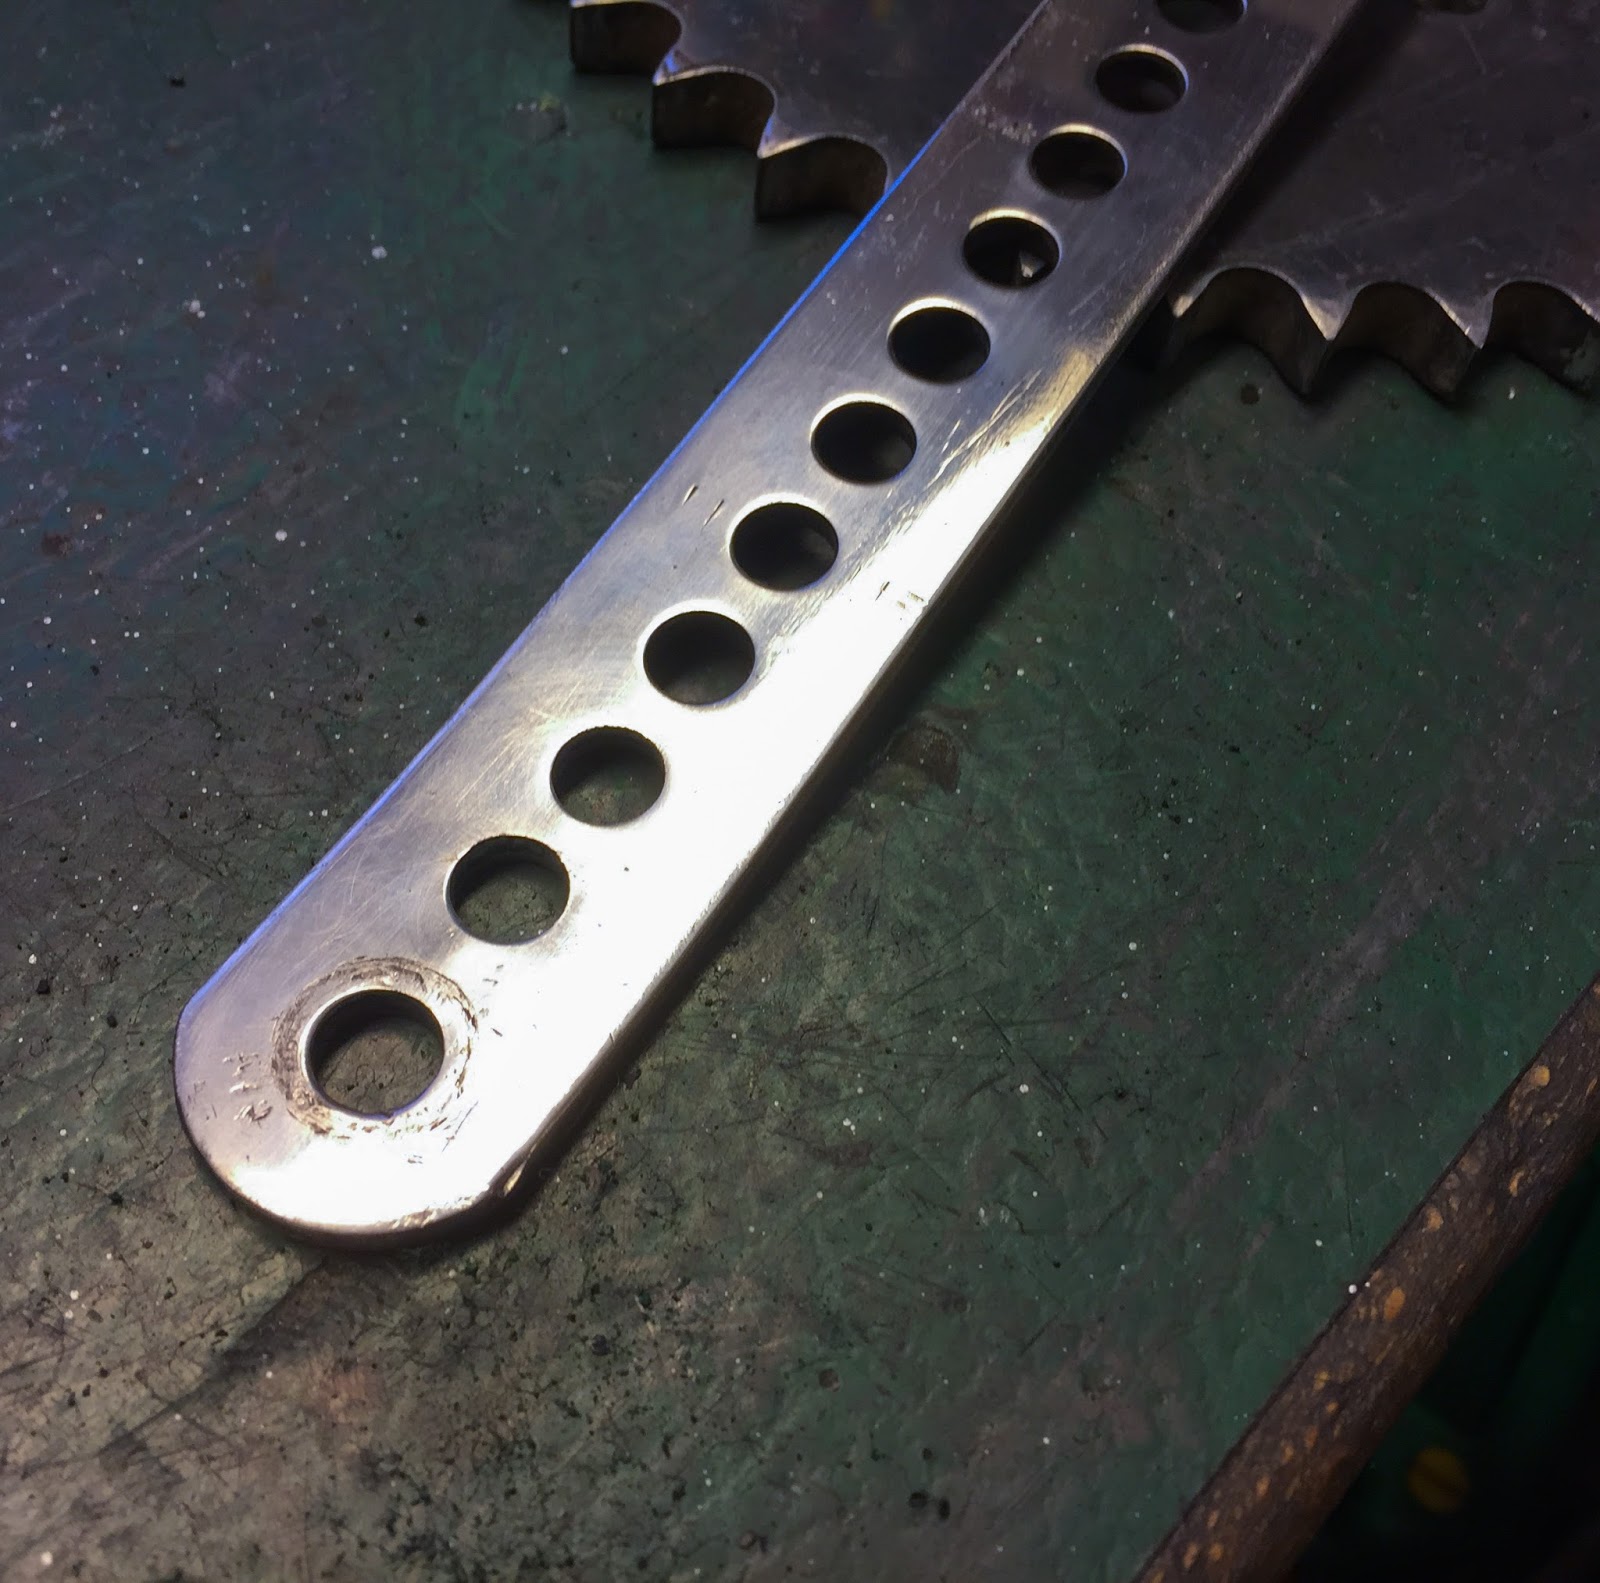
Since I used to be engaged on the rear wheel components I’d simply as properly repair the rear brake torque hyperlink. It was painted black and wanted to be aluminium as an alternative. A coat of CRC gasket remover took the paint proper off and the buffing wheel polished the hyperlink to virtually mirror shine. Too shiny truly…
The shine was dulled a bit by Scotch-Brite abrasive fabric. It will match properly with the rear fender and the floor I achieved there. I additionally discovered the pin and an acceptable cotter pin. Rear brake torque hyperlink completed!

As I used to be rummaging by way of the containers looking for components for the rear brake I additionally got here throughout this one. The “ignition lock” The humorous factor right here is I visited Janne the opposite day to ship his piston rings and we mentioned his swap. We had been each doubtful it was the right one he had. Effectively, mine is the very same! Is it the unique? I don´t know!
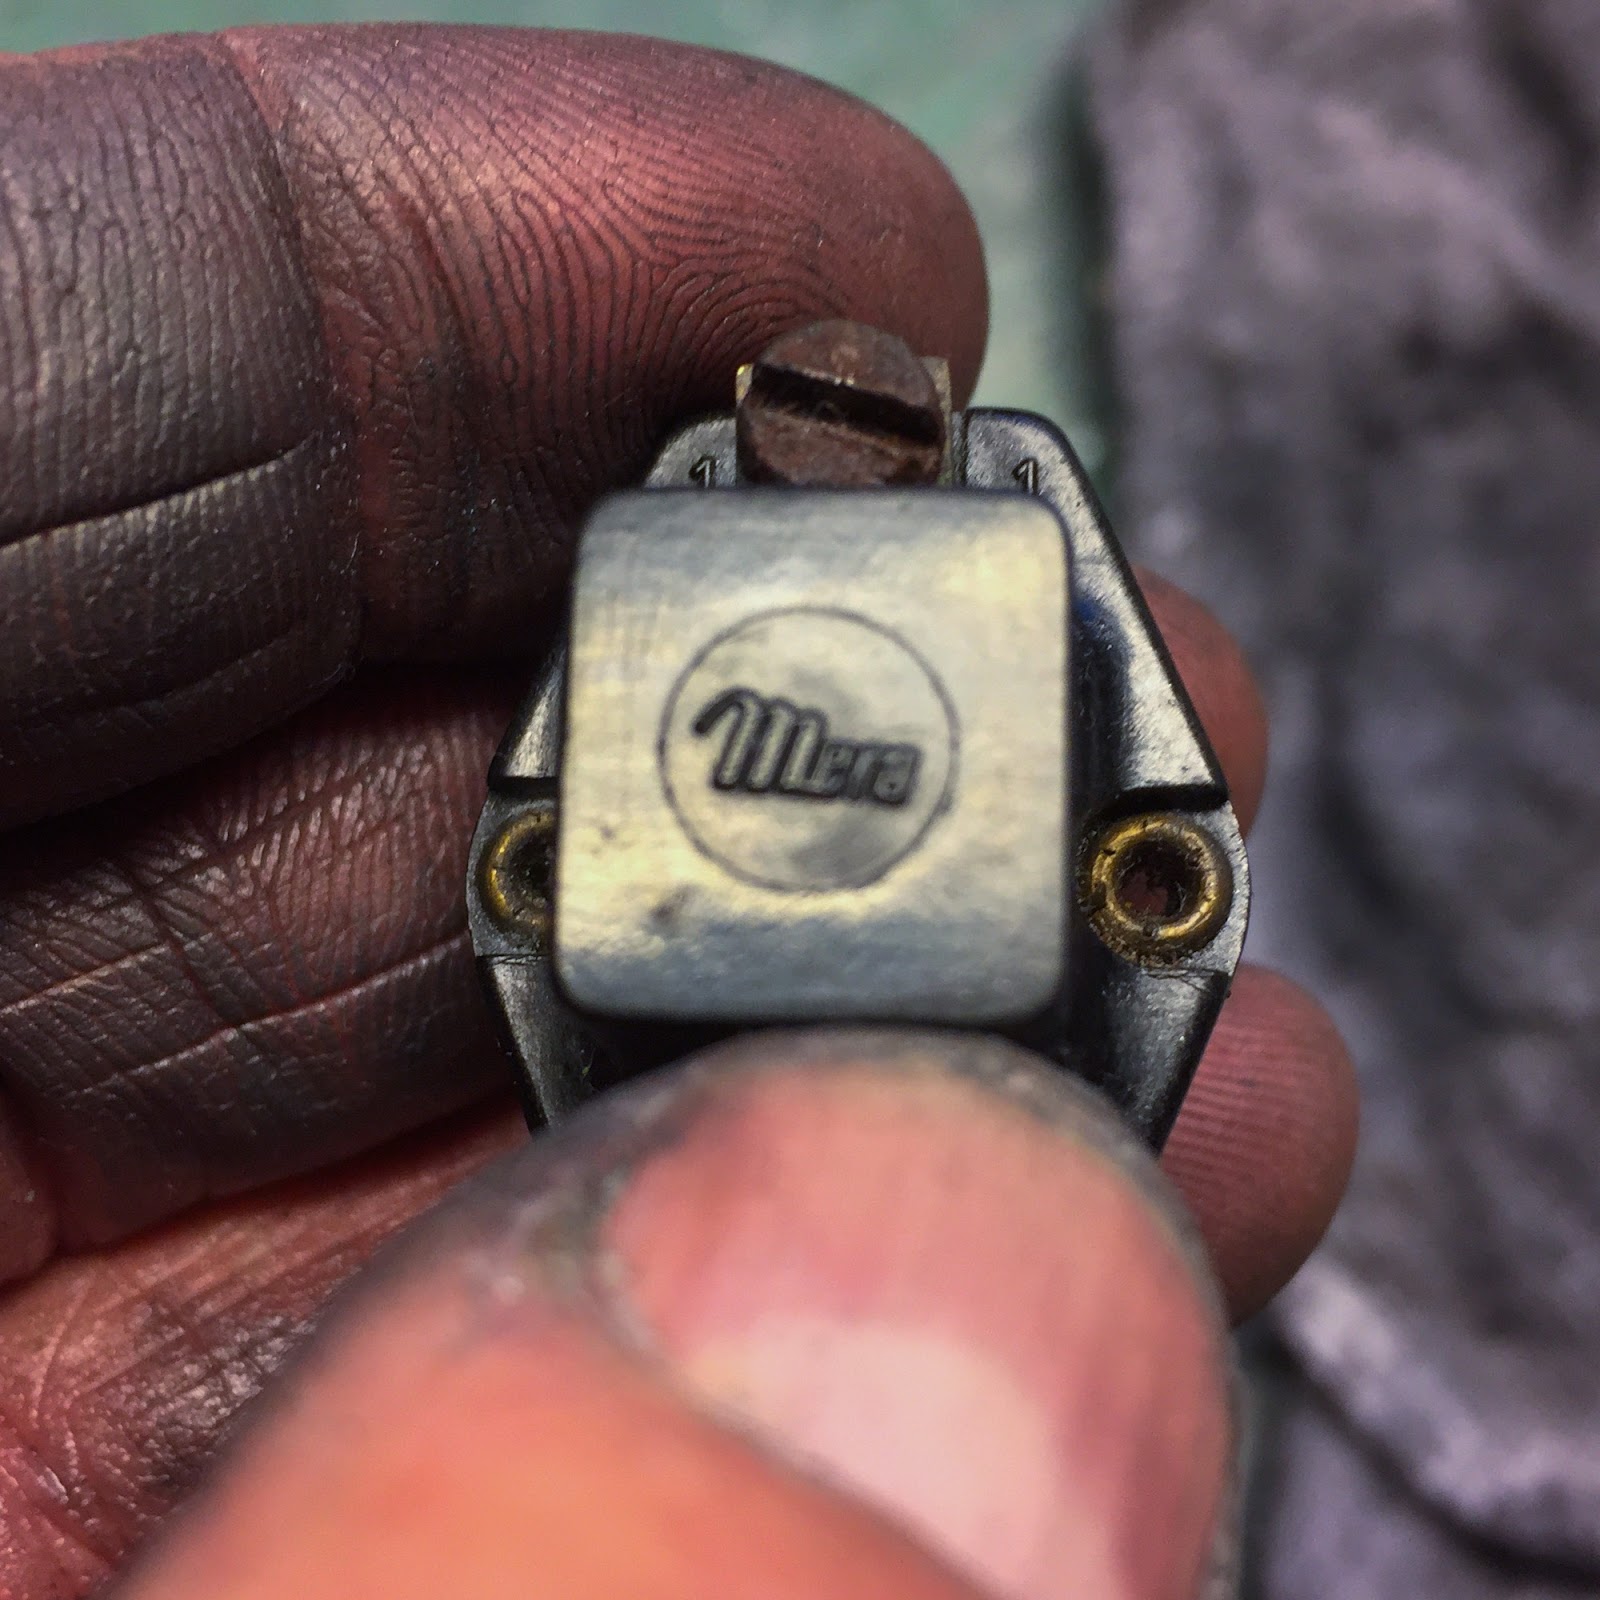
The Kawasaki quantity is 27005-034 and I severely doubt it appears like this. The humorous half is that each Janne´s and my bike has it. The bottom appears like this. It says “Mera”. Is that the producer? if anybody on the market has info on the swap, please let me know!
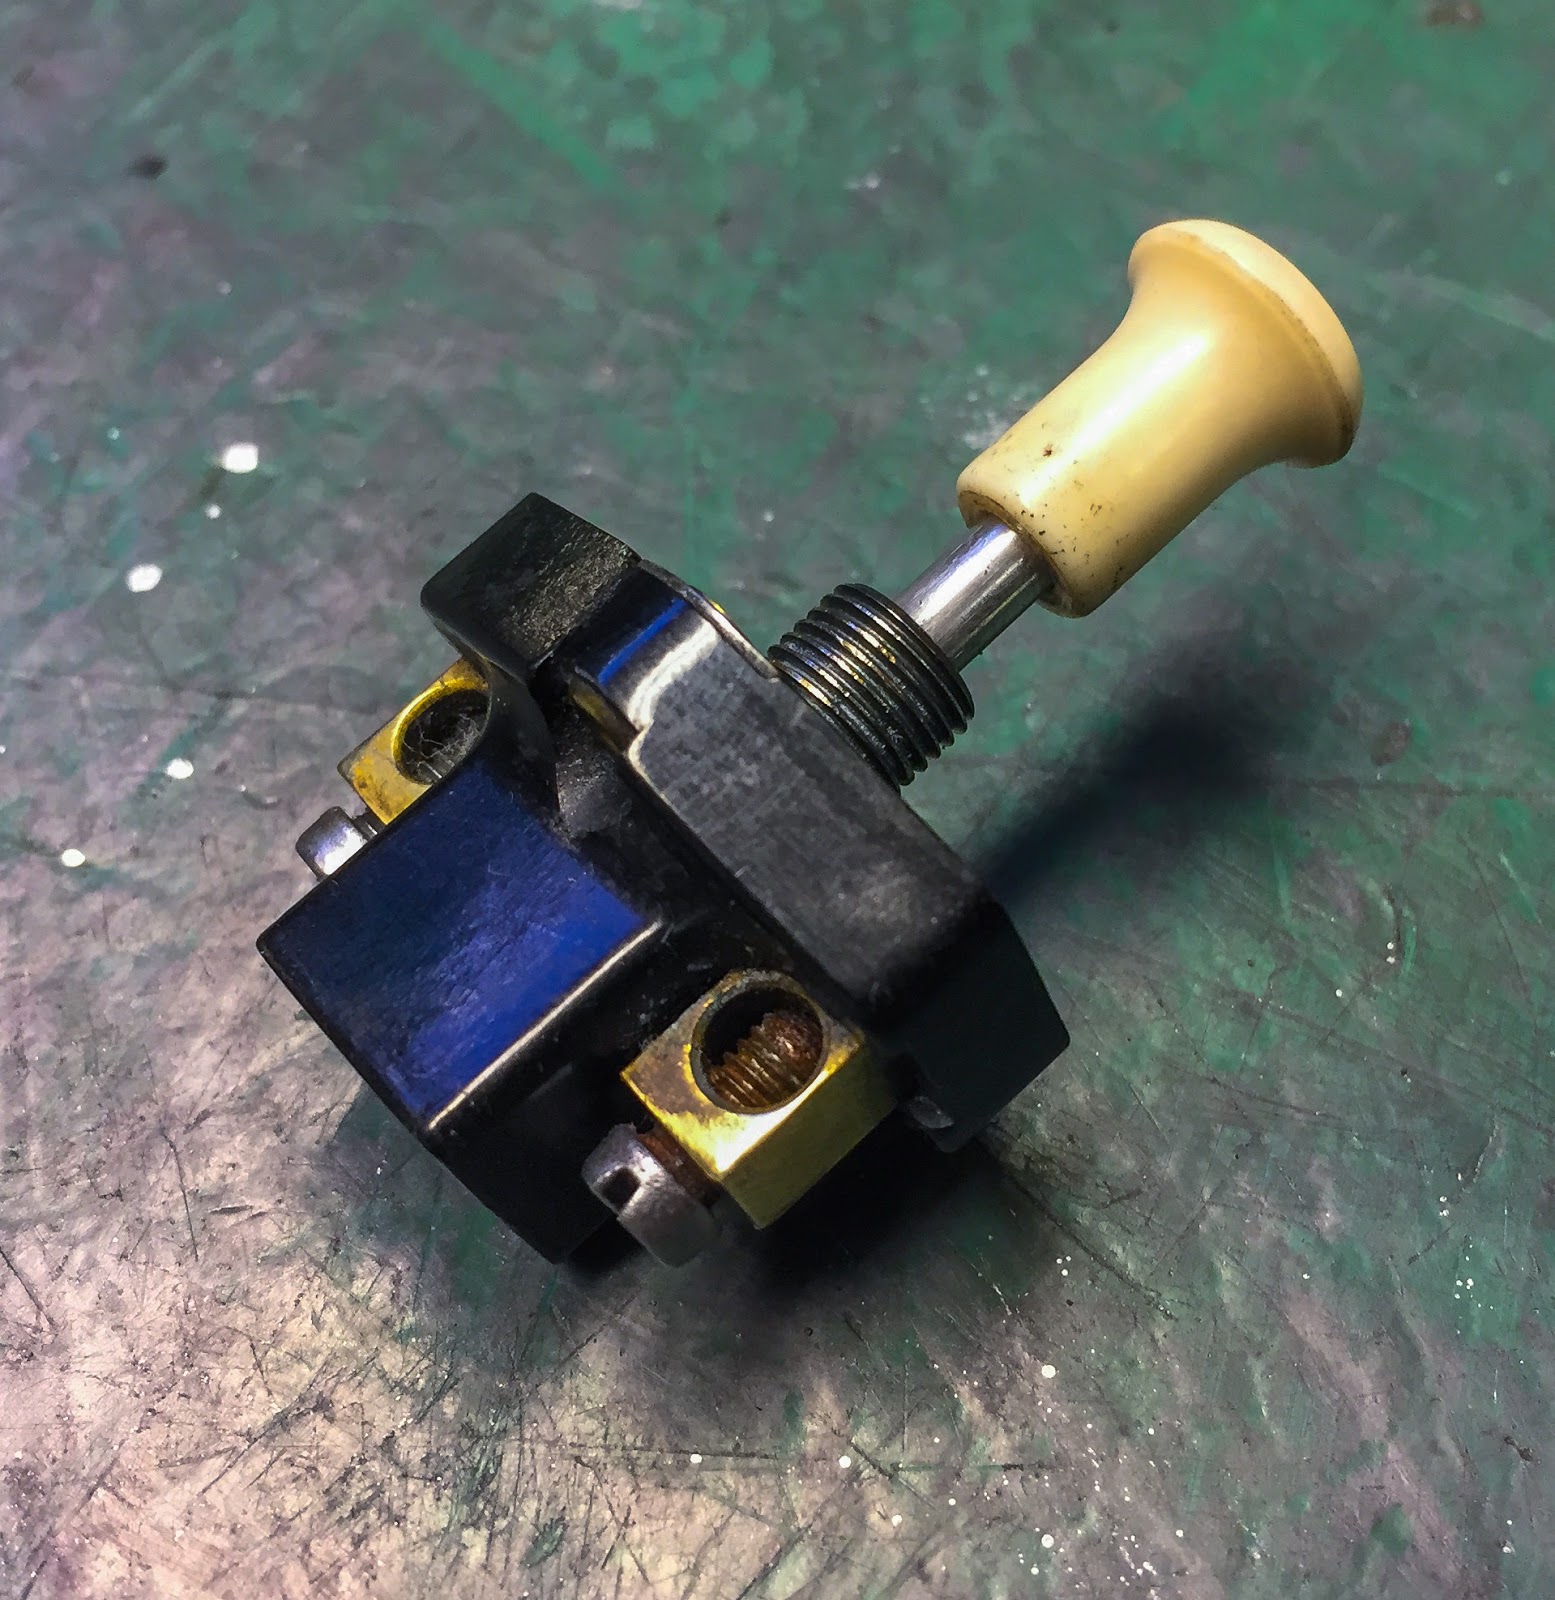
That is the consequence. Fixing small issues like this is likely one of the greatest components of the passion. Appears to be like like nothing once you begin and find yourself trying nice with not an excessive amount of work concerned. This one will for certain return on the bike except I can supply an accurate swap. We´ll see about that!
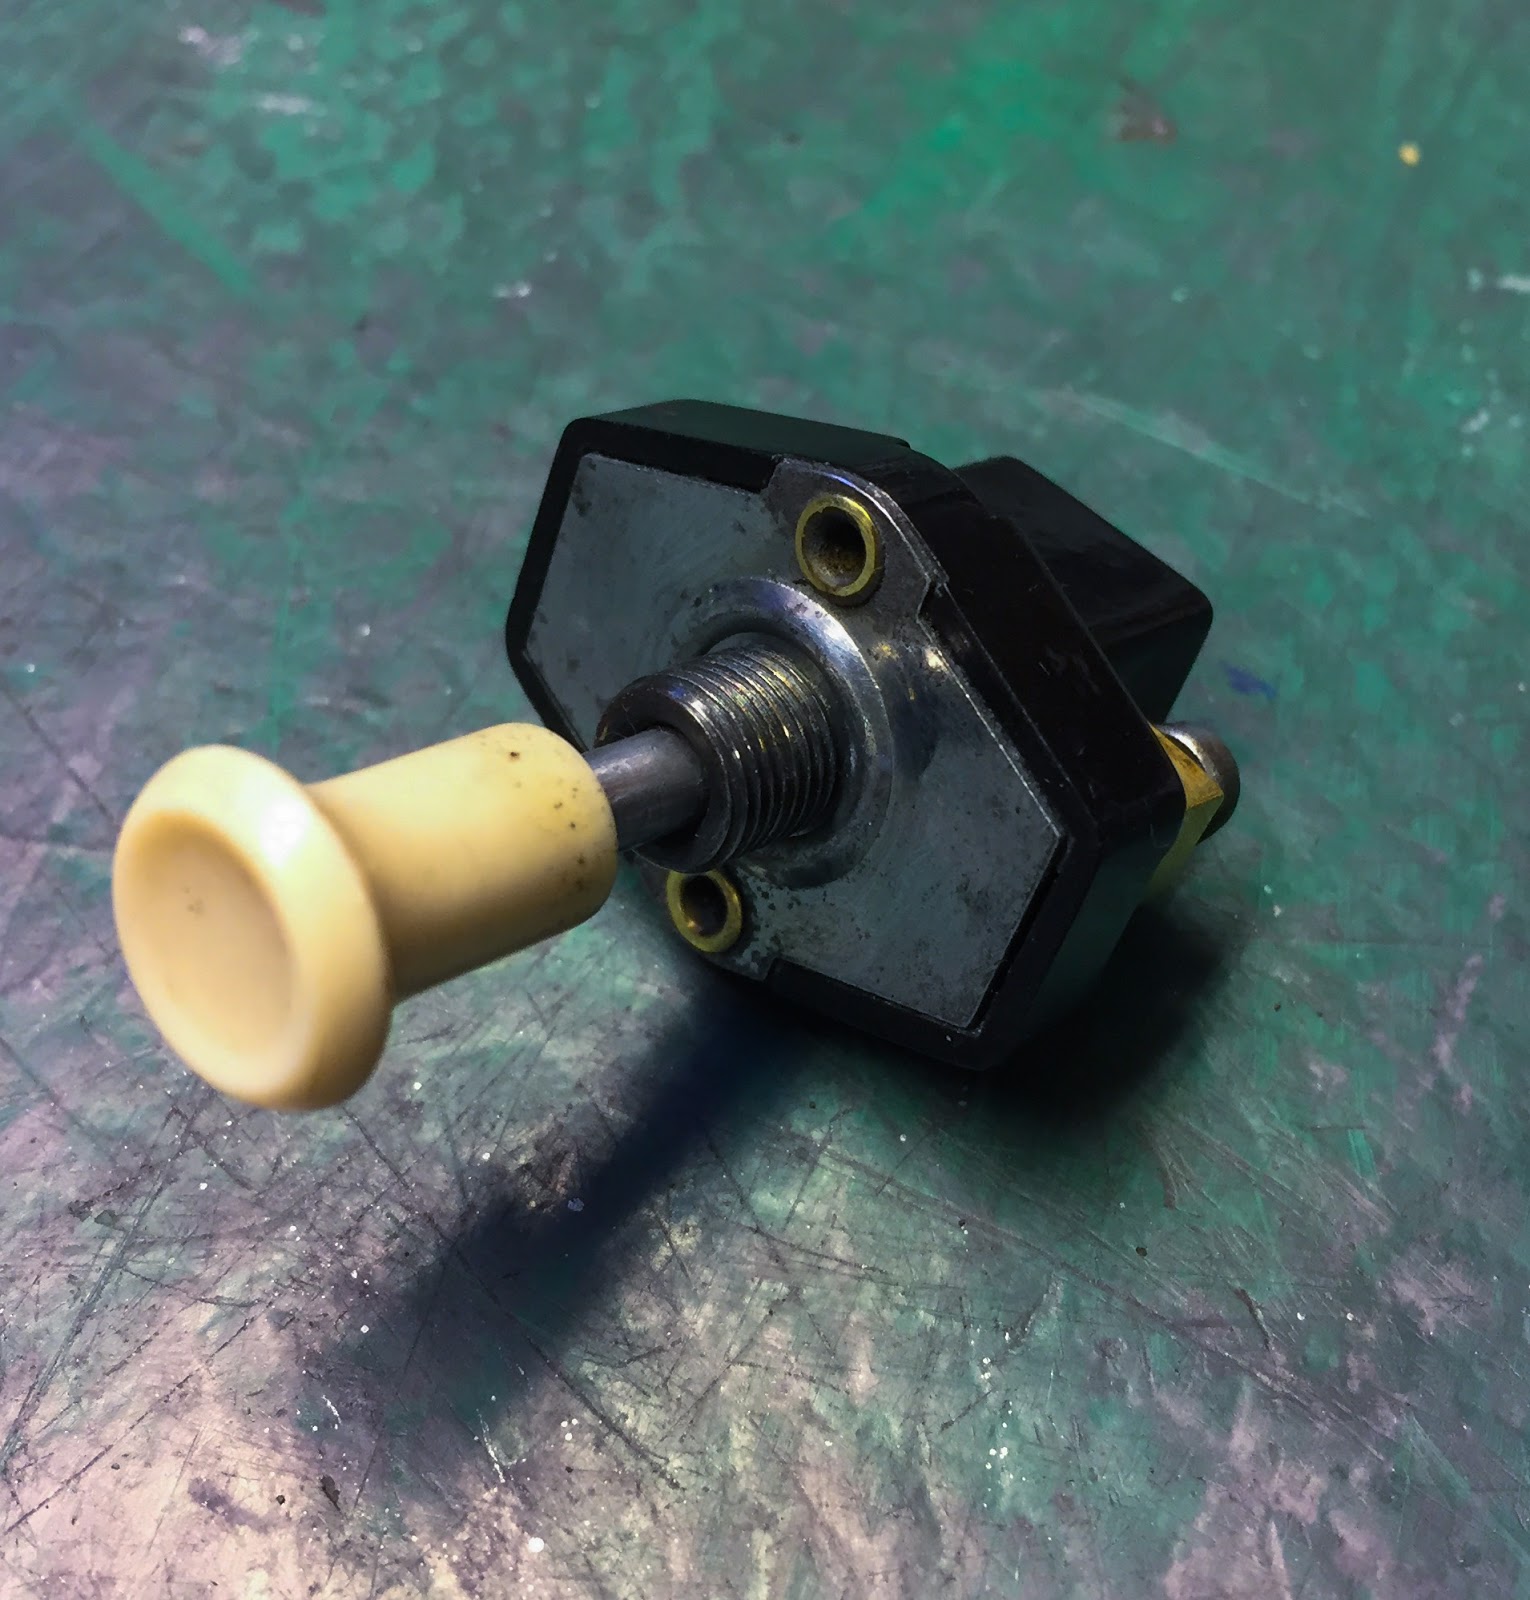
That is what it appears like on the entrance aspect. It will go on the entrance fairing holder simply beside the left deal with bar. This swap (or the unique one…) was the rationale my bike by no means completed the primary race it was in, in Falkenberg, Might 1970. That story is instructed in my historical past weblog which you’ll be able to attain from the beginning web page. Press the “Racing historical past, Kawasaki H1R 1970” on the precise aspect there, just under the principle image.
Proper now I´m nonetheless engaged on the entrance wheel and the entrance brake panels. I hope I’ll get some information quickly on the seat cowl and the approaching week would possibly get me my sprocket blanks from Spinnin´wheel. When I’ve the wheels all full I can proceed engaged on the chassis and eventually getting the bike again on its wheels once more. I would like to repair the entrance fender mounting and in addition handle the motive force foot pegs. The bike´s foremost stand attaches to the foot pegs, in order that they must be in place earlier than the wheels return on. So many issues to do and a lot time to spend doing it! Great….
Keep tuned, guys!
/Per
[ad_2]