
[ad_1]
Ready, attempting and modifying.
Just a few weeks in the past I helped a pal and colleague to get his new BMW motorbike near Hällestad the place my aluminium tank is being made. I known as Bert and requested how issues had been transferring alongside.
– “Good factor you known as, I must ask you just a few questions in regards to the tank challenge”
Good, that meant we may go to Hällestad on our approach dwelling and speak to Bert and take a look at his work!
As all the time, once I meet folks with critical expertise, I used to be completely speechless in awe. That is what we noticed after we entered Bert´s workshop. He had spent just a few hours measuring and making components for the tank construct.

He wanted to ask me in regards to the air hose and its attachment to the highest a part of the tank.
The end result? He’ll weld a reinforcement in to the highest of the “bubble” and thread it for a brass tube becoming as a substitute of simply making an aluminium tube becoming that can break simply. Good name!

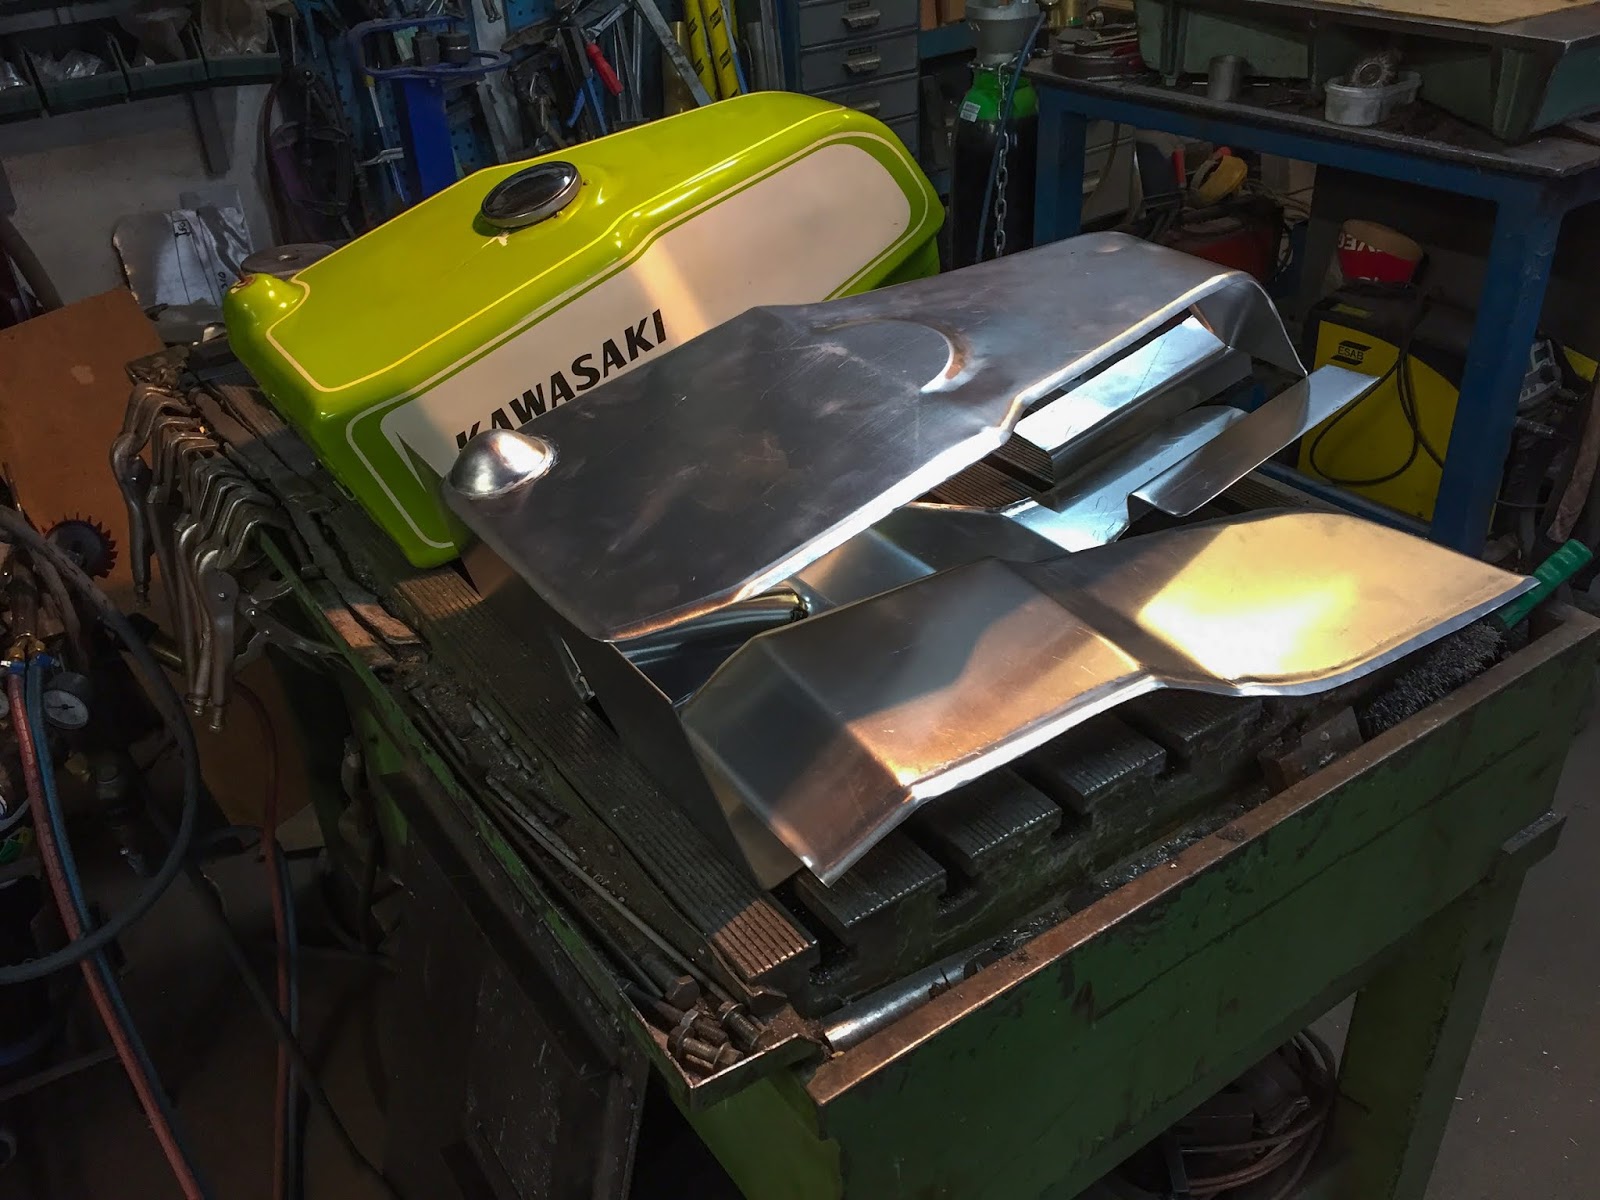
Right here we are able to see the left tank aspect plate taking form. He’s extraordinarily thorough, even copying the very small extensions on the backside of the edges and on the entrance of the tank.

On the left right here you may see the “bulb” for the tank cap that I instructed Bert he may disregard and easily transfer the cap up entrance a bit to make the construct simpler. Properly, he couldn´t have it that approach. He additionally wanted to know my ideas on the small hooks that takes the rubber bands and holds the tank in place. You may see the unique tank has a screwed-on hook on the rear. We concluded {that a} welded aluminium reinforcement with two threaded holes, similar to the unique can be finest. A bit extra work, however it´ll feel and appear lots higher.
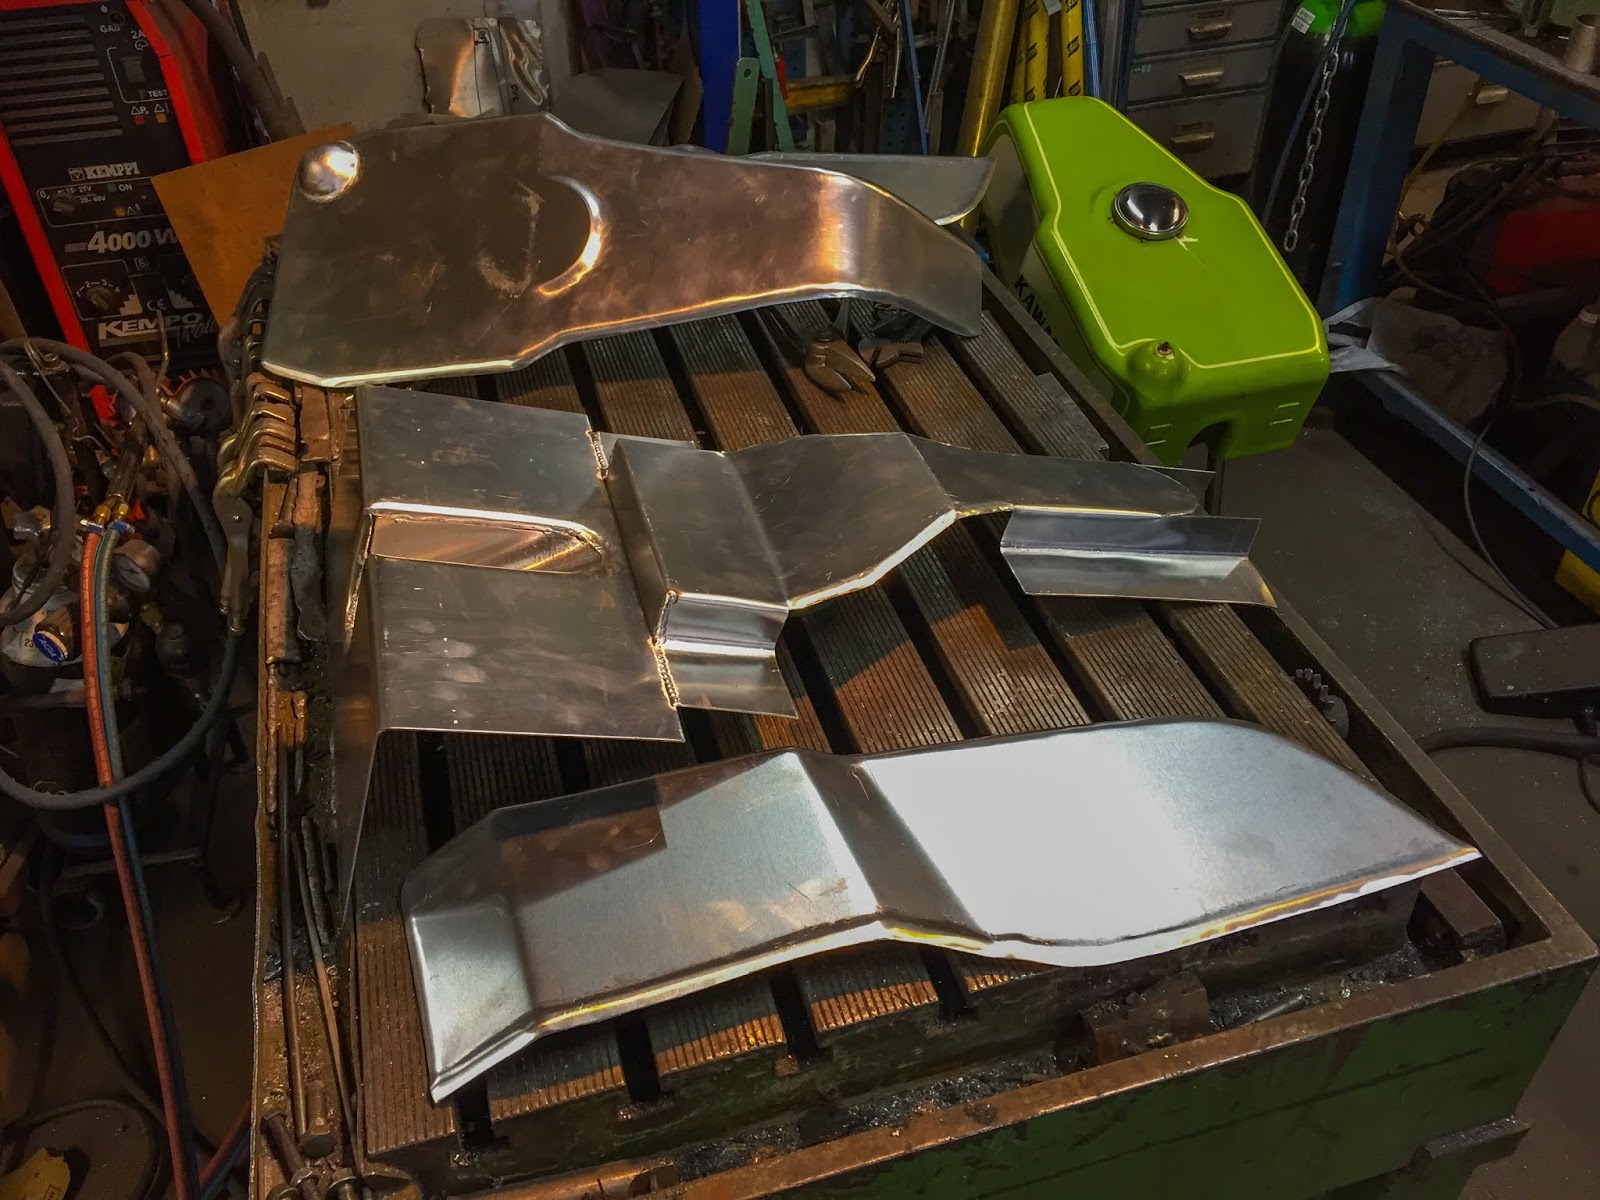
On the fitting listed here are the 4 components on show. We will see the underside half taking form and the aspect items plus the highest half. He mentioned this stage is about midway making the components after which it´ll take some time getting them welded collectively and sanded/floor for later sprucing.

A detailed-up of the underside a part of the tank. It’s being fabricated by a real artist, that’s for positive.
You can too see the surge tank shall be roughly half the unique depth to accommodate the fashionable Pingel high-flow gasoline petcock. All different measurements shall be precisely as the unique. Relating to this man, I´m sure I´ll be happy with the work.
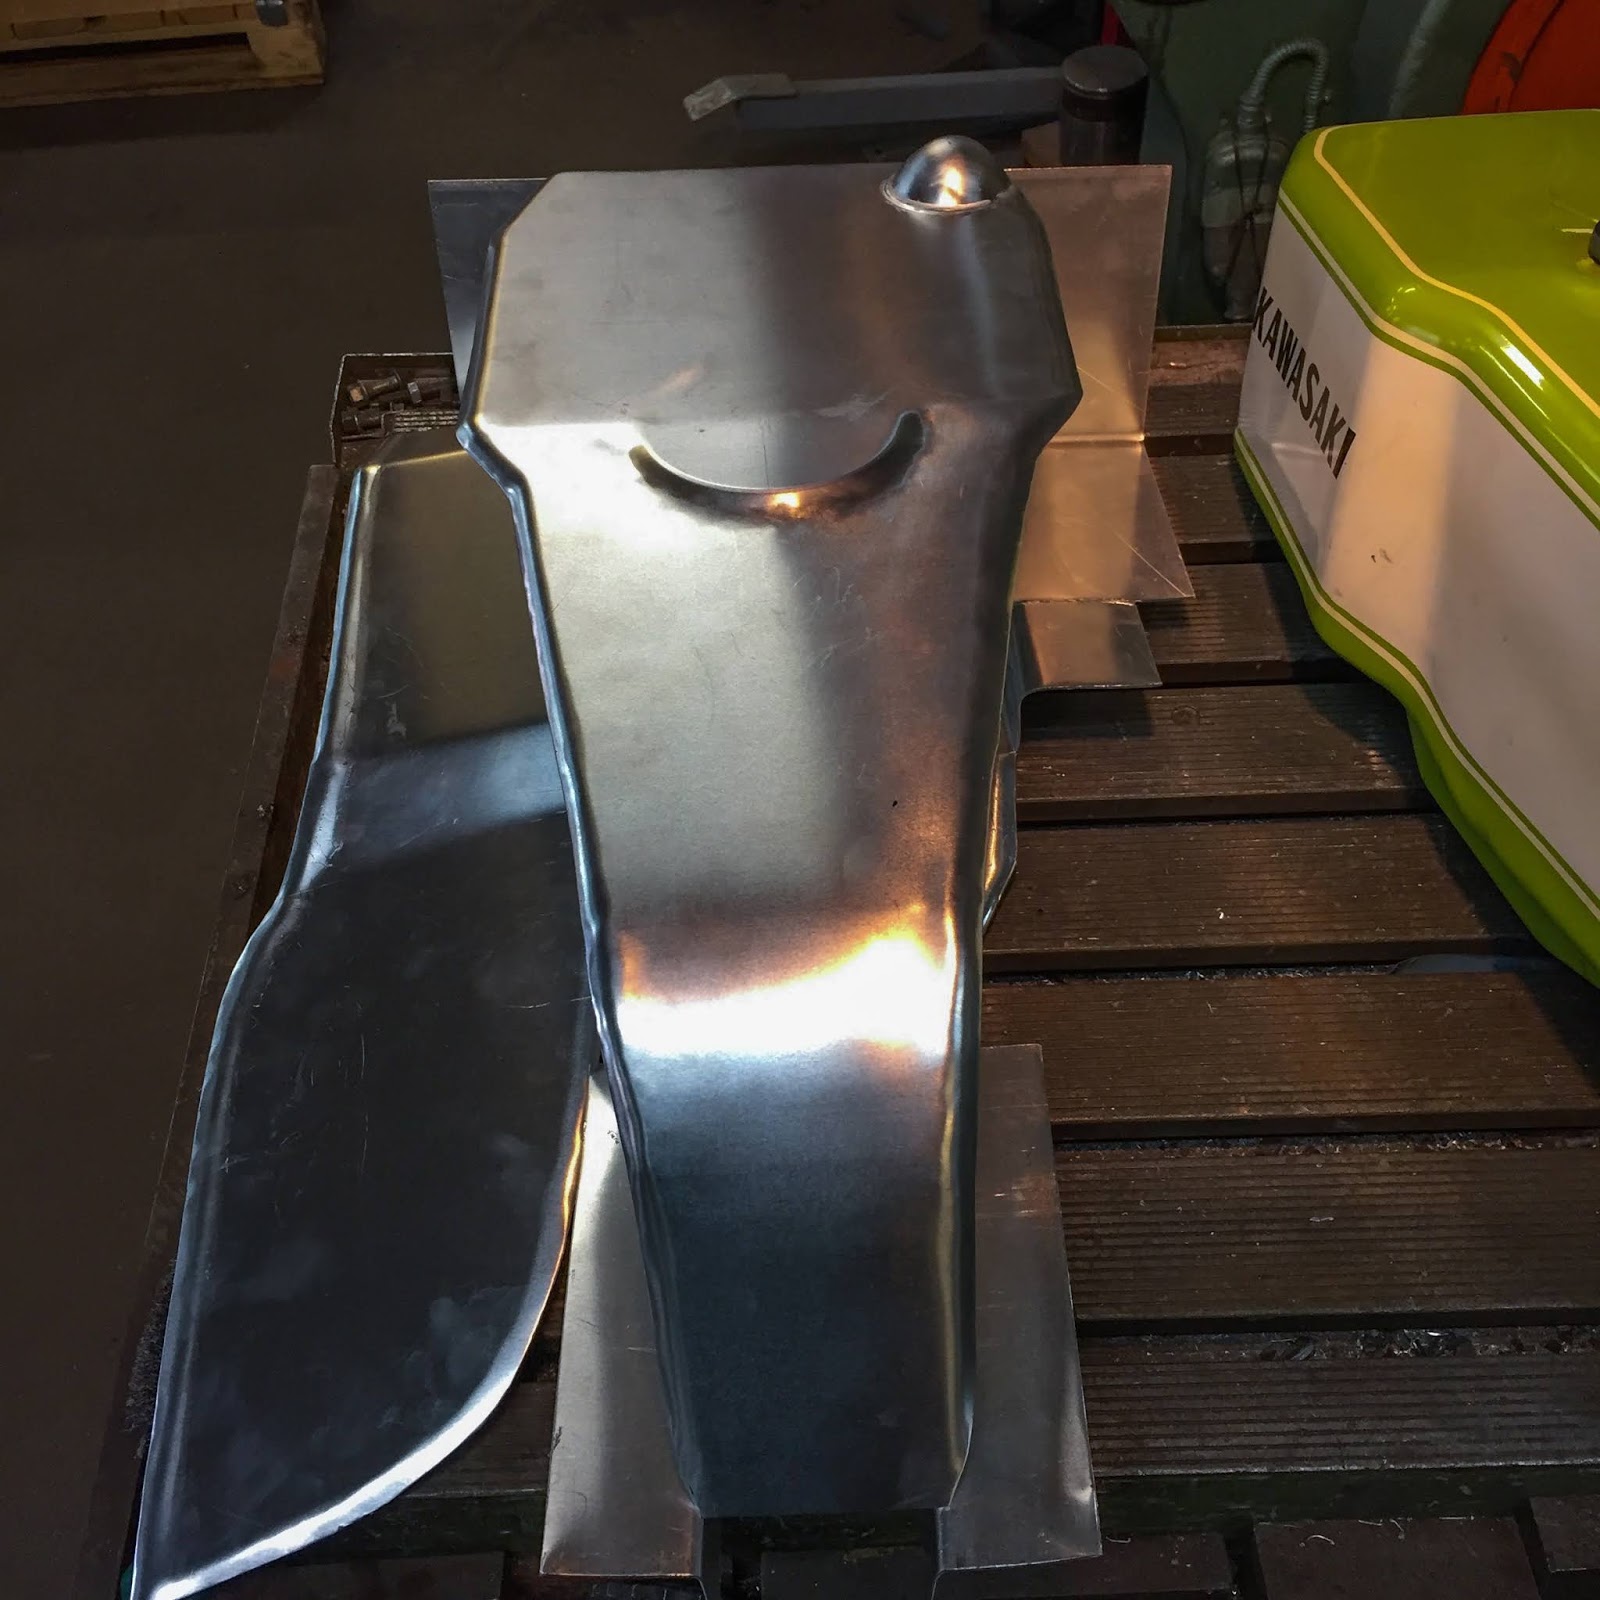
The highest aspect of the tank. The diameter of the radius from the highest to the aspect piece may also be precisely like the unique. We will see he has began mating these two items collectively.
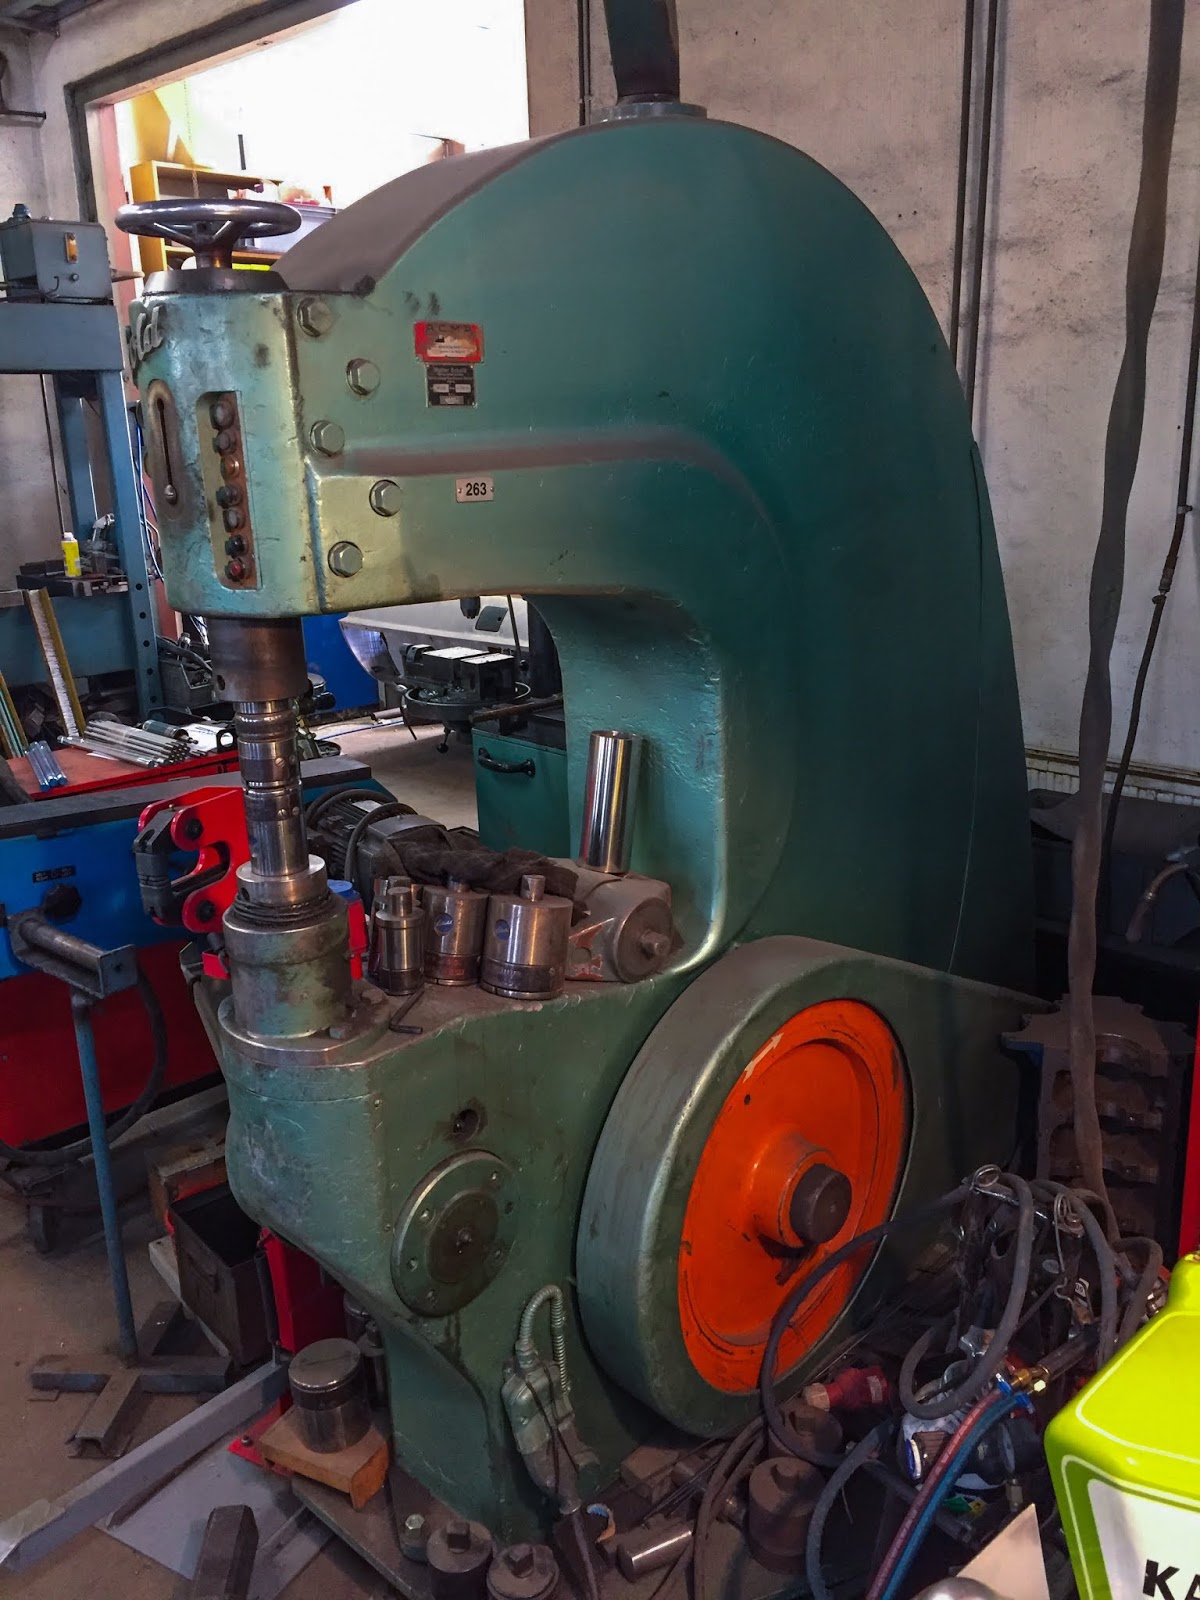
I´m all the time curious as to what sort of gear these guys use to do their magic. A small tour across the workshop revealed a few of them.
Right here on the left is Bert´s favourite machine in the case of shaping sheet metallic, or “tin-bashing” as it’s known as in day by day speech.
That is the “Eckold” crimp/stretch machine. Right here it’s potential to crimp and stretch sheet metallic to nearly each form you may think about. Don´t ask the way it works… I wouldn´t be capable to begin explaining even the fundamentals of it.
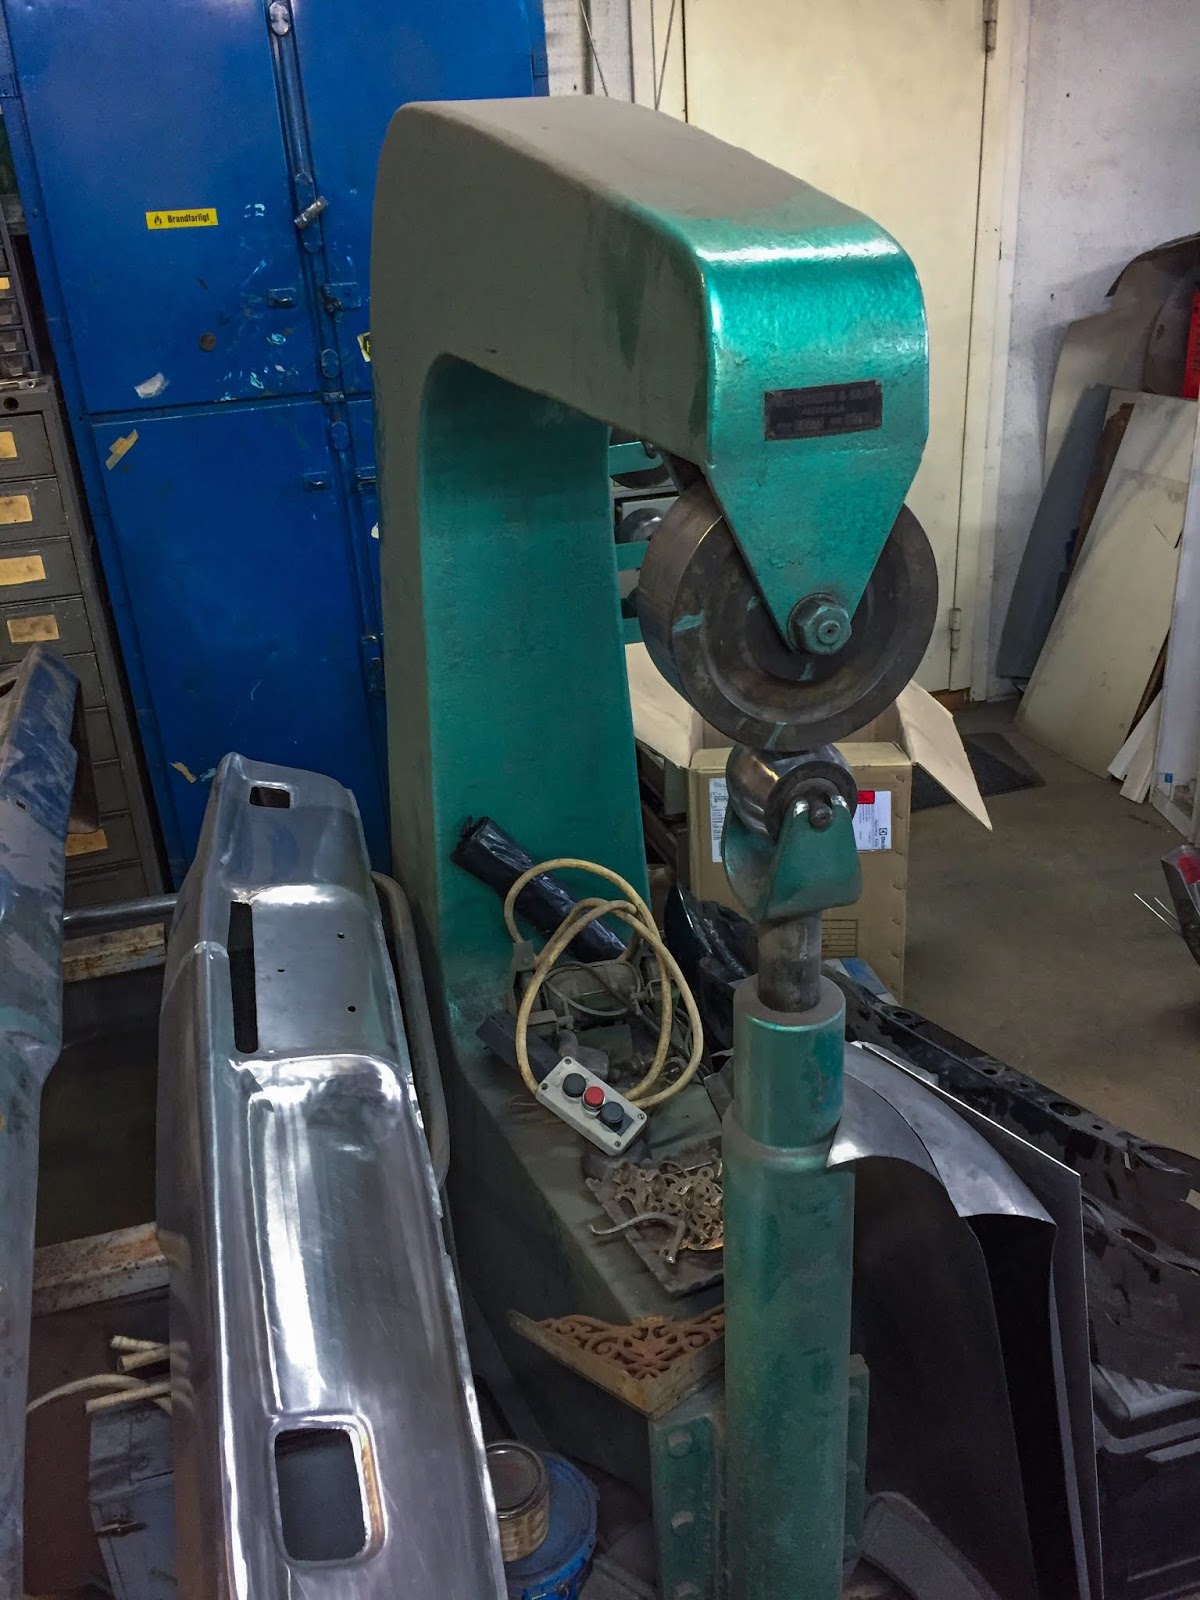
This one is a bit more simple to grasp. “The English wheel”
By making use of strain to the decrease, rounded, wheel and pulling/pushing a sheet of metallic via it, you may create a rounded form on the metallic. The rear bumper to the left of the machine is an aluminium copy of an authentic one for Bert´s Chevrolet Galaxie race automobile. Sure, made by Bert…. Saves round 17kgs of weight on ONE bumper.

The “Eckold” crimping/stretching machine is a real murals in itself, don´t you assume?
Who would put a emblem like that on a contemporary machine as we speak?
Yeah, you guessed it, Nobody.
It prices some huge cash and doesn´t enhance the efficiency of the machine, so why?
Properly, I do know what I feel…

I discussed earlier I’d attempt to get some extra time-correct spark plug caps for the racer.
The originals are, in fact, unimaginable to seek out anyplace. I´m nonetheless on the lookout for 21130-015, when you’ve got any?
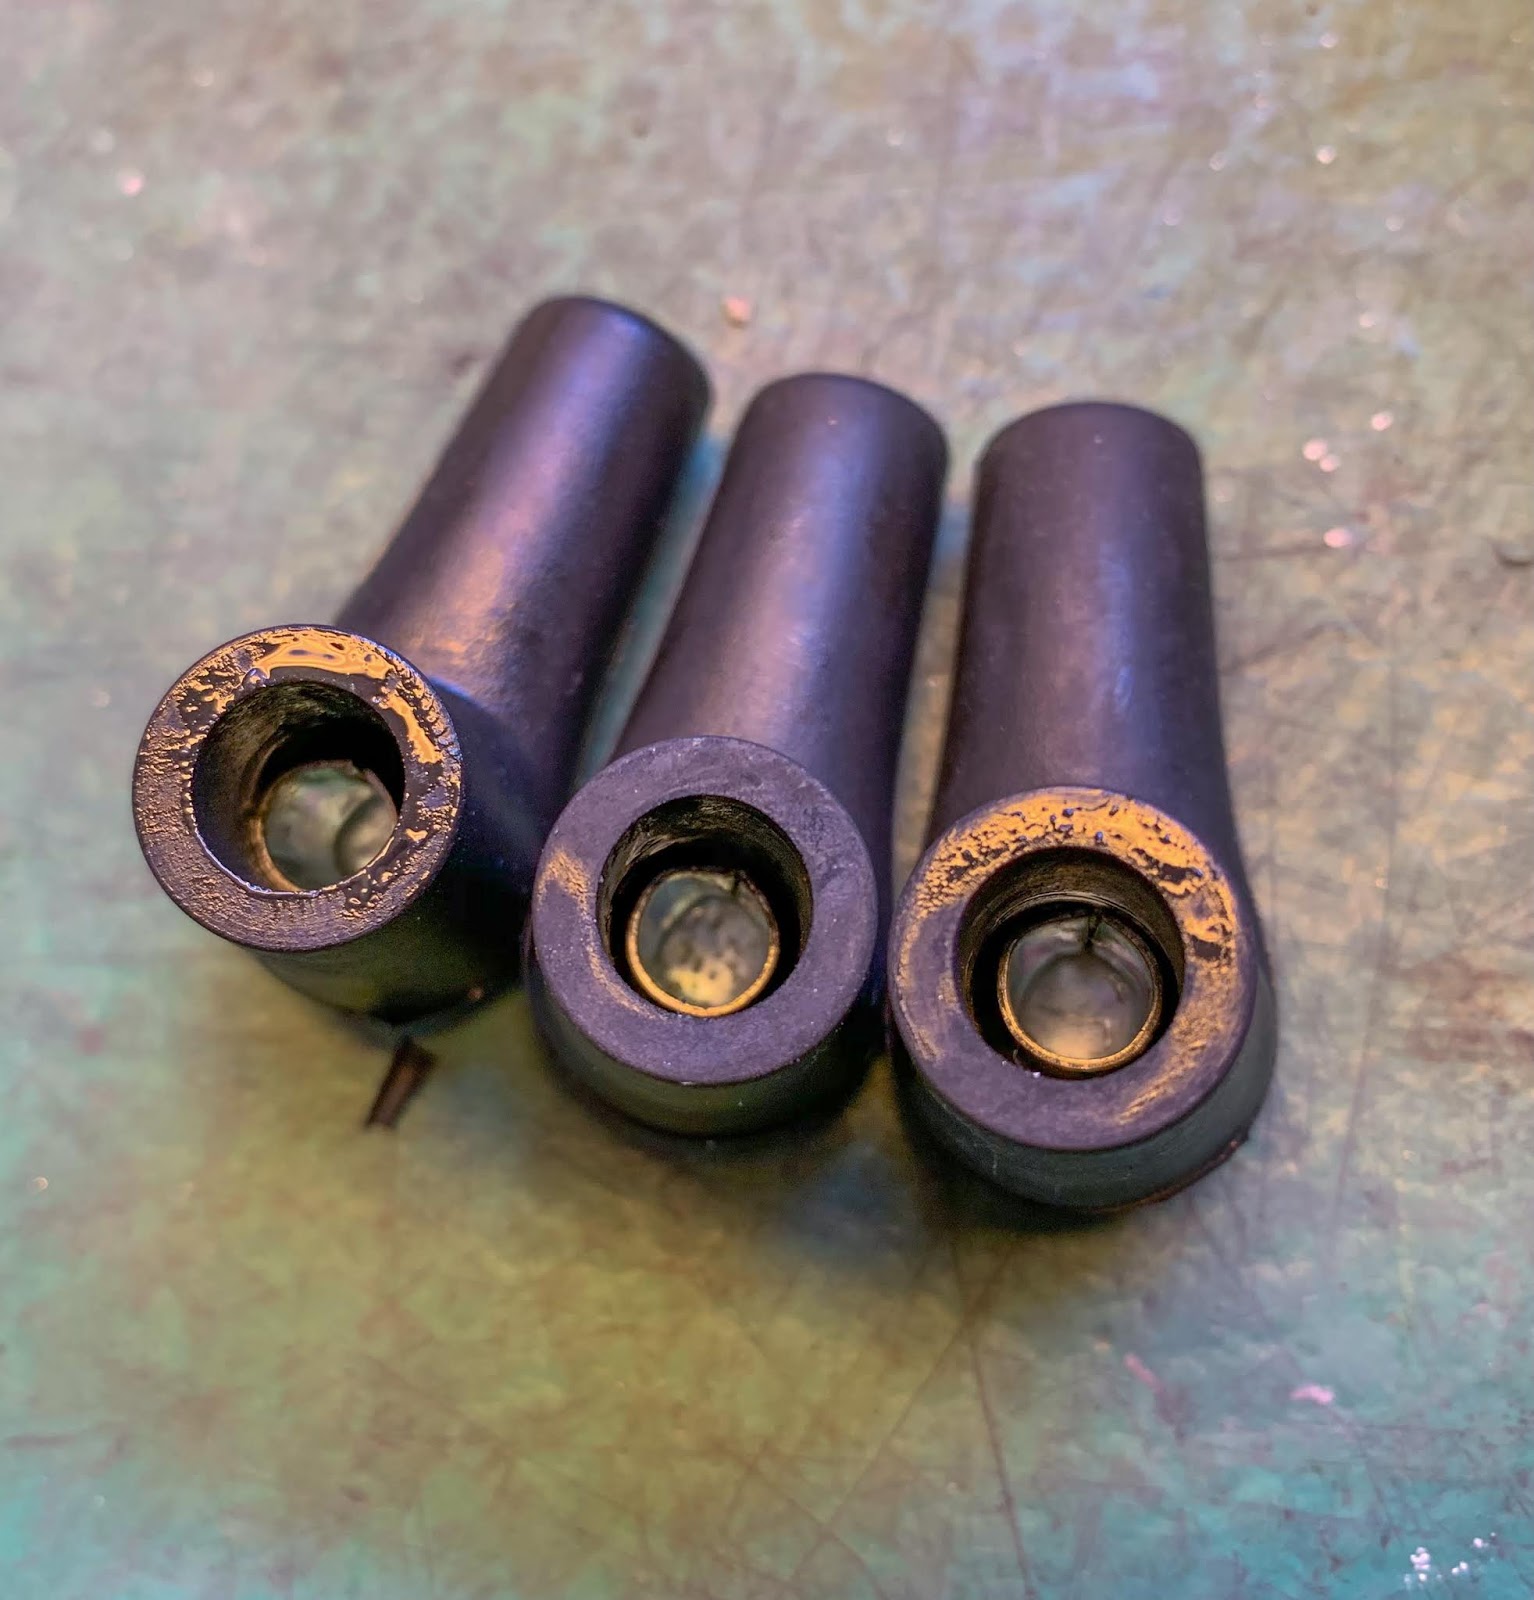
On the fitting listed here are three of my choices. I do have extra, however these are probably the most fascinating
21130-2060 are from a straight 4, 4 stroke, from the eighties. I imagined they could possibly be OK if I free the massive rubber cap on the backside. Hmm, Perhaps.
The one within the center is the inventory one for the H2:s. Additionally appears nice, however I don´t like that flimsy inventory cap spring that holds the excessive pressure twine in place to the spark plug.
Those on the fitting are the British “Lodge” kind offered in lots of half provide outlets. Doesn´t look fairly proper, however I´ve really used them many instances earlier than in a approach I´ll describe right here.
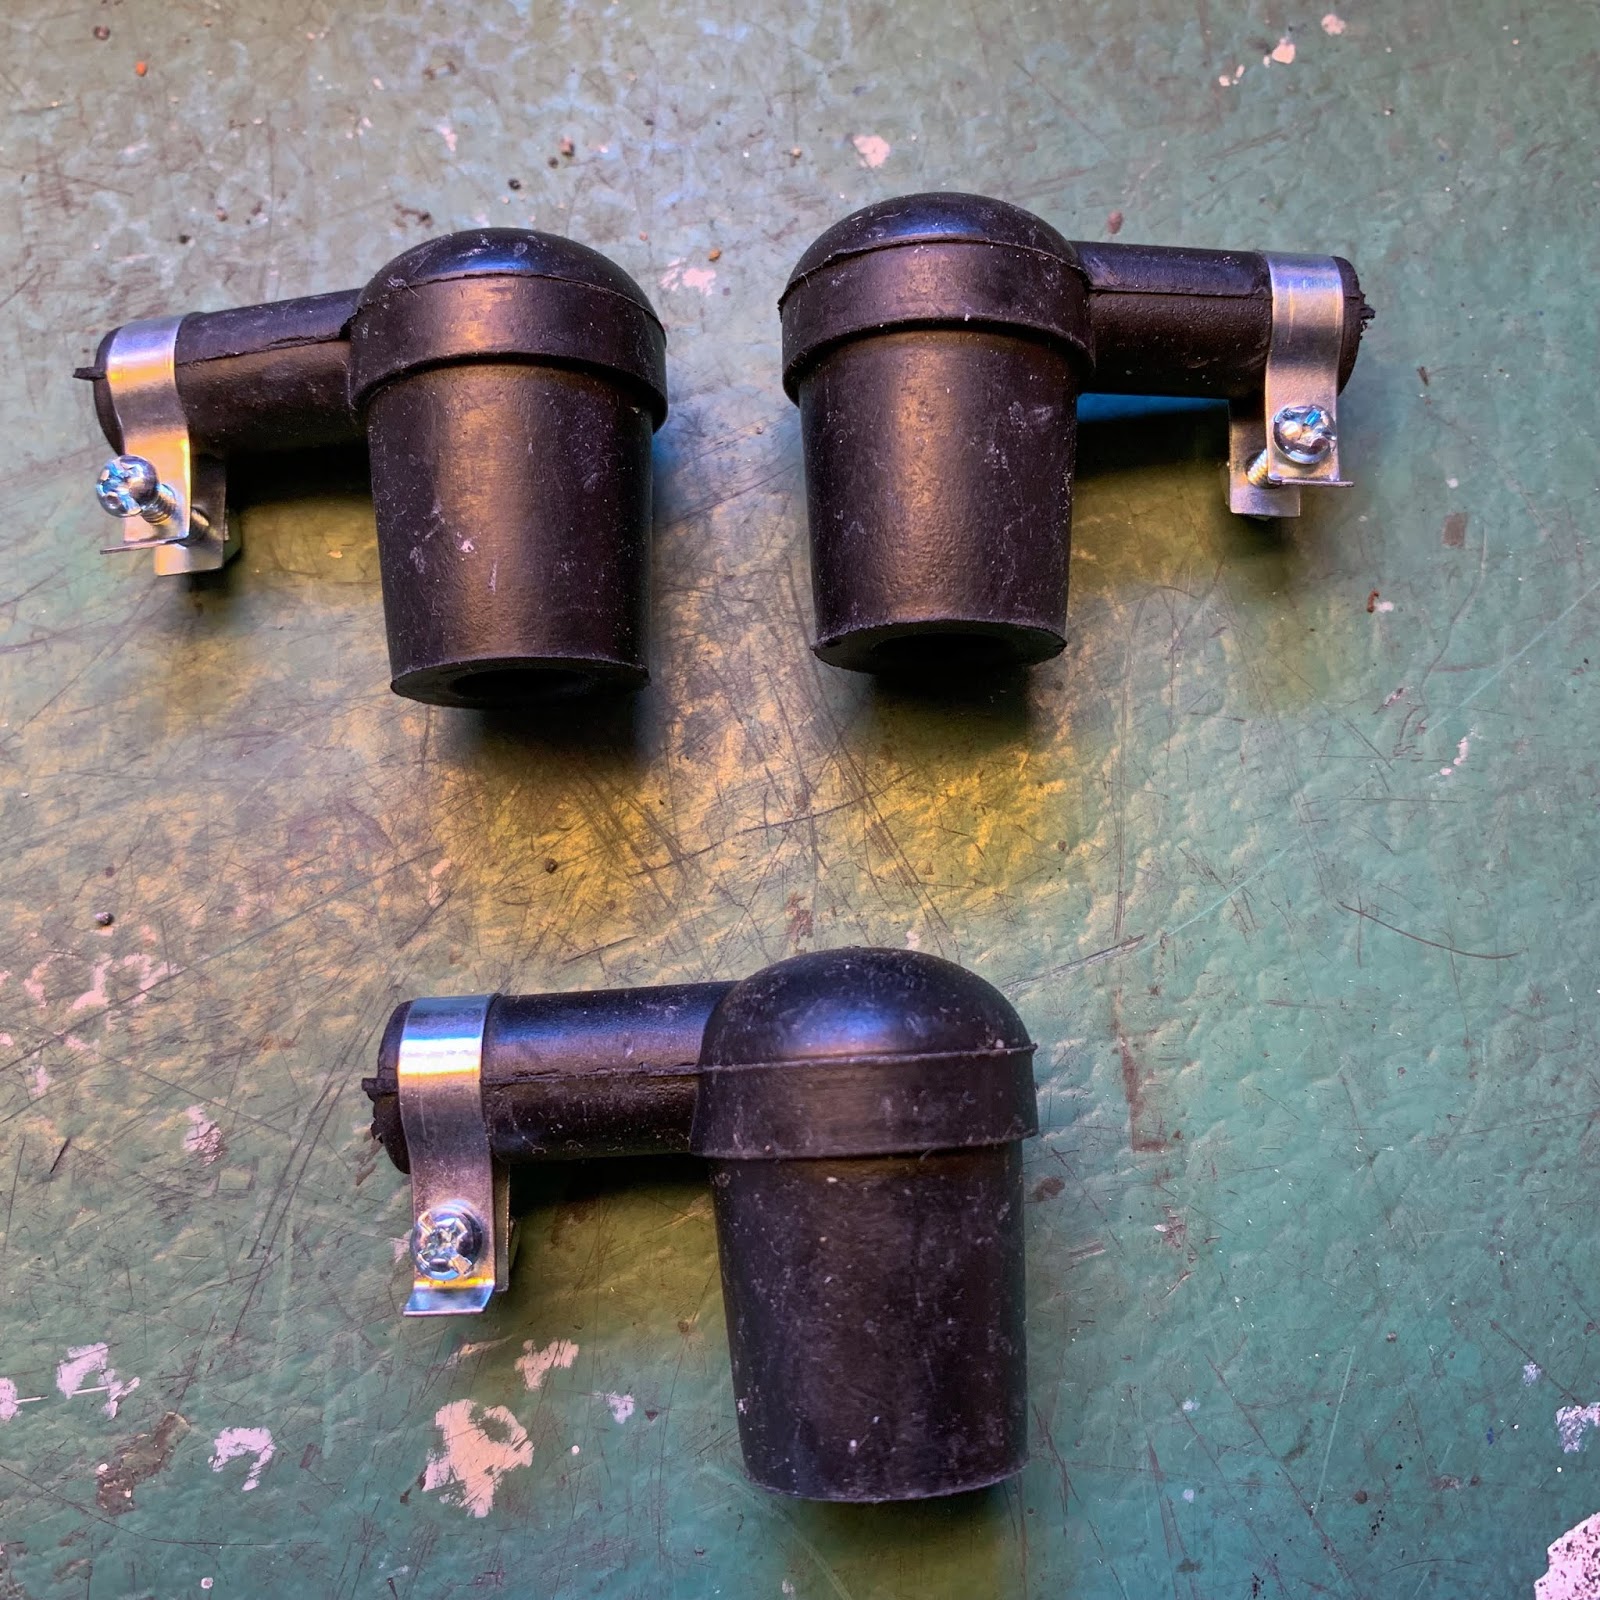
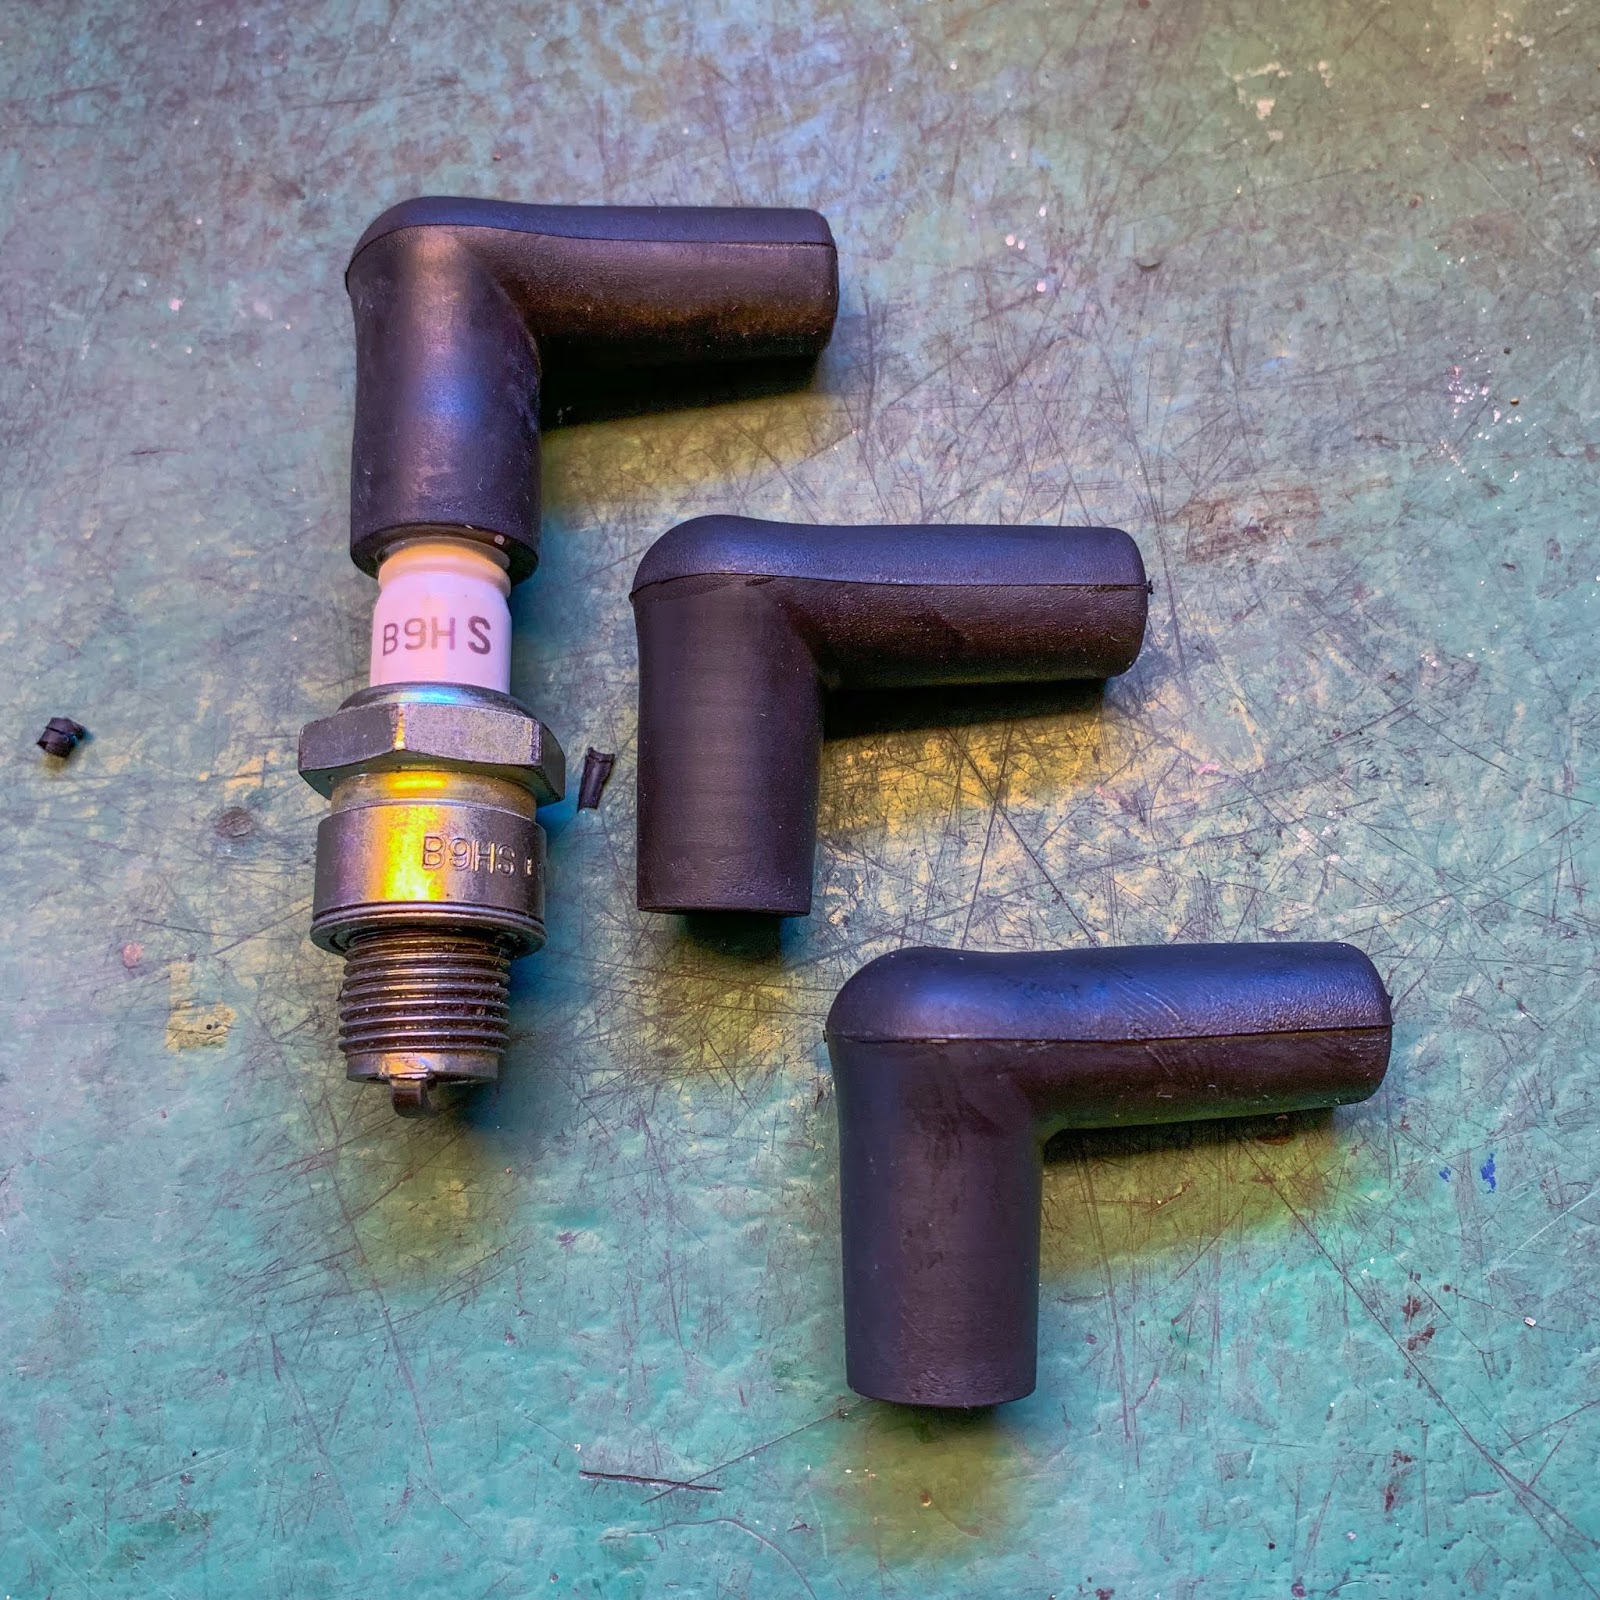
This can be a close-up of the Lodge kind of caps. Way more suited on a British 650 like BSA or Triumph in my perspective. They work alright, however doesn´t look the half on Japanese bikes.
These are extra right for the Japanese market and thus extra applicable for my racer. BUT, as I mentioned I actually don´t like that small spring factor that you just join the excessive pressure twine to the spark plug with. It feels just like the connecting surfaces between the spring and the interior core of the twine shall be a bit poor.
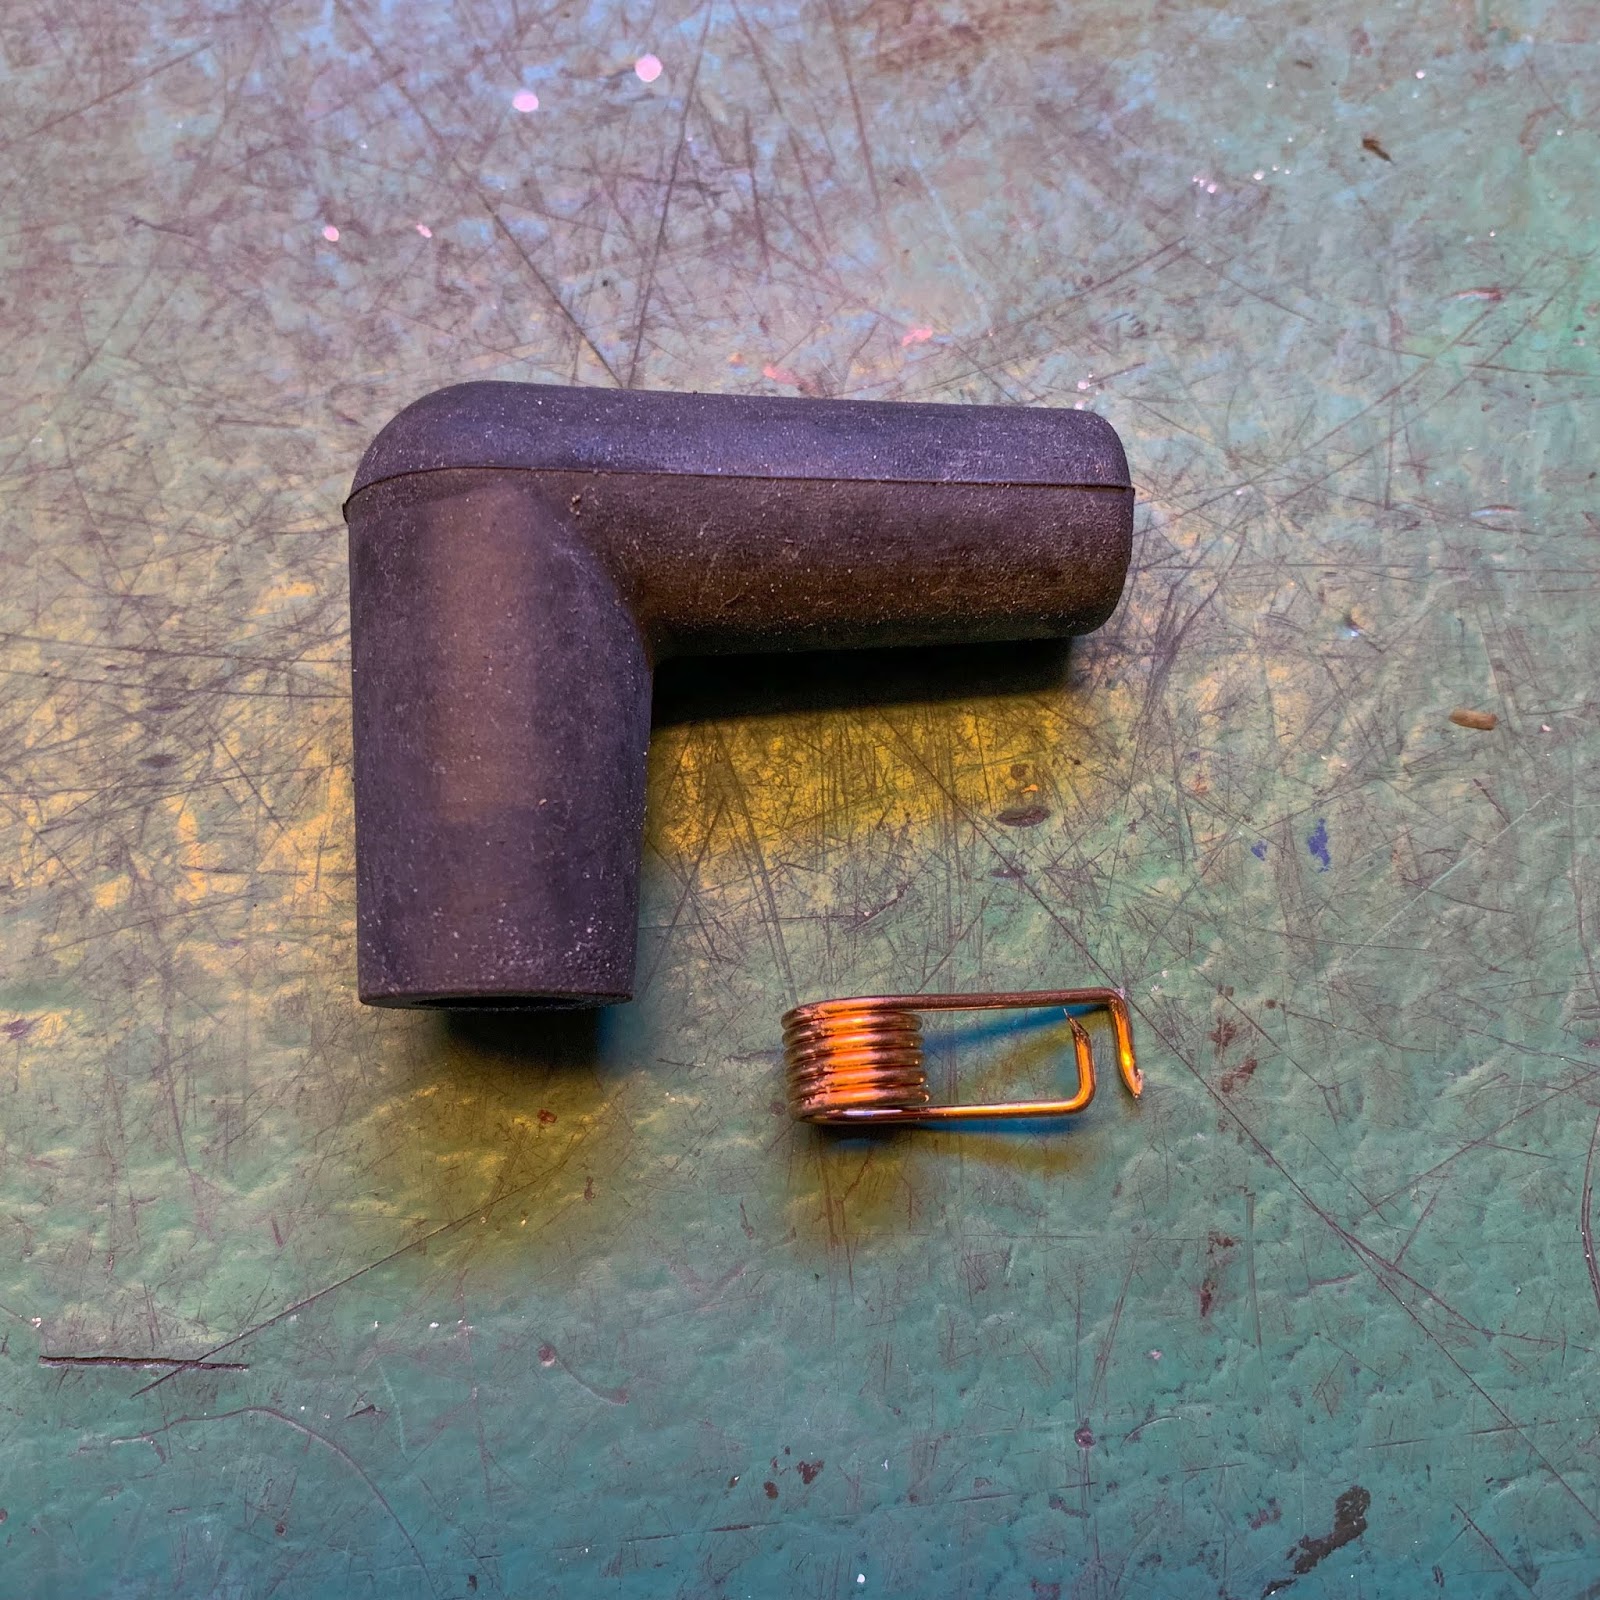
I´ve seen earlier that the interior a part of the Lodge kind cap have a way more sturdy interior construction.
The answer?
Lower it open and take away the interior connecting half from the Lodge caps and put them contained in the handsome Japanese ones!

They do open comparatively simple and that interior half firs like a attraction contained in the H2 caps. You simply must get them out…
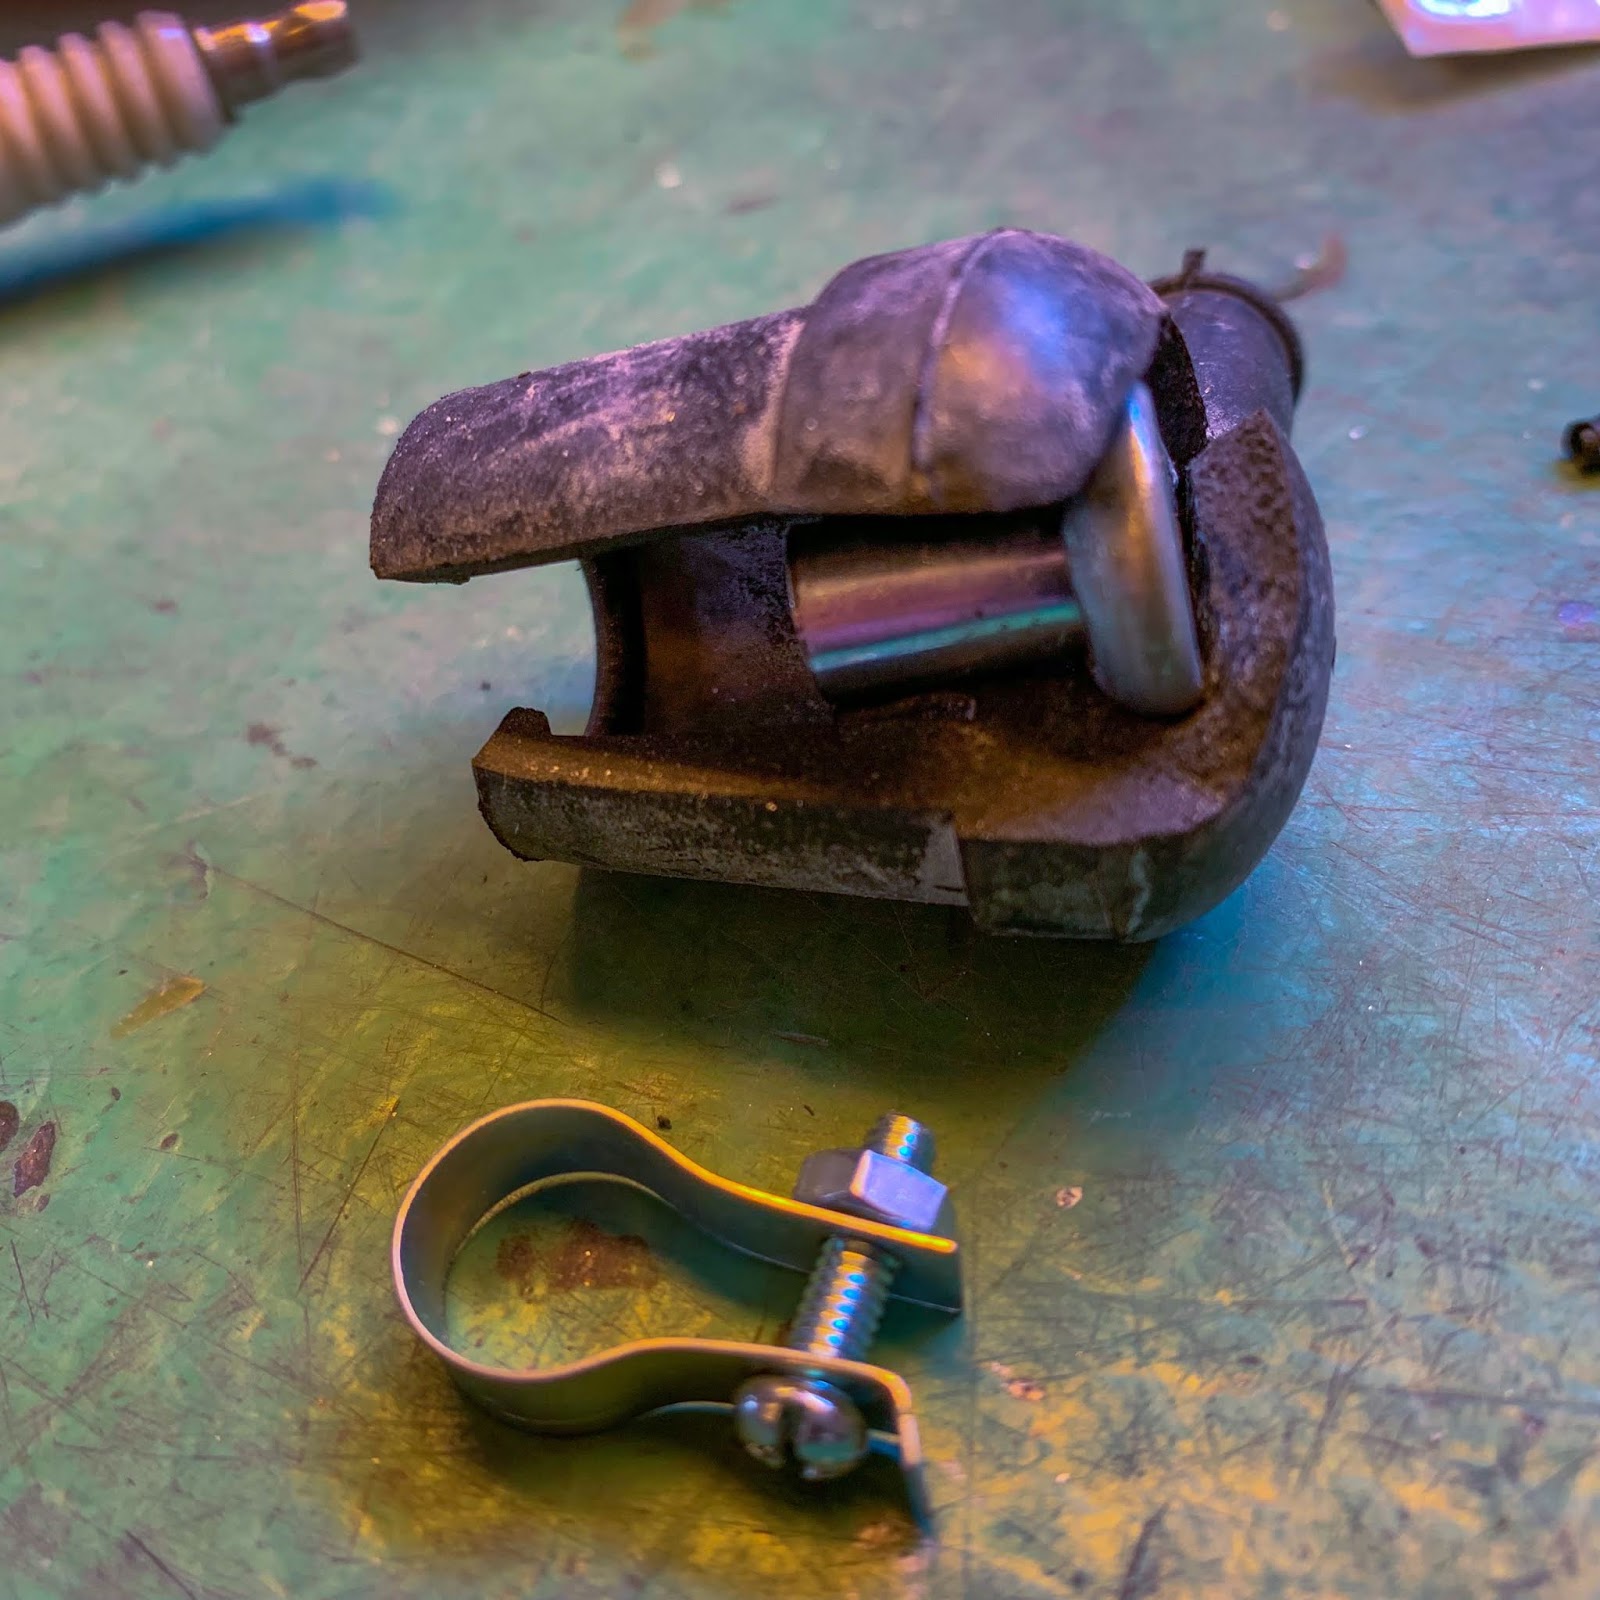
Just a bit “open surgical procedure” and right here we’re!

Somewhat little bit of rubber grease they usually slide proper inside. Appears to be like fairly inventory, don´t you assume?

And on the excessive pressure twine aspect you get this “screw on” mannequin that, in my world, connects lots higher to the twine.
A easy, low-cost conversion of the inventory H2 caps to one thing rather more sturdy.
I made all three of them in lower than half-hour. Simple peasy fettling!
Completed!
Now, if I don´t use them on the racer they are going to be good for my subsequent H2 construct. I suppose you figured it out by now, I prefer to have many choices in the case of components ans stuff.
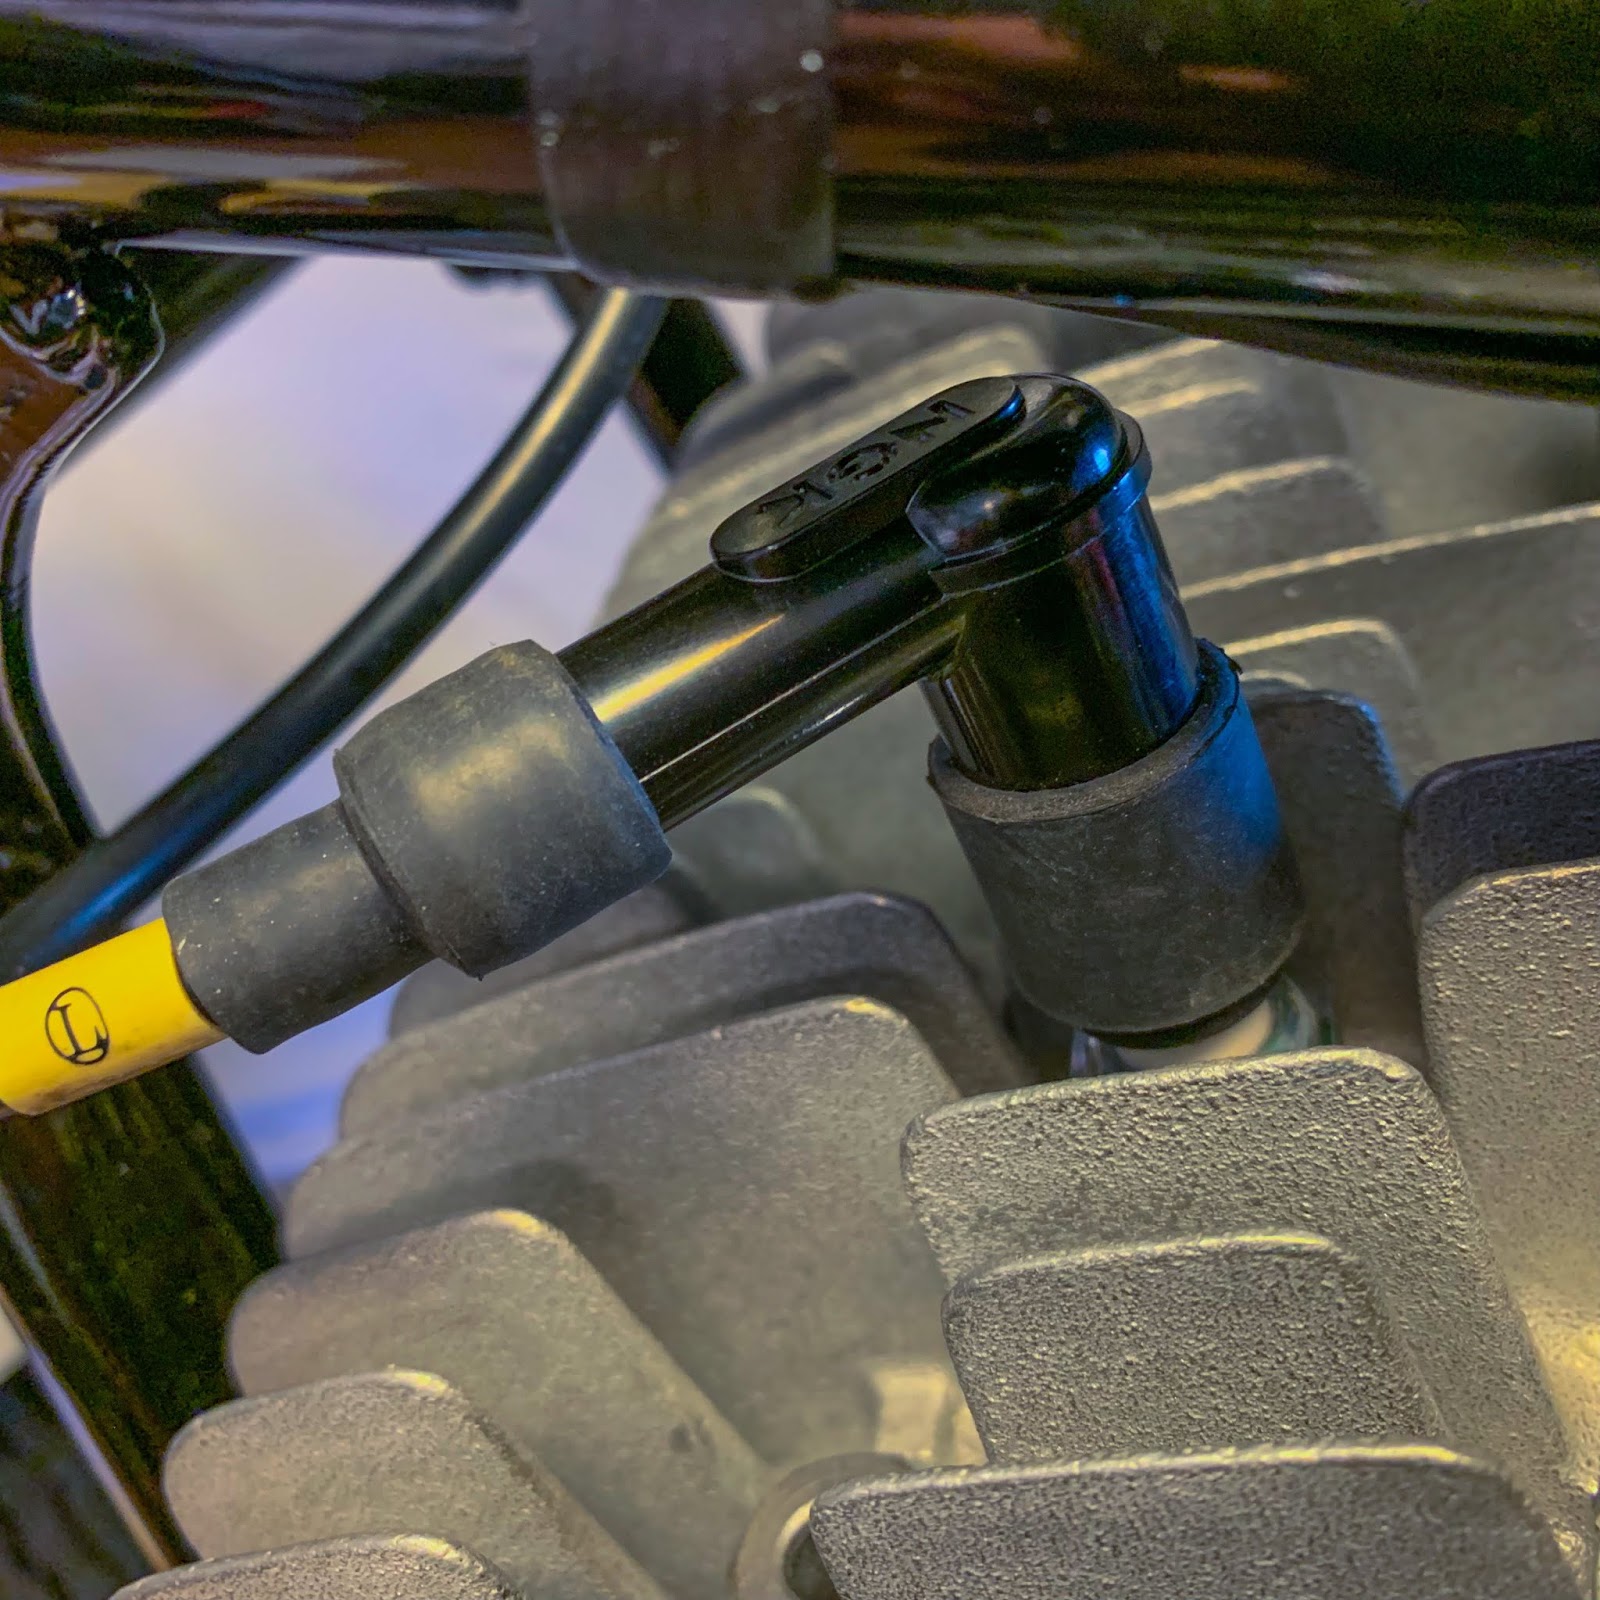
Those presently on the bike don´t look too unhealthy both with their NGK embossed emblem´s on high. Only a tad to late time clever for this previous racer. Anyway, they may keep on for now.
One thing utterly totally different occurred a few weeks in the past. My pal Peter Goertz in Canada requested if I knew the man on this T-shirt. May it even be my bike?
Peter was type sufficient to purchase me considered one of them at an area dealership in Niagara falls, the place he lives. Niagara race Crafters, NRC, despatched me a few stickers and an additional T-shirt simply because they prefer to comply with my construct of the H1R. Tremendous good guys! I positive hope I can come go to sooner or later.
Anyway, I may see that the image is just not “Esso” or the H1R. Too unhealthy. Extra probably a Yamaha TZ350 or one thing like that. Nevertheless it positive appears like “Esso” on the H1R at a fast look.

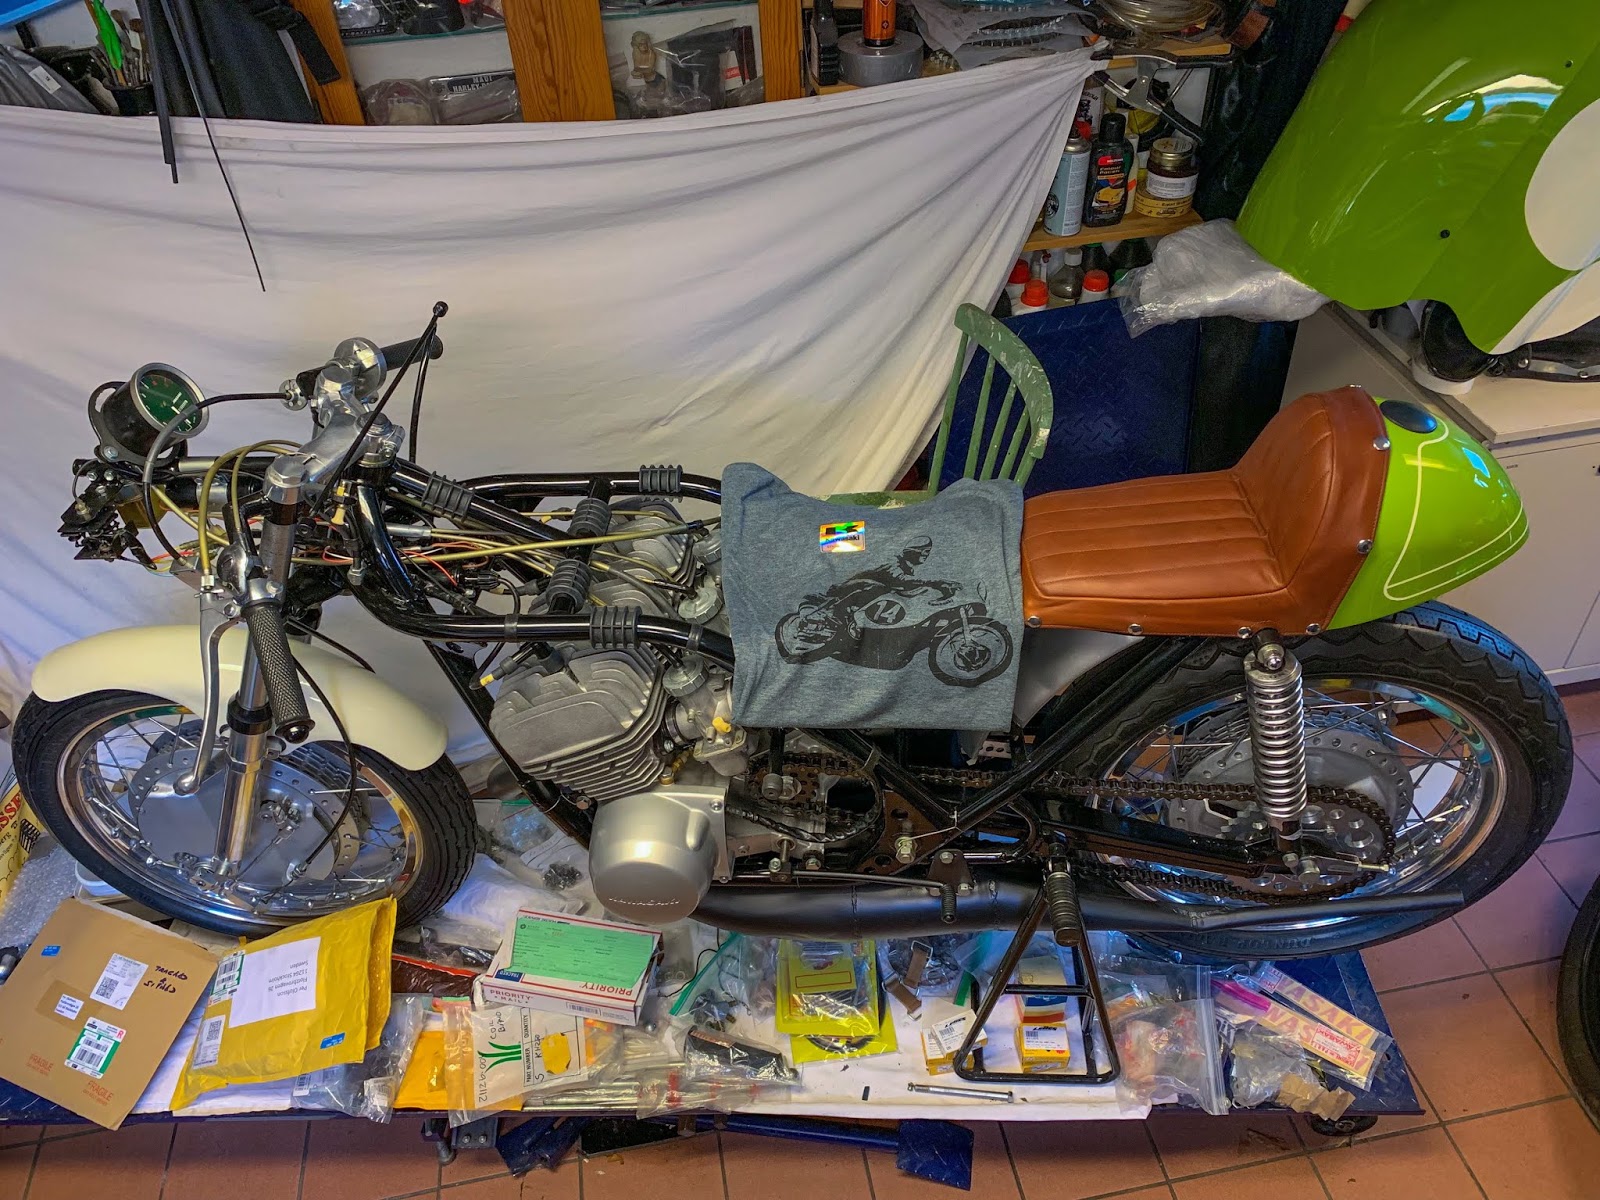
To this point I´ve been ready and modifying.. Time for the attempting.
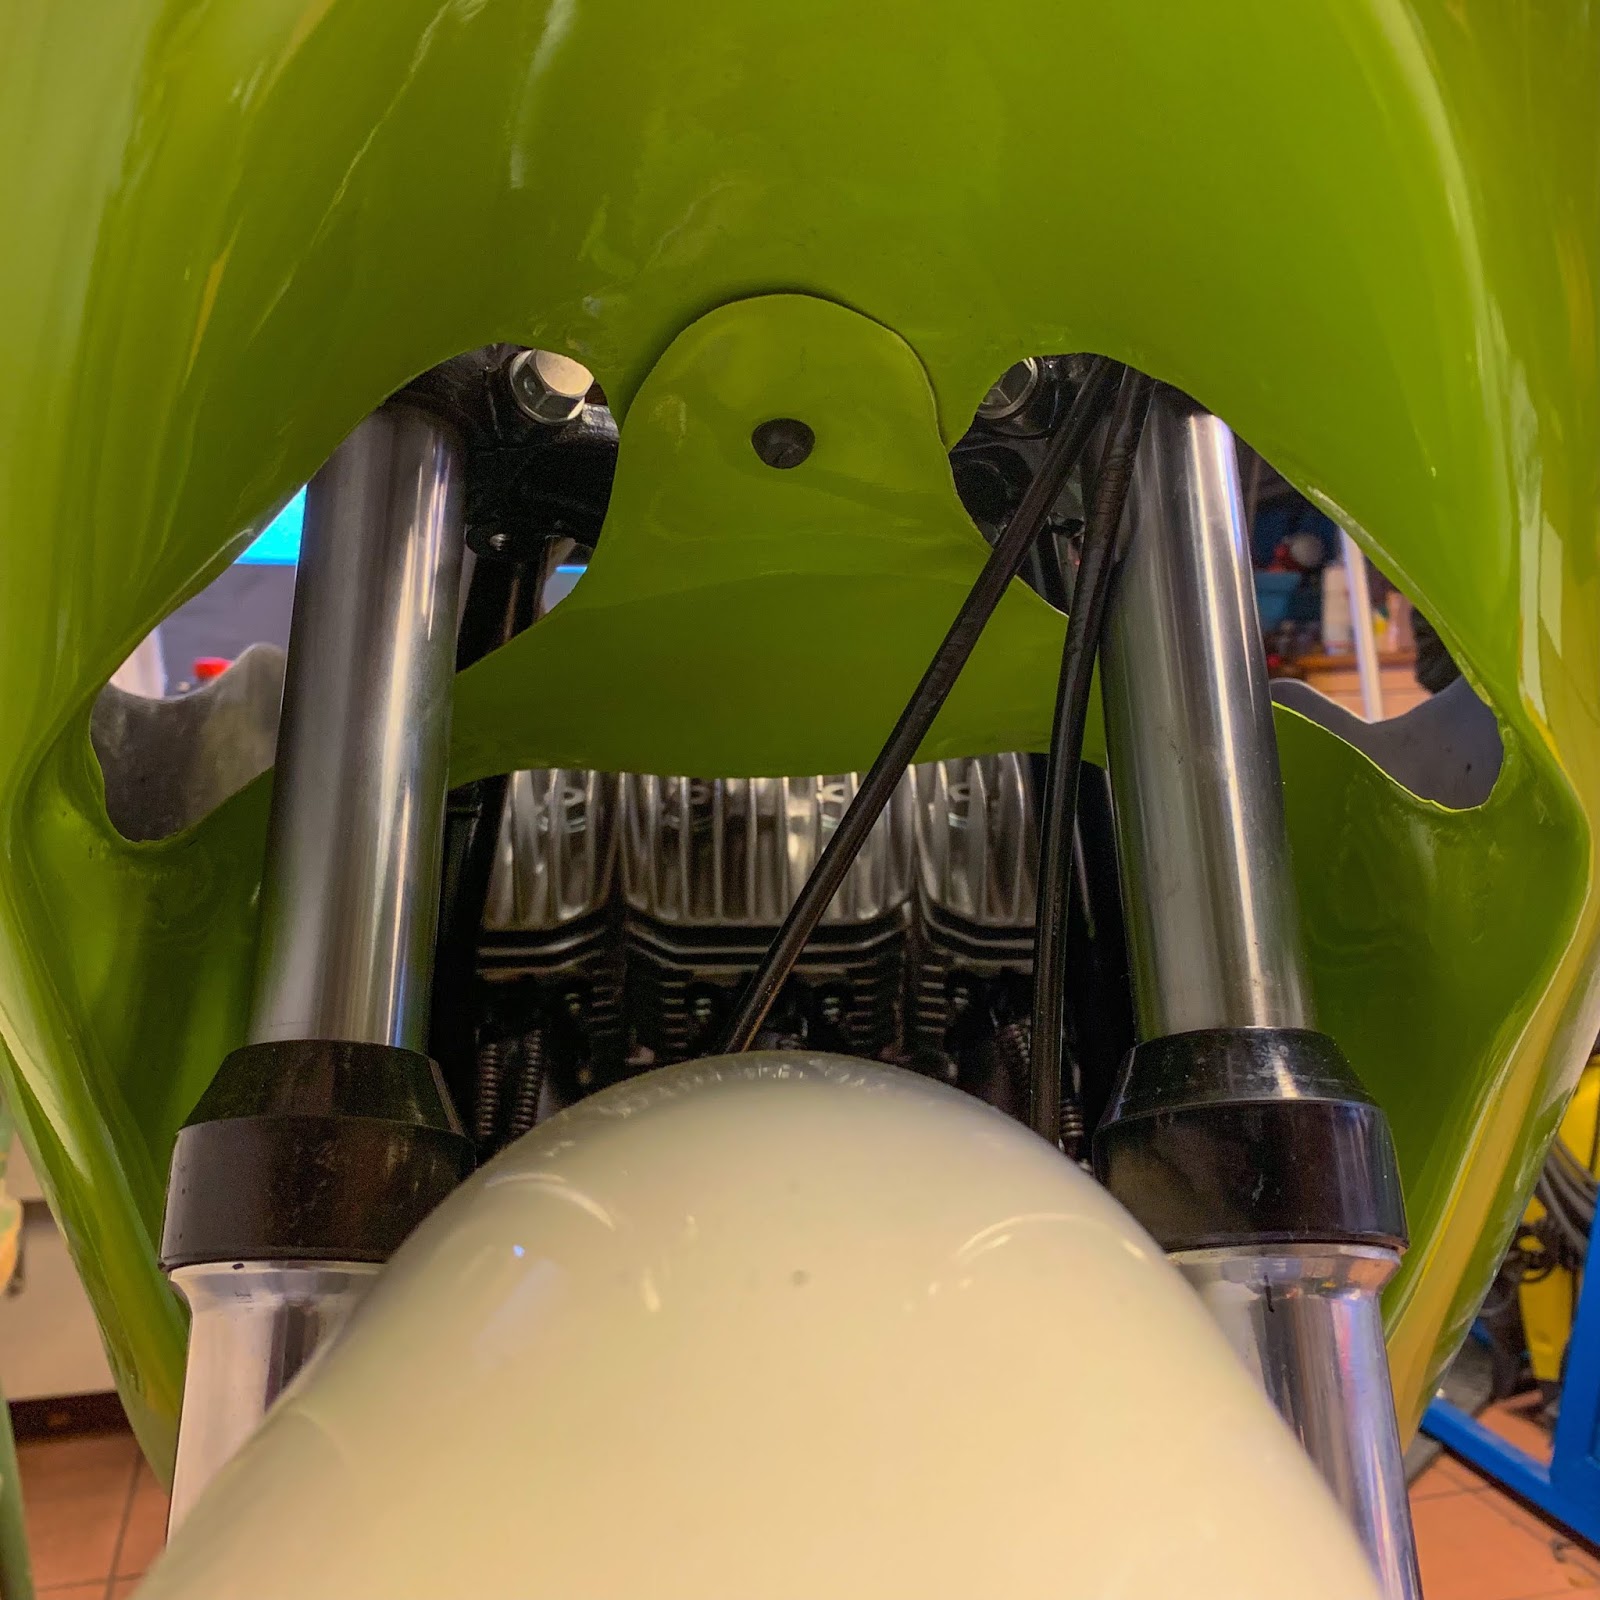
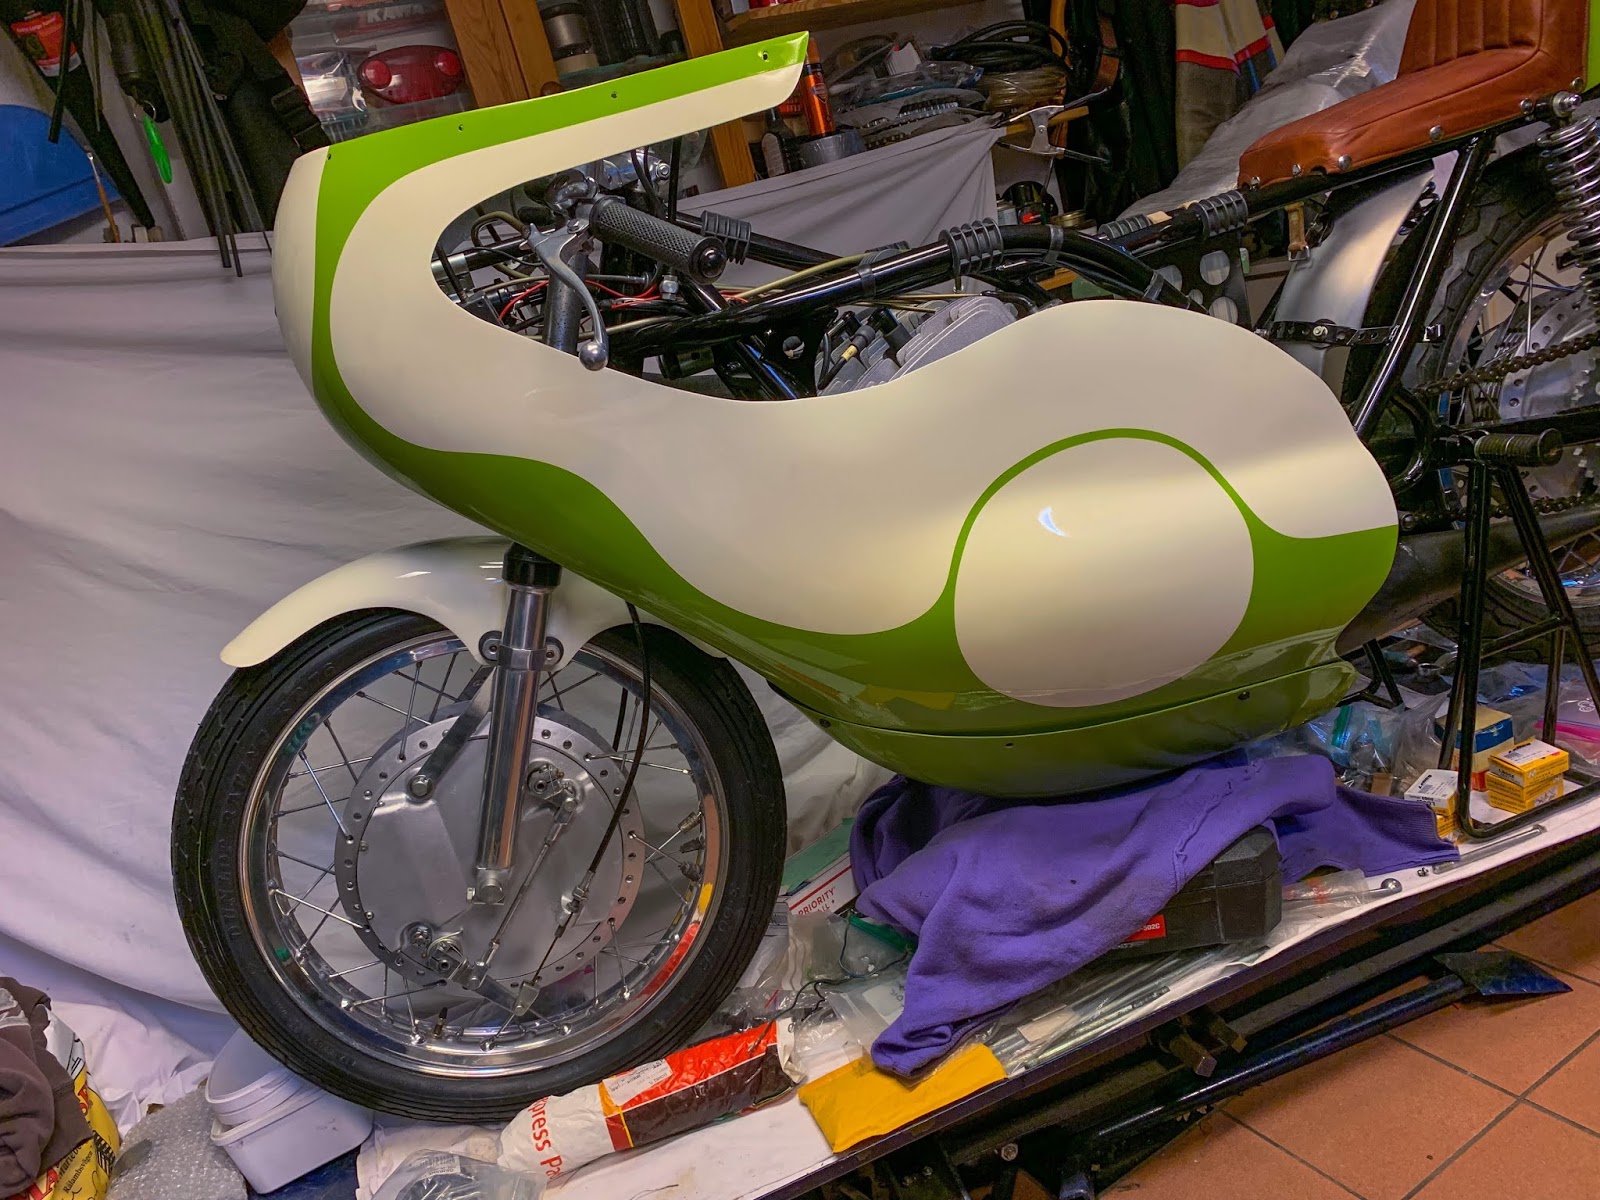
I should deal with the fairing and its attachments to the body. Why not simply make a trial fitment and see the place we’re on that a part of the challenge.
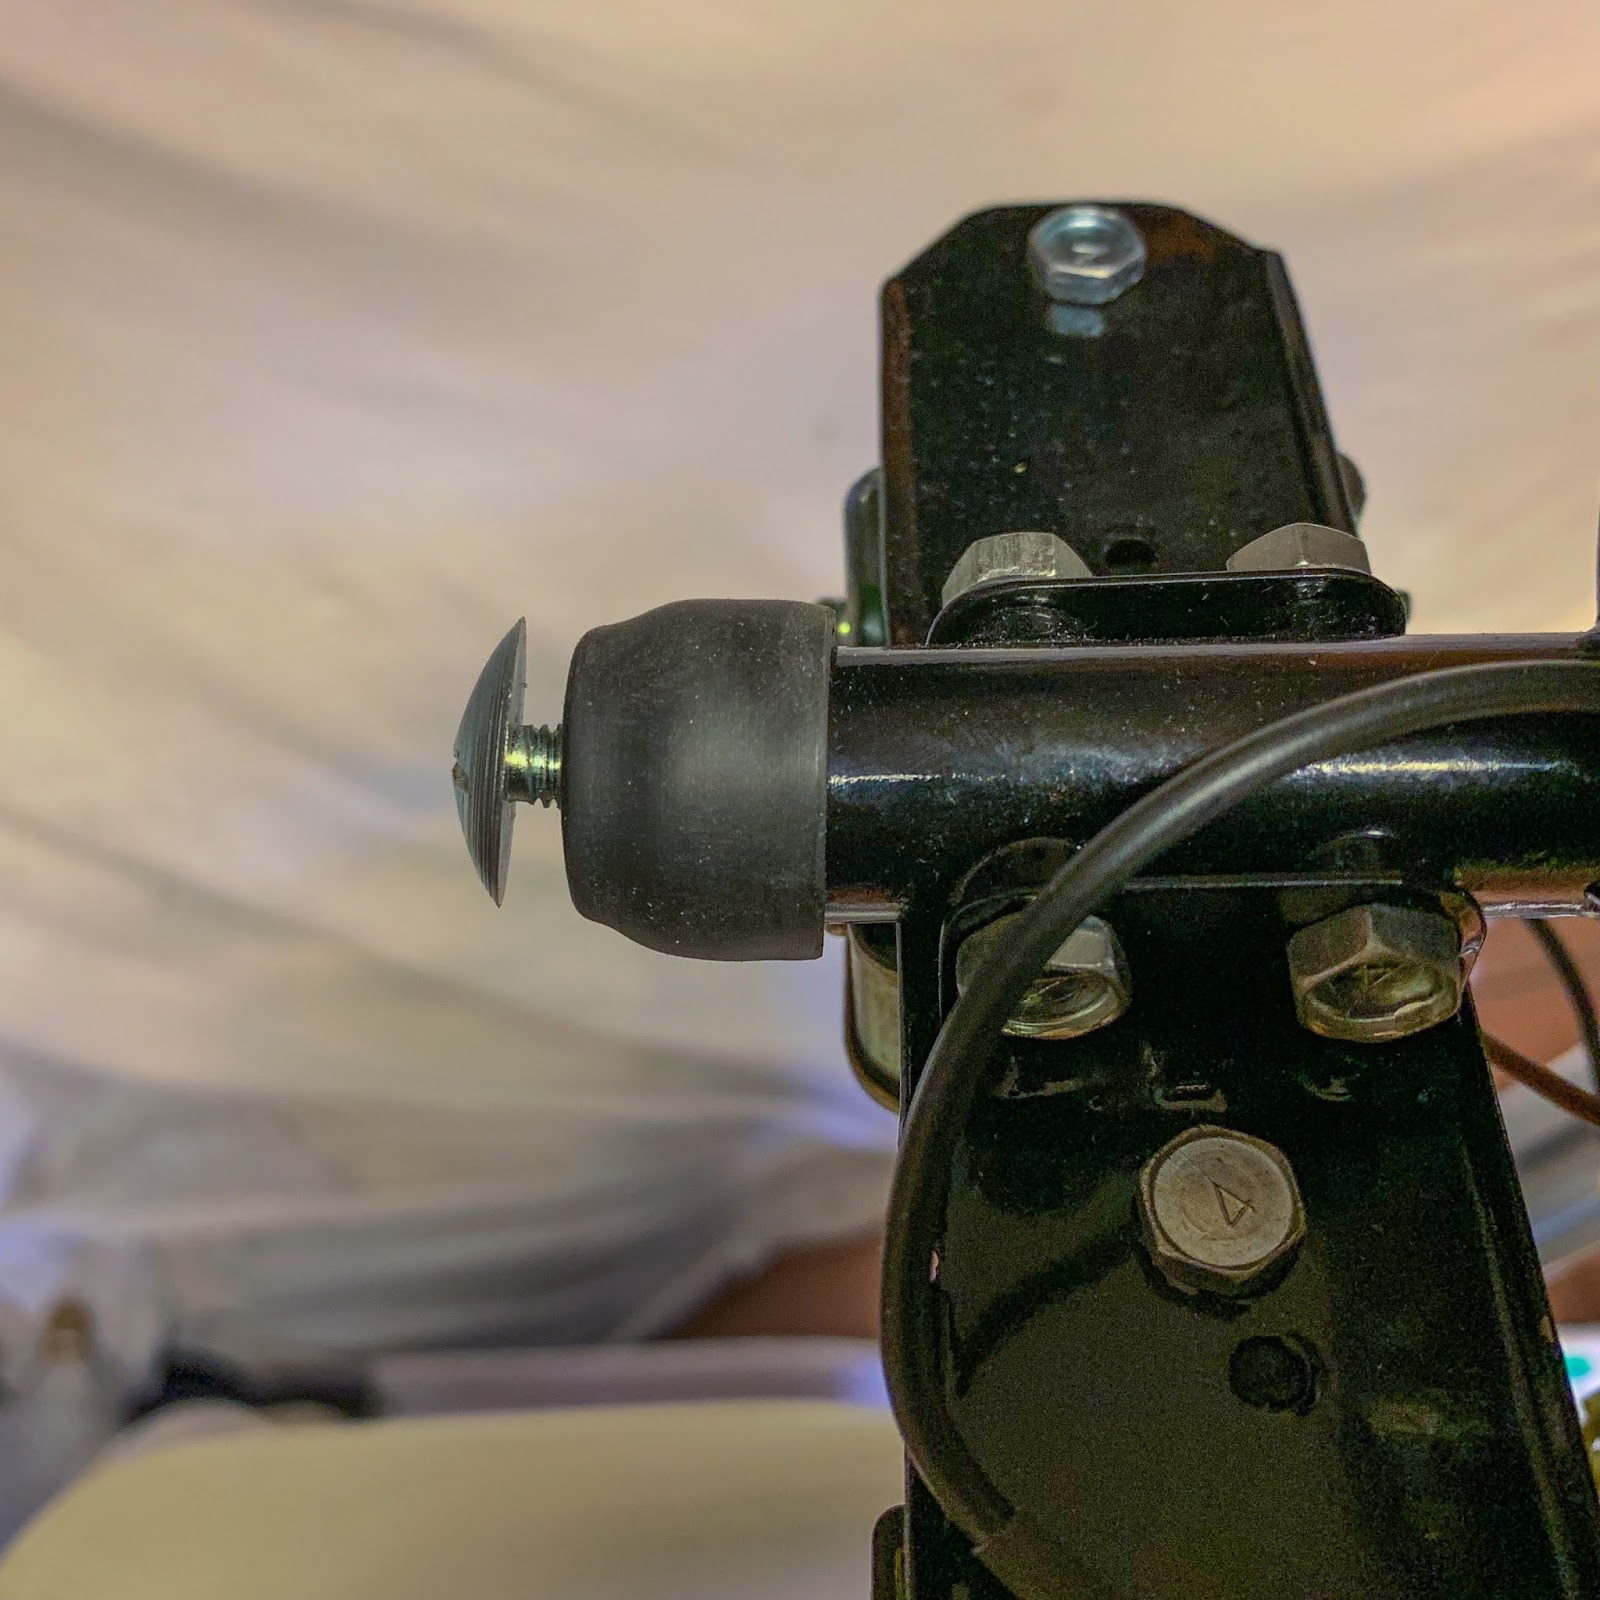
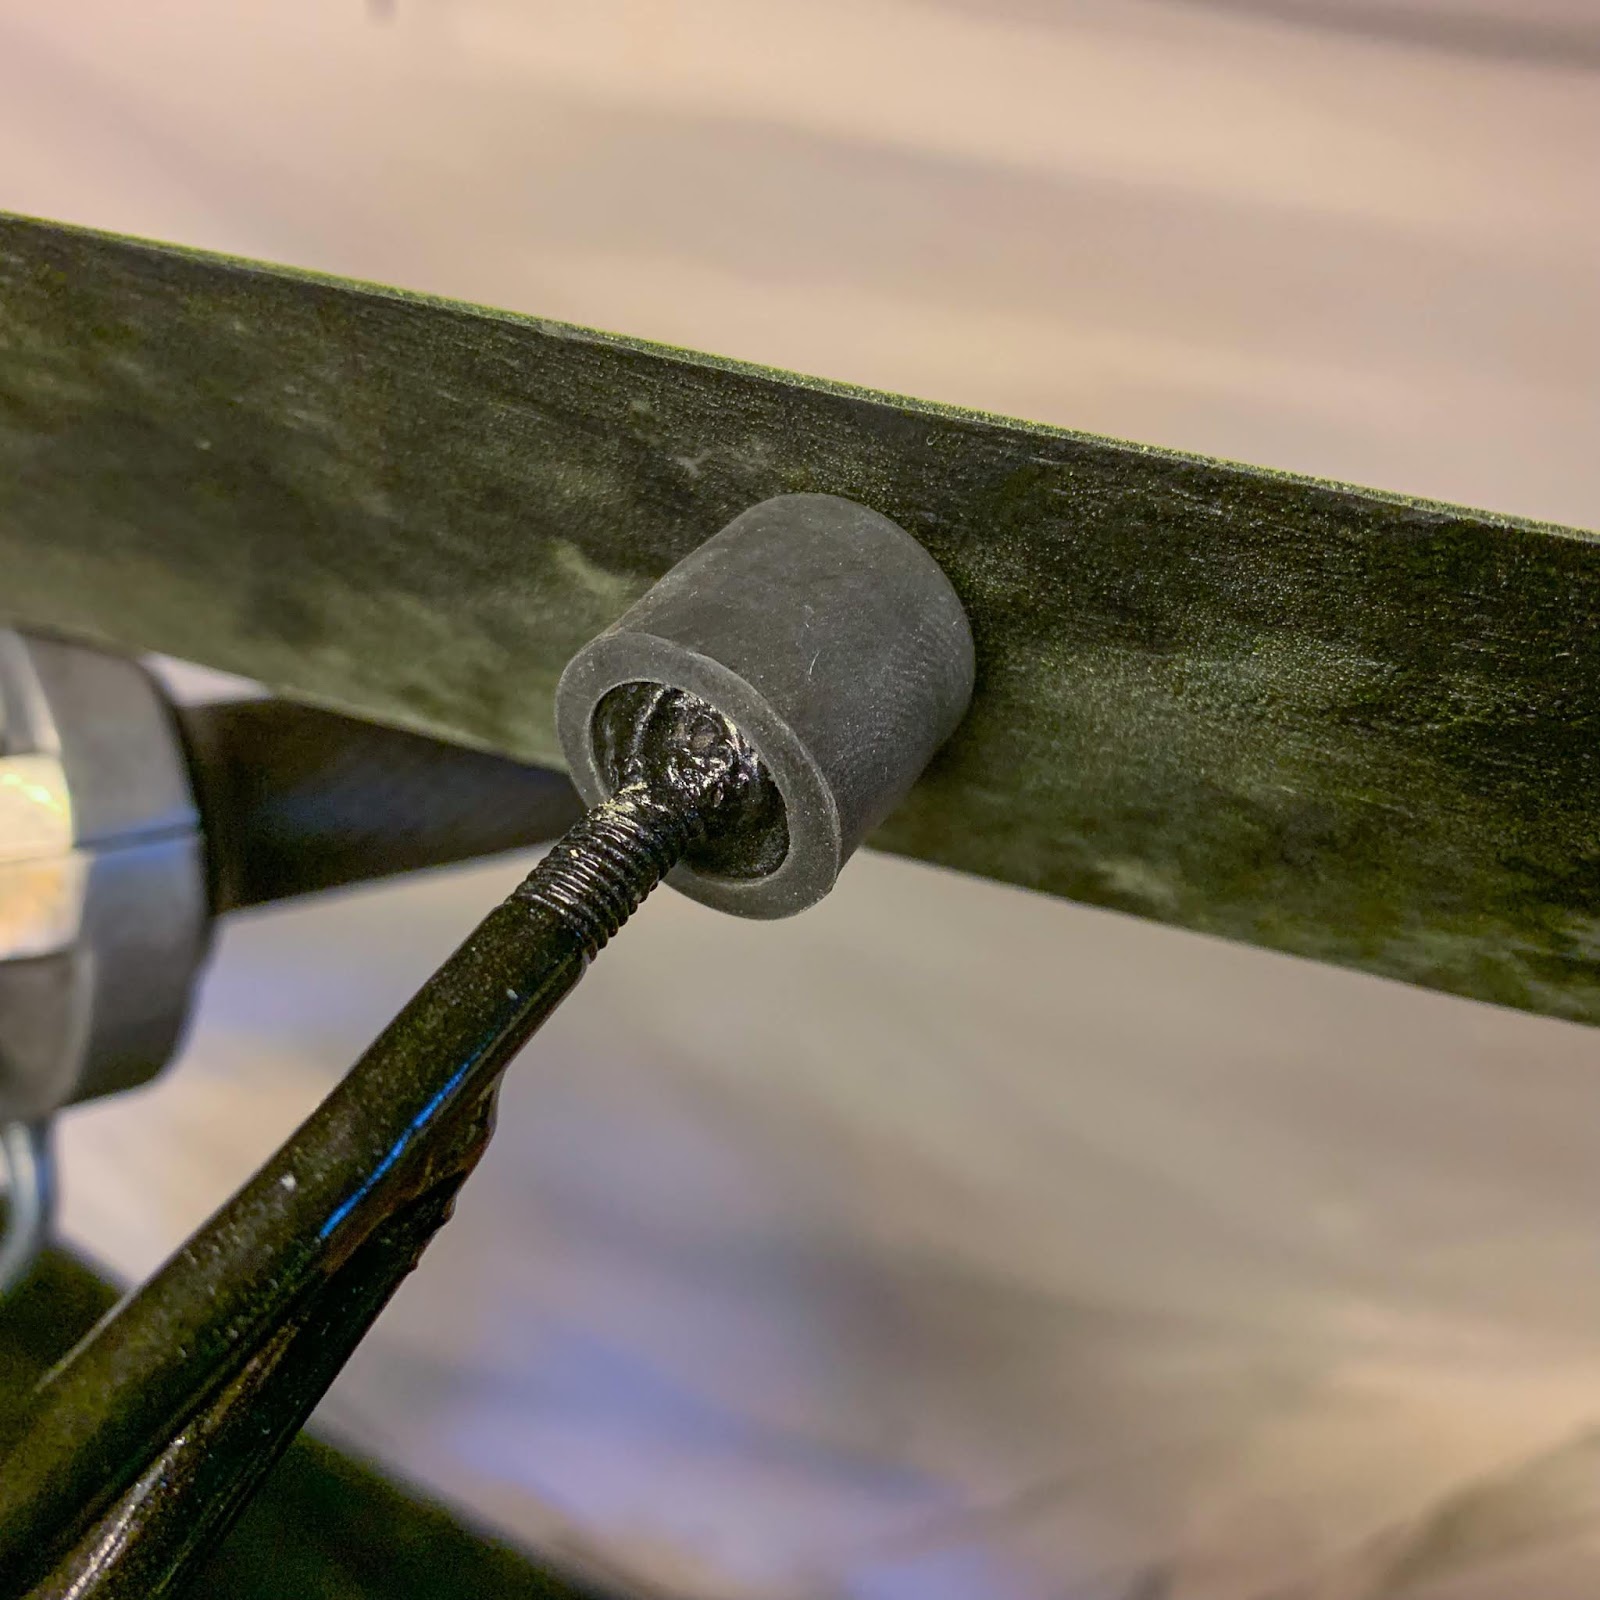
First the small rubber caps on all of the fastening factors on the body.
On the fitting right here is the highest left attachment up on the windscreen.
And the front-most level. Up excessive on the entrance “spear” with one of many two, three authentic fairing screws I’ve. I’ve ordered a few units from Konturverktyg, the enterprise that made my alternative entrance fork stanchions good.
Nonetheless ready…. Its been just one,5 years now.
So, I went there to make a pleasant reminder and probably take them elsewhere high get them achieved. The time I’ll want them is quick approaching! Belmir hadn´t forgotten about them, he had been very busy they usually had slid additional and additional down the precedence listing. No biggie in any respect, he promised to get them achieved ASAP.
I wanted some type of help for the fairing beneath the bike for my trial becoming. One among my battery operated screwdrivers field was good. A little bit of rag on high and we’re able to rock!
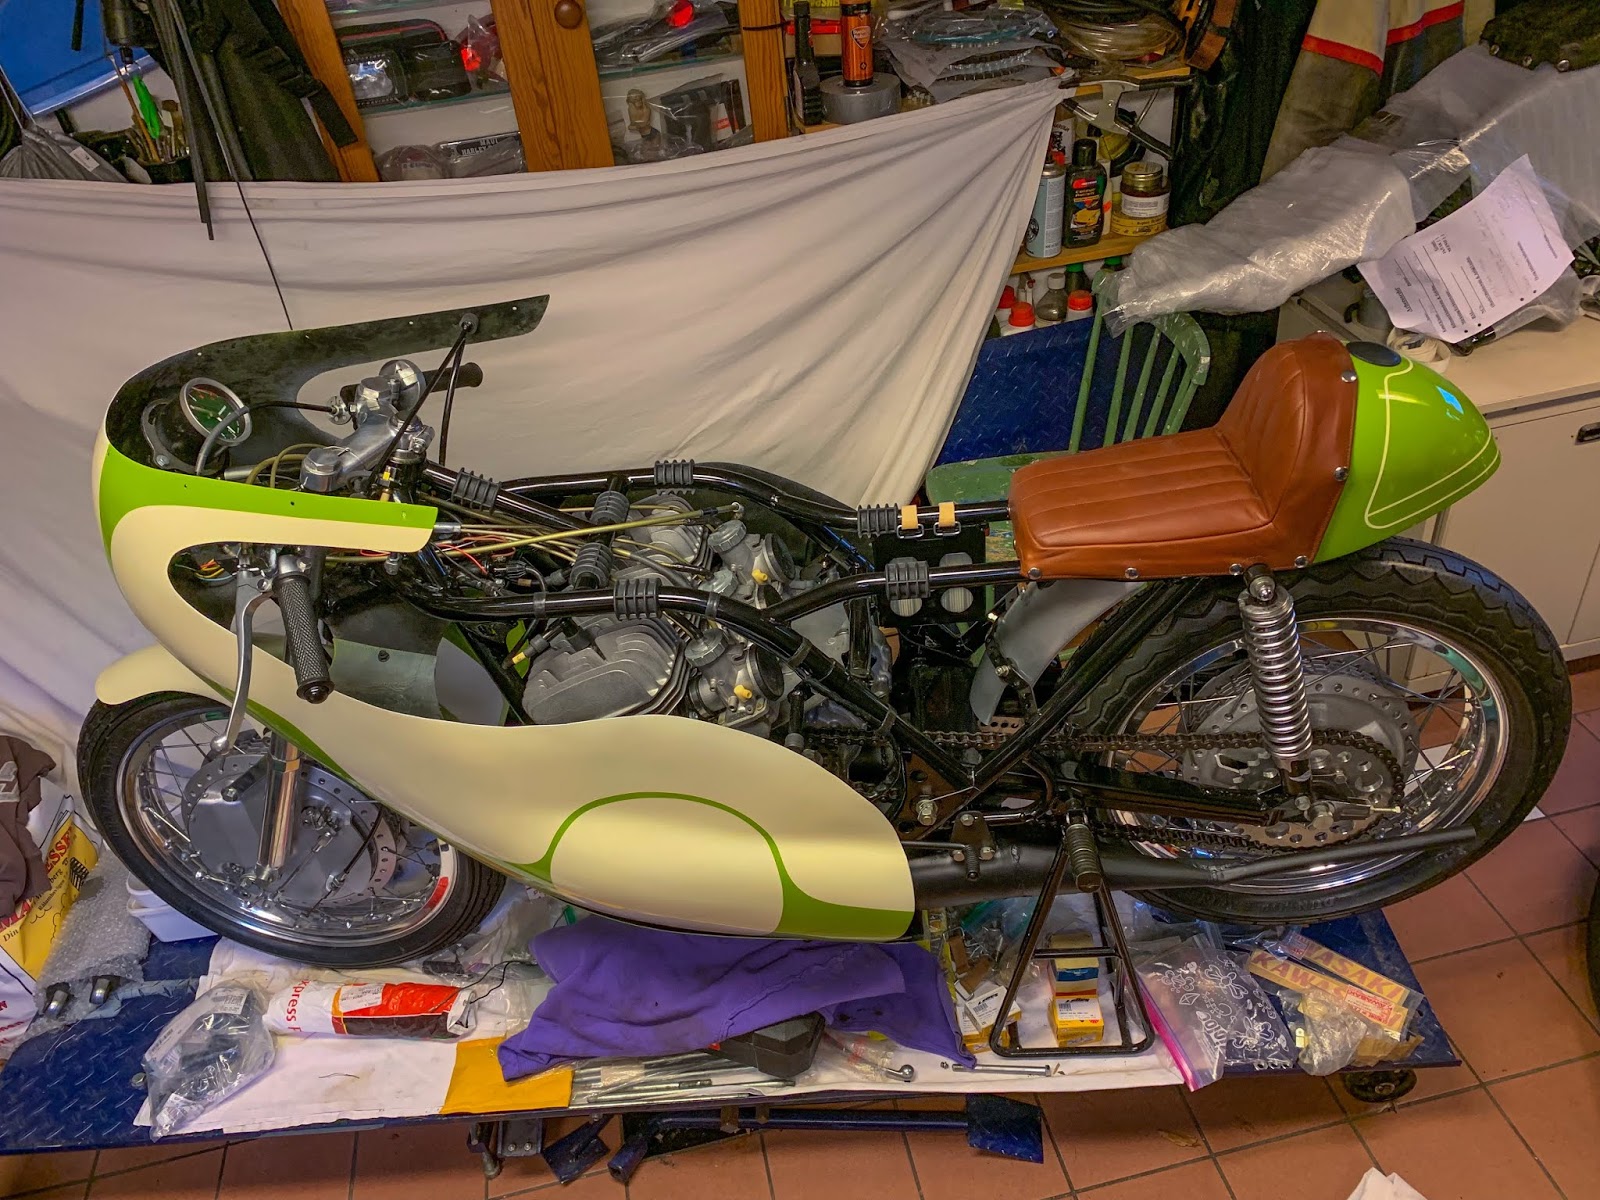
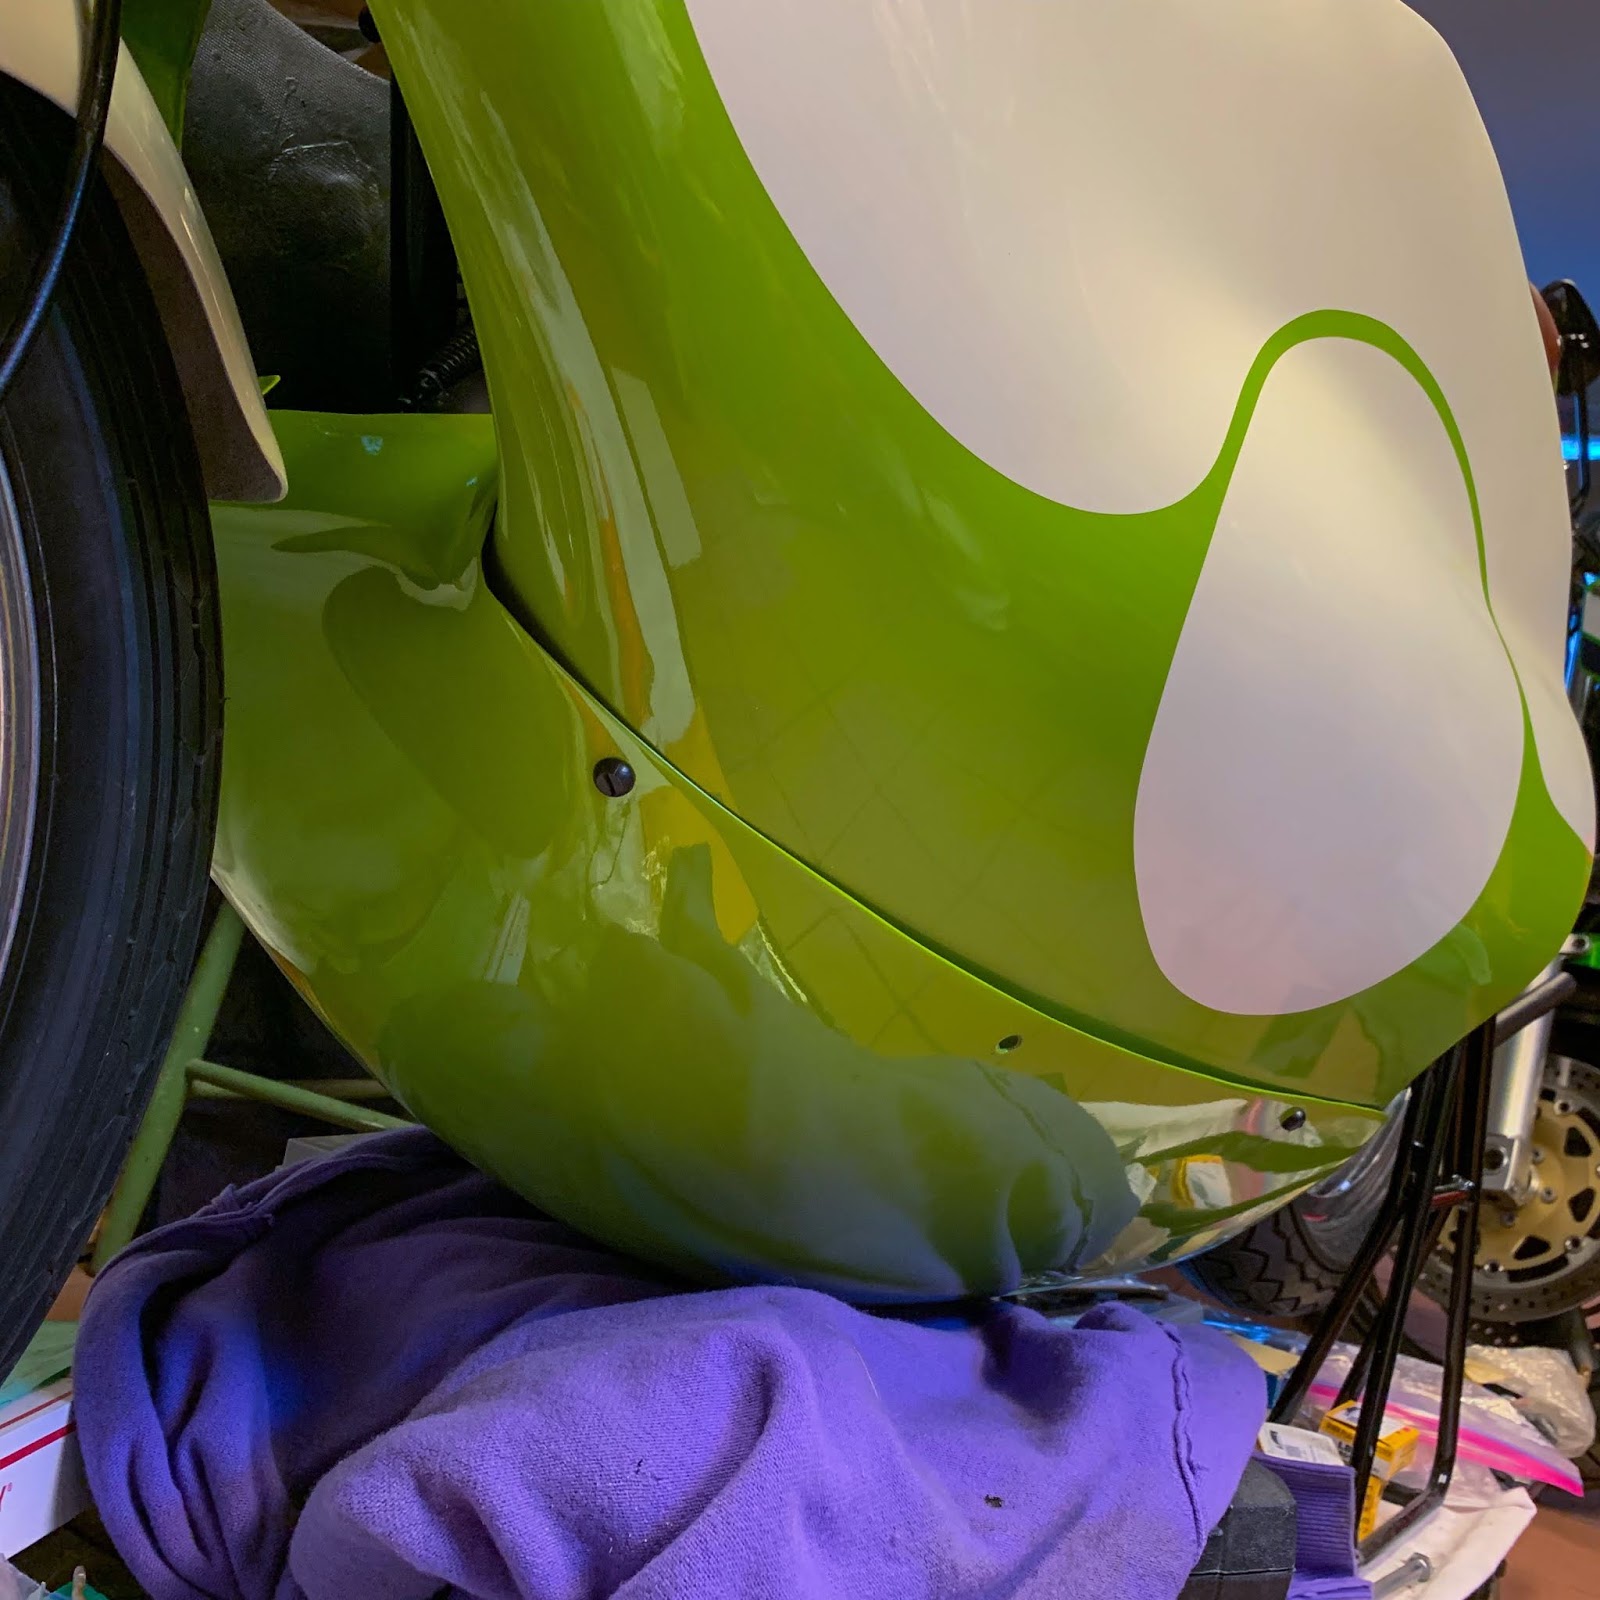
That is going to be a ache… I acquired it on to the bike, however it received´t match that good in any respect. It has most definitely been modified and potential changed over time. I should modify most the whole lot on it to get it proper. Janne had comparable issues becoming his fairing additionally, so nothing new right here!

The fitment really appears lots higher than it’s in actual life. The bracket holding the highest a part of the fairing is adjustable in peak, however not in width. This appears OK up right here, however 2-3 mm adjustment in any path up right here makes a really massive change additional down under the stomach of the bike.
That is the best way it’s speculated to look in a while up on the windscreen. I must tremendous tune the location of all components of the fairing and ensure all of them match this good far and wide. Not a simple job.
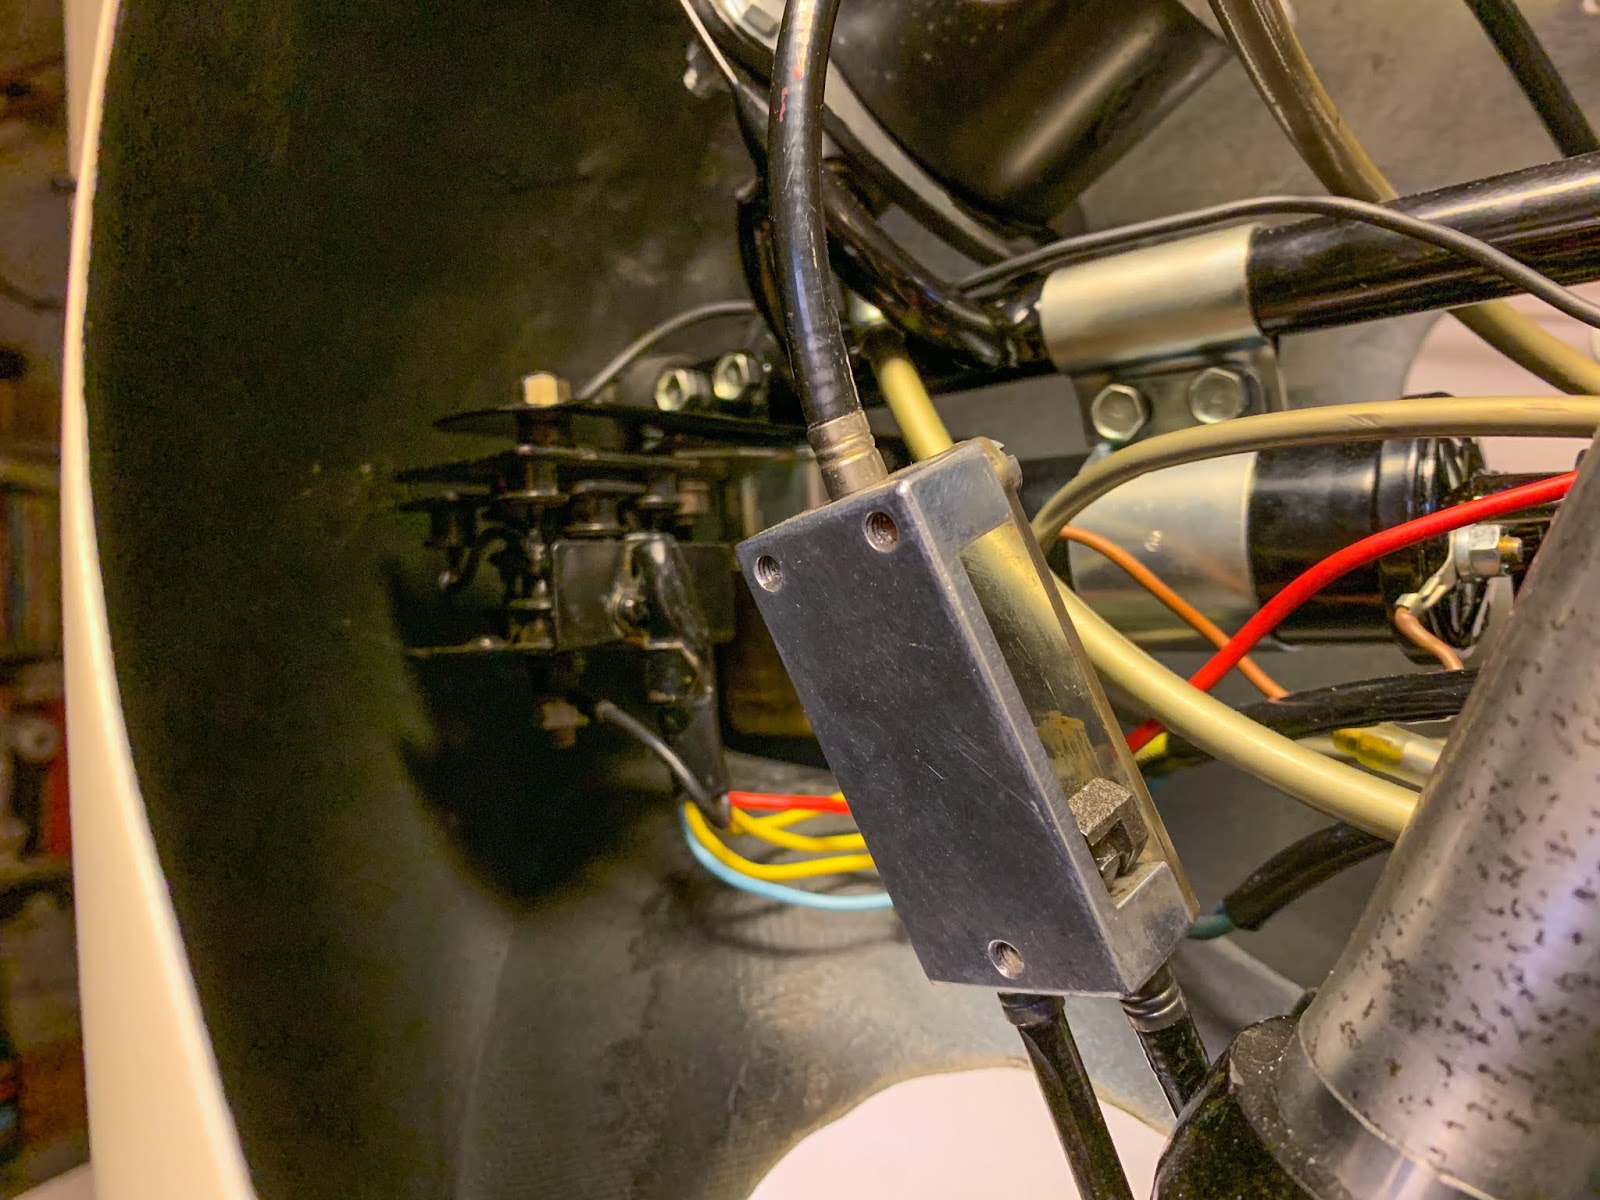
Right here´s one of many main issues. There´s completely no approach the fairing will be introduced in far sufficient to fulfill the bracket and the rubber right here.
Janne needed to make an extension of the bracket, and so will I.
Bugger!
The identical downside on the fitting aspect of the bike. Right here it’s much more vital to get the fairing off the engine. That dry clutch will eat a big gap very quickly if it ever will get involved with the extremely skinny fiber glass fairing.
I´m fairly shut right here on my first becoming try as you may see on the fitting. The restore “Tullar´n” made will be seen and that’s, in fact, the place the opening was earlier than he fastened it. The extension on the fitting aspect doesn´t should bee fairly as lengthy, although. In a while we´ll see the best way to go about it!

Entrance view of the fairing. I feel it “hangs” a bit on the left aspect of the bike. As I mentioned, a number of changes shall be needed in a while.
Right here, on the entrance underside, it appears fairly all proper. Considerably symmetrical and straight. Not too unhealthy in any respect!

The decrease proper aspect of the fairing and the fitment of the stomach to the higher fairing. Sure, problematic. I suppose it’s going to should be what it’s. I do know Janne is planning to supply new stomach fairings in aluminium. I would simply go alongside and get me a type of.
There´s even discussions right here and there that the unique stomach fairings had been made from aluminium from manufacturing facility. I´m not utterly satisfied about that, although.
Any ideas on the market?
The left aspect. Ever so little higher fitment right here.
Thanks.
As you may see I solely have three holes for the Dzus fasteners. The unique have 4…
I consider “Esso” minimize the decrease half on the rear of his fairing to accomodate is moderately massive racing boots. Not comfirmed but, however that’s my principle.
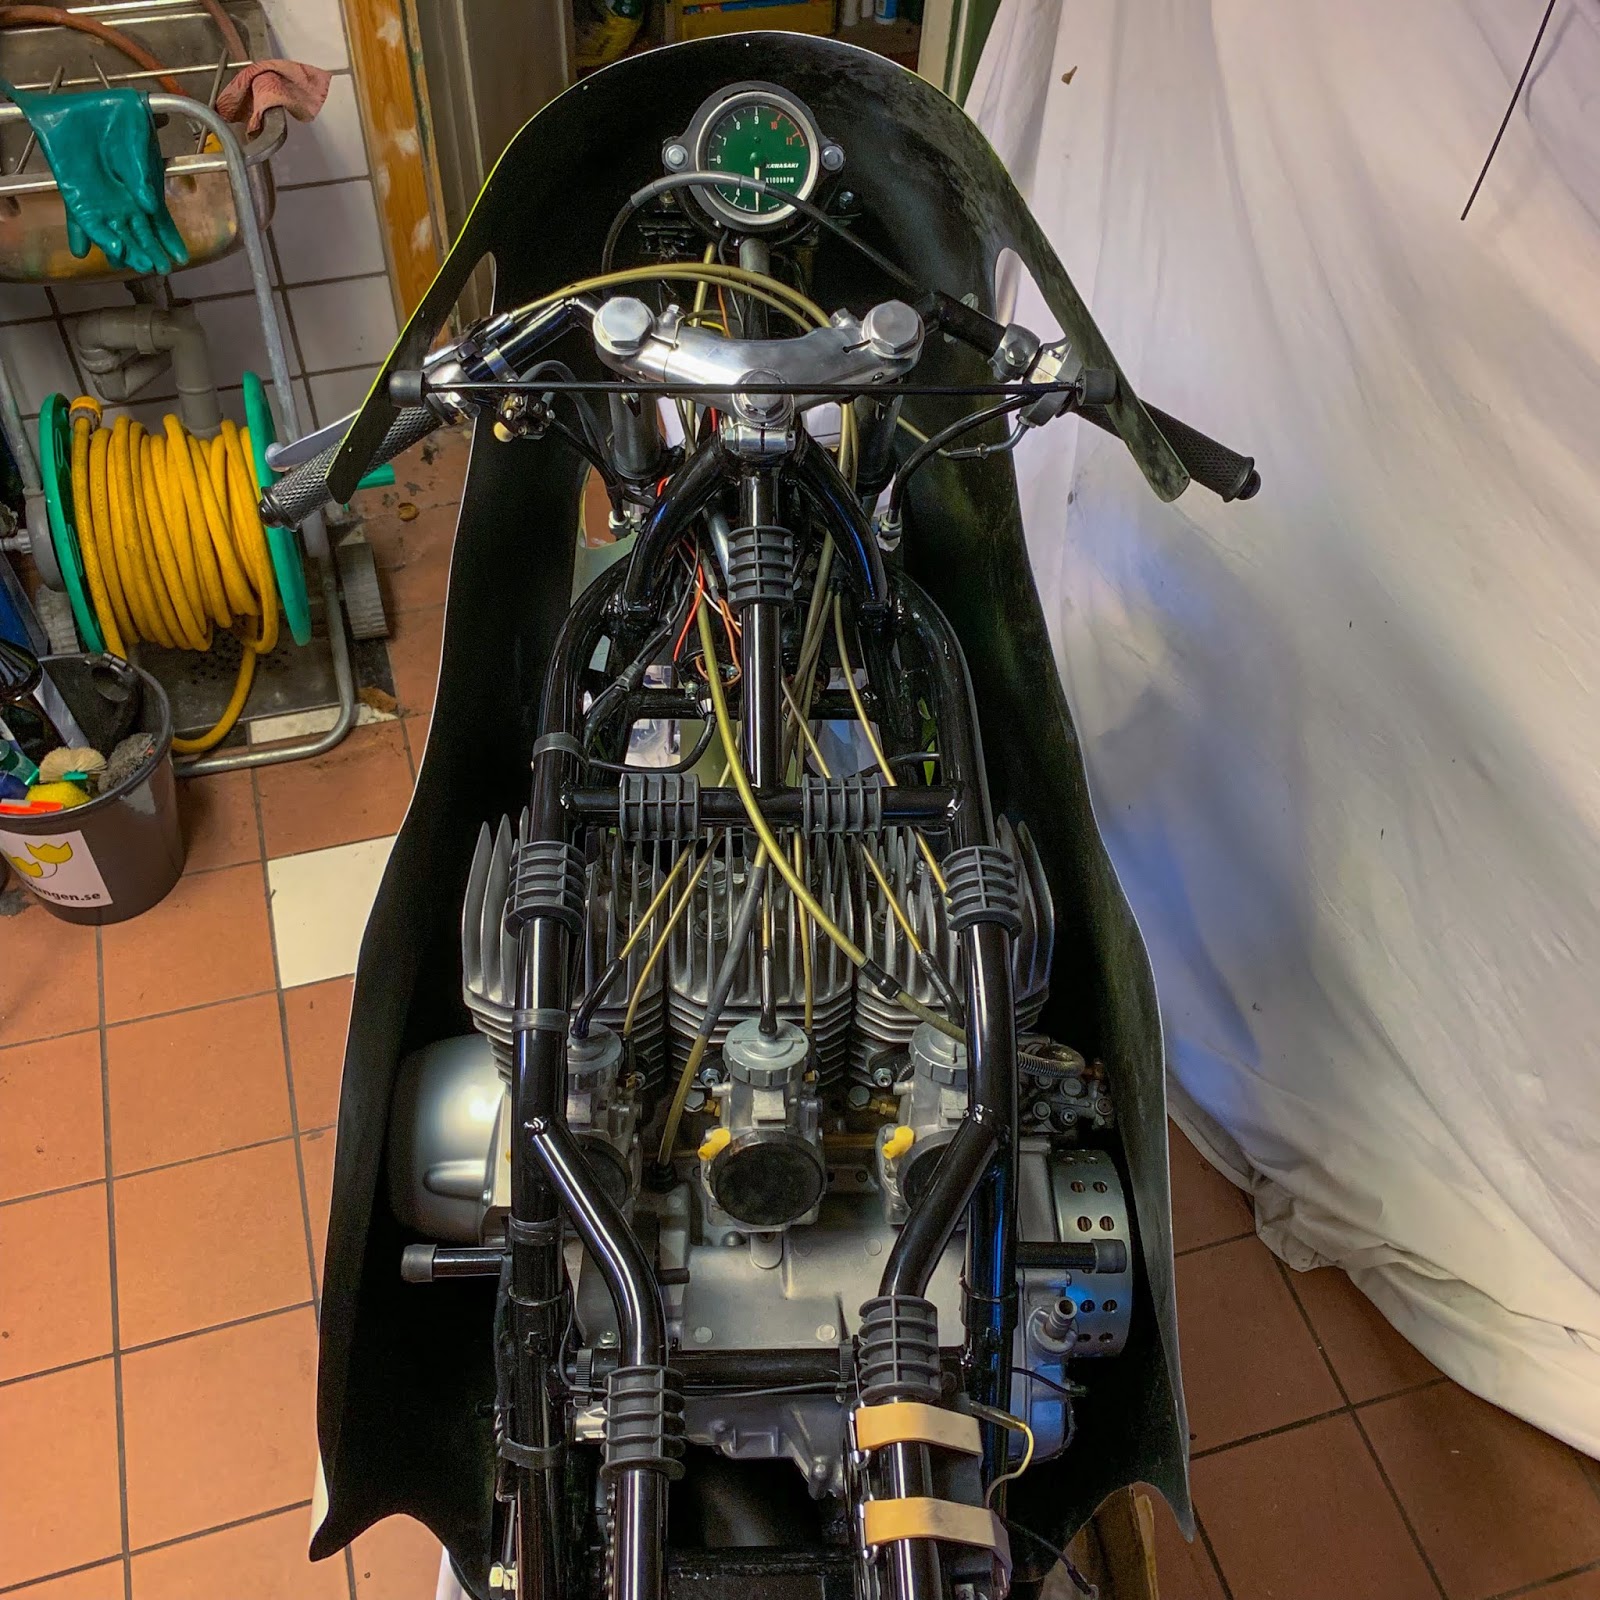
A view of the “cockpit”
Moderately cramped-up house in every single place. Tight match between the fairing and the engine on each side.
You may inform I’ll want these bracket extensions as nicely. I simply want to determine how lengthy they should be.
A peek in to the entrance fairing with {the electrical} system and the opposite parts up there. Tight and comfortable.
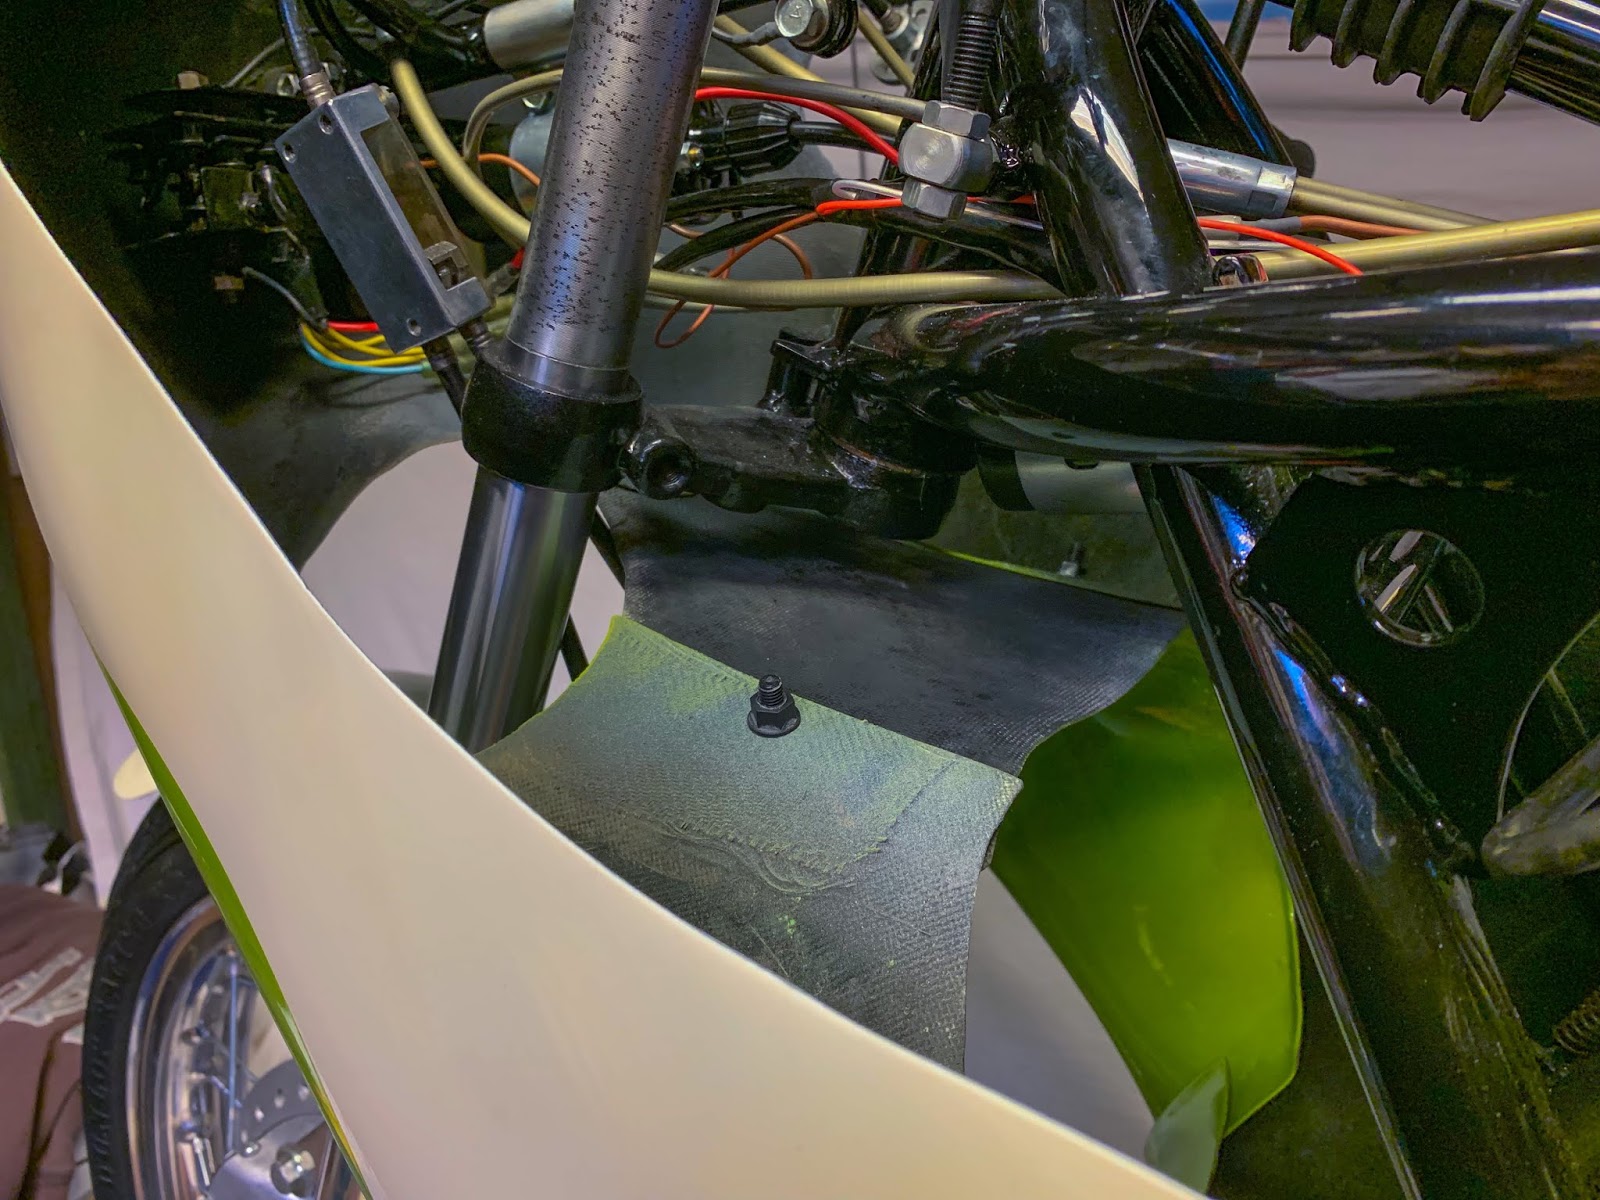
The within of the fairing under the decrease triple tree. These plastic fasteners shall be changed by the Dzus screws in a while. Not a lot turning radius on this bike However then again, when racing you don´t use the deal with bar for steering that a lot.
So, that is the state proper now. The fairing is on the bike… Type of. It´ll want a number of work getting it proper in every single place, however that’s going to be fairly enjoyable as soon as I discover the time for it…
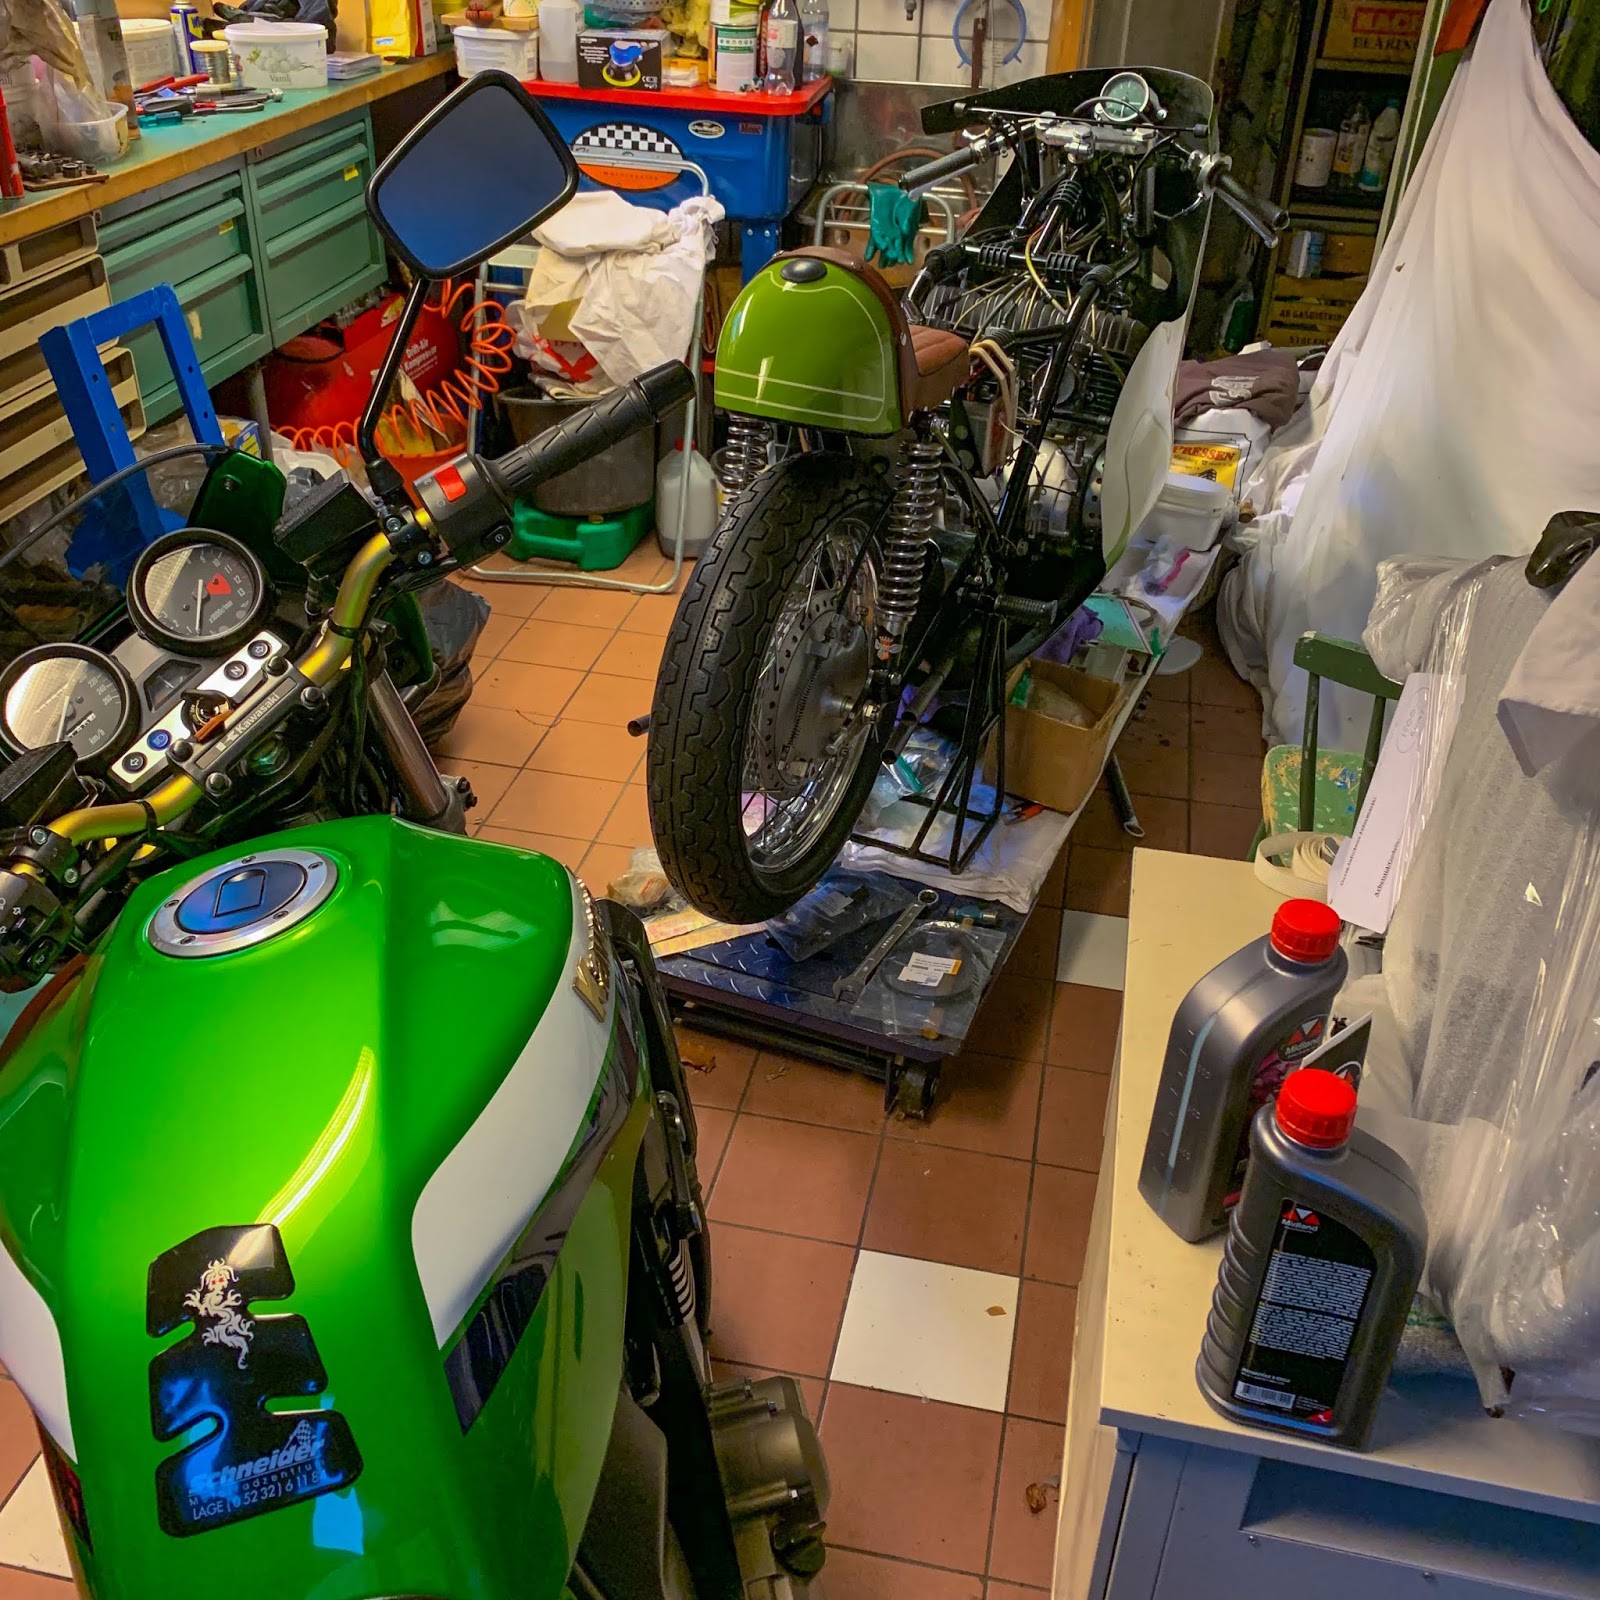
A snapshot from the storage a few weeks in the past… My new, drivable “basic”, Kawasaki ZRX1200R is trying on the H1R construct in a little bit of awe.
My storage may be very small and many issues should happen there and on the identical time at instances. Crowded however cosy.

After I began this publish a few month in the past I didn´t have sufficient materials to publish it, that´s why it has taken so lengthy.
I even began on my new H2 construct, to resurrect “Snow white”, my ported H2 particular. That has given me one thing to do whereas ready for H1R stuff to prepare.
Yeah, I do know, I may have security wired the whole lot else that wants it, however no, Not but.
A pal in Norrköping paid Bert a go to some time in the past and he was allowed to snap just a few photographs of the progress being achieved!
The highest half and the edges of the tank are welded collectively and the underside half is being tailored to suit the highest half.
A lot of work left to be achieved, however Bert is getting there, I´m positive of it!
Progress was made in regards to the fairing as nicely!
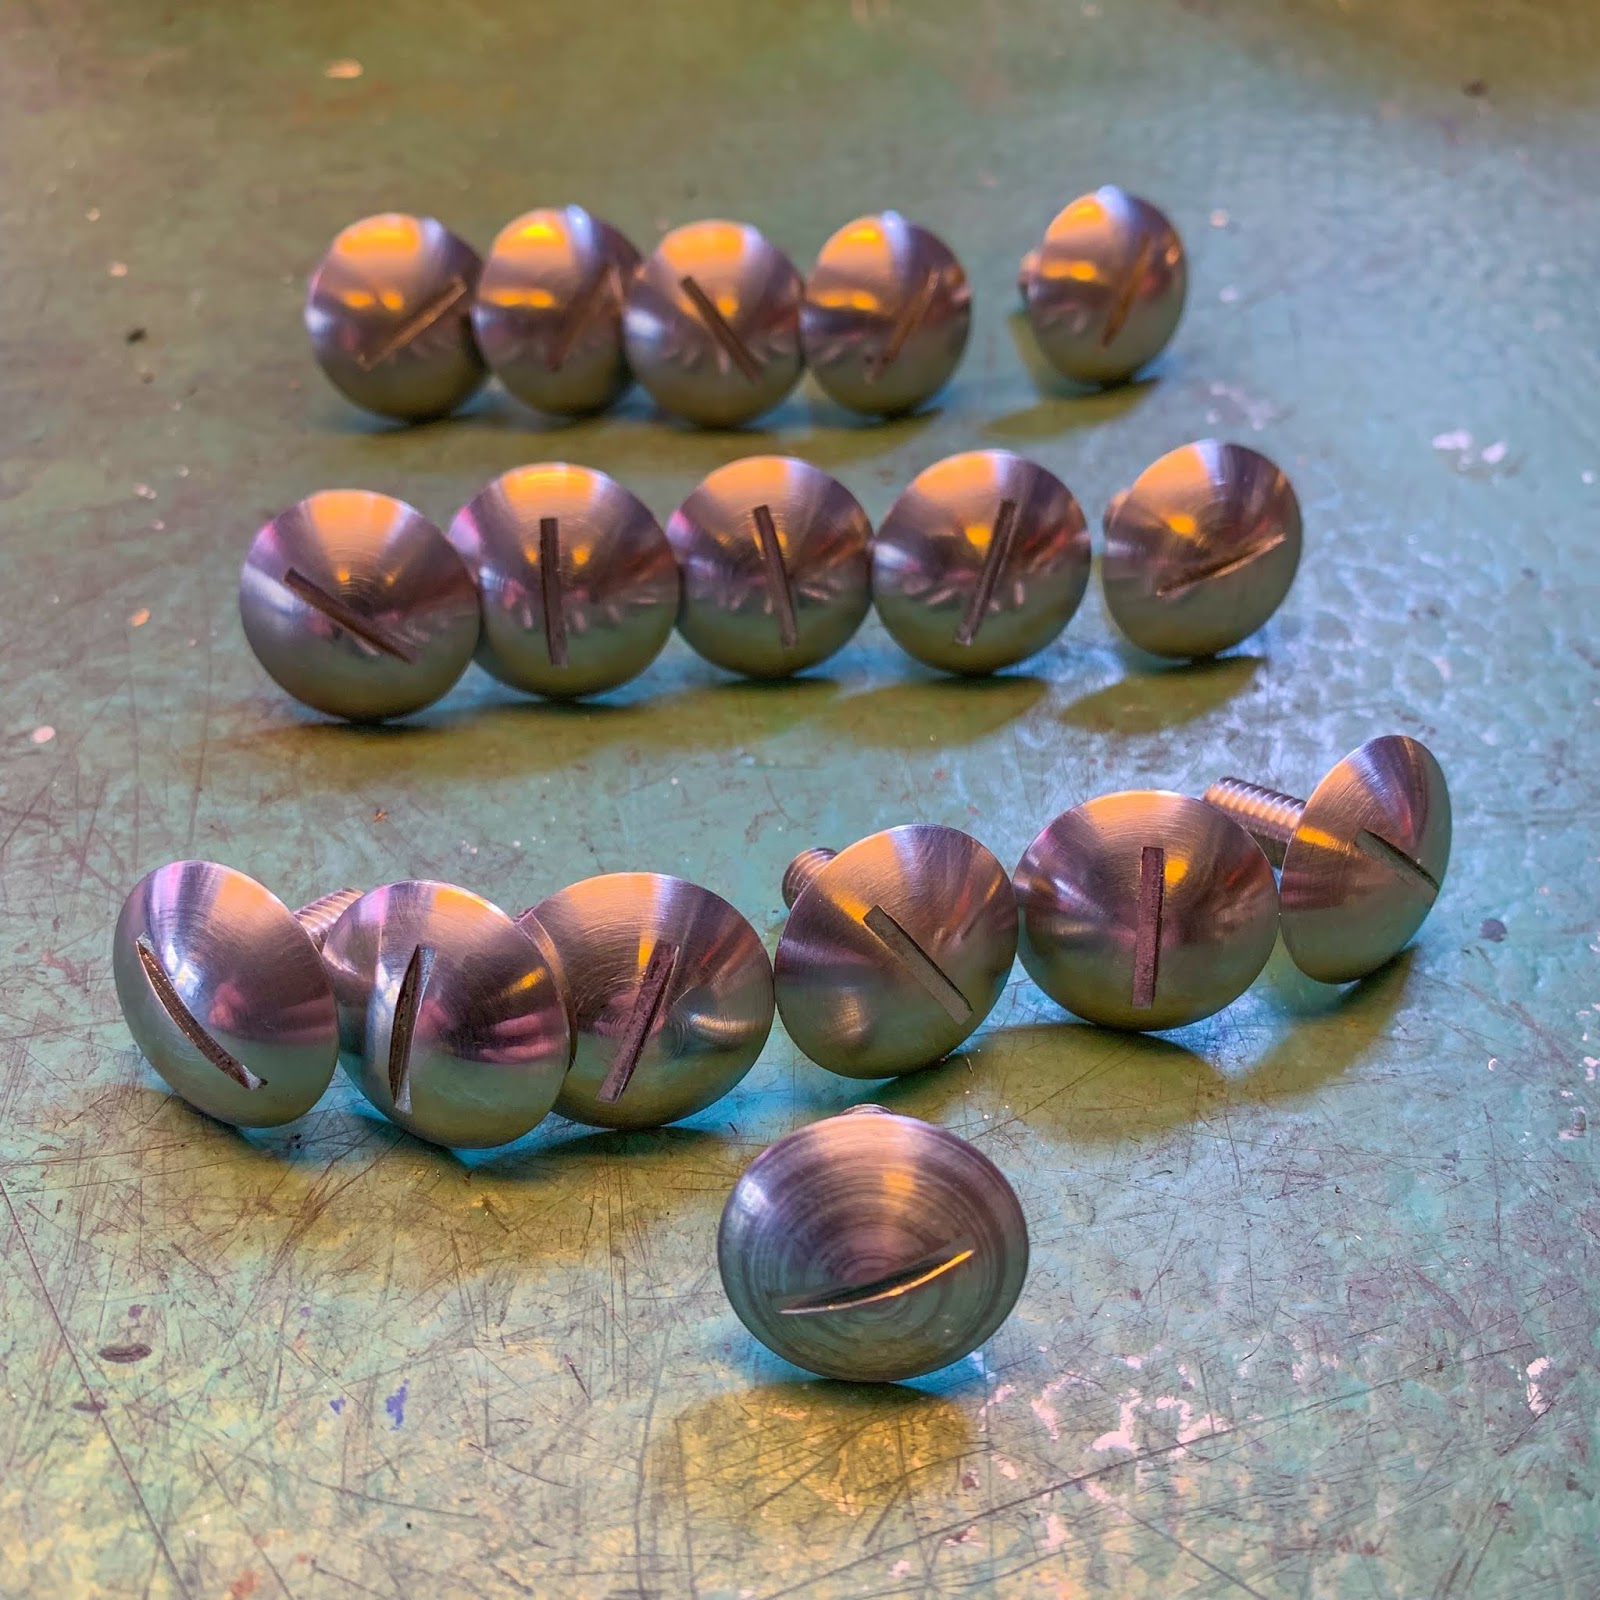
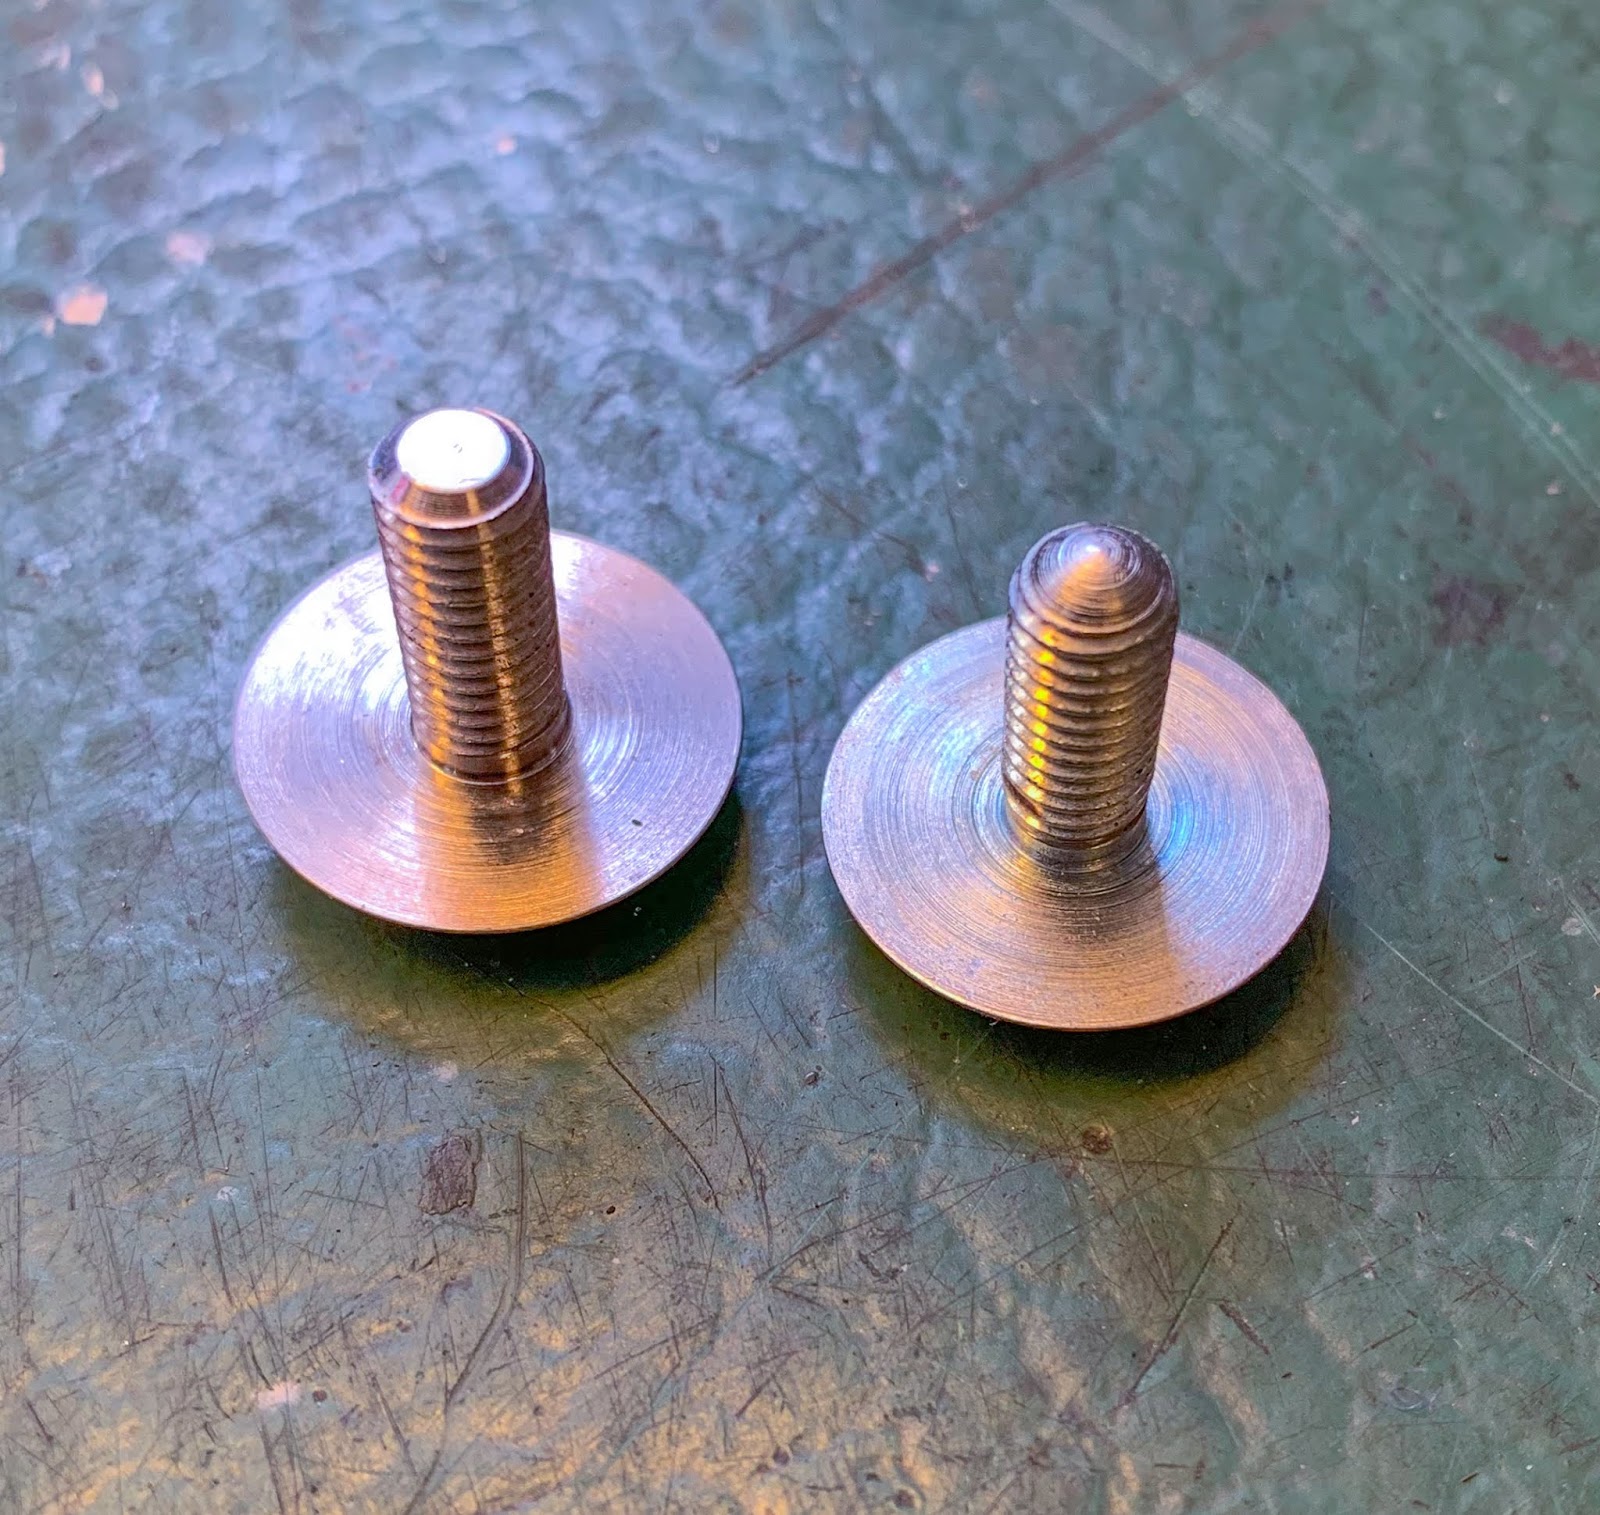
Belmir at Konturverktyg got here via with my fairing fasteners. I kindly requested him to make just a few of them further and he did…
16 of them to be actual.
The unique fairing screw up entrance and the copies behind.
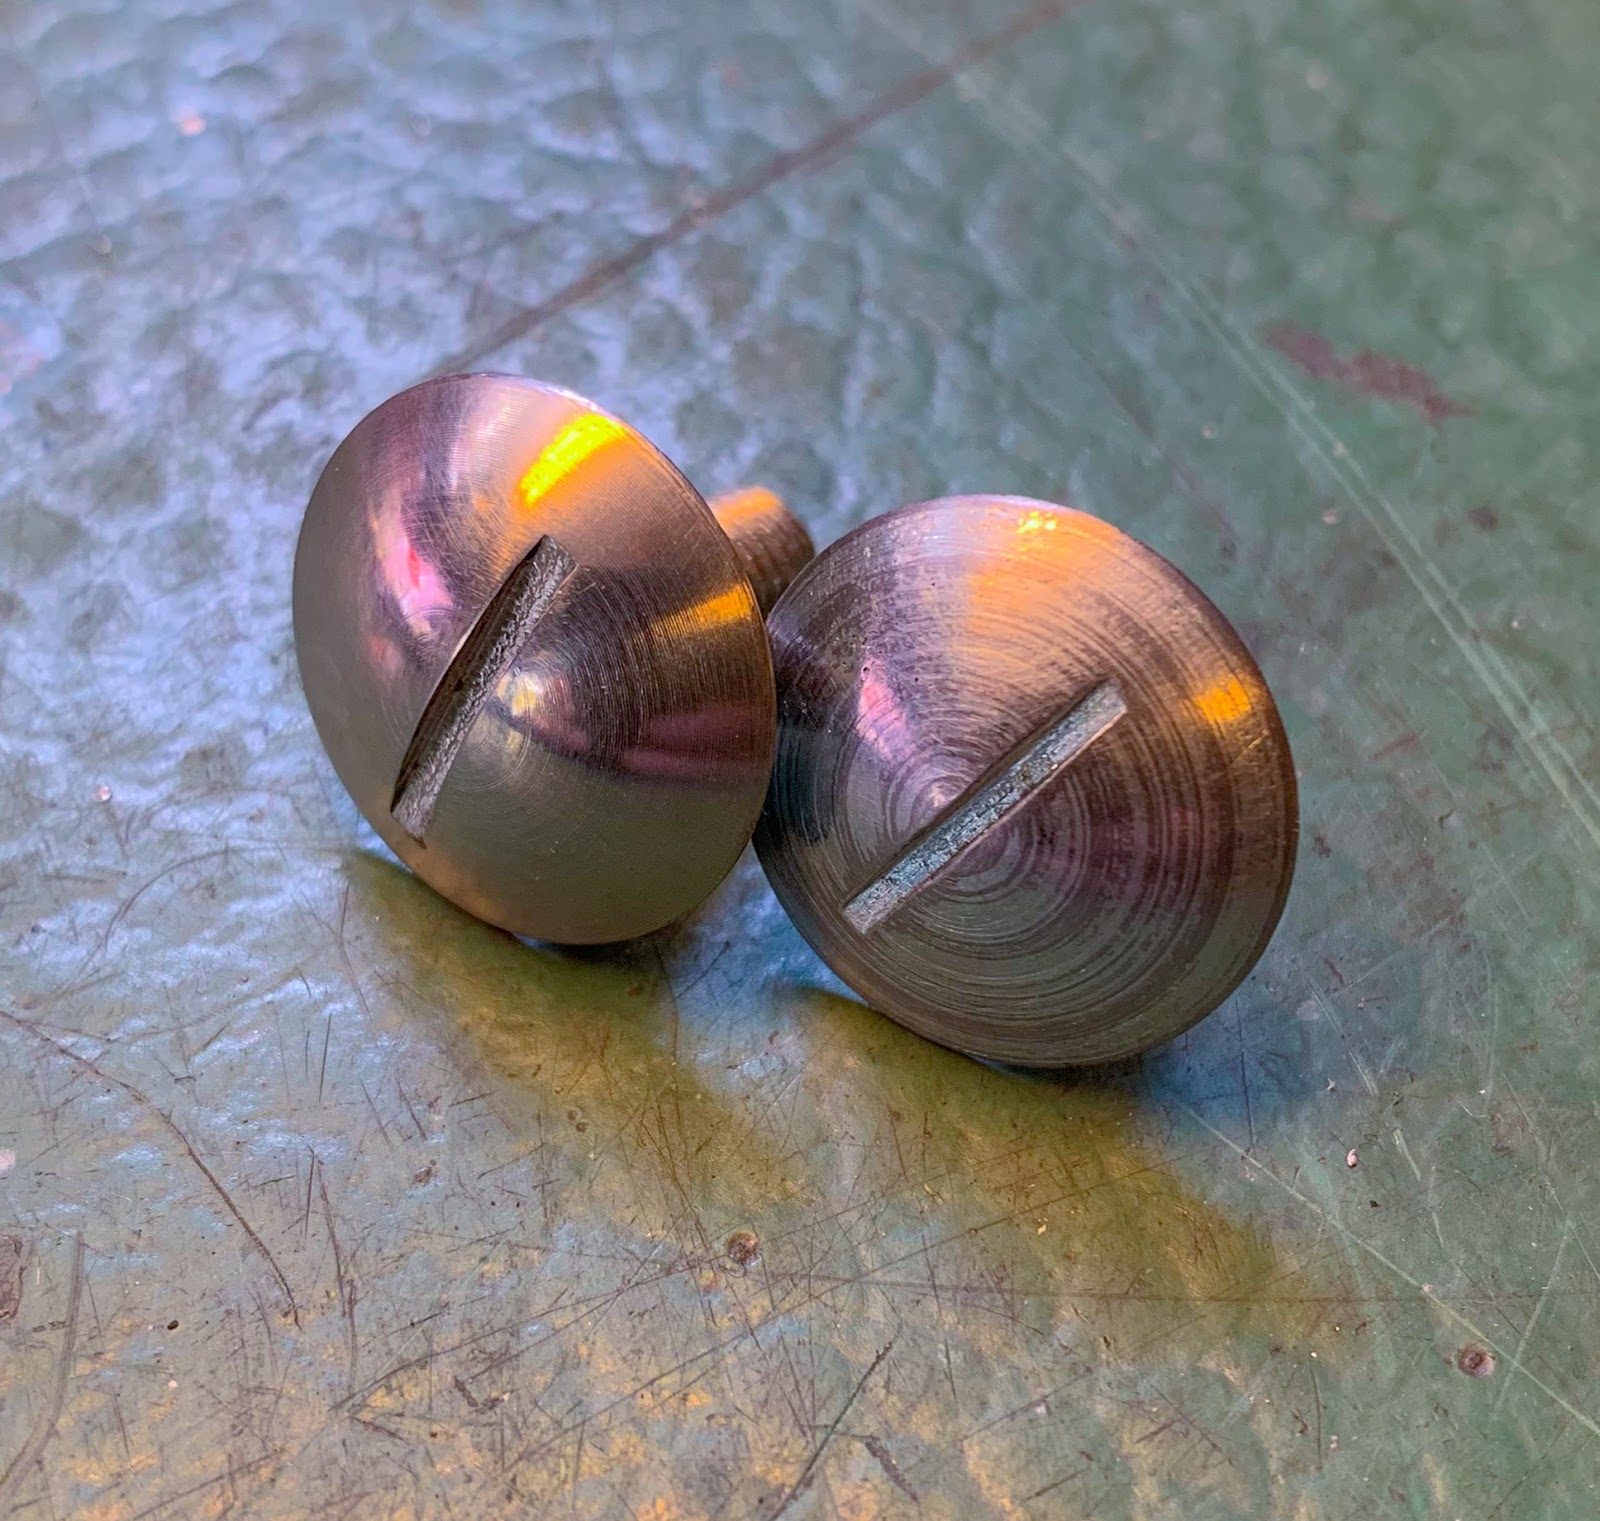
As soon as once more I´m completely awe-struck by those who know their enterprise!
These copies are comprised of chrome steel and will be polished or sanded to the precise end you want by yourself challenge.
The unique on the fitting.
I feel he nailed it! The unique on the fitting and his copy on the left.
Making these fasteners was one factor…. Under is one thing utterly totally different!
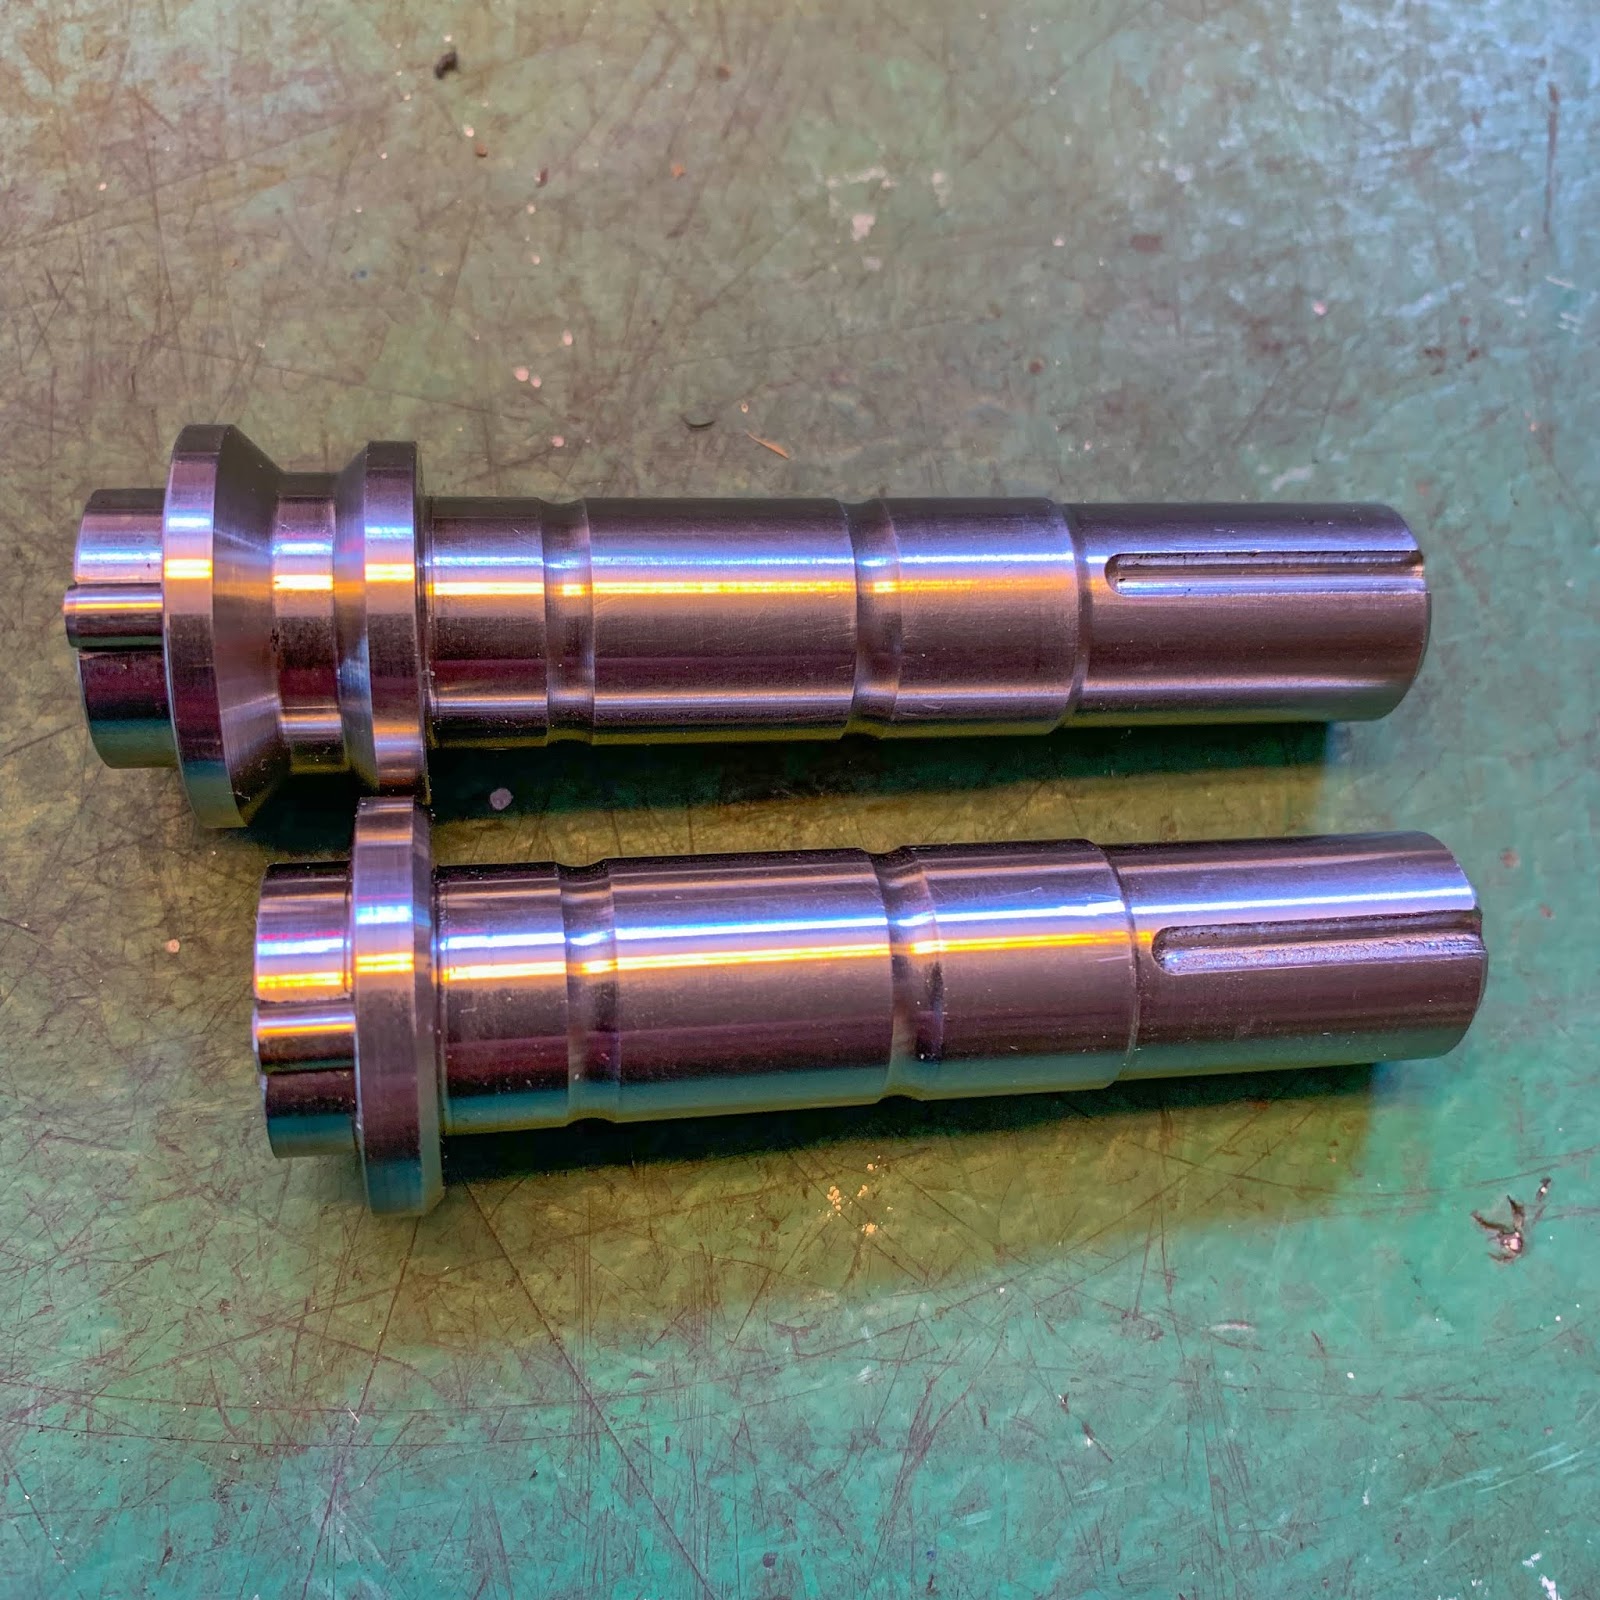
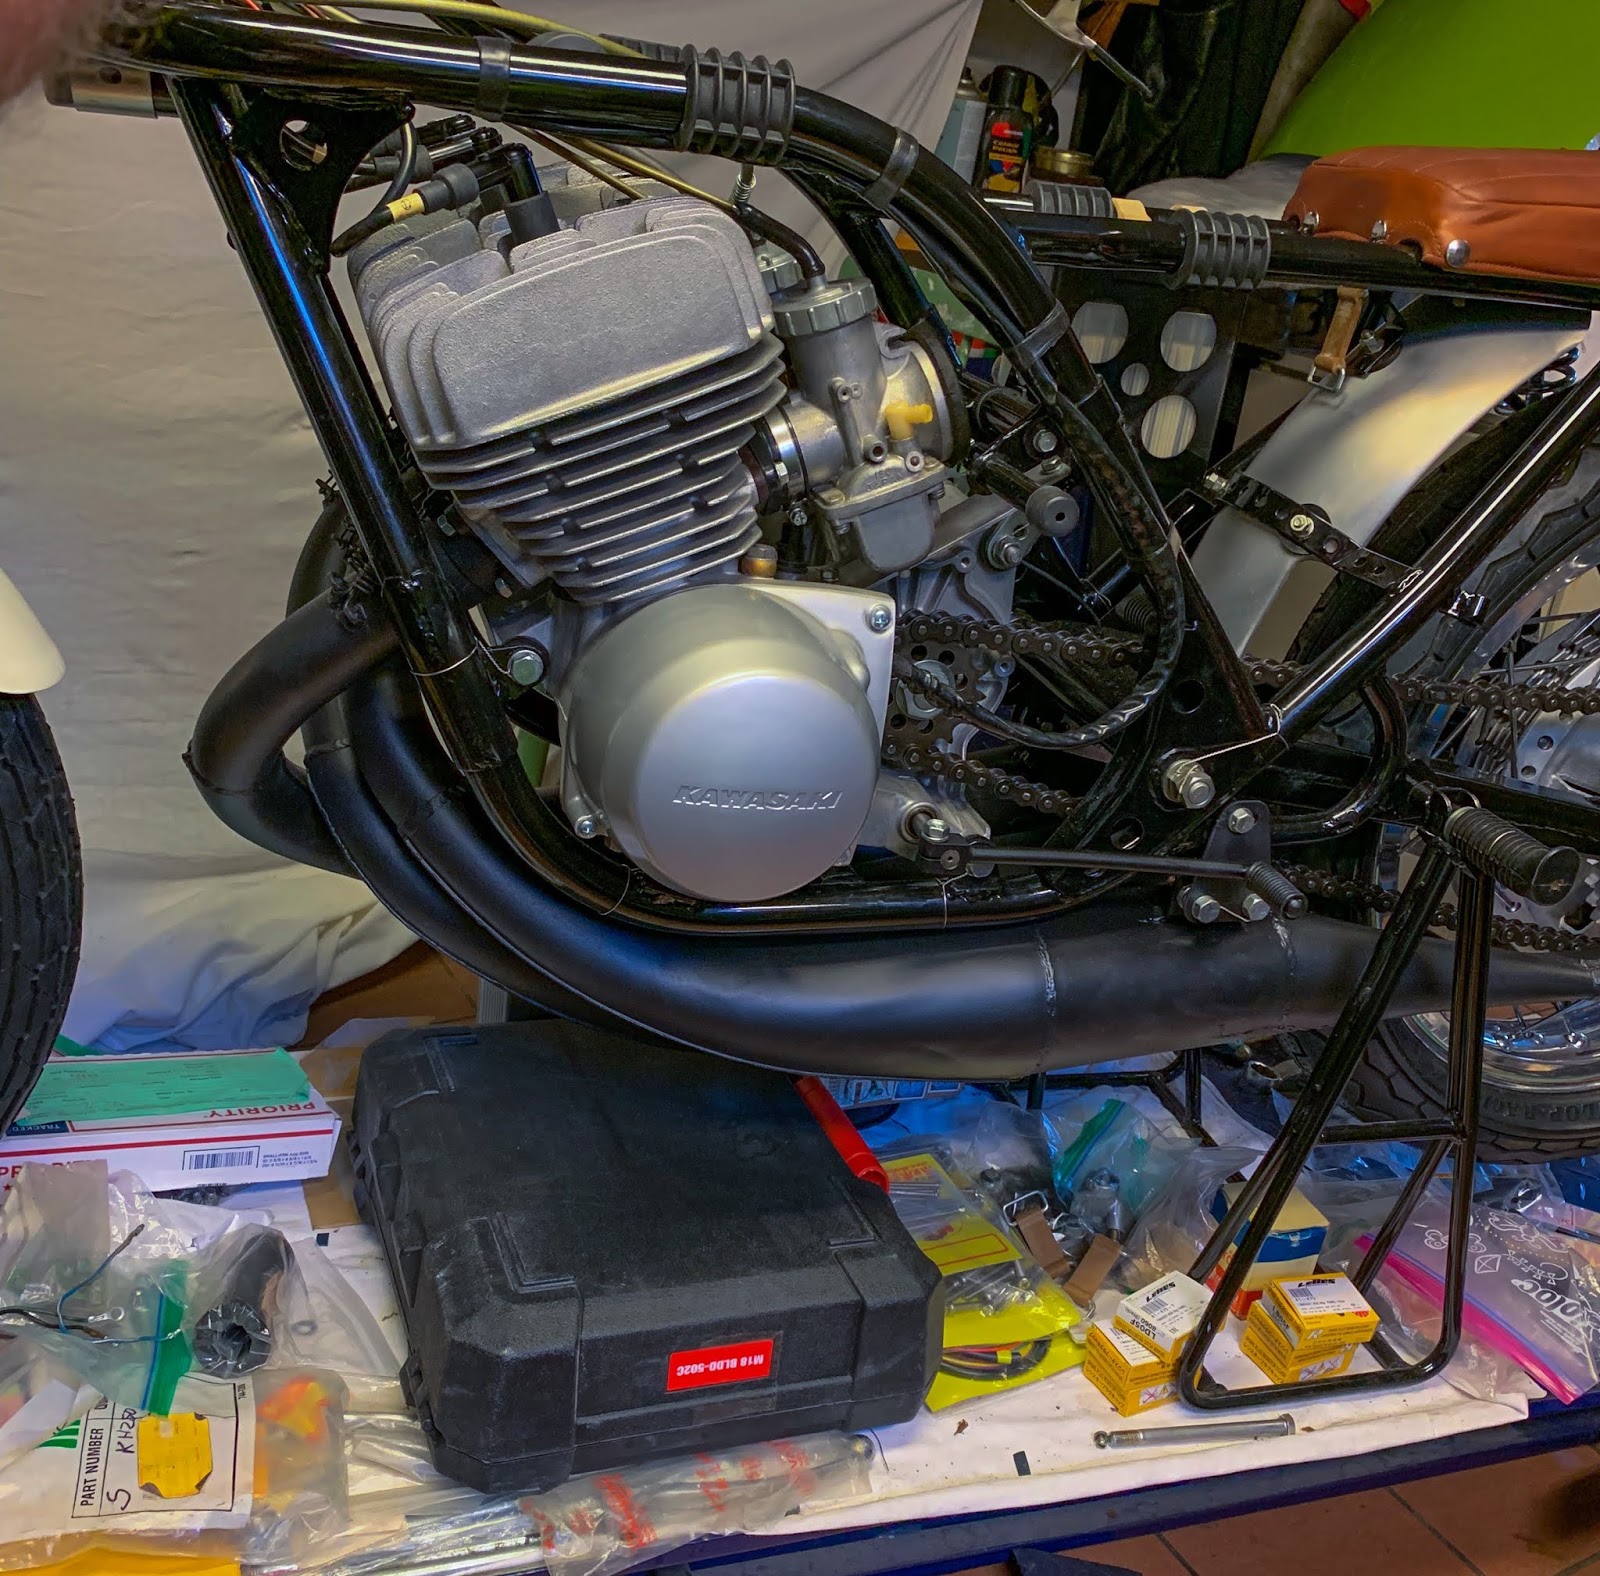
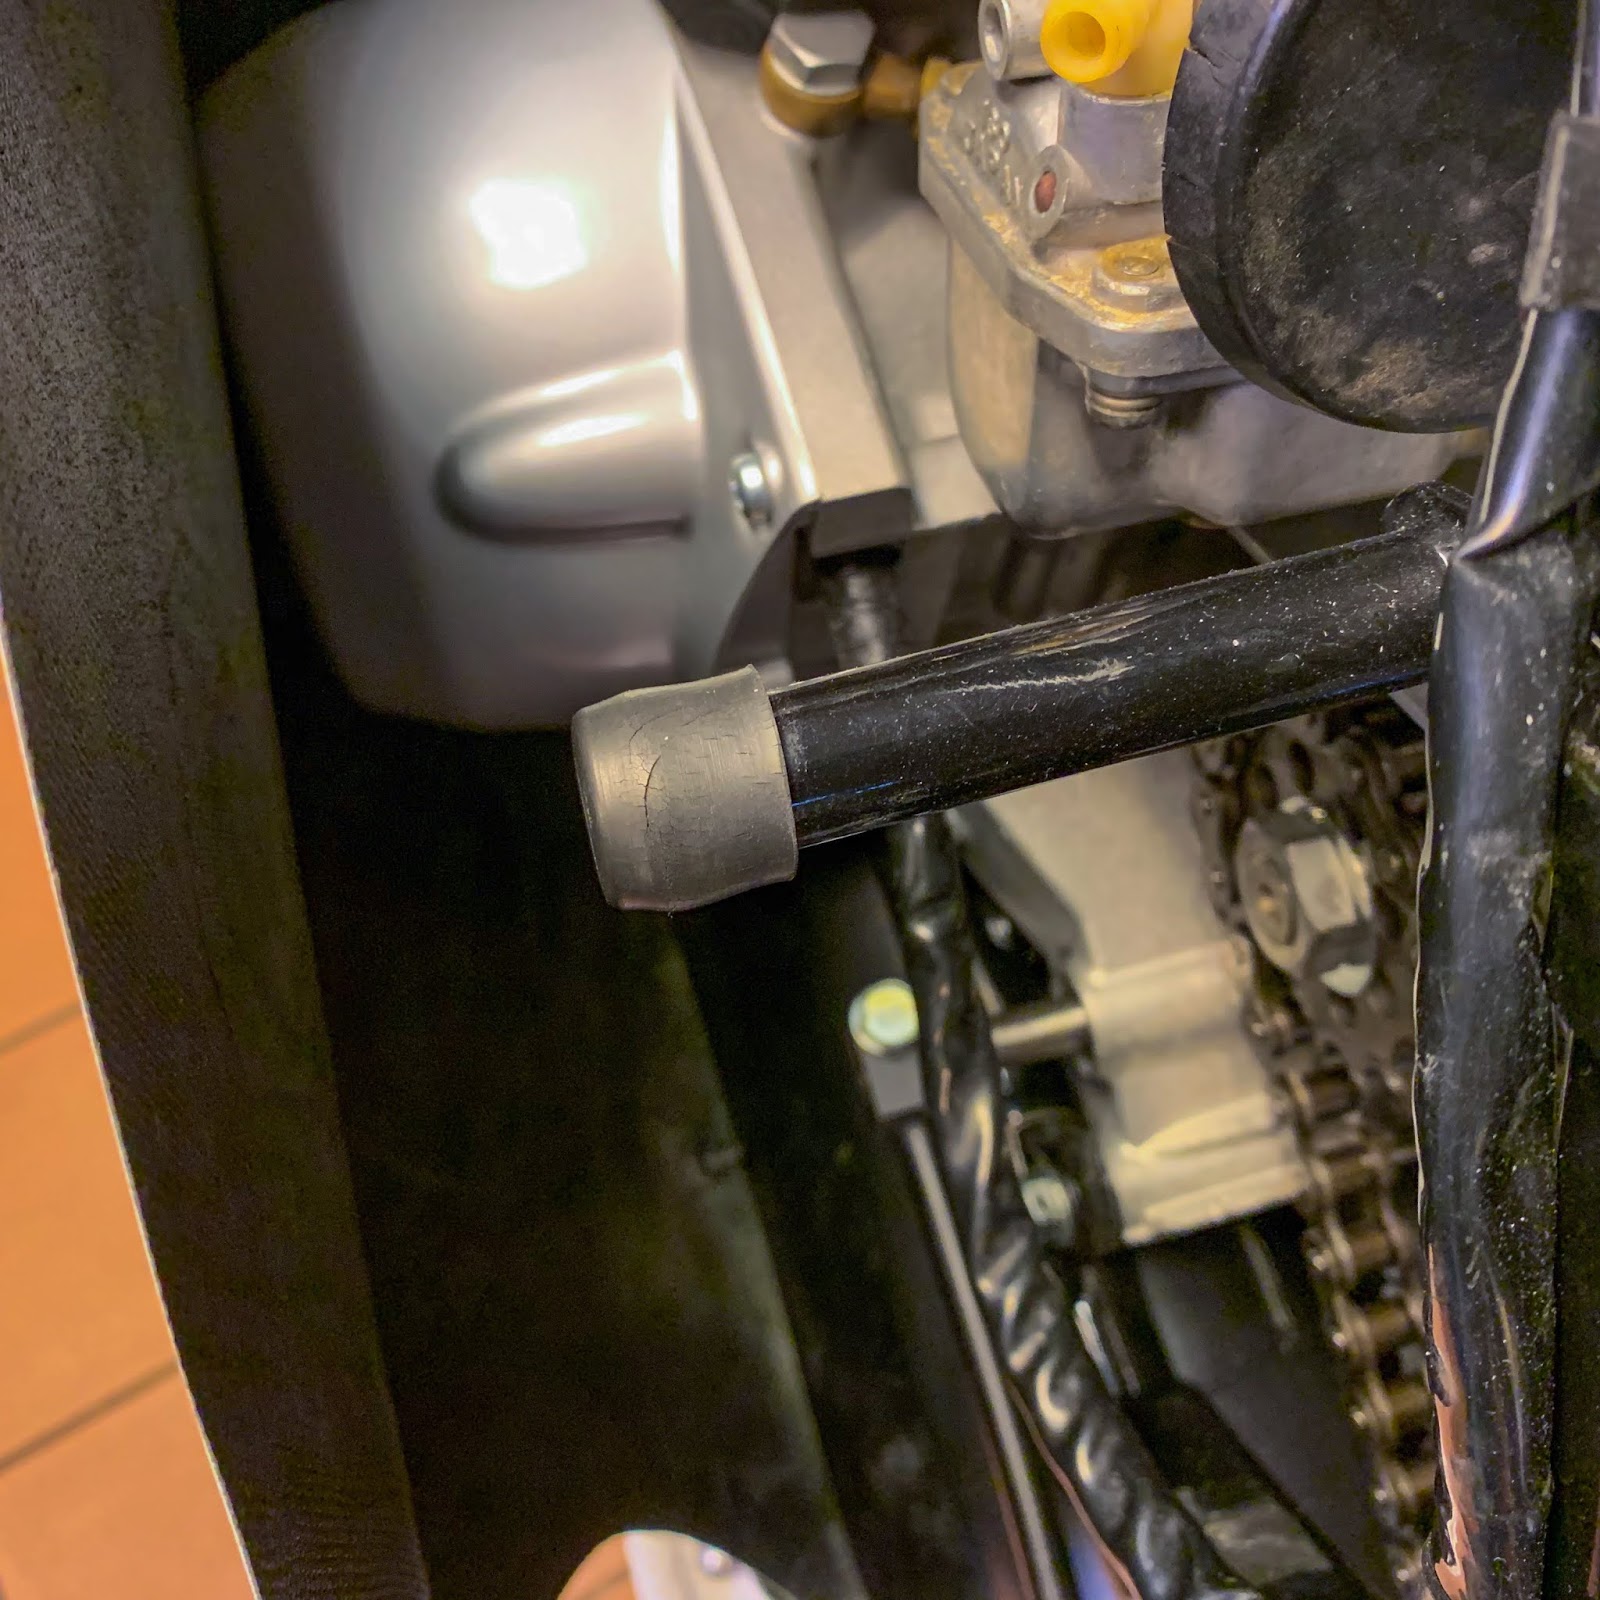
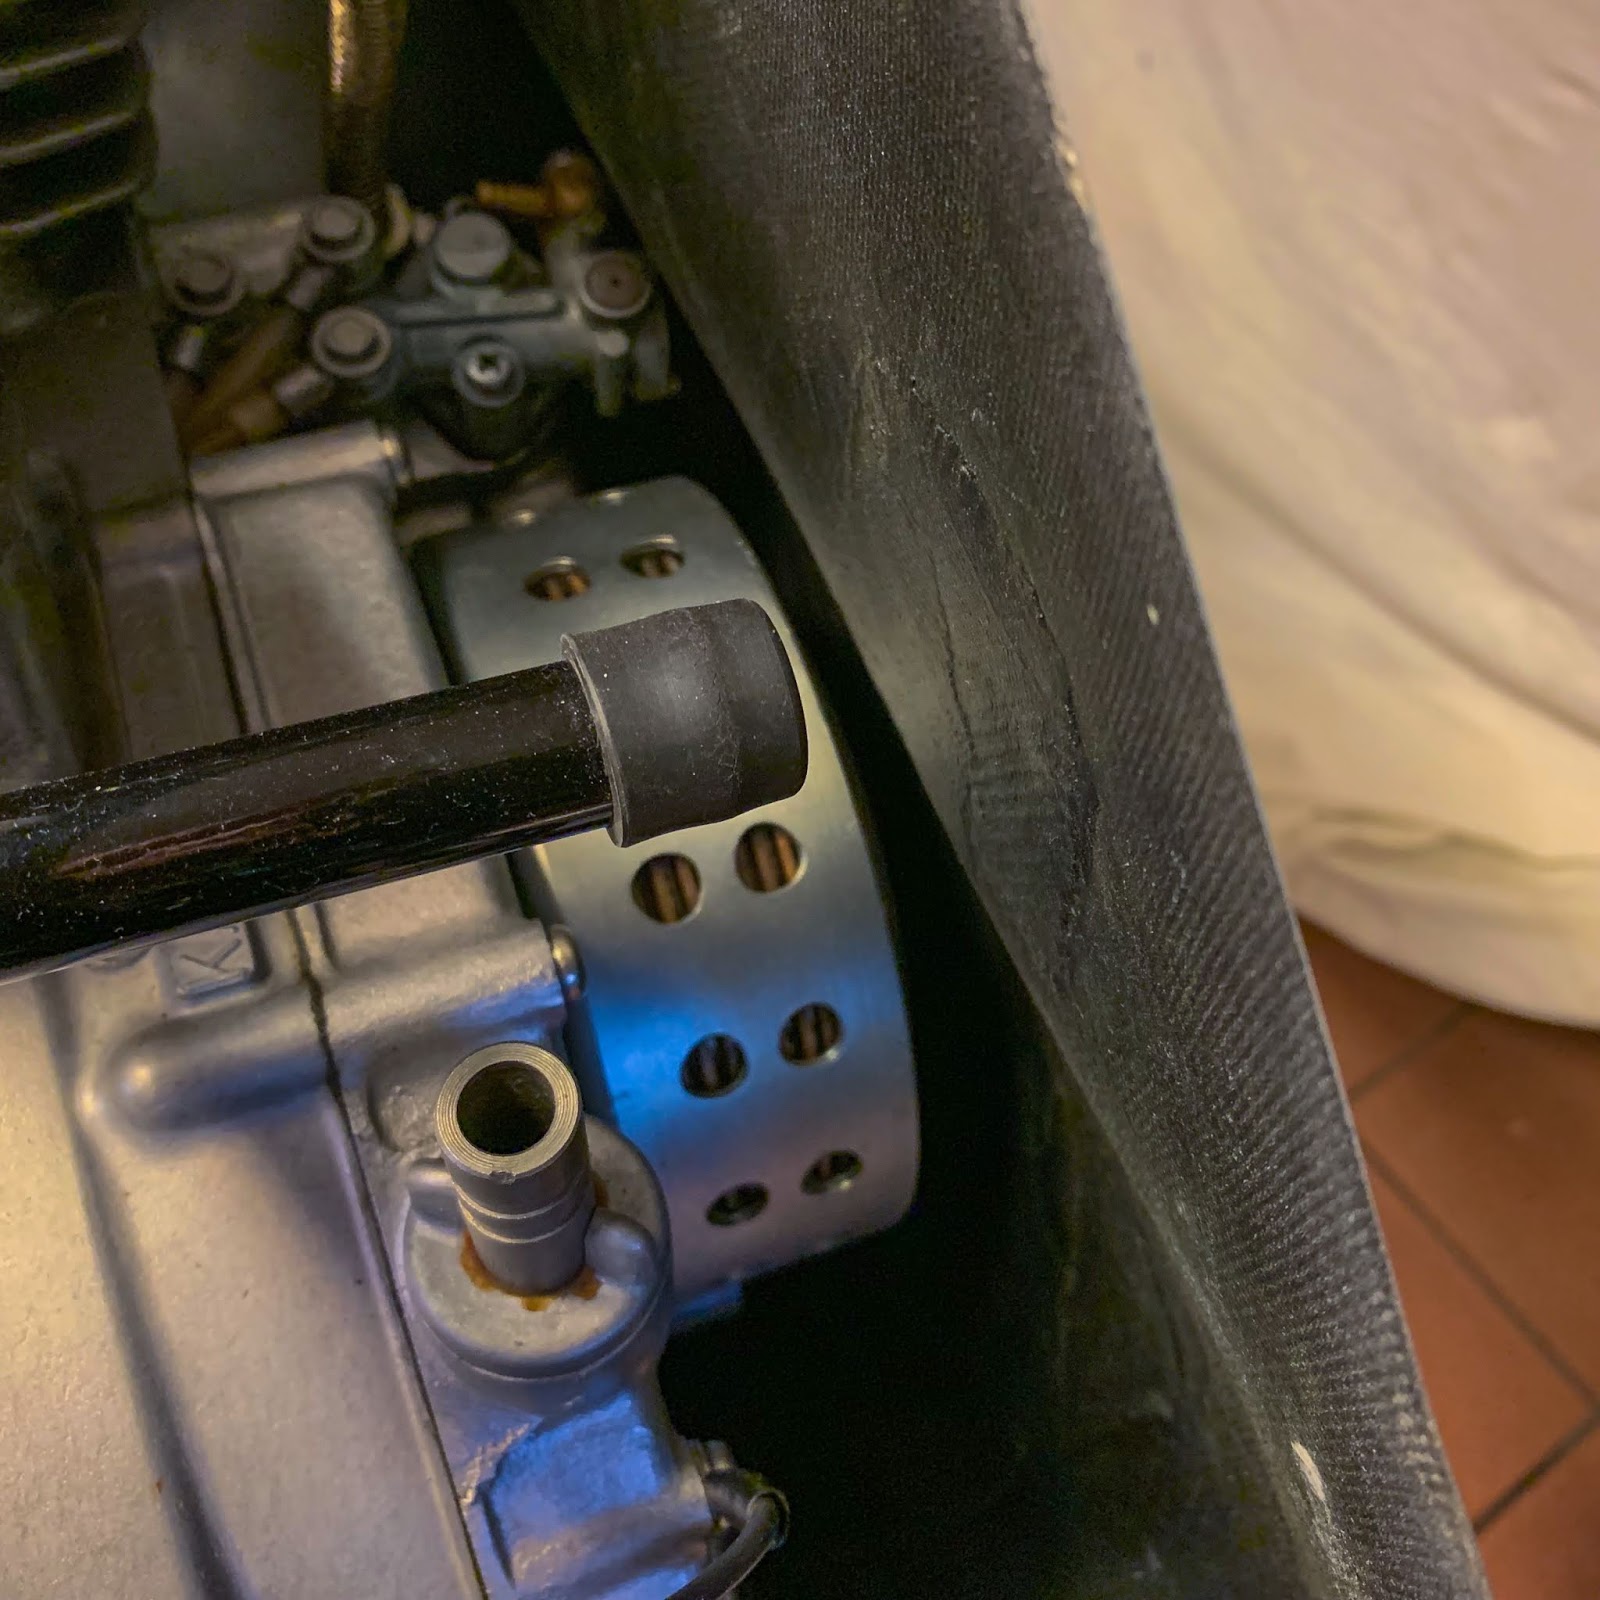
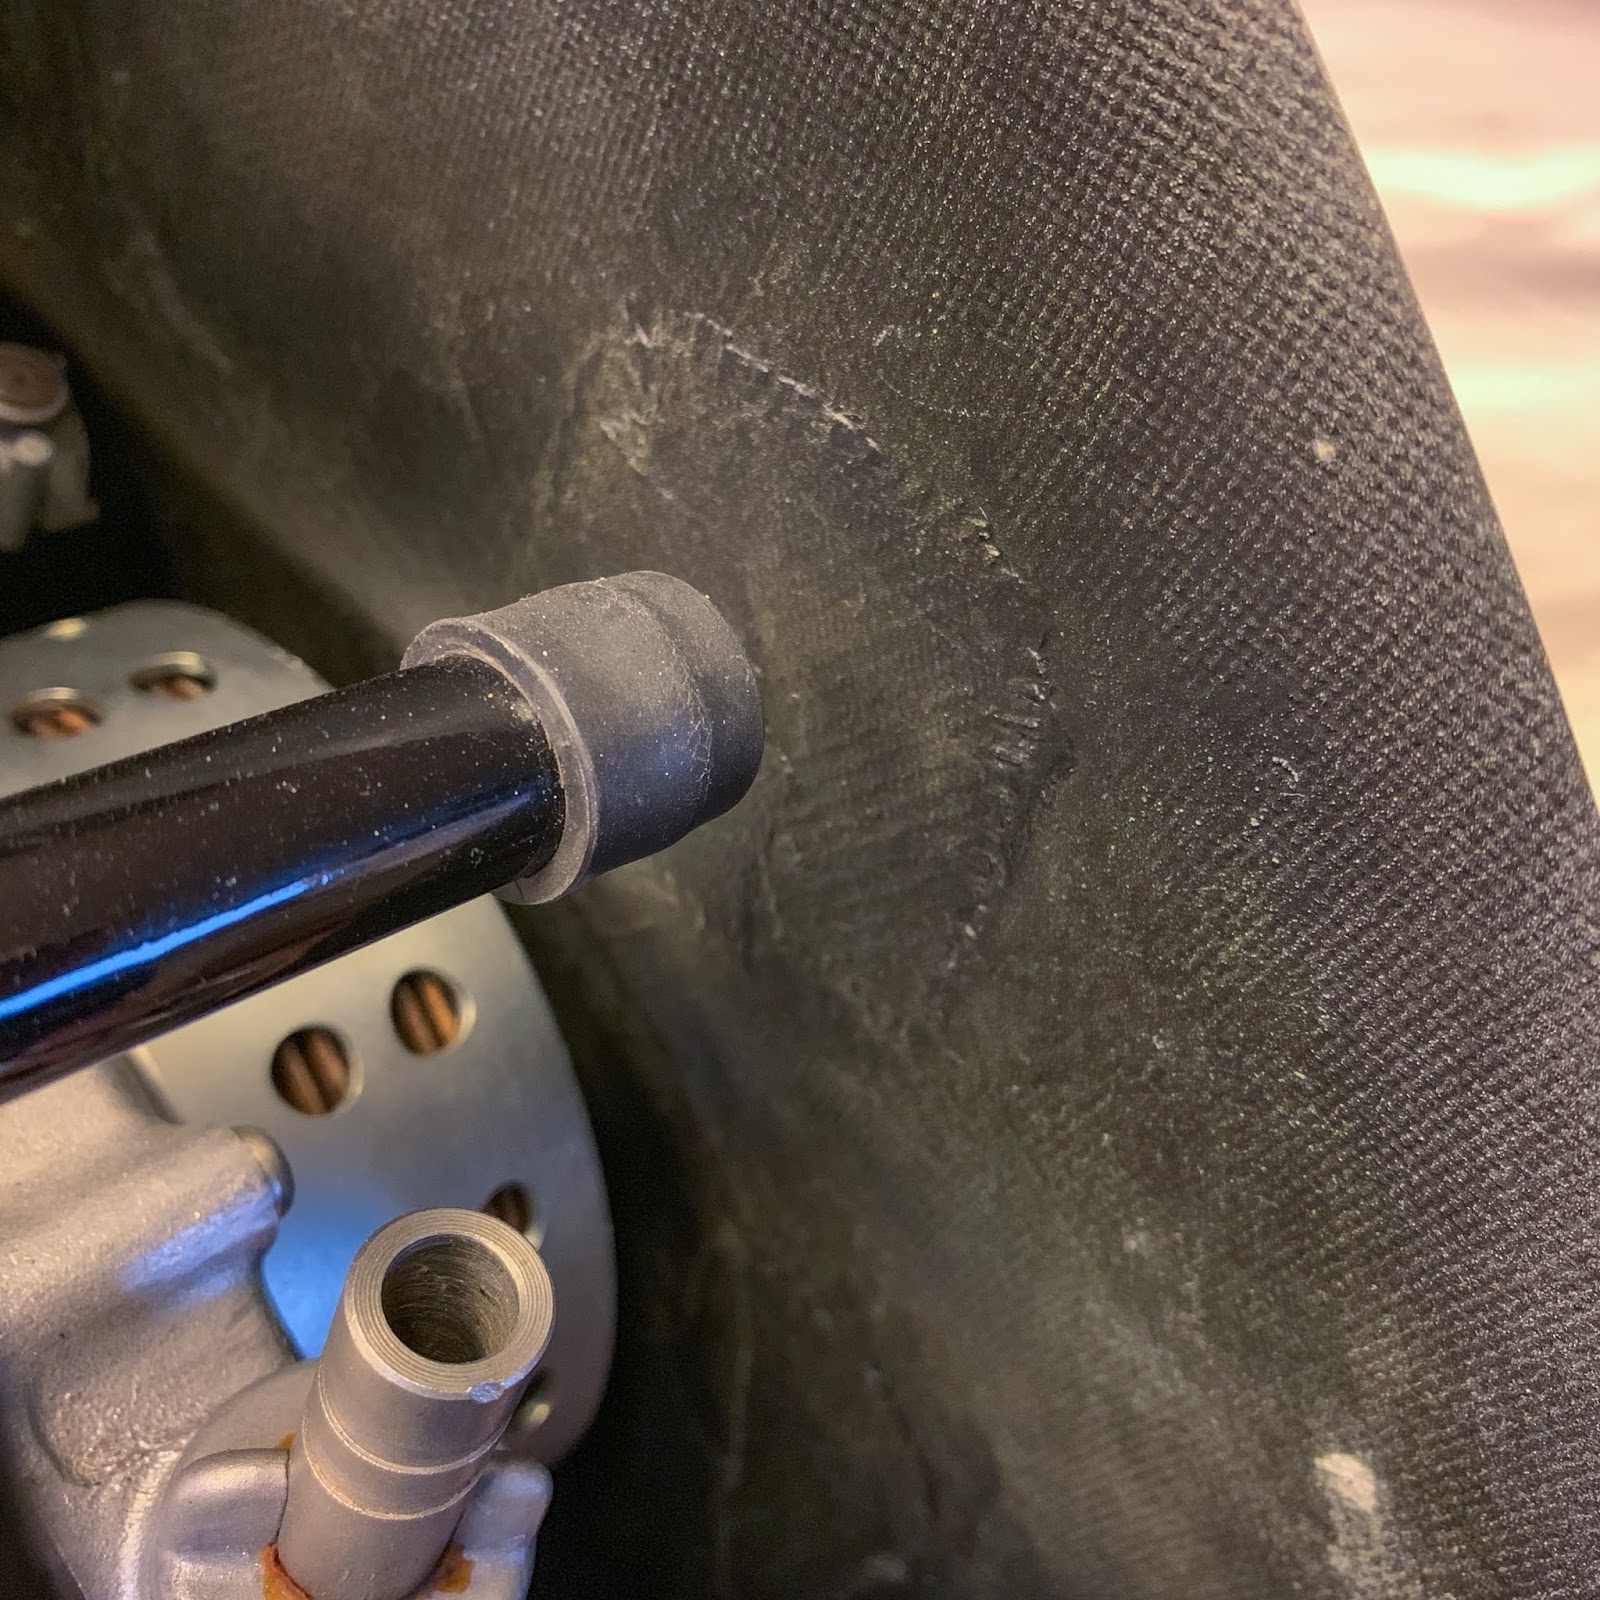
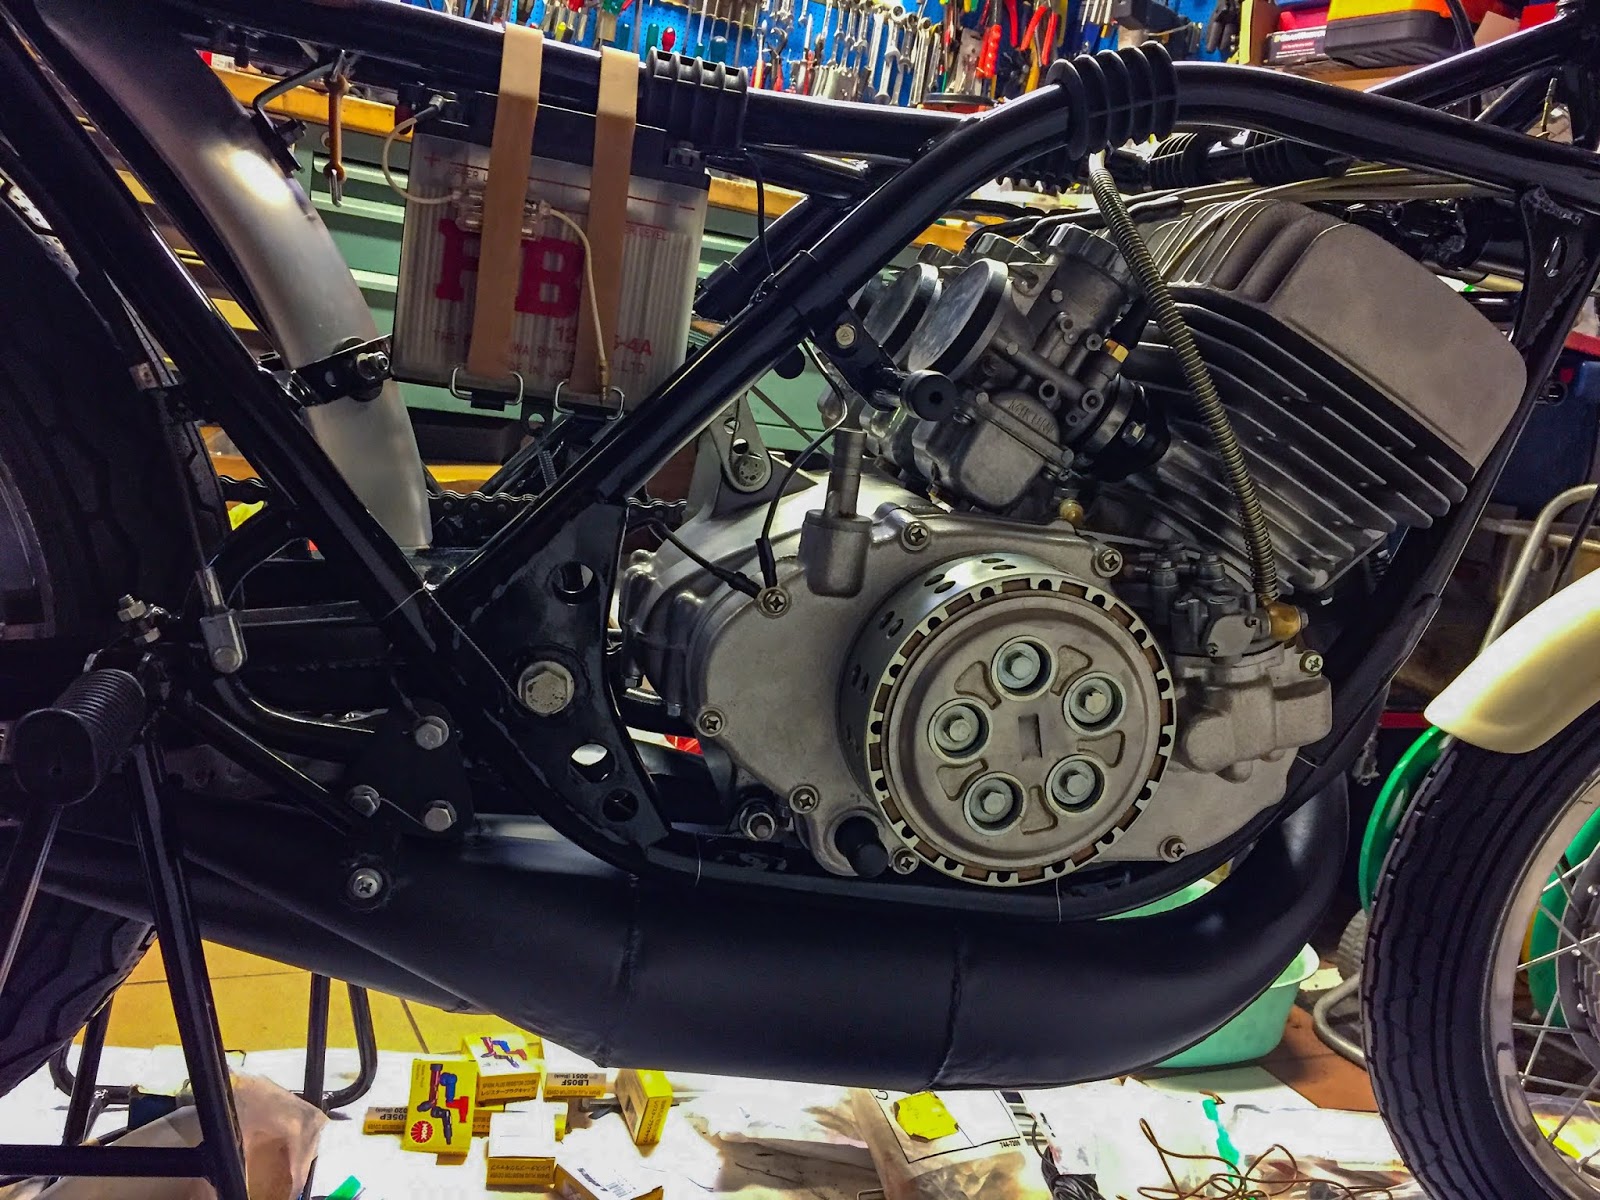
I wanted to alter a shaft on a set of foot pegs for the H2 construct. These rearsets had been purchased from Japan, made by PMC and are completely beautiful in high quality and workmanship
My downside was my braced JMC aluminium swing…
It’s wider than the inventory metal swing arm and the shaft that holds the brake pedal was a bit too lengthy and interfered with the swing arms motion. Yeah, I may return and use the inventory swing, however that is going to be a moderately spacial construct…. So no, No can do!
Belmir merely made me one other one, chrome steel, shorter however with the precise angle for the pedal and the brake puller… I simply like it!
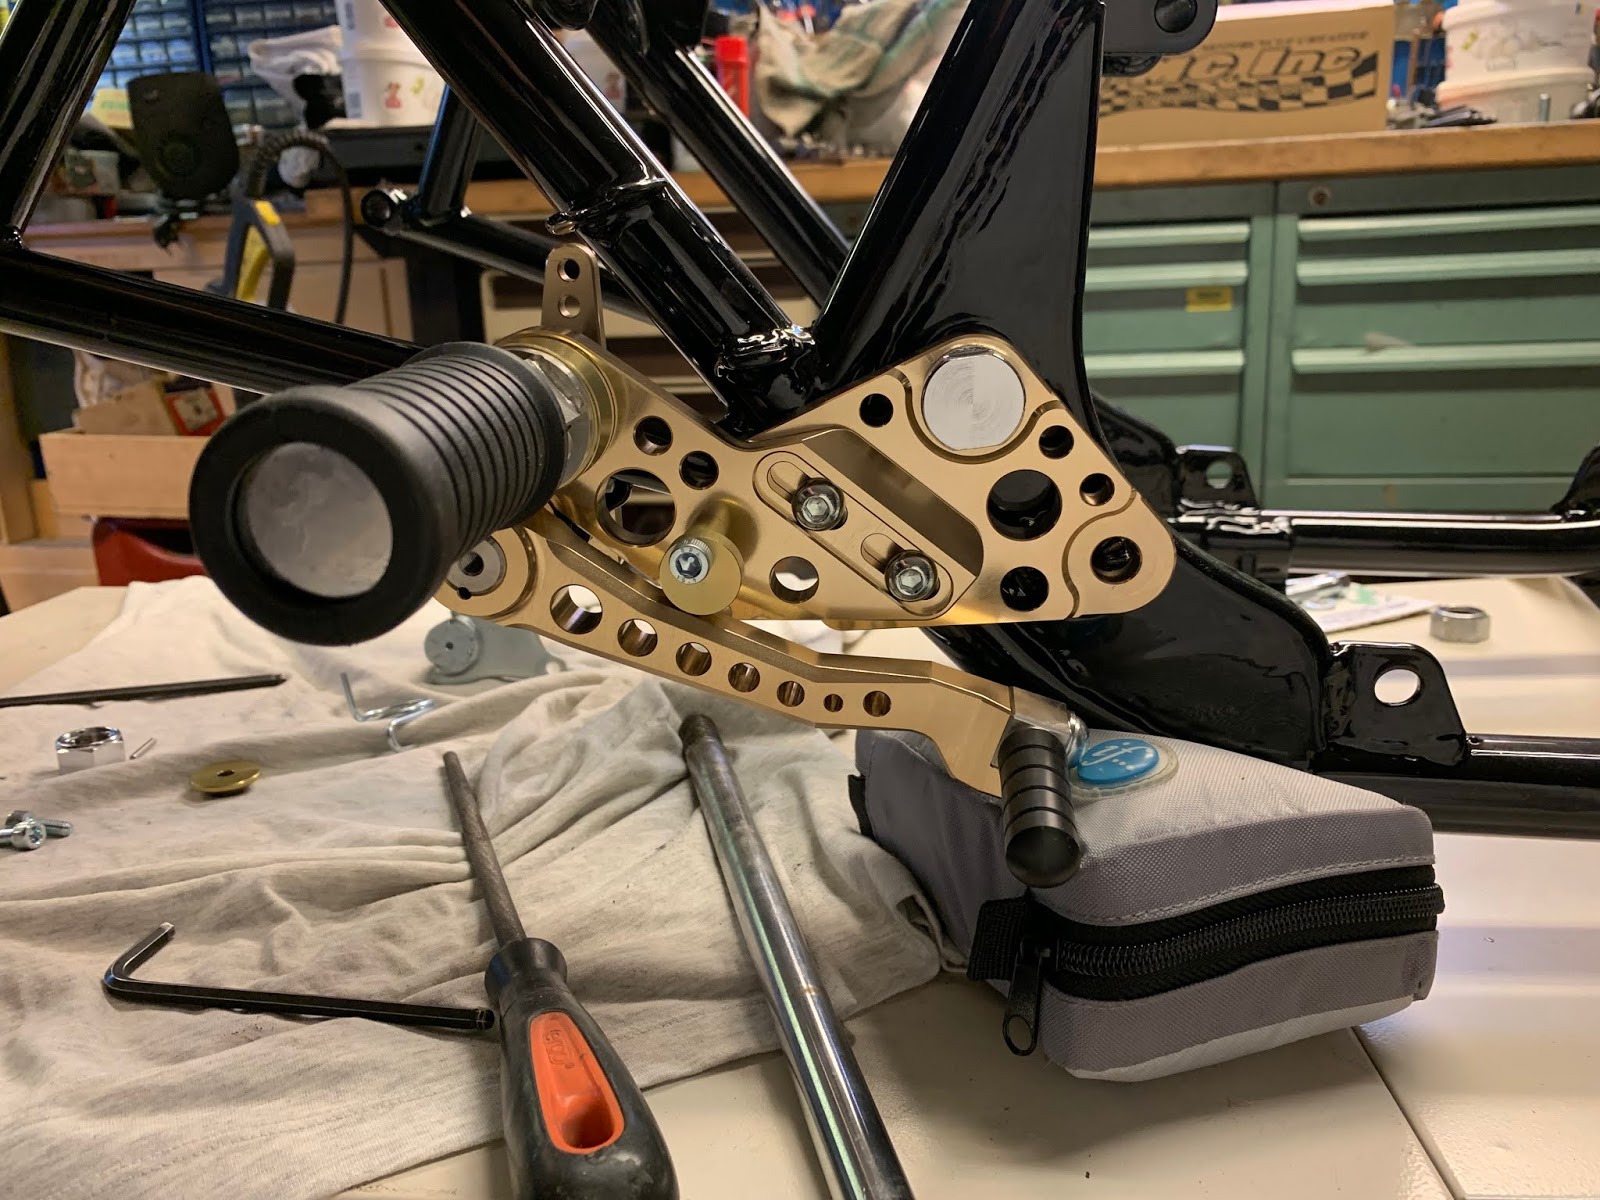
Okay, if I mentioned “A” I´m going to should say “B”. Right here it’s.
PMC rear units, Kawasaki H2, Sick engineering and high quality. So long as you utilize the unique bike body and different components…

On the left right here you may see the issue. The brake pedal shaft is simply too lengthy. And there´s ample house for the lever nearer to the body. You simply must shorten the shaft a bit….
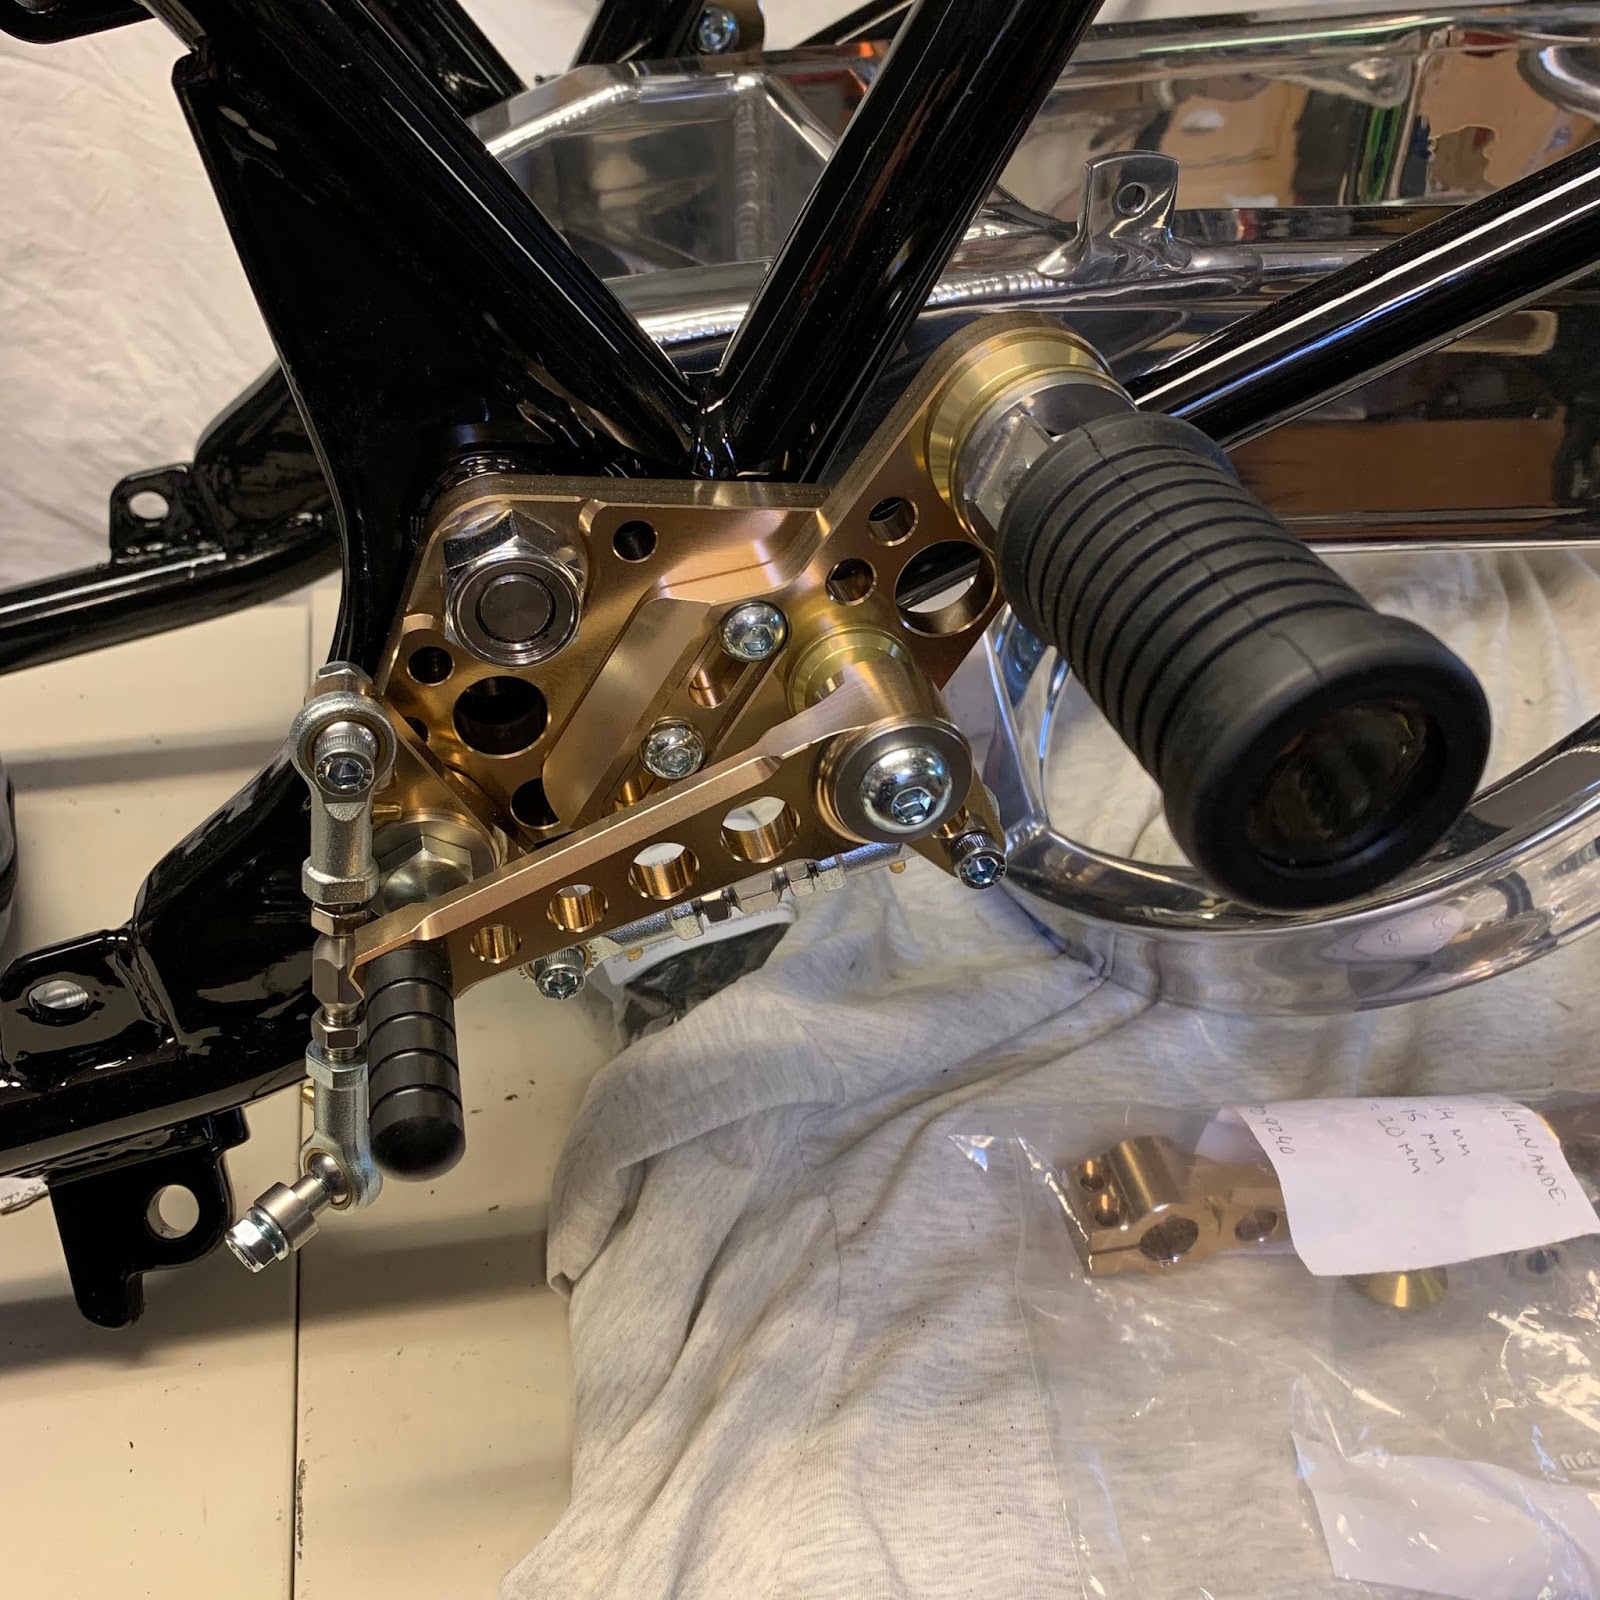
And the opposite aspect. The gear change pedal and components. To this point no issues right here. We´ll see in a while. It’s a implausible package together with an extended swing arm shaft and all components wanted to suit them to the bike.
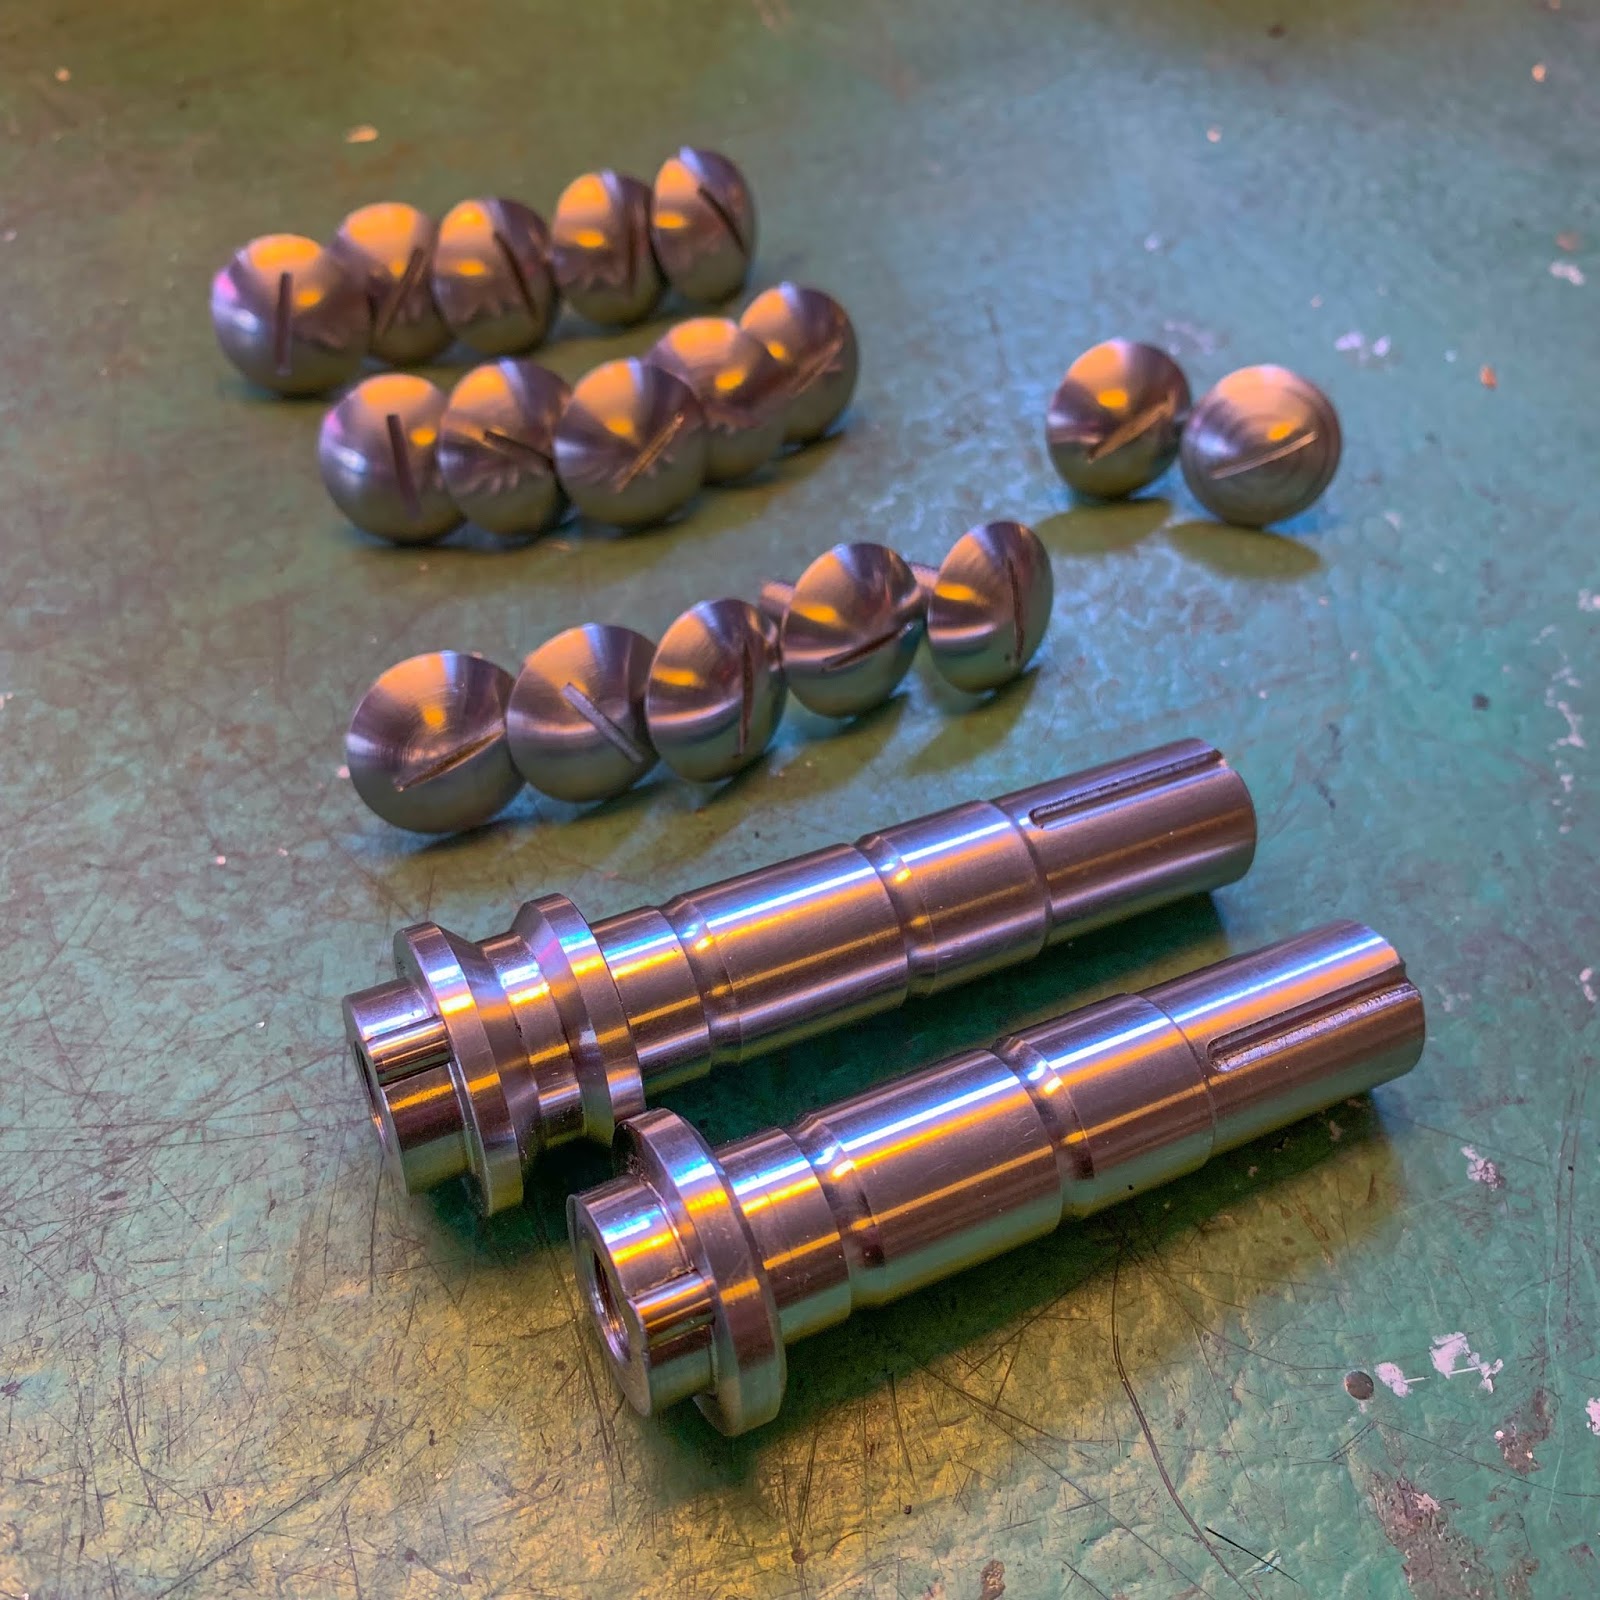
Let´s finish this little parenthesis with an image of all components Belmir made for me.
Gorgeous work at a really, very cheap worth!
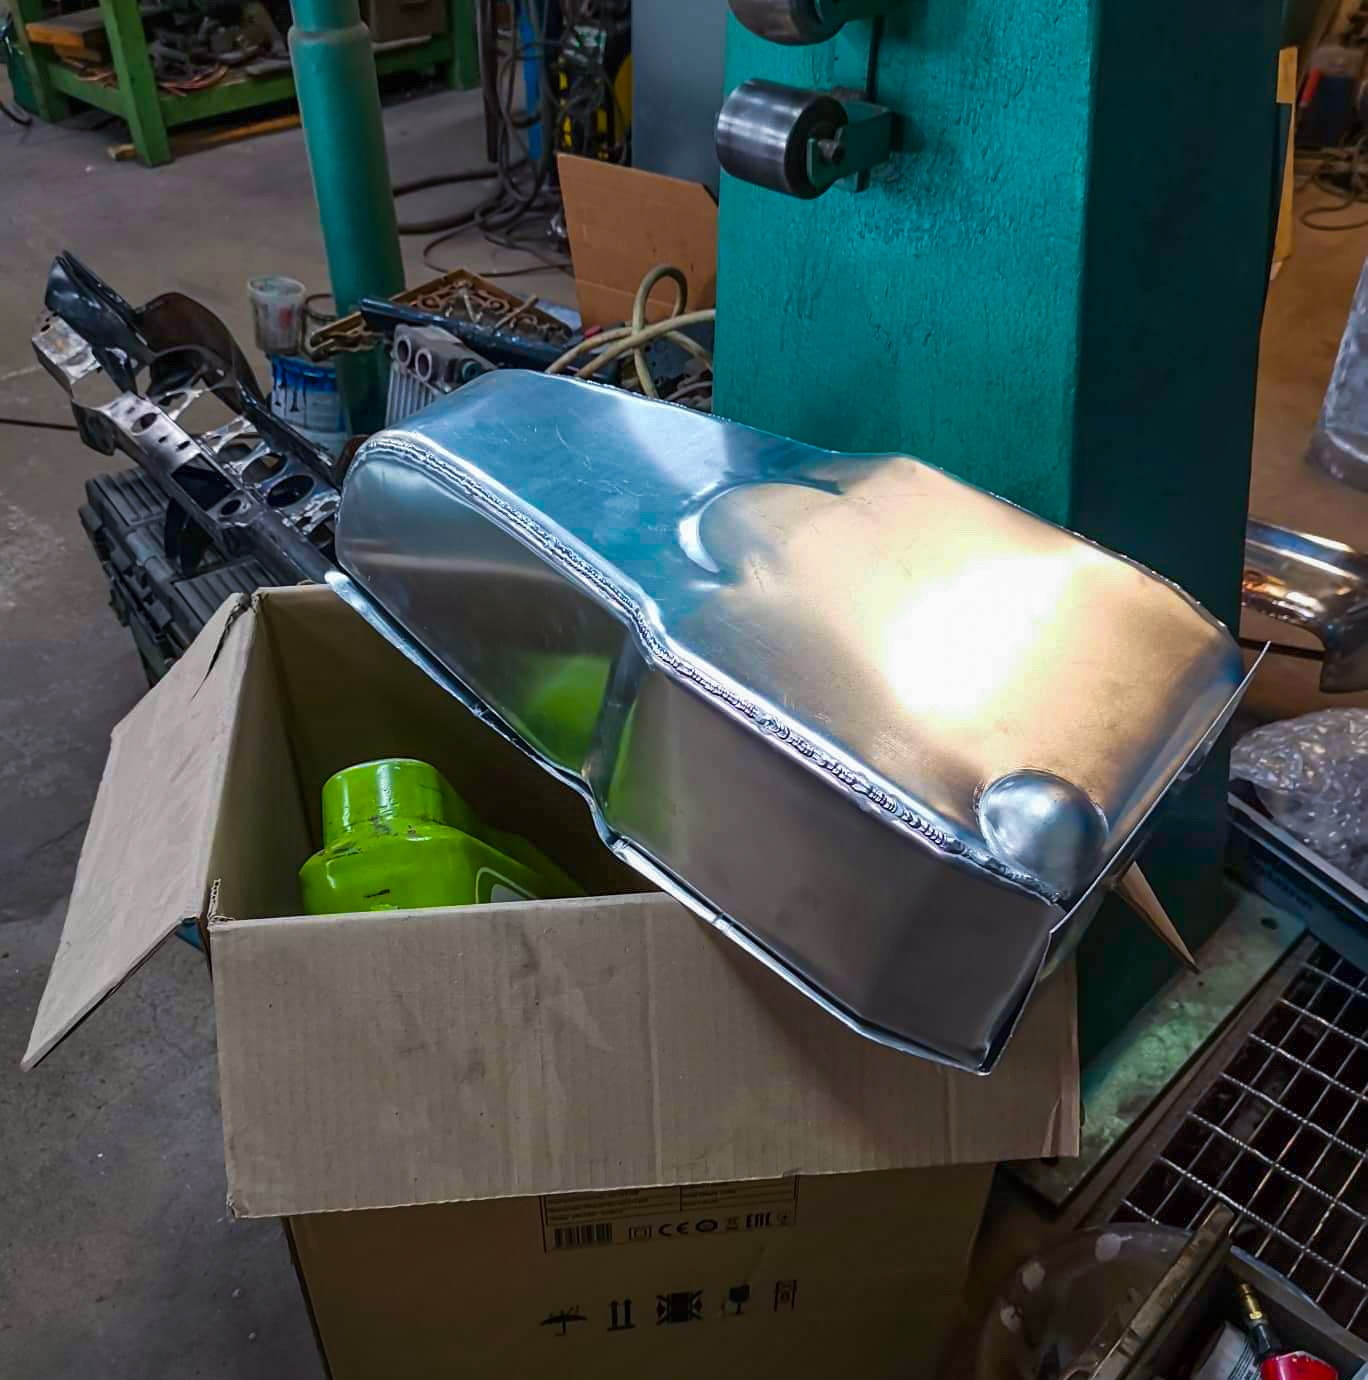
Coming dwelling from work final week Bert known as me and mentioned he had despatched me a few photos of the tank.
He had questions in regards to the tank filler and petcock threads and our plan to make use of metal components in these areas.
He was fearful the sealing he would use screwing the metal components to the aluminum sheet metallic would burn when he begins to weld the tank halves collectively…

My plan right here was to get the metal filler from a thrashed tank screwed to the highest of the tank, similar to the one on the fiberglass tank. Bert persuaded me to rethink. You may see the aluminium filler he made as a substitute, between the 2 tank components.

I often take heed to folks with data and expertise so we went that rout as a substitute. He persuaded me the aluminium filler can be simply as sturdy because the metal one. We´ll see about that, received´t we?
The inner petcock thread thought is definitely fairly good since that can elevate the petcock even a bit increased in to the surge tank on the backside there. Now I´m simply anxiously ready much more for the tank to be completed..

There are different issues taking place right here as nicely. Johnny got here via with the graphics for the fairing. His “graphics-guy” made these from photos I despatched him from “Essos´s” successful race at Anderstorp and my measurements of the rear striping on the seat the place the “ESSO” GUNNARSSON decal will go.
Such a pleasant contact to supply one further of all decals… The likelihood for me failing getting them on proper is sort of excessive.
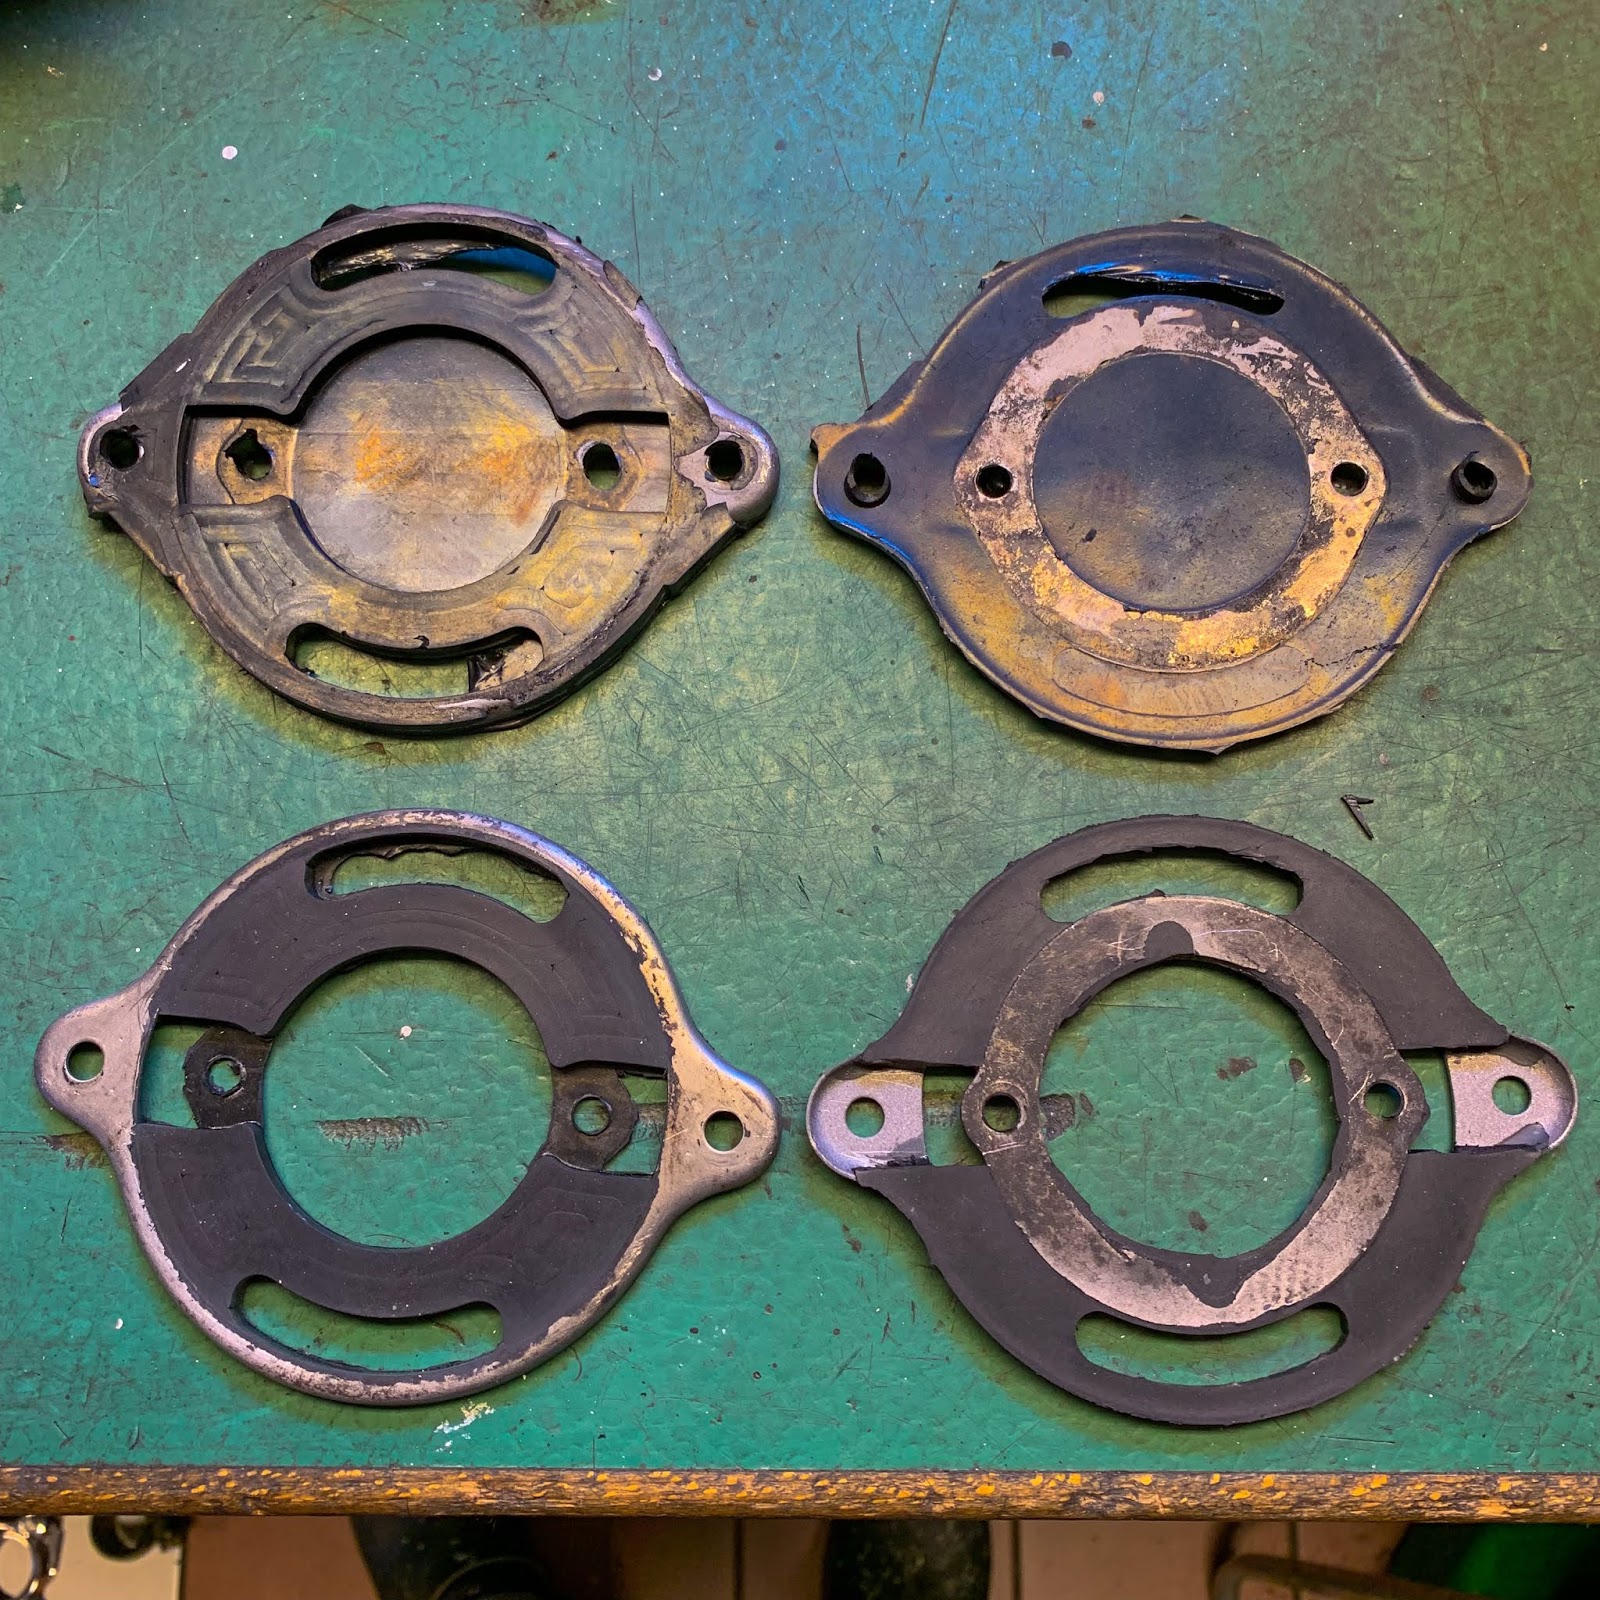
One other small aspect monitor is these Tacho backets. A fellow H1R proprietor from California had 4 of them in unhealthy situation. I’ve, as , the mould to repair them. I really wanted two of those myself so we made a deal! I repaired all 4 of them and despatched him the 2 he wanted for his bikes. That’s the type of win-win offers I love to do coping with components and different H1R homeowners.

You may see on the highest pair within the image how they appeared once I picked them up at Kinnander´s gummi just a few days in the past. There´s a bit of labor slicing extra rubber off the brackets, releasing all of the holes and so forth after which lastly portray the metal components. They do look nice when achieved, although!

Right here on the finish of this publish, let´s return 3 years… I had simply picked the bike up and roughly simply put it collectively within the driveway for just a few photos.
Only a very temporary second I figured I´d attempt to save the mud on it for the photographs… What a God despatched thought that was!
These, the very first photos I took, are extraordinarily beneficial to me now. Half for reference in the case of fitment of stuff, however principally to recollect what it actually appeared like and to have the ability to see as we speak, how a lot effort has been laid in to the challenge.
As you may see there was some progress made through the three years that has handed.
I assumed I´d have it achieved in a single or two years. That didn´t occur, did it?
I feel, possibly, probably I can have it began and take a look at run this yr. To do that I would like the alu tank, a pit starter and a number of work achieved on the fairing…. The tank will most likely be achieved the approaching weeks and I’ll strive my finest to muster up the power to work on becoming that fairing in a great way.
For starters I´m off to work for just a few days and shortly it’s time for the annual Kawasaki triples meet in Jondalen, Norway. I´ll be going for the primary time ever… I´m tremendous enthusiastic about that!
Keep tuned, guys!
/Per
[ad_2]