
[ad_1]
Clear-up of cables, mounting the chain protector and the tachometer.
I attempted to free it by pulling on the top of the cable and jiggling it backwards and forwards. It wouldn´t let go till I once more used warmth.
Cautious heating with the torch all around the sheath and much more 5-56 lastly did it. It loosened up and a murky combination of oil, 5-56 and rust ran out. Fortunately the cable appears to be high quality.
Naturally I managed to burn the sheath… I used to be in a position to take away that burn mark, although. Phew!

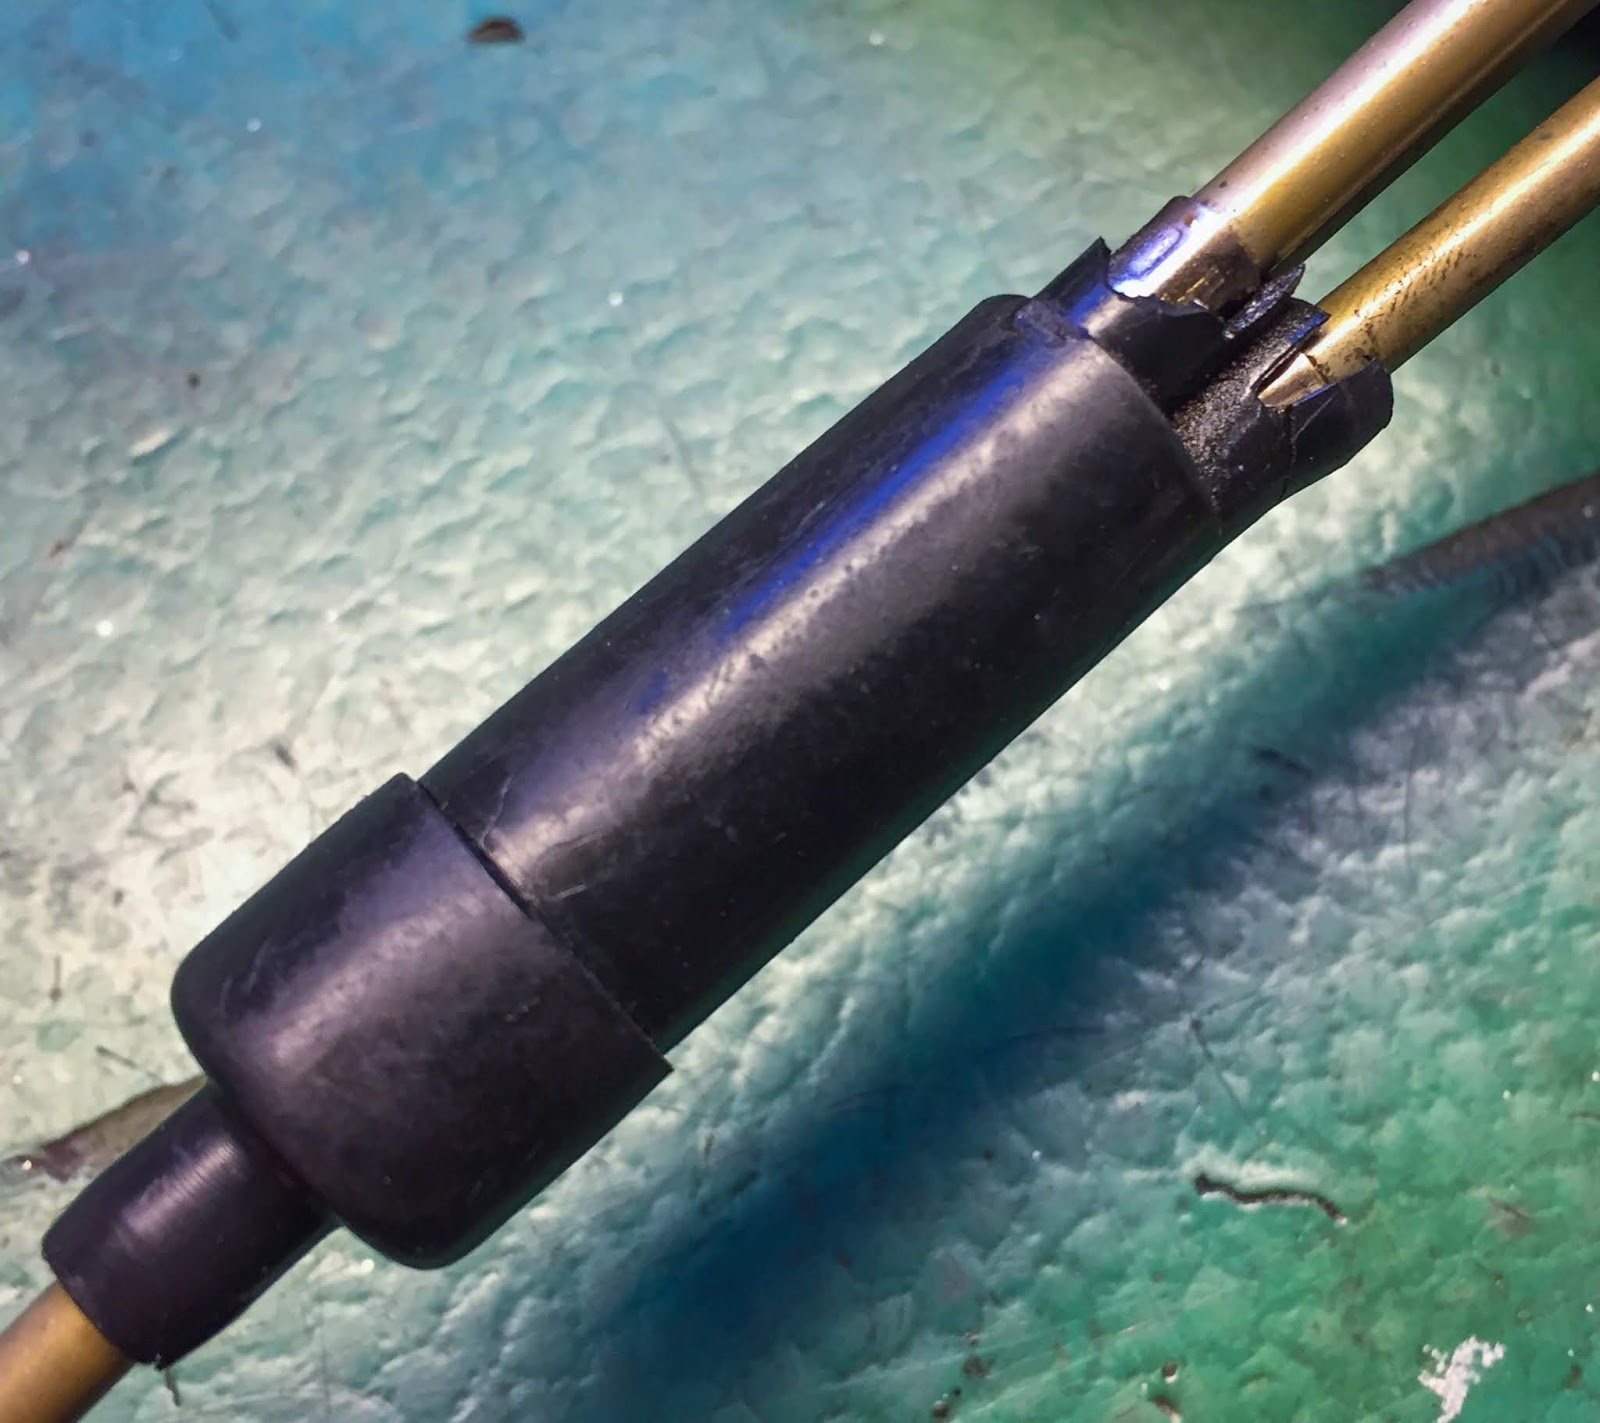
Now it was time to begin cleansing it up and lubricating it with oil and grease. First I needed to eliminate that unusual cowl of electrical tape up on the joint between the cable and adjuster up on the throttle cable attachment on the throttle grip physique.

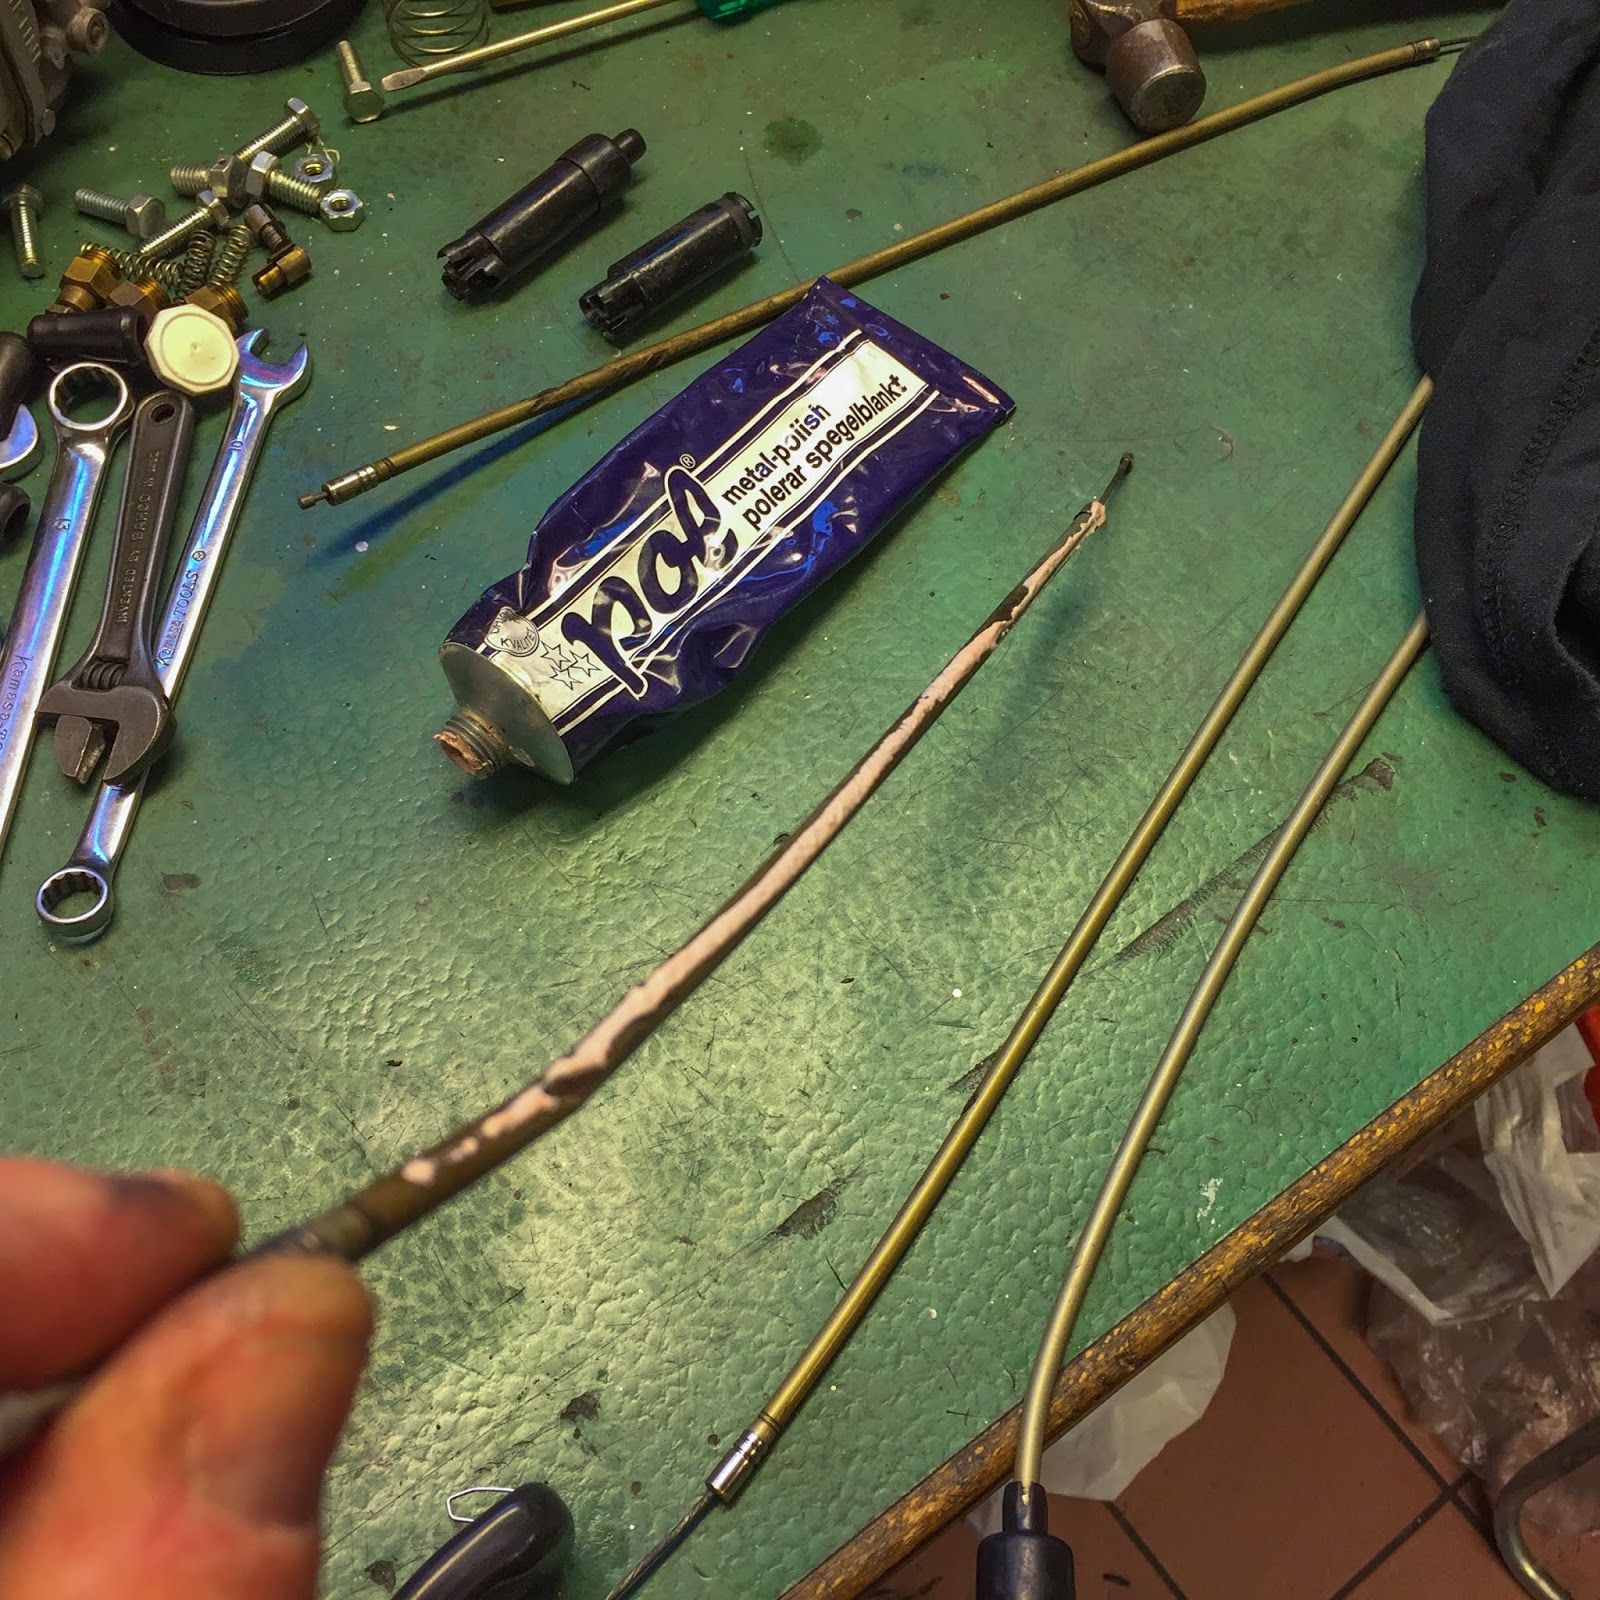
A little bit of cleansing and sprucing on the steel components of the cable assy. My buffing wheel is all the time on STBY proper subsequent to the work bench. Higher watch out to not overdo it right here. I don´t need it too brilliant.
Subsequent was hanging it once more however this time with a lubricating combination of drugs oil and grease. A barely thicker method than the rust clearing penetrating oil I used the final time. How are you aware when it’s completed?
Properly, when the decrease components of the cable assy appear to be this, it’s fully lubricated and may return to service.
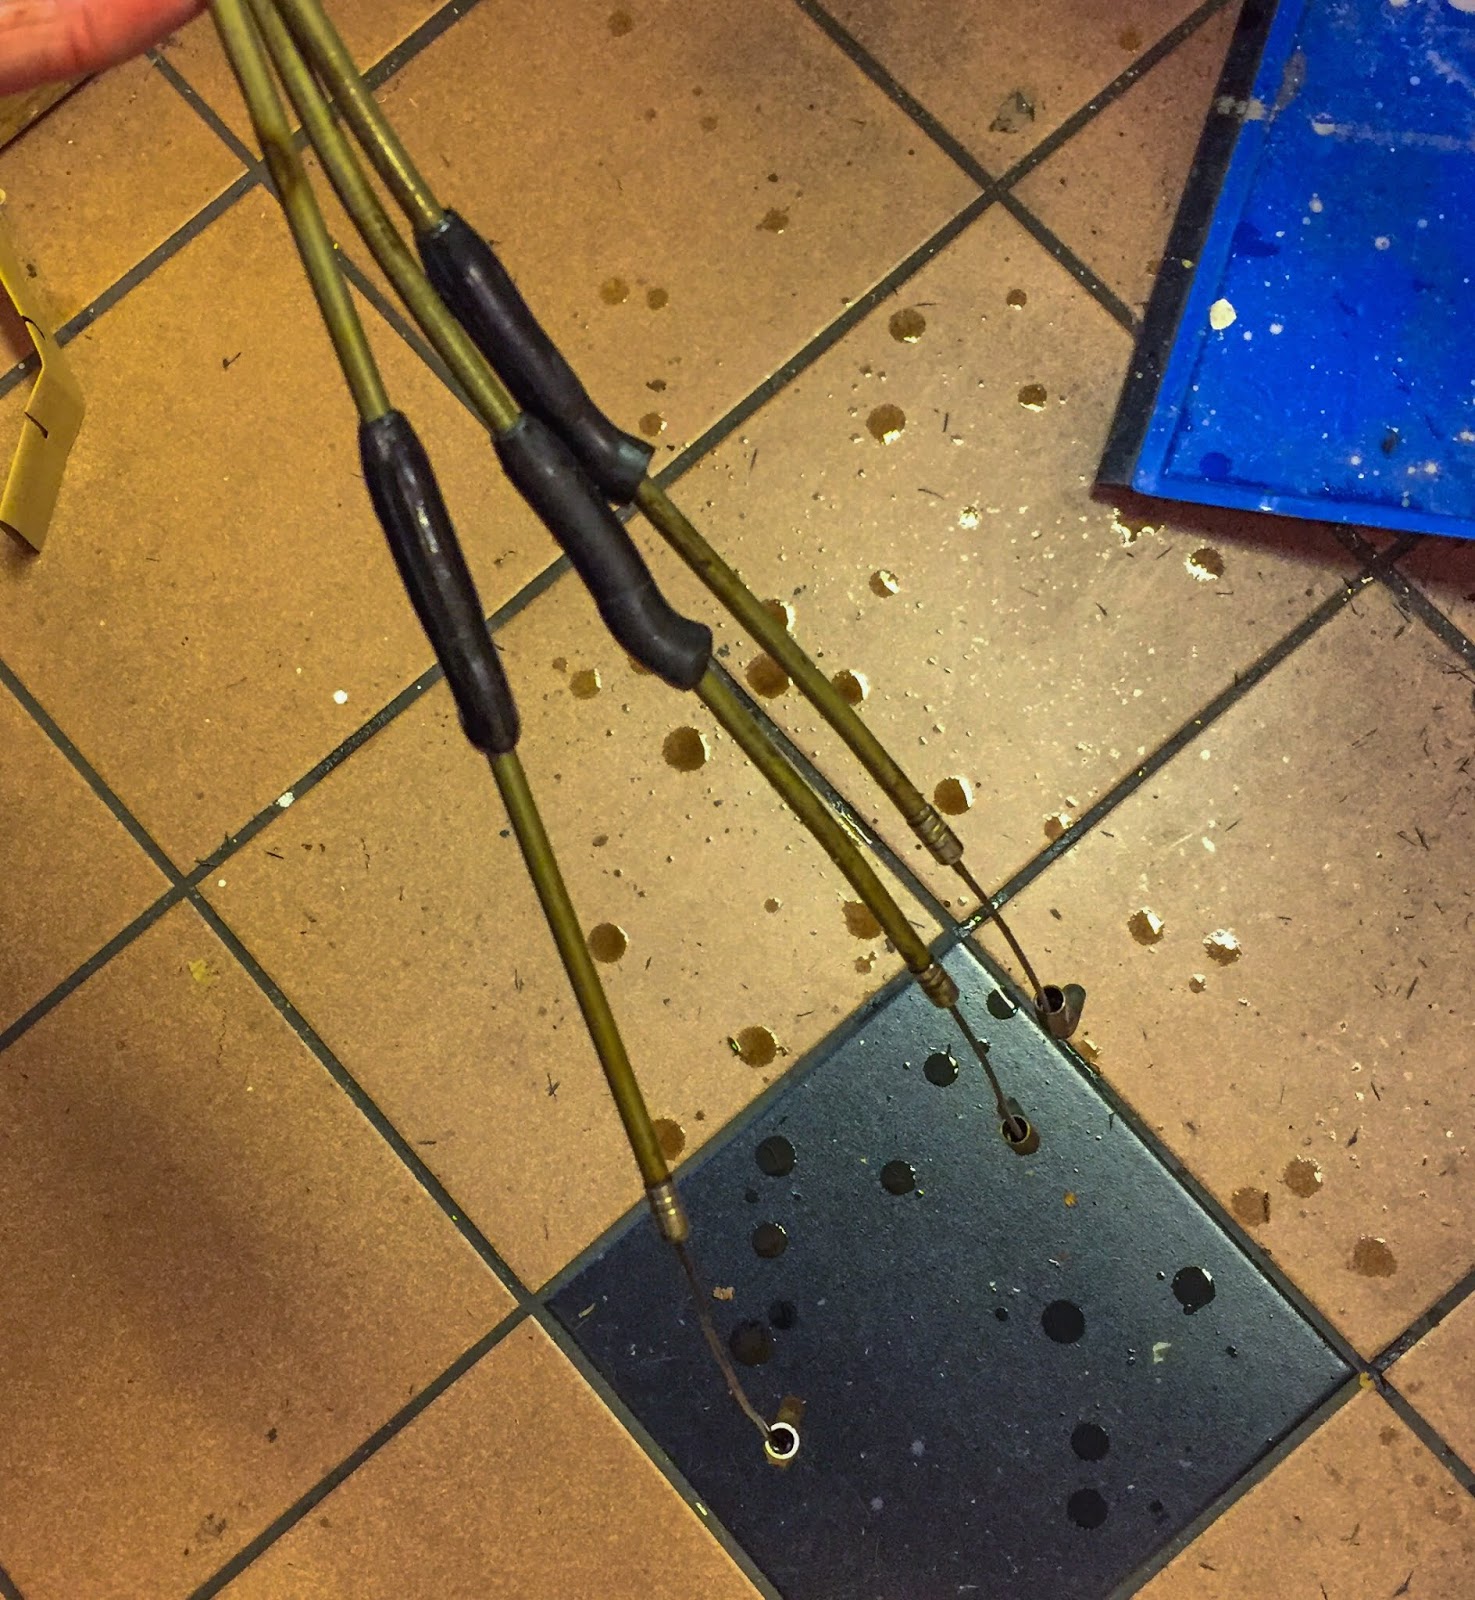
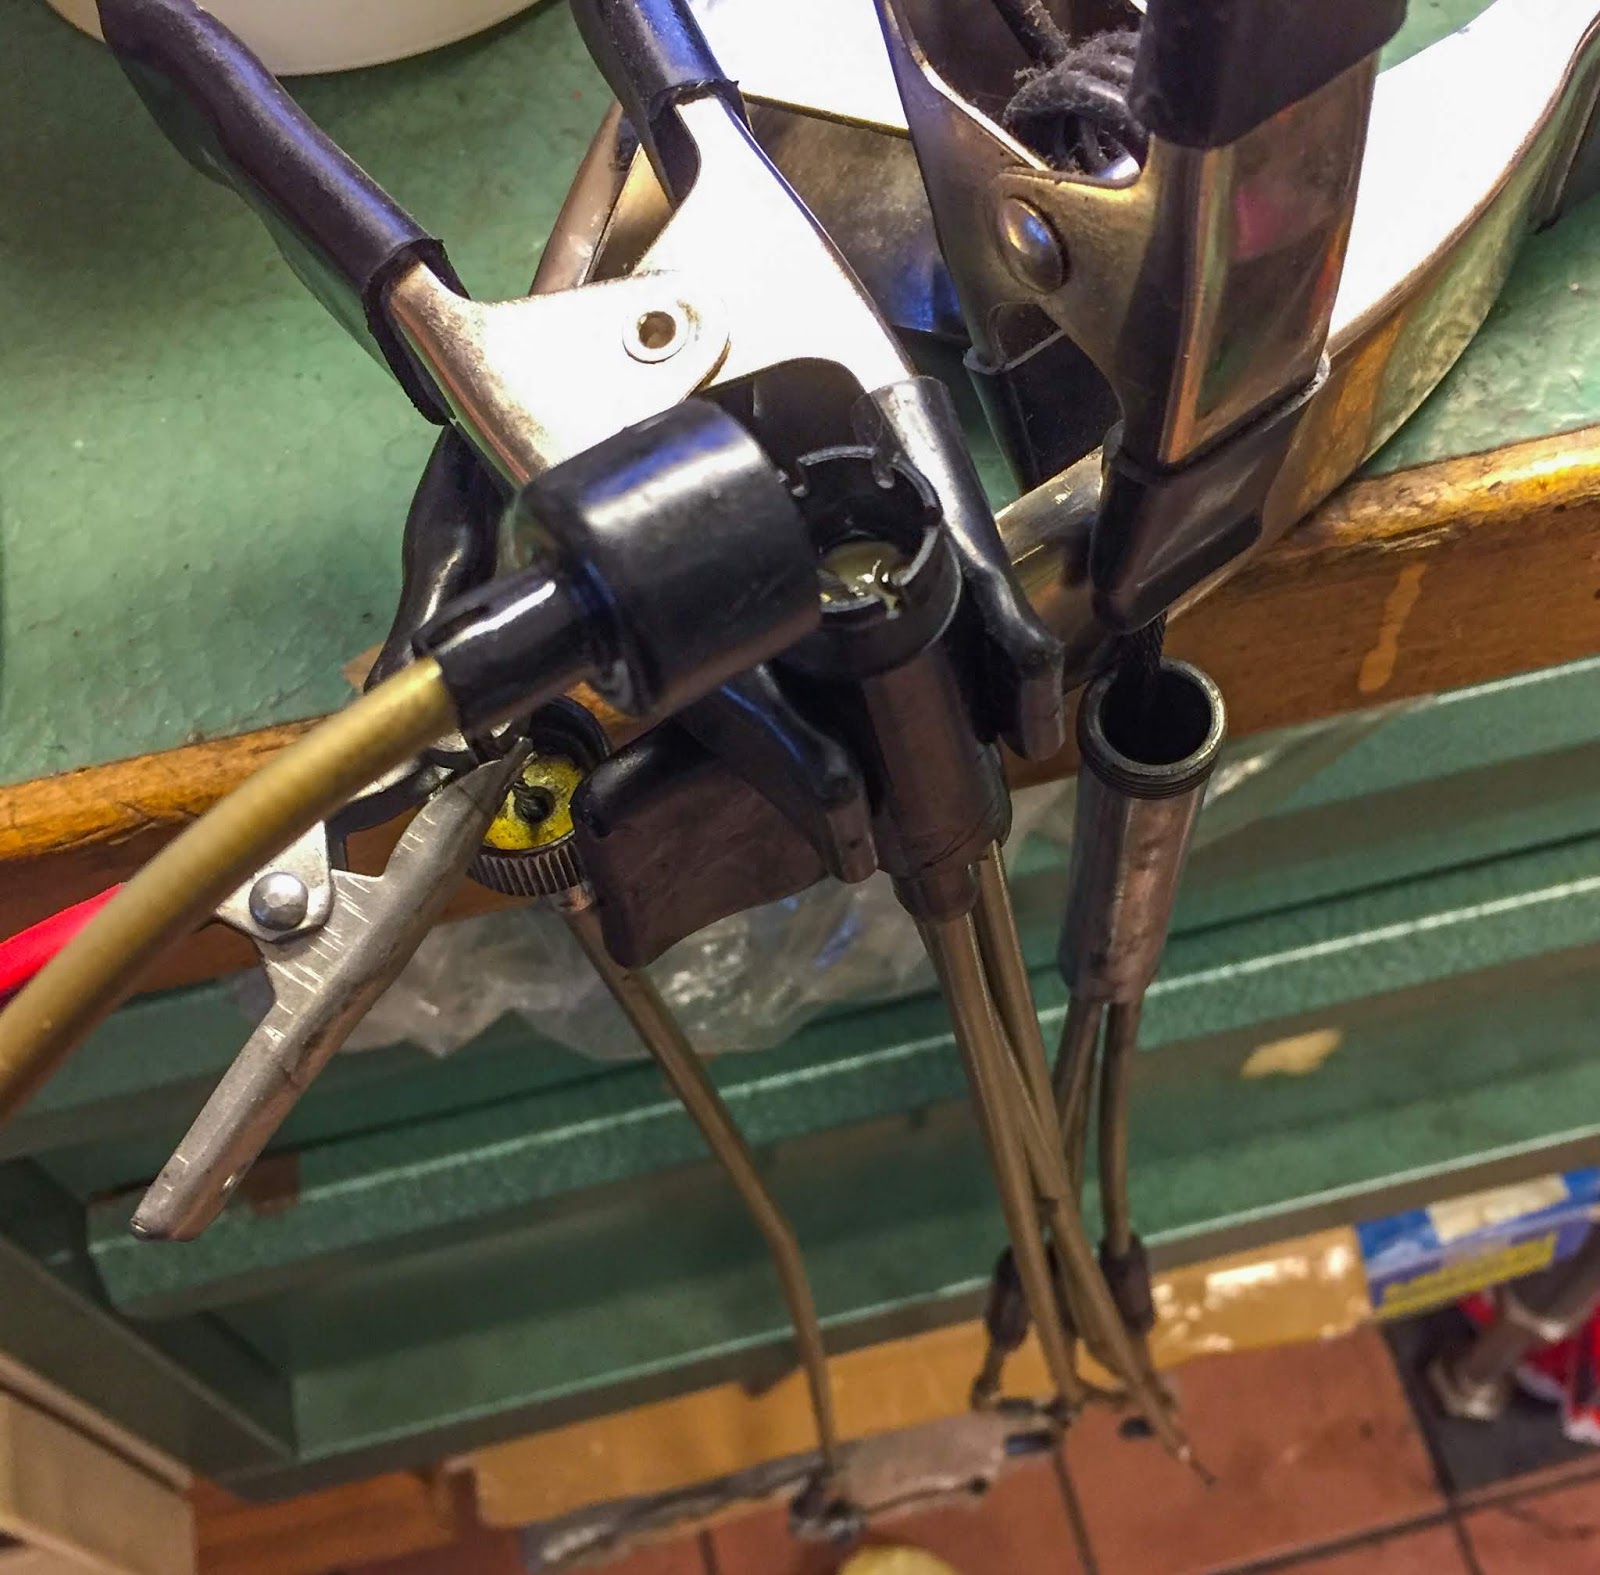
All three ends of the cables popping out from the break up are moist of oil and grease. All the things runs easily and properly with none scraping or hooking. Good as new, nicely, form of… Subsequent up is the choke cable.
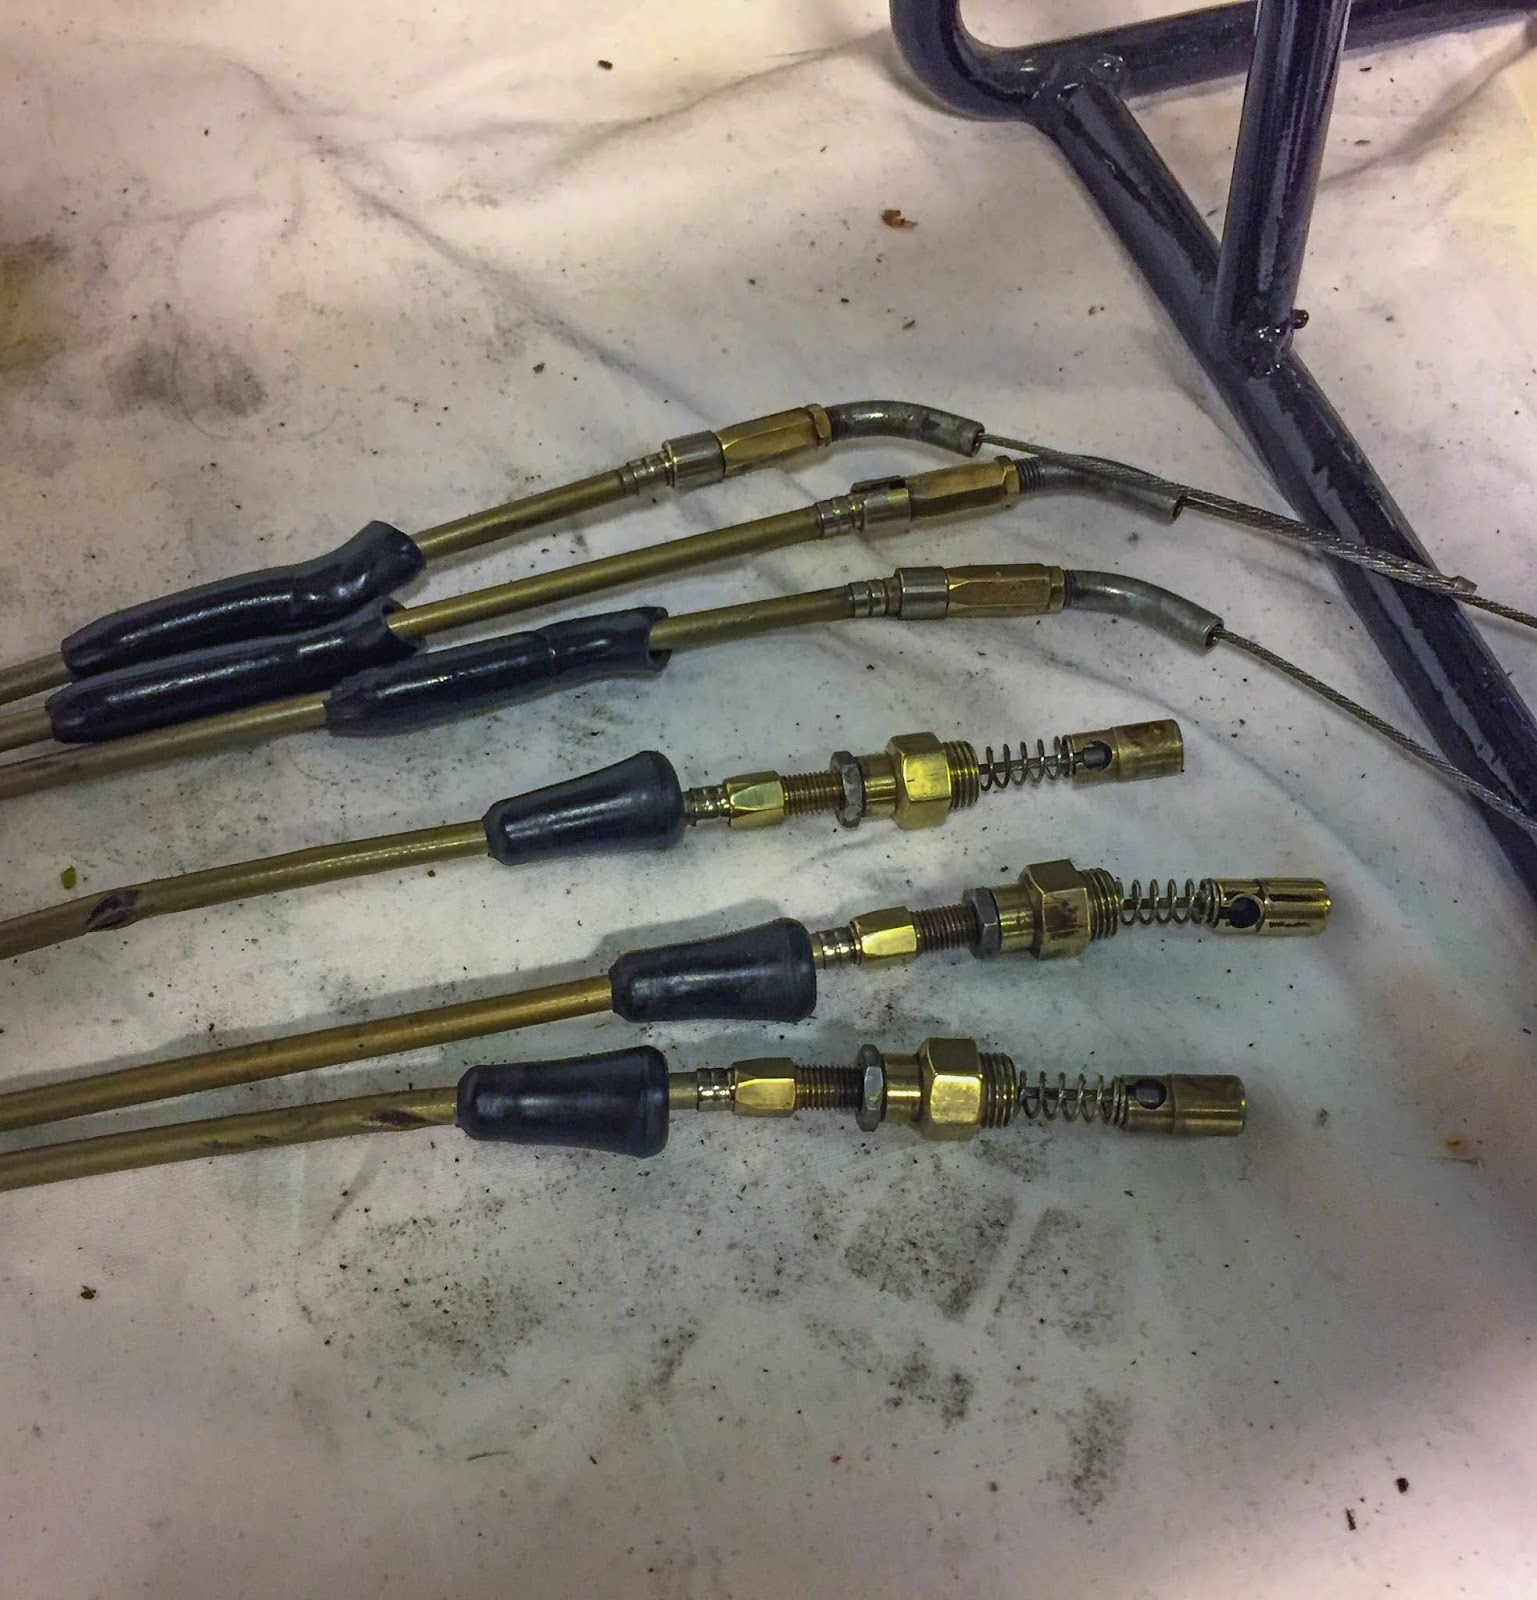
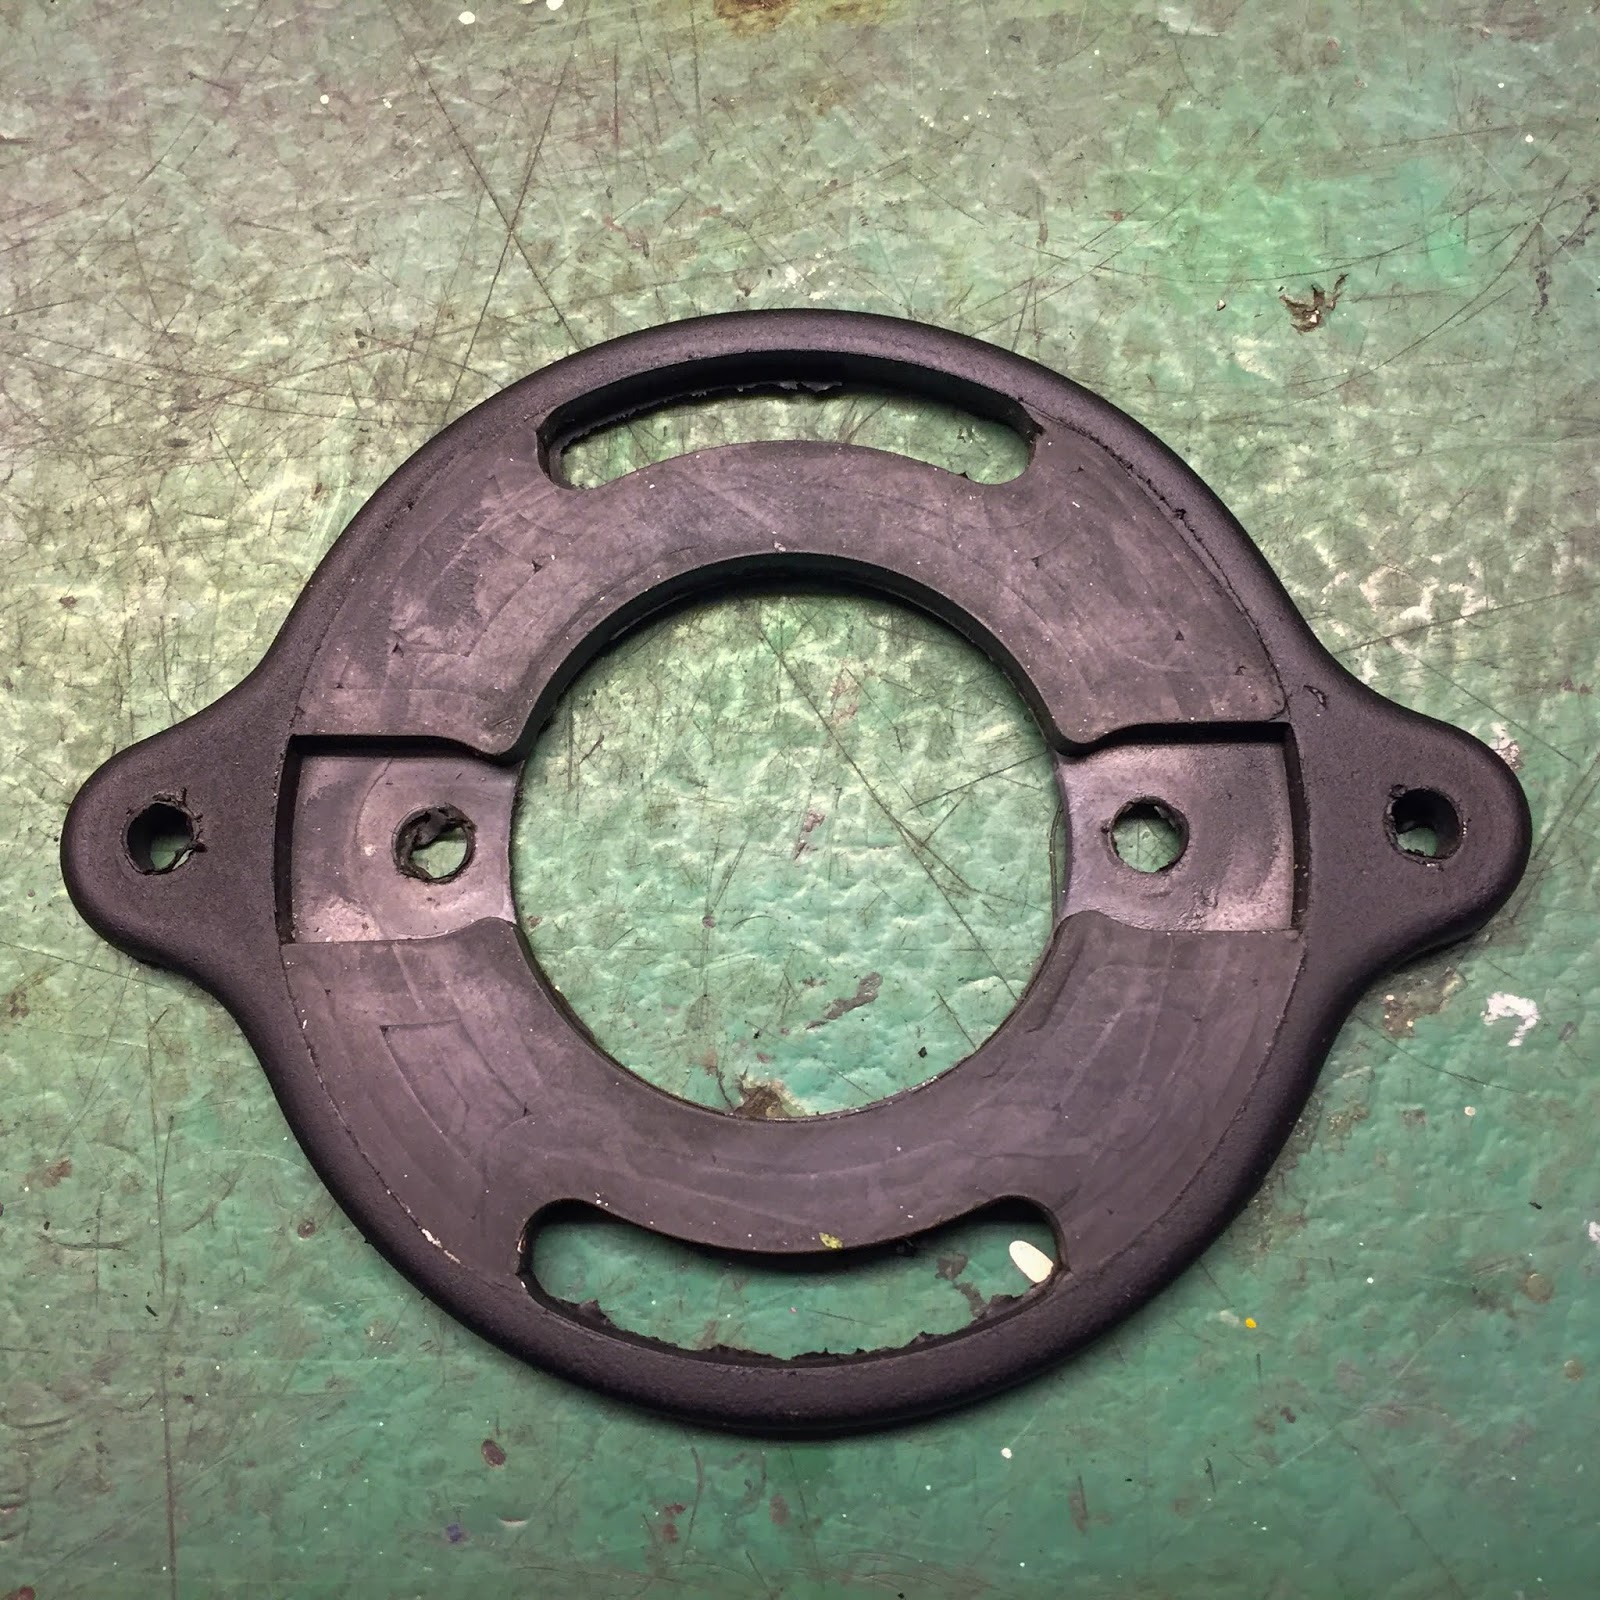
It was fairly soiled, didn´t run that clean, so it additionally wanted an intensive cleansing and a great service. On the best right here we will see just a few of the issues. Doesn´t that housing look damaged? Are the cables beneath that break up housing nonetheless usable or are they too broken?

A minimum of all of them did transfer… Anyway, this type of work is a number of the greatest. Restoring the unique half to nearly as good a commonplace as attainable and hope it is possible for you to to reuse it. That’s proper up my ally.
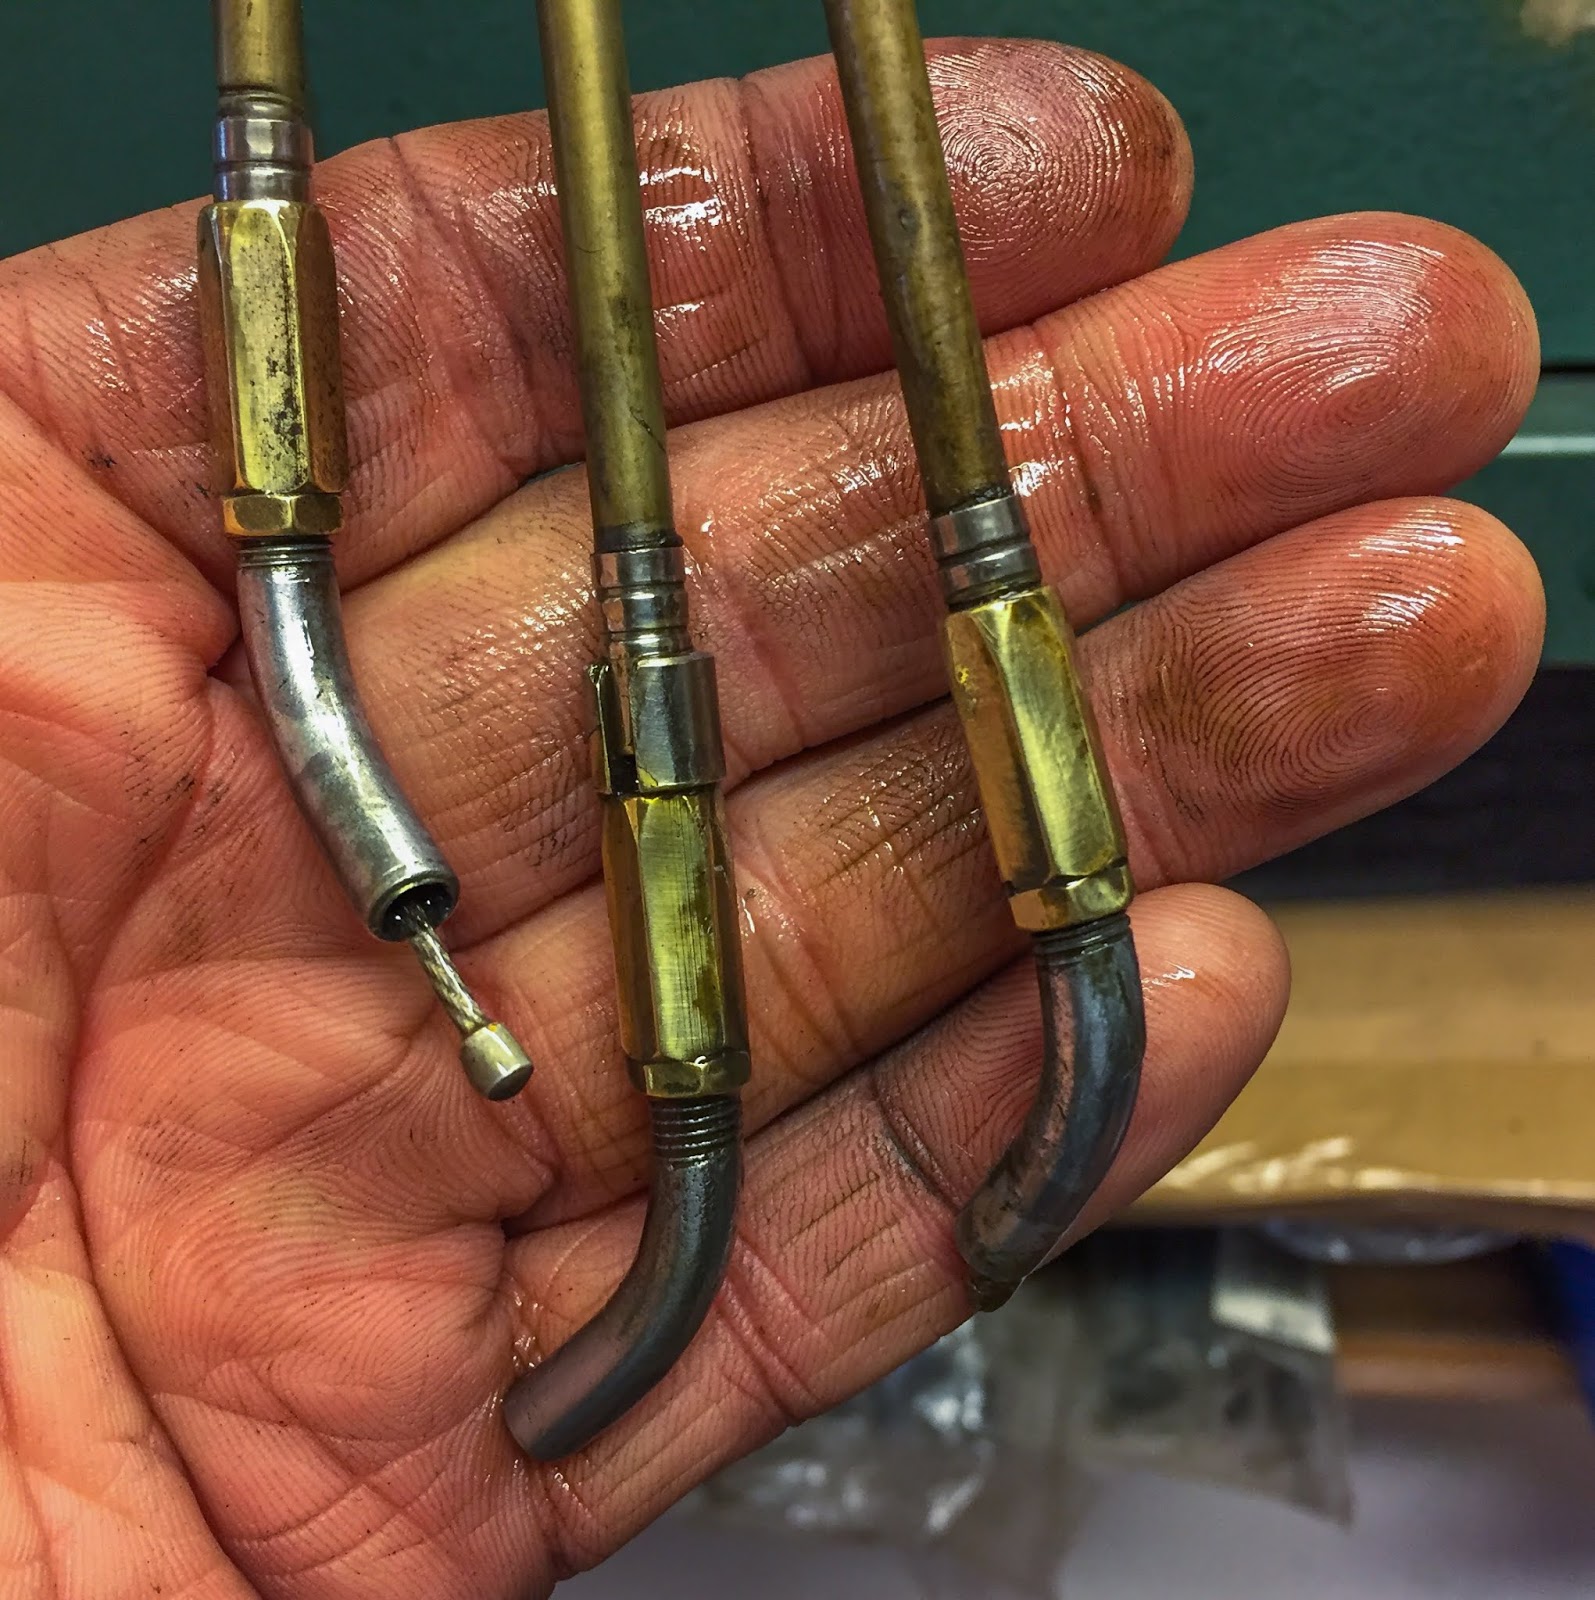
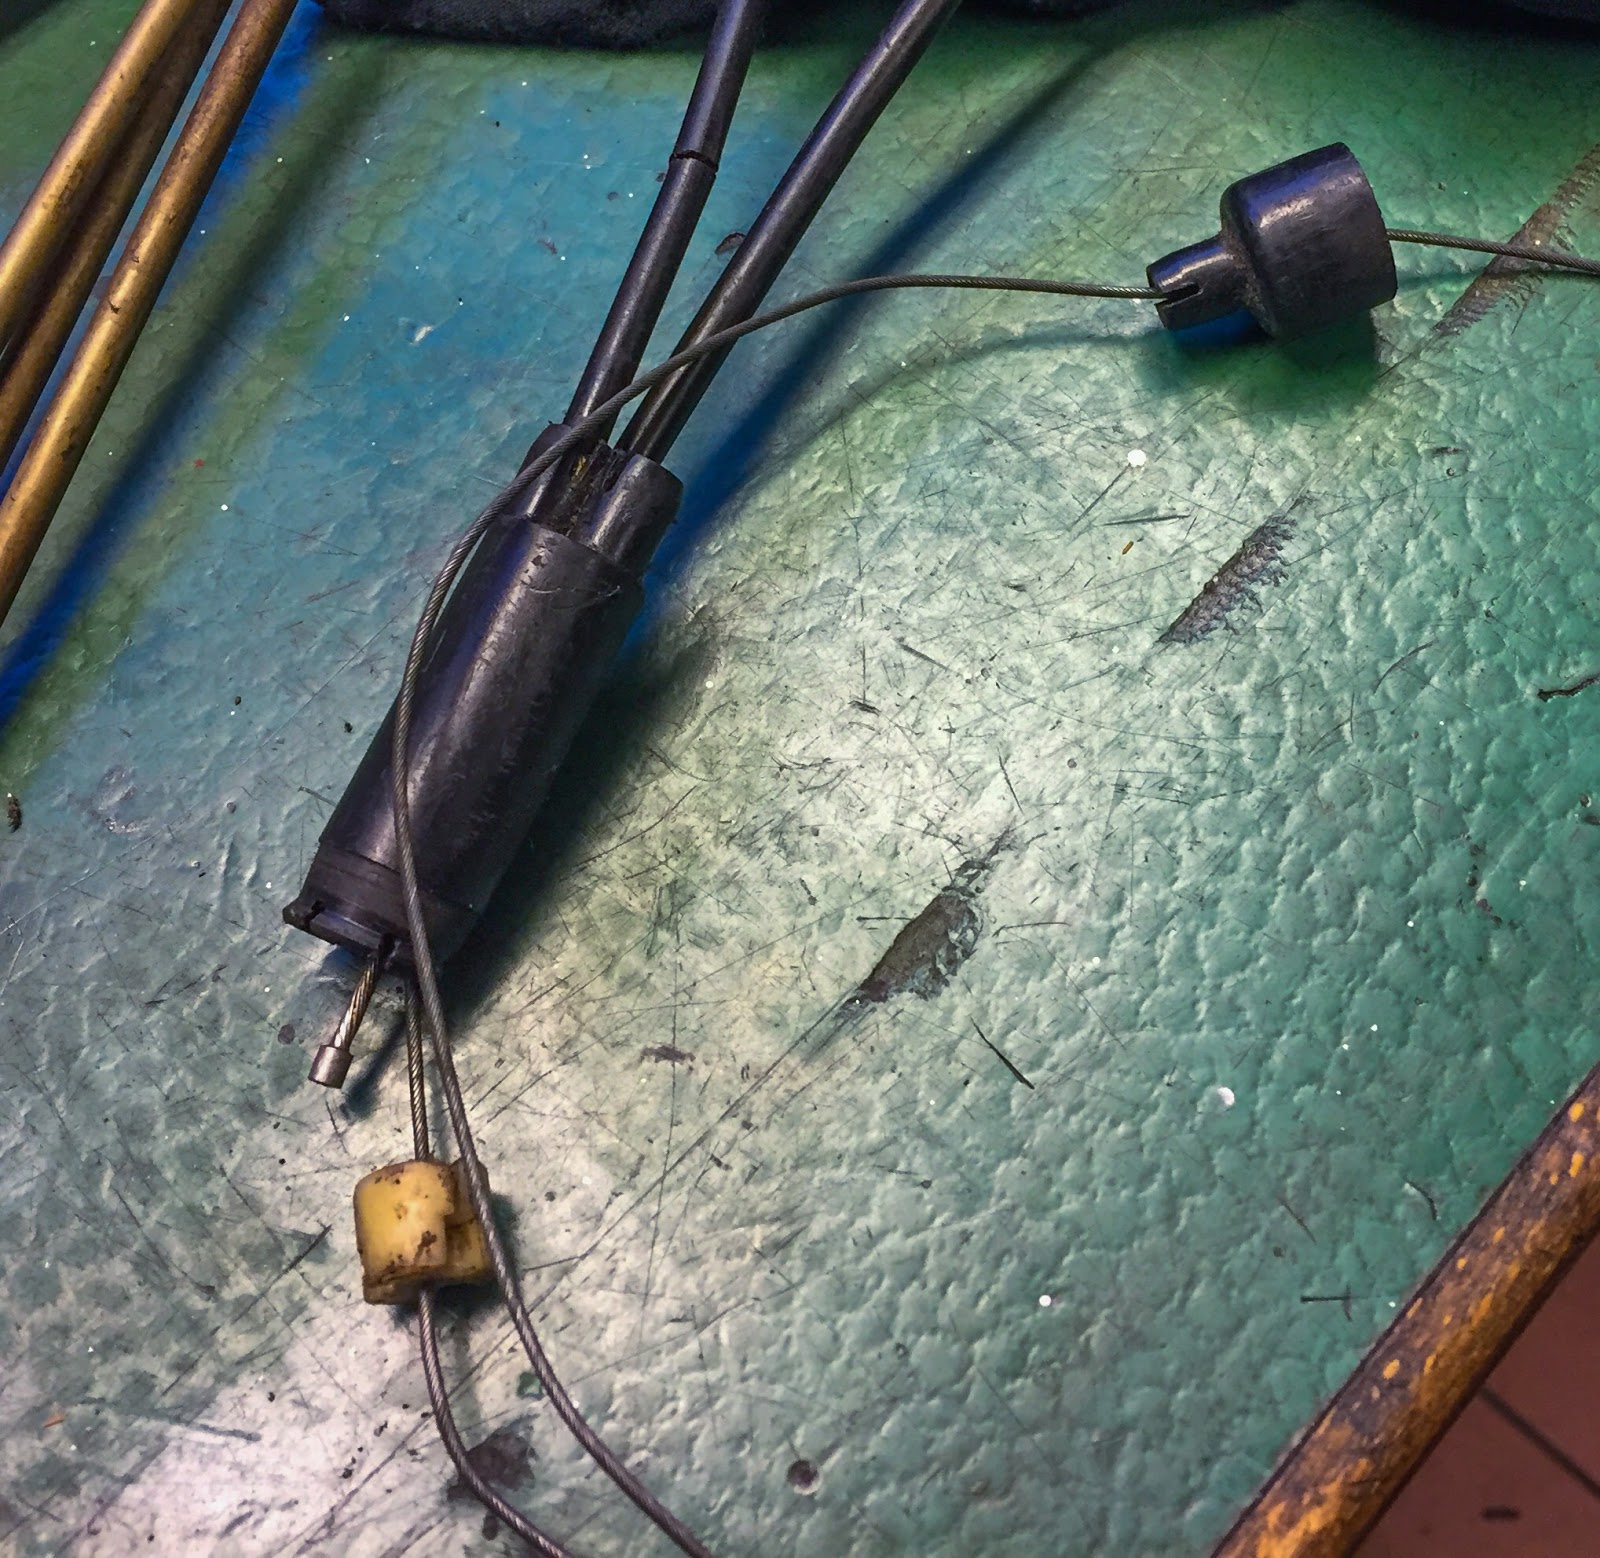
Right here´s one thing I couldn´t settle for, although. The decrease ends of the cable assy are alleged to be fastened firmly to the break up housing by these small, black plastic “tubes” protruding on the prime proper within the image.
Two of them had been damaged badly and the third was cracked.
Now, would I have the ability to exchange that plastic housing with one other one? Did I’ve one additional? The foremost downside right here was to see if there was place for the cable nipples to undergo that plastic break up and free it?
After some digging round in my bins of outdated junk I got here throughout this outdated, battered-up, choke cable from an outdated H2 engine being utilized in a facet automotive racing bike. I don´t know why I had it, however boy, was I completely satisfied to search out it and never having to ship for it through eBay or one in every of my half pushers.
After a little bit of dismantling and cleansing it really seems the half! You can too see I attempted to get the cables out of the outdated housing. Not too good, proper?

You all the time study by your errors. The factor is to strive to not make them too huge…
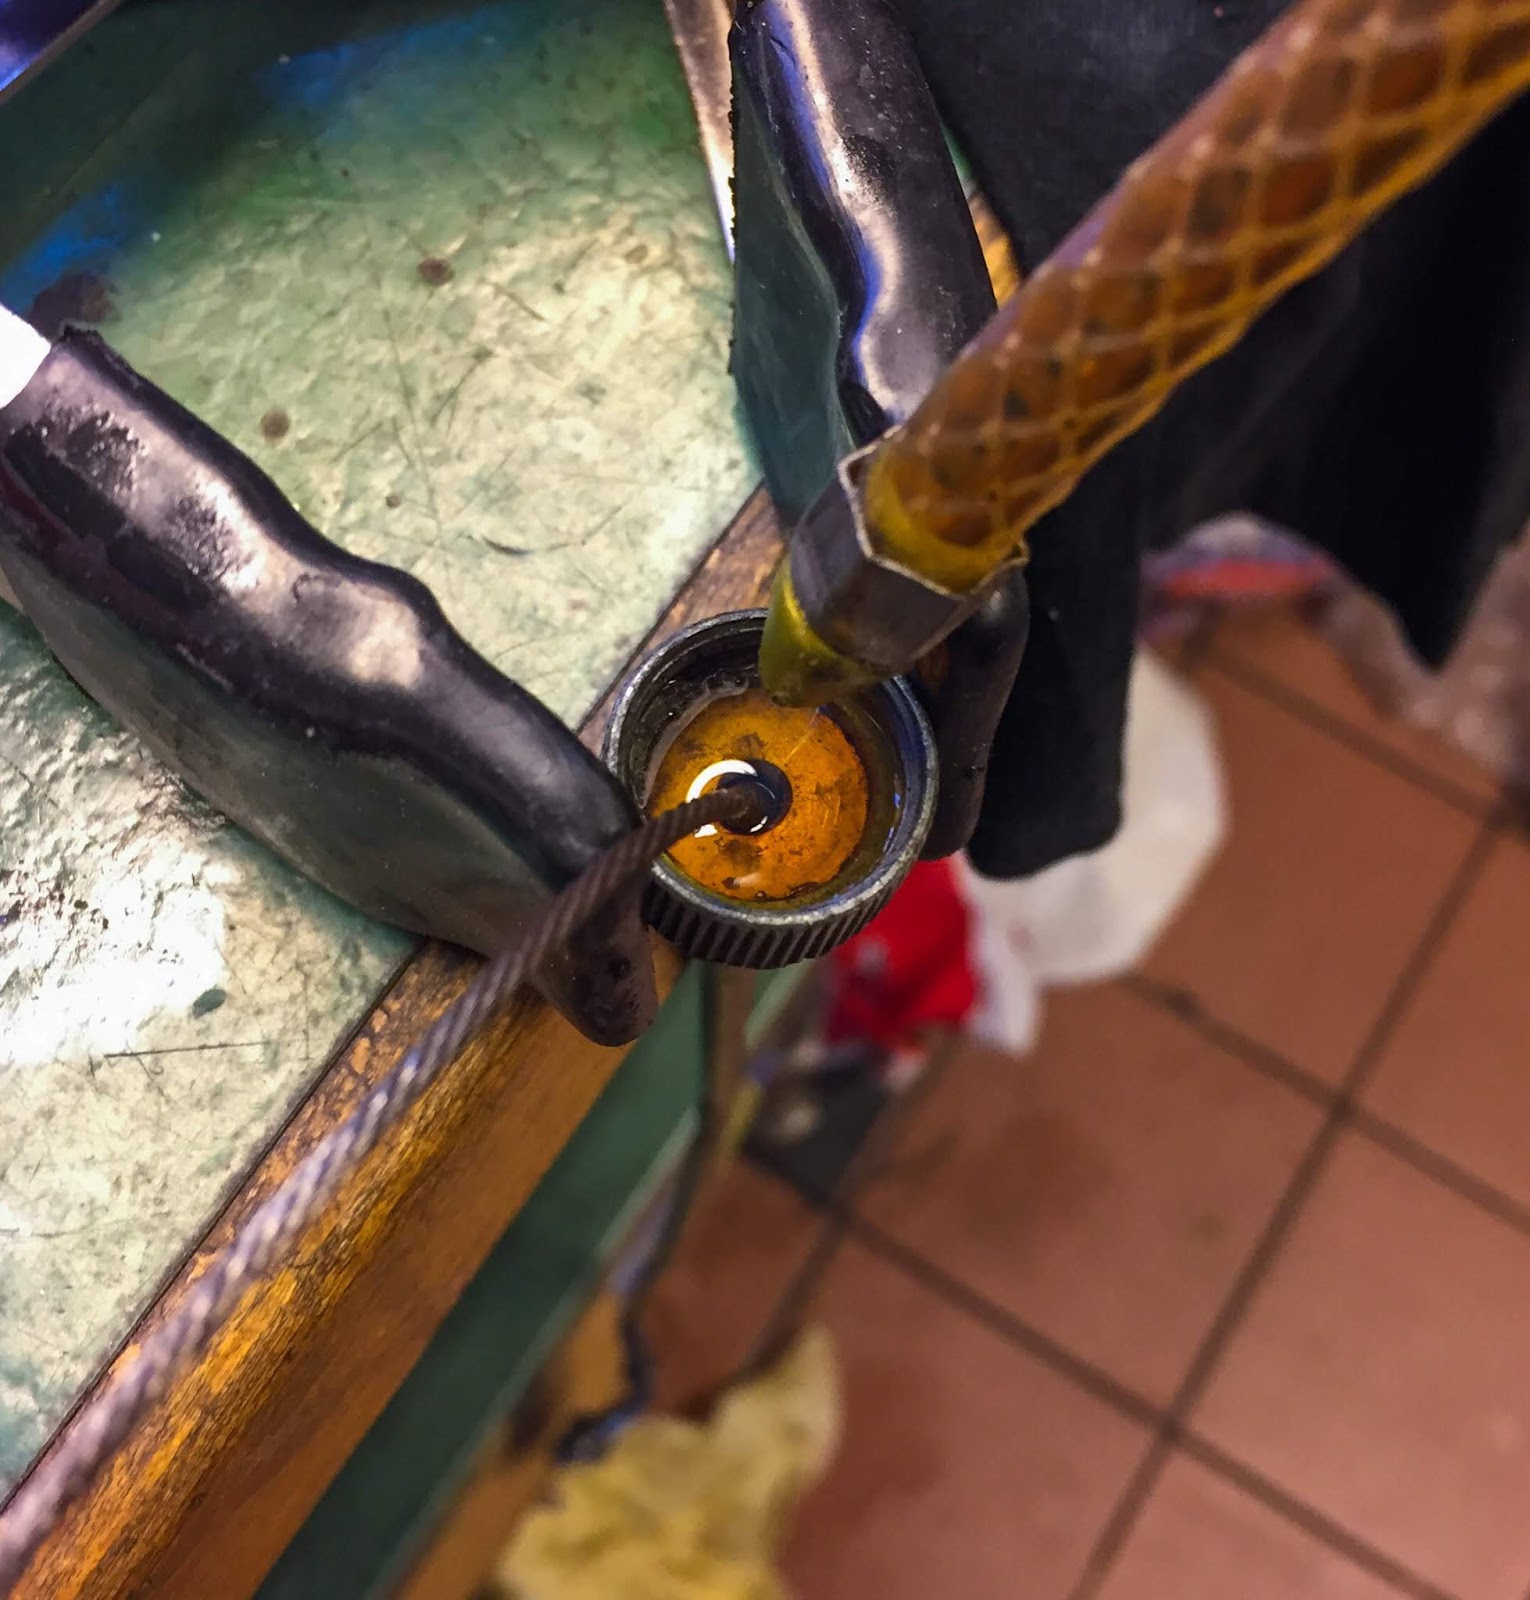
Right here it was merely a matter of pushing them again in and pulling the inside cables out the opposite approach so I might free them on the plastic joint that slides inside the splitter housing.
As I obtained them unhooked from the white plastic half, the cables had been payment to tug out on the different finish. Thanks, Kawasaki for making the holes within the plastic housing sufficiently big….

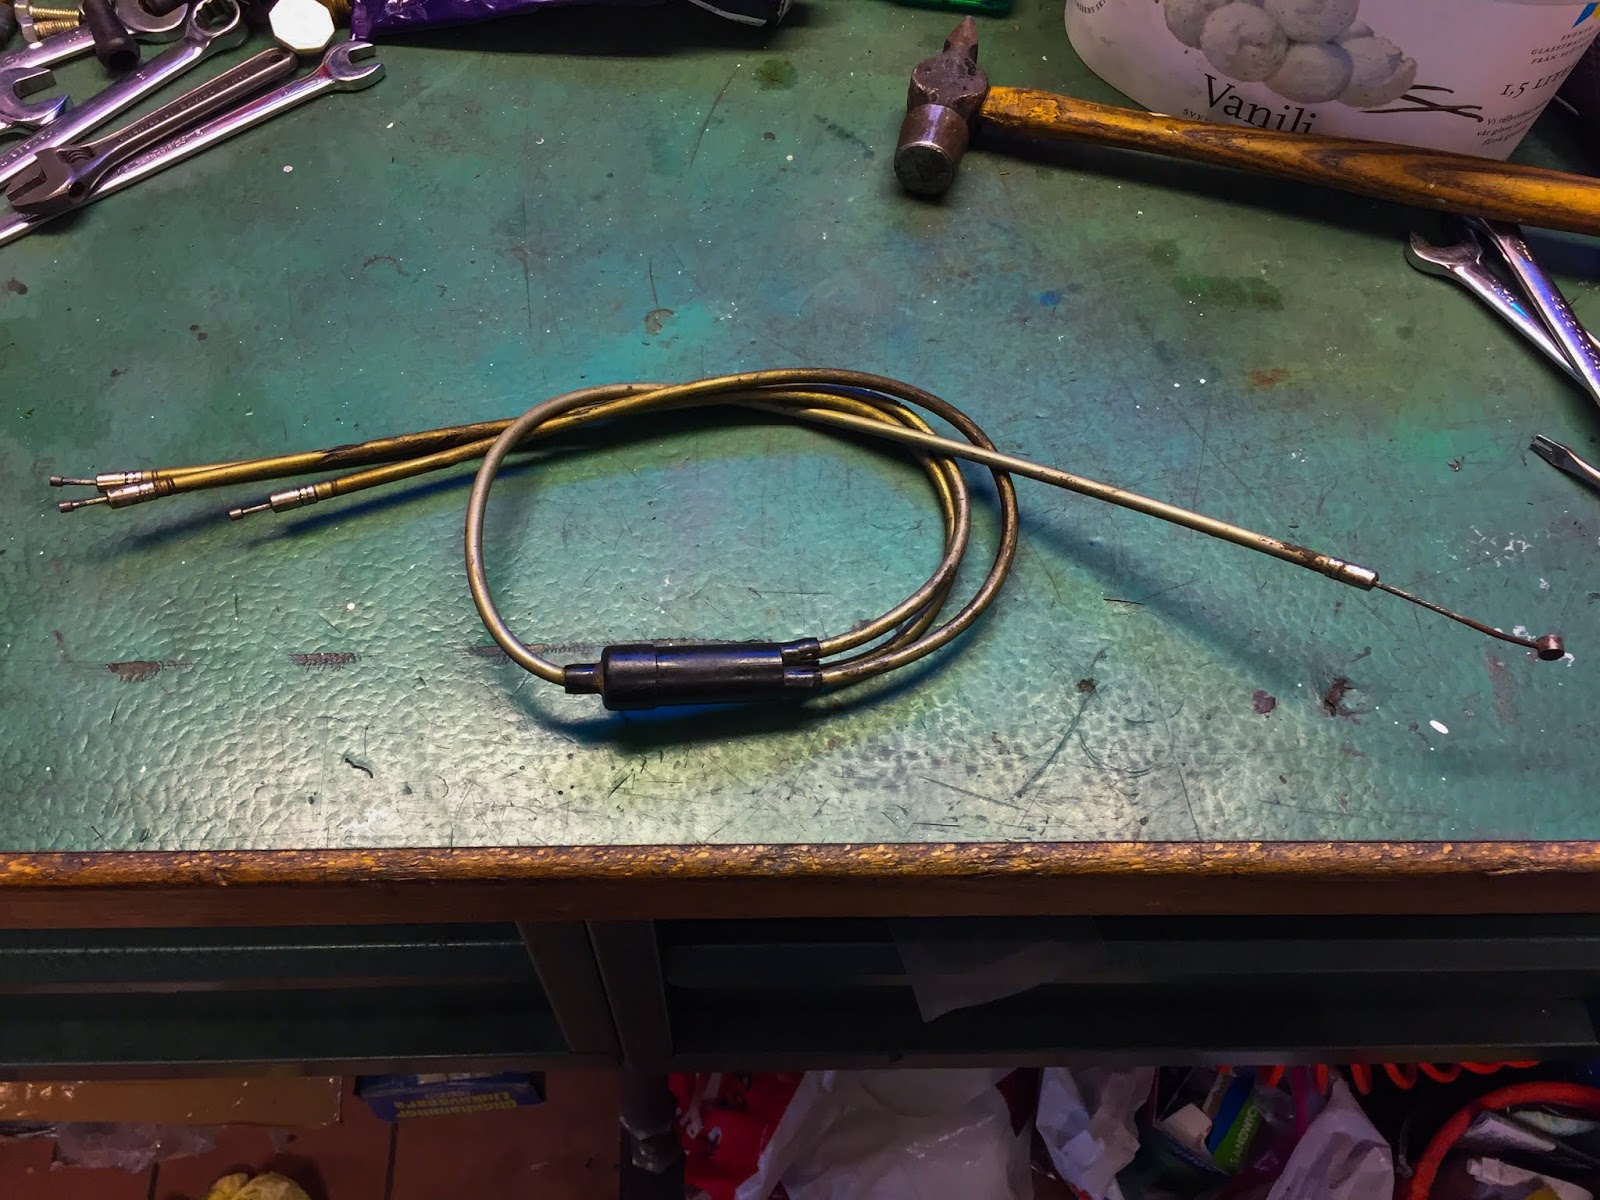
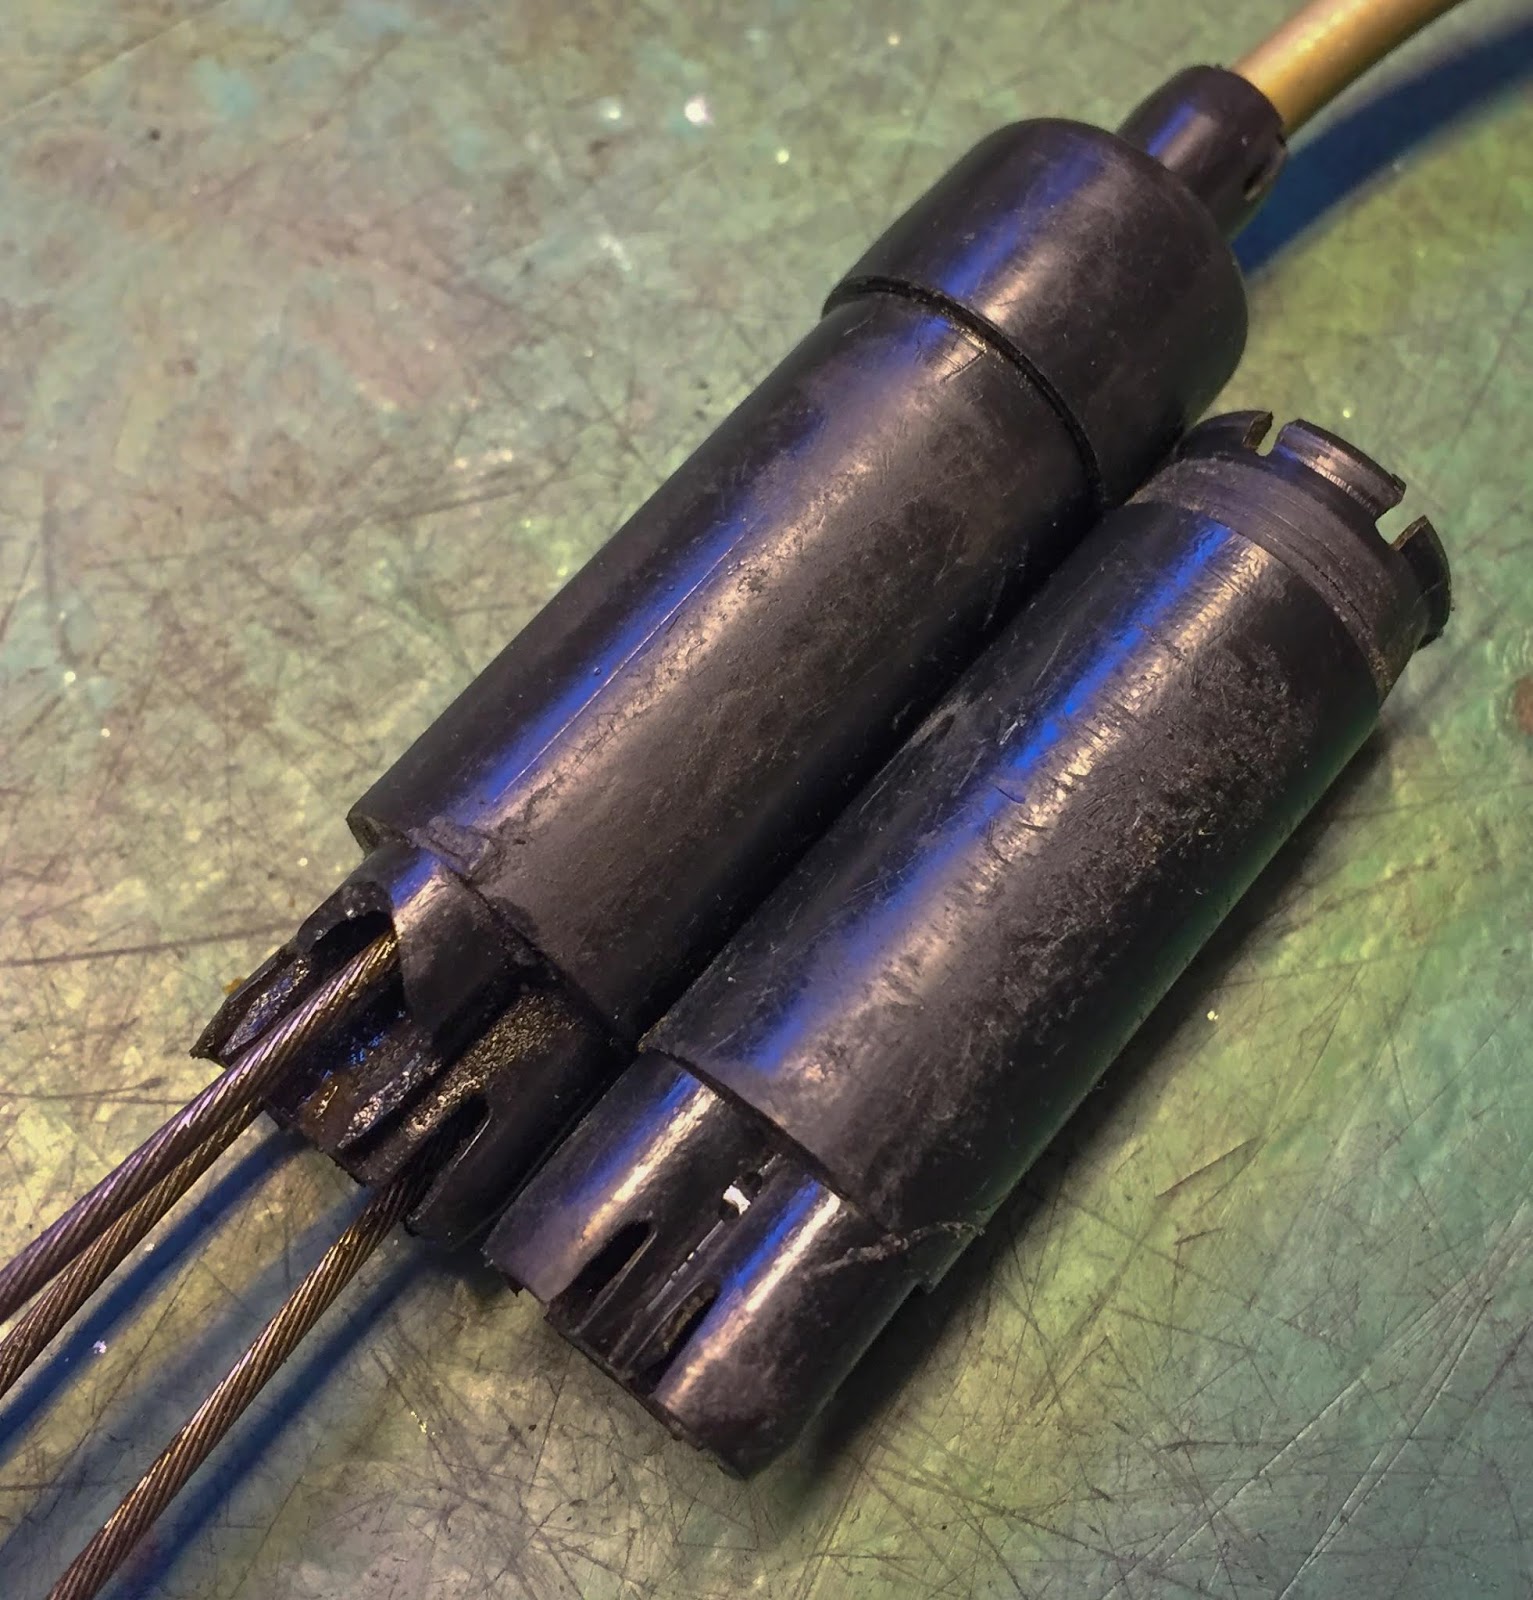
Two splitter housings, 4 cables, one additional inner plastic cable splitter and one additional prime cable hat. Sufficient to get a working choke cable from! Let´s begin cleansing and sprucing!

I assume you recognize it by now… That POL can be utilized to just about every part! I do know, you may assume I’ve a stake in that firm, however I don´t. I simply love that product. I´ll take an image afterward to point out you my stash of those tubes. It´ll in all probability final my life time and even my kids´s…
Right here´s what I do. The directions on the tube says “Apply sparely to the floor and polish by hand, let dry after which take away for that additional good shine”
It really works nice to place various it on, rub it in some after which let it sit for some time earlier than sprucing and eventually eradicating it. It has some form of solvent that works wonders on most dust and oxides I´ve come throughout up to now. Rubber, plastic, paint, chrome, aluminium, windshields, helmet visors, I apply it to every part! OK, now I simply may get a 20% low cost on my subsequent buy…

When the sheaths are clear and the steel components polished it’s time to get all of it collectively once more. The difficult half right here is getting the three decrease cable nipples within the right spot within the white plastic inside joint and getting the entire shebang into the housing with none of the cables getting free. You could be sure that the decrease cables don´t get twisted or crossed contained in the housing. In the event that they do, your choke won’t be adjustable sufficient to shut fully. Then you definately´ll should do all of it once more.
Time to lubricate additionally the choke cable. It might be a part of the throttle cable on the sting of the bench letting gravity do its marvel.
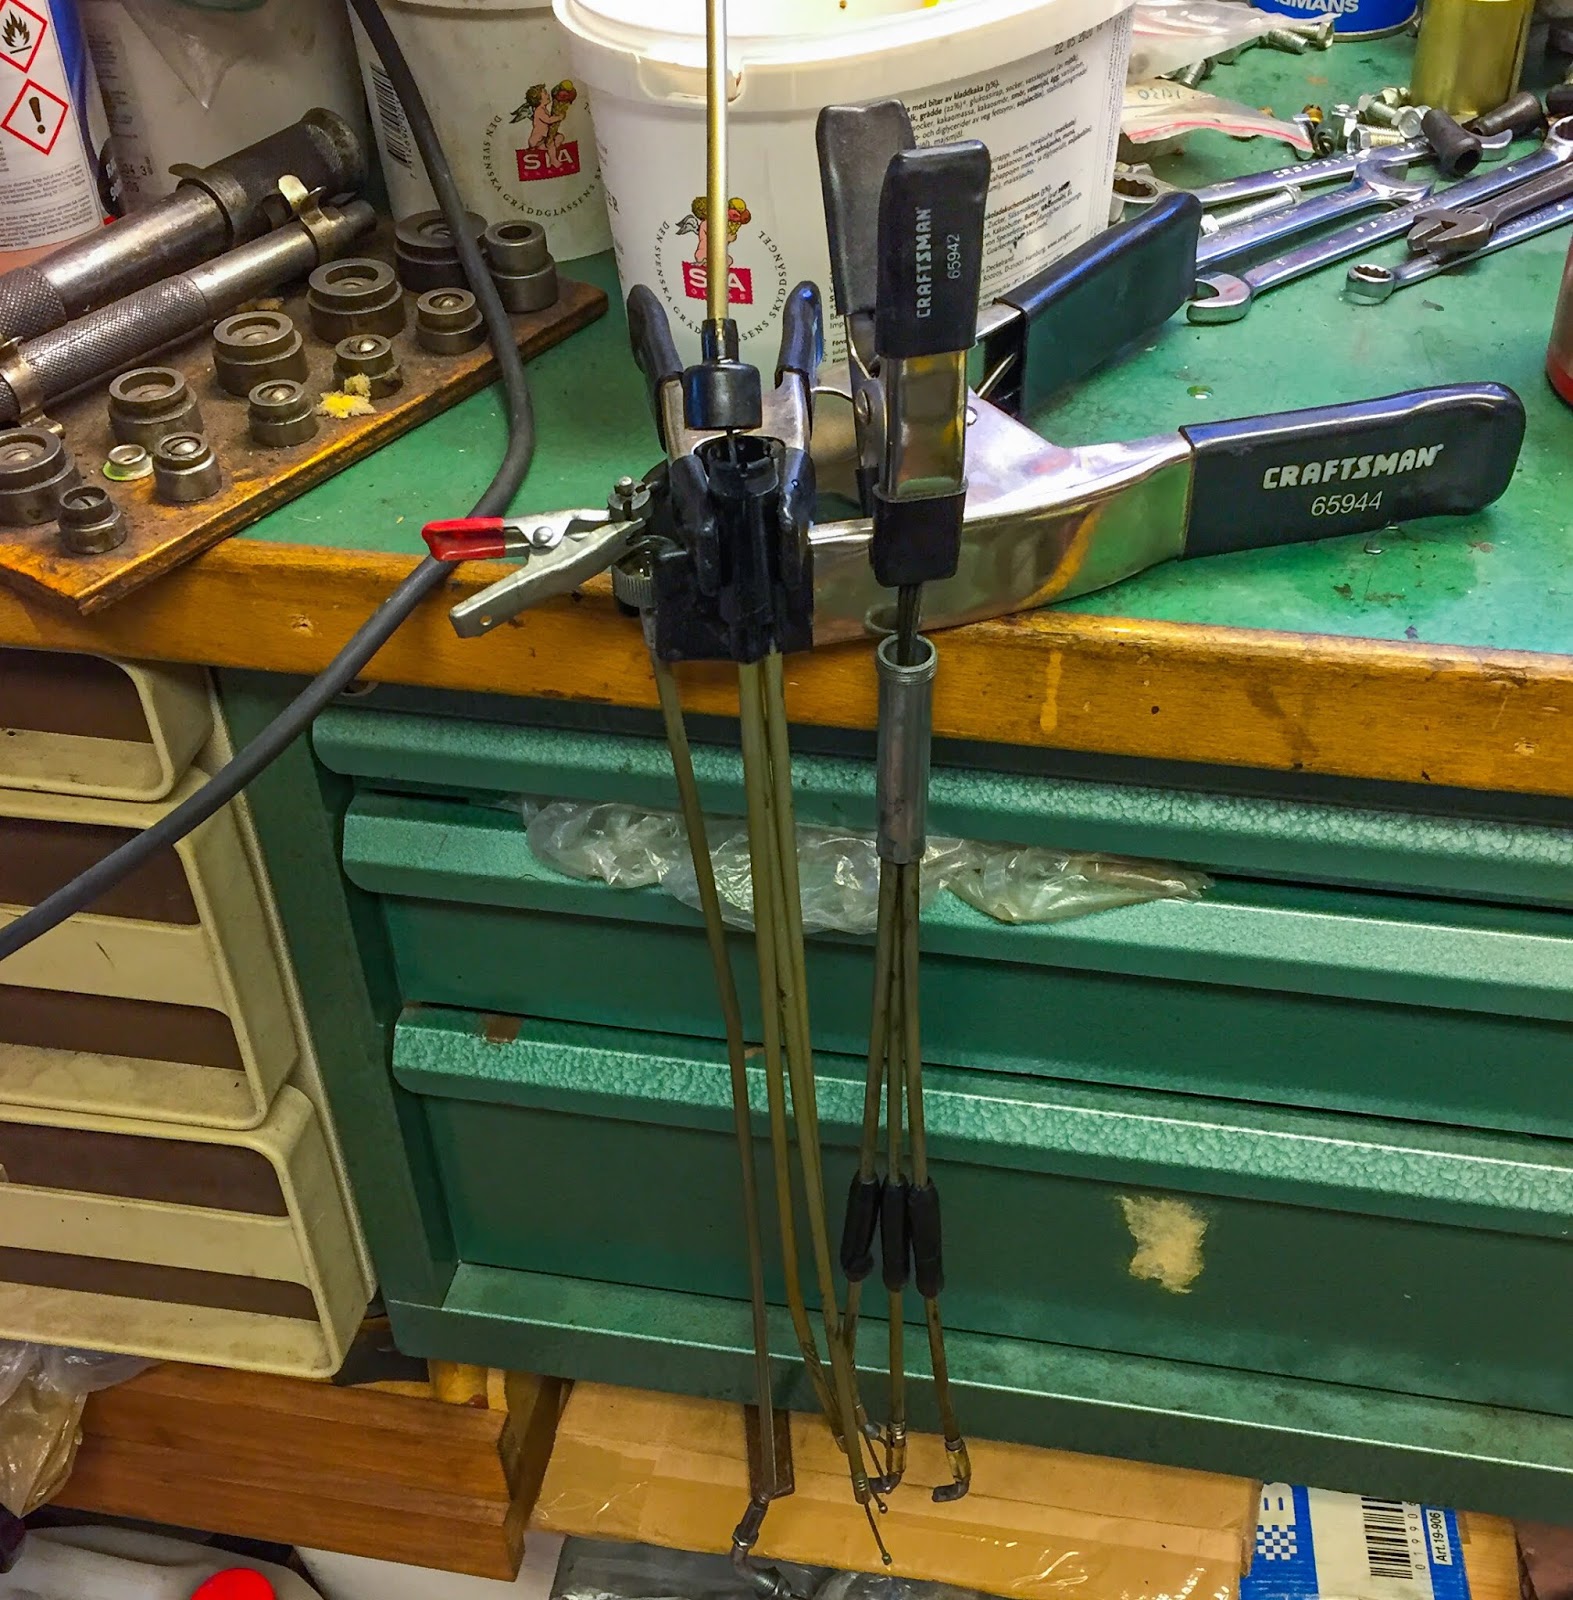
A bit crowded, nevertheless it´s not for lengthy… Over evening does it, for positive. Grease and oil till the ground will get oily. Then they´re all completed and able to go on the bike.

Yeah, I do know, it seems some form of industrial. However the choke cable seems good, proper? Contemplating what I needed to work with at first I´m very happy with the result.
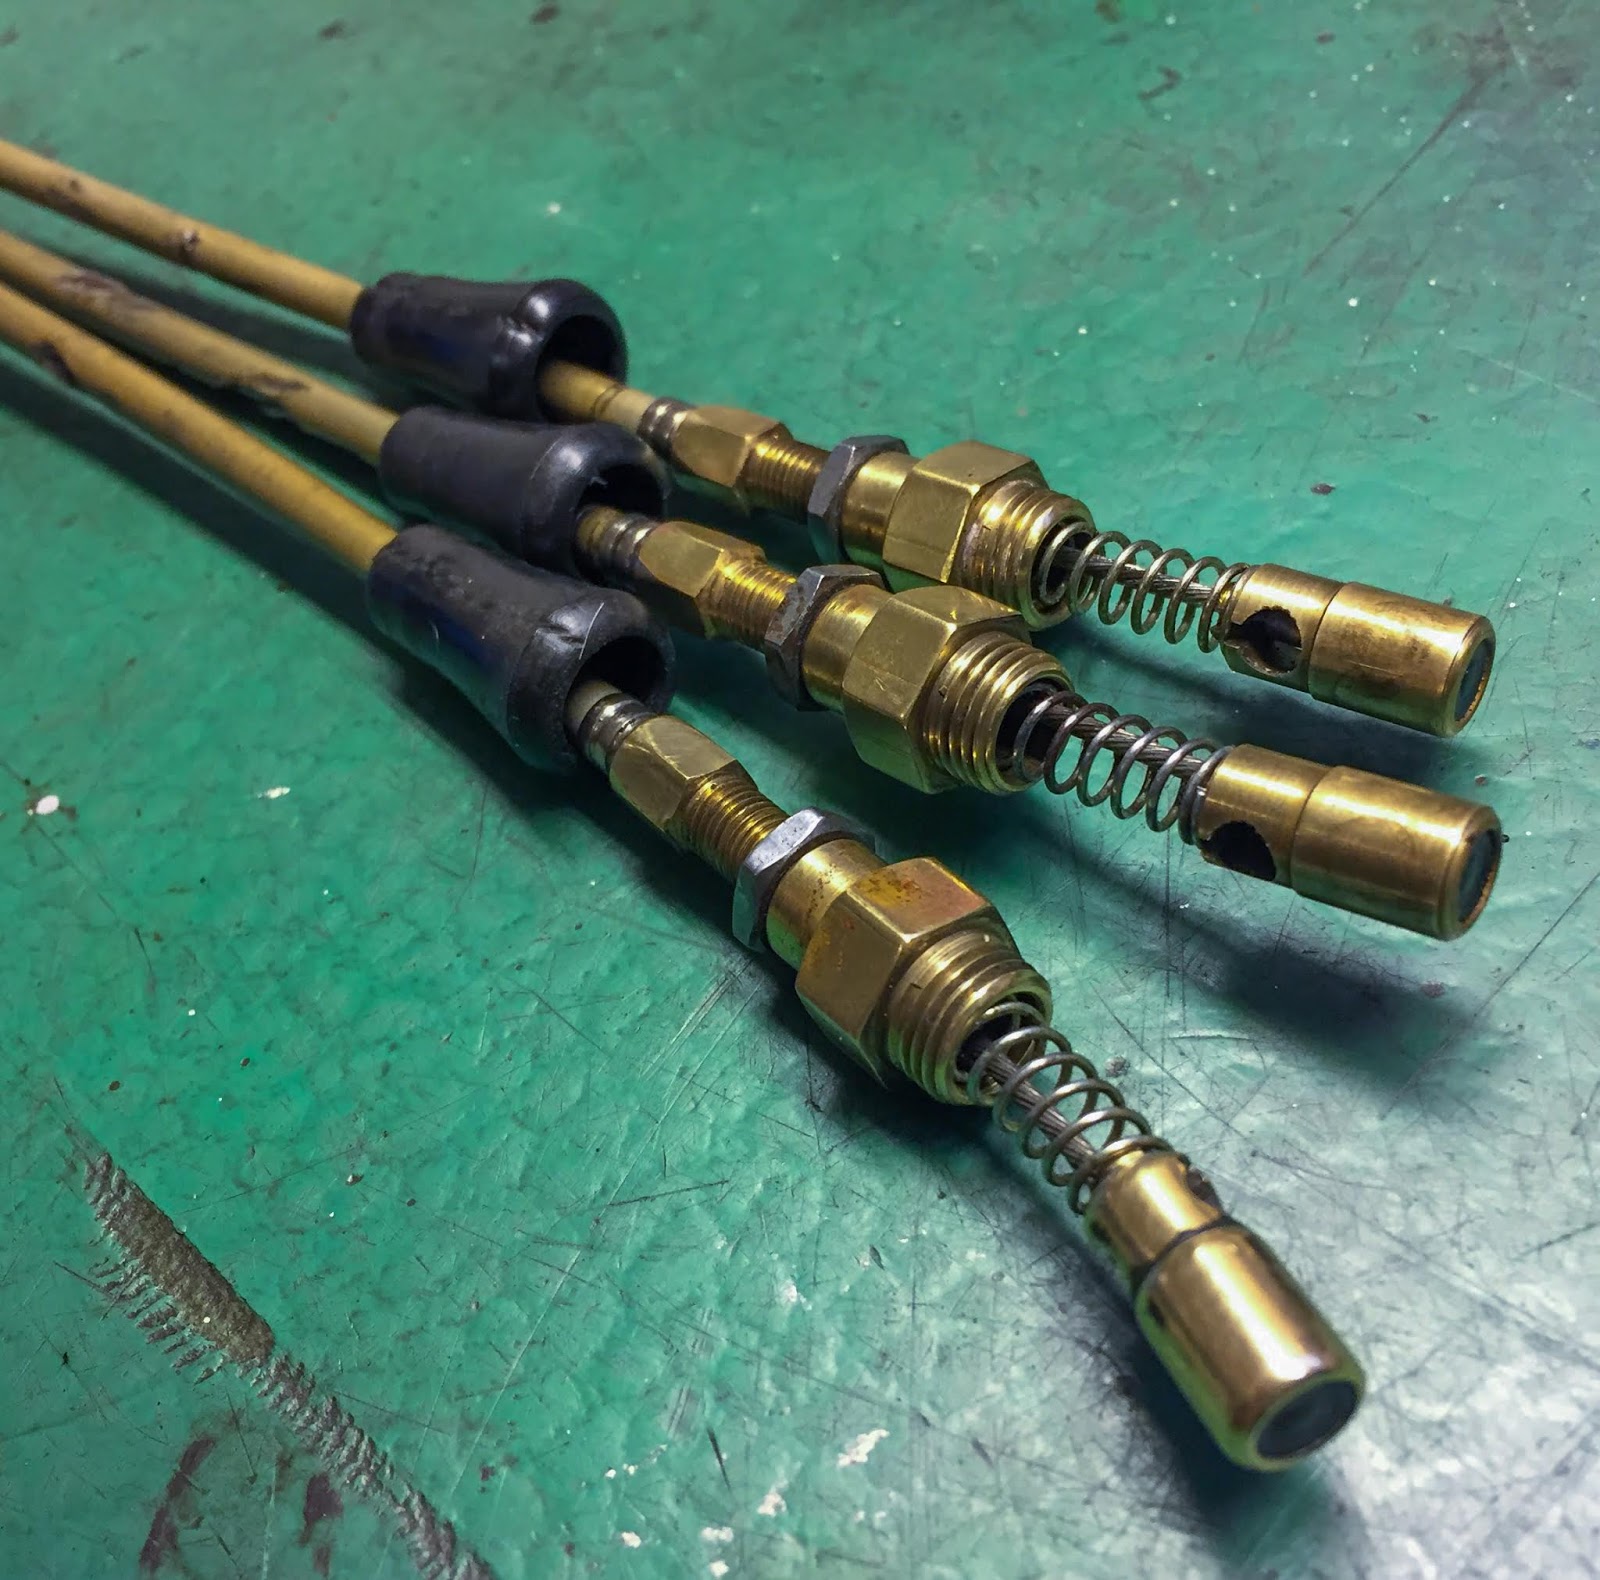
OK, I’ve to confess it. I went a bit too far right here. The choke plungers ARE too shiny as are the brass housings. This can be very laborious to cease buffing earlier than it will get too good. I failed at it, Sorry.
In my protection I’d argue that almost all of those components received´t even be seen when on the bike and it’s crucial that the choke plungers transfer freely contained in the carb our bodies.
A remaining coat of “Armour All” for that remaining completion on the cables and the rubber components and so they can relaxation beneath the bike ready for the carbs to prepare. That’s taking place fairly quickly, I promise!
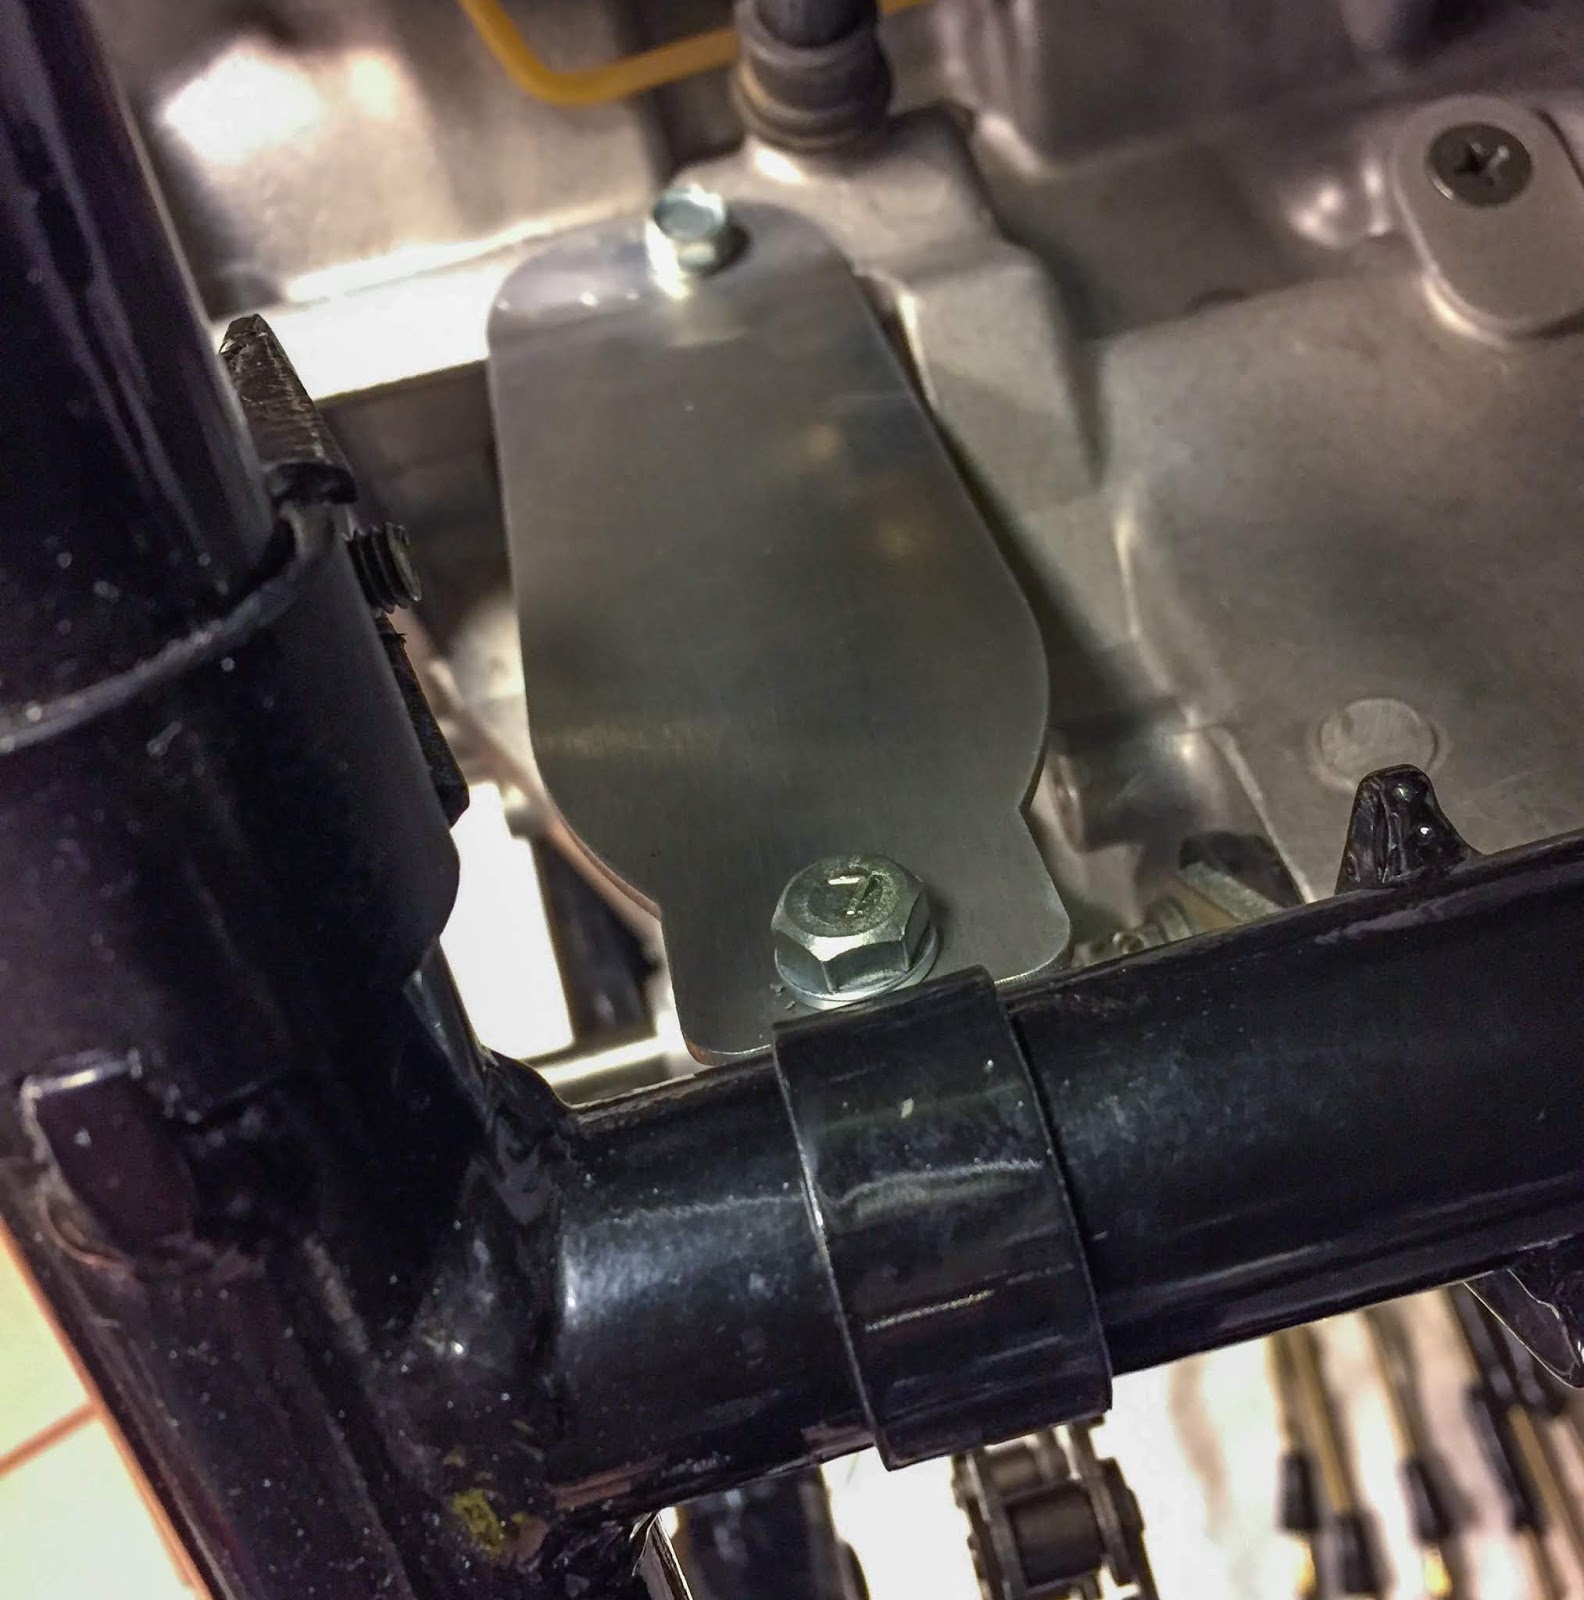
Keep in mind that flimsy, small, ridiculous chain cowl I talked about earlier? Properly, I had the clamp painted, the chain guard drilled and ever so evenly angled on the backside finish. Lastly it obtained on the bike! I do know these components aren’t the unique ones however they had been the perfect I might do, at the very least for now.
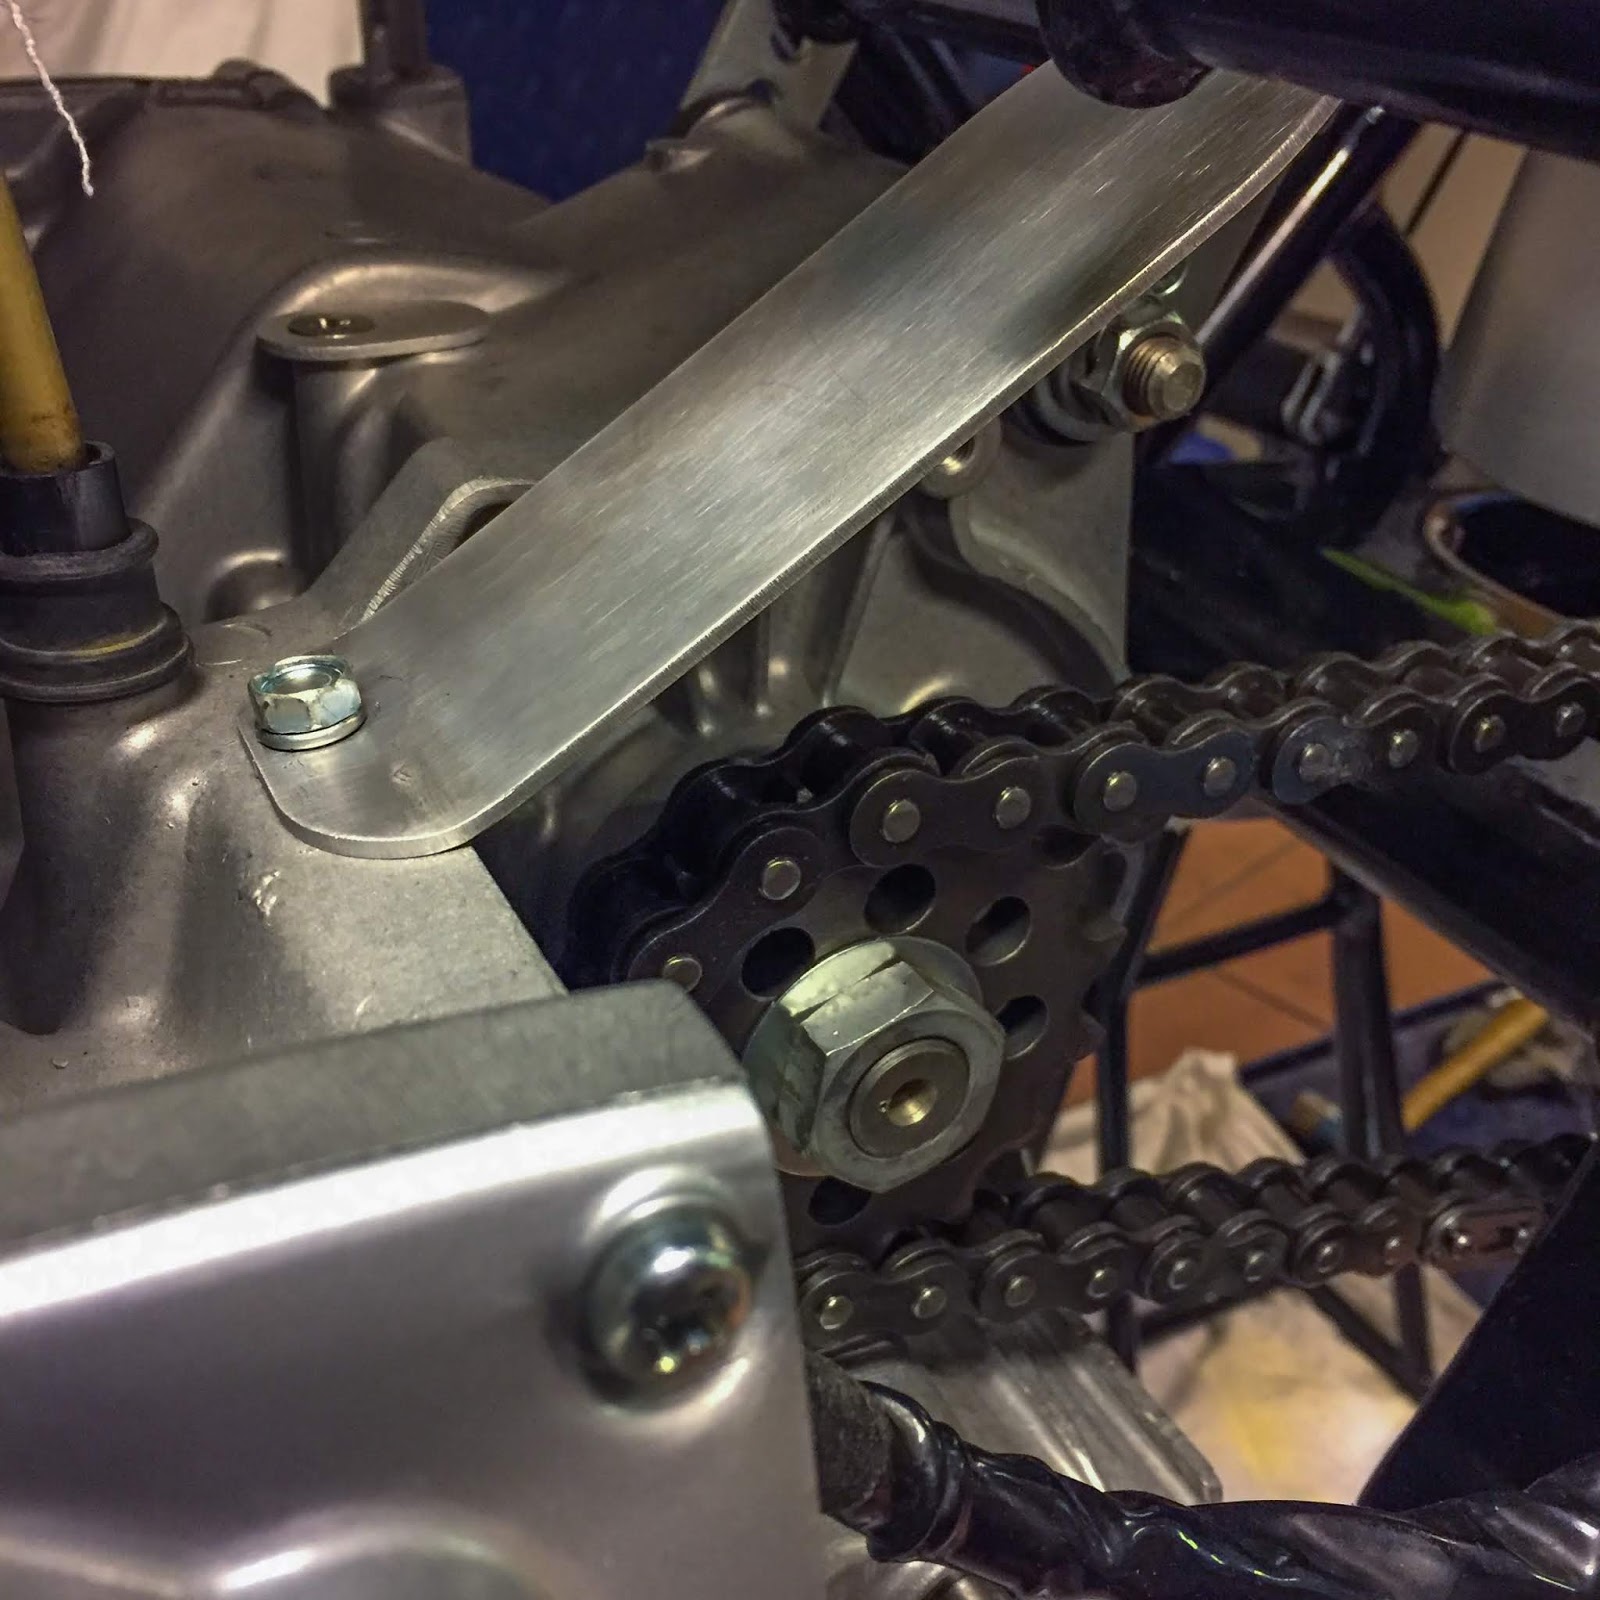
I feel it seems nice! It might definitively be the proper one so far as I´m involved. That´s simply going to should do till I can discover an authentic clamp and canopy. Not that I feel that´s ever going to occur, however one by no means is aware of, proper?

As I used to be fettling with the chain cowl I noticed I may need a way more major problem crusing up within the close to future.
I instantly discovered the air consumption rubbers trying very small! Will they take the carbs in any respect? These consumption rubbers had been provided by Ebbe when he rebuilt the engine for me a few years in the past (unusual how time flies, proper?) and I’ve no clue as to what sort of bike they’re from. It does look a bit tight, don´t you assume?
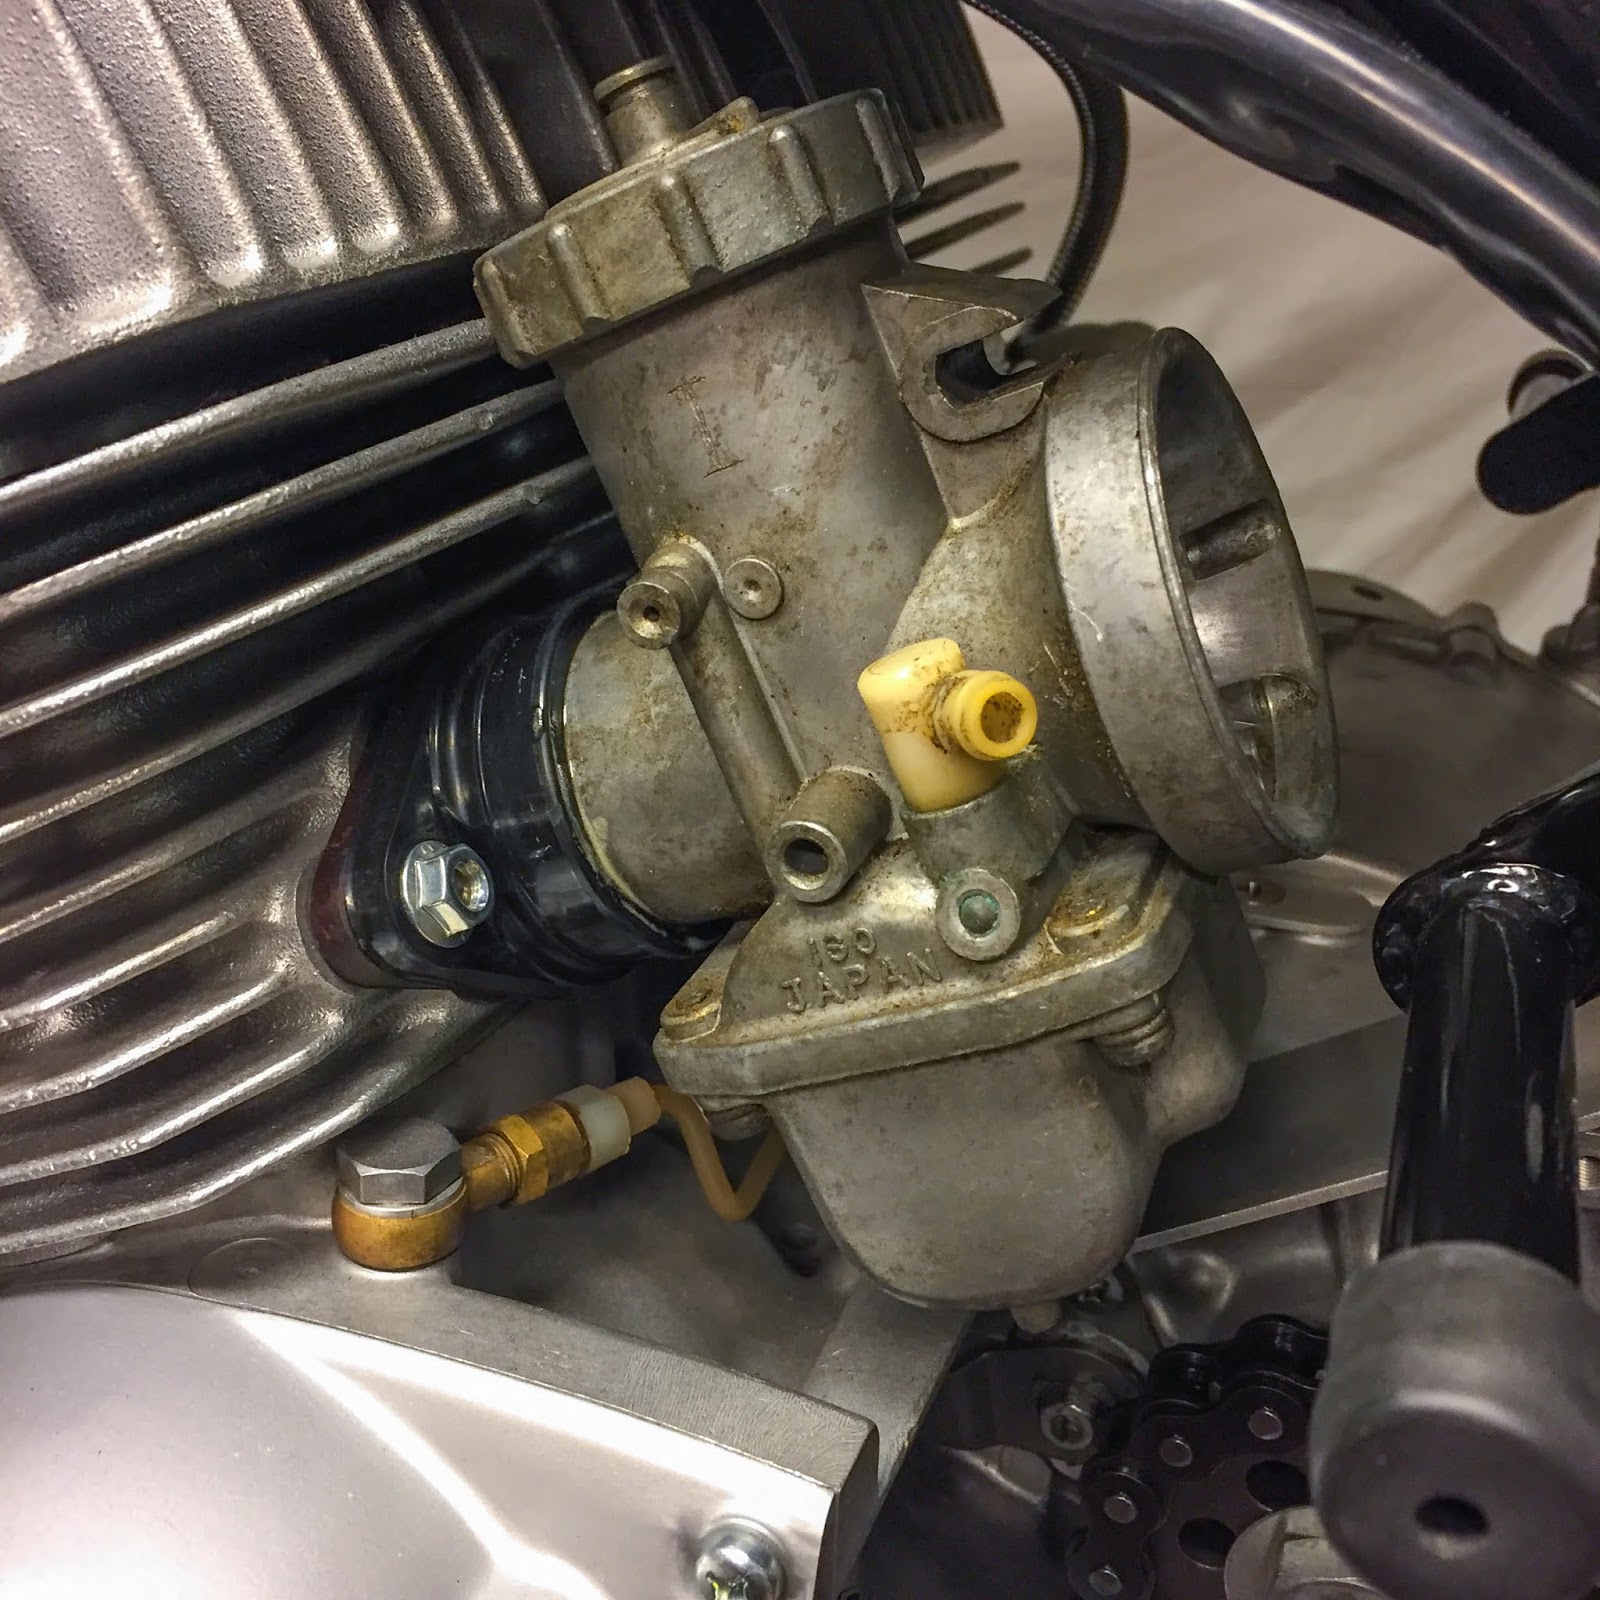
A fast take a look at revealed that they’ll perform fairly good! A light-weight coat of my favourite meals grease spray and the carb slid proper in there. Nice! I used to be frightened stiff there for some time…
The carbs will get its remaining remedy and clean-up as quickly as I can muster up the power to get my palms all soiled and my fingers to take the pounding of thinner, white spirit and acid remedy. I´ll try this quickly however not proper now. Let´s transfer on to one thing simpler…
I painted and obtained the tachometer bracket prepared for mounting on the bike some time in the past. Right here it’s. That end will do exactly high quality. I´m so happy with the work from Kinnander´s gummi in Linköping. That was greater than 1,5 years in the past…
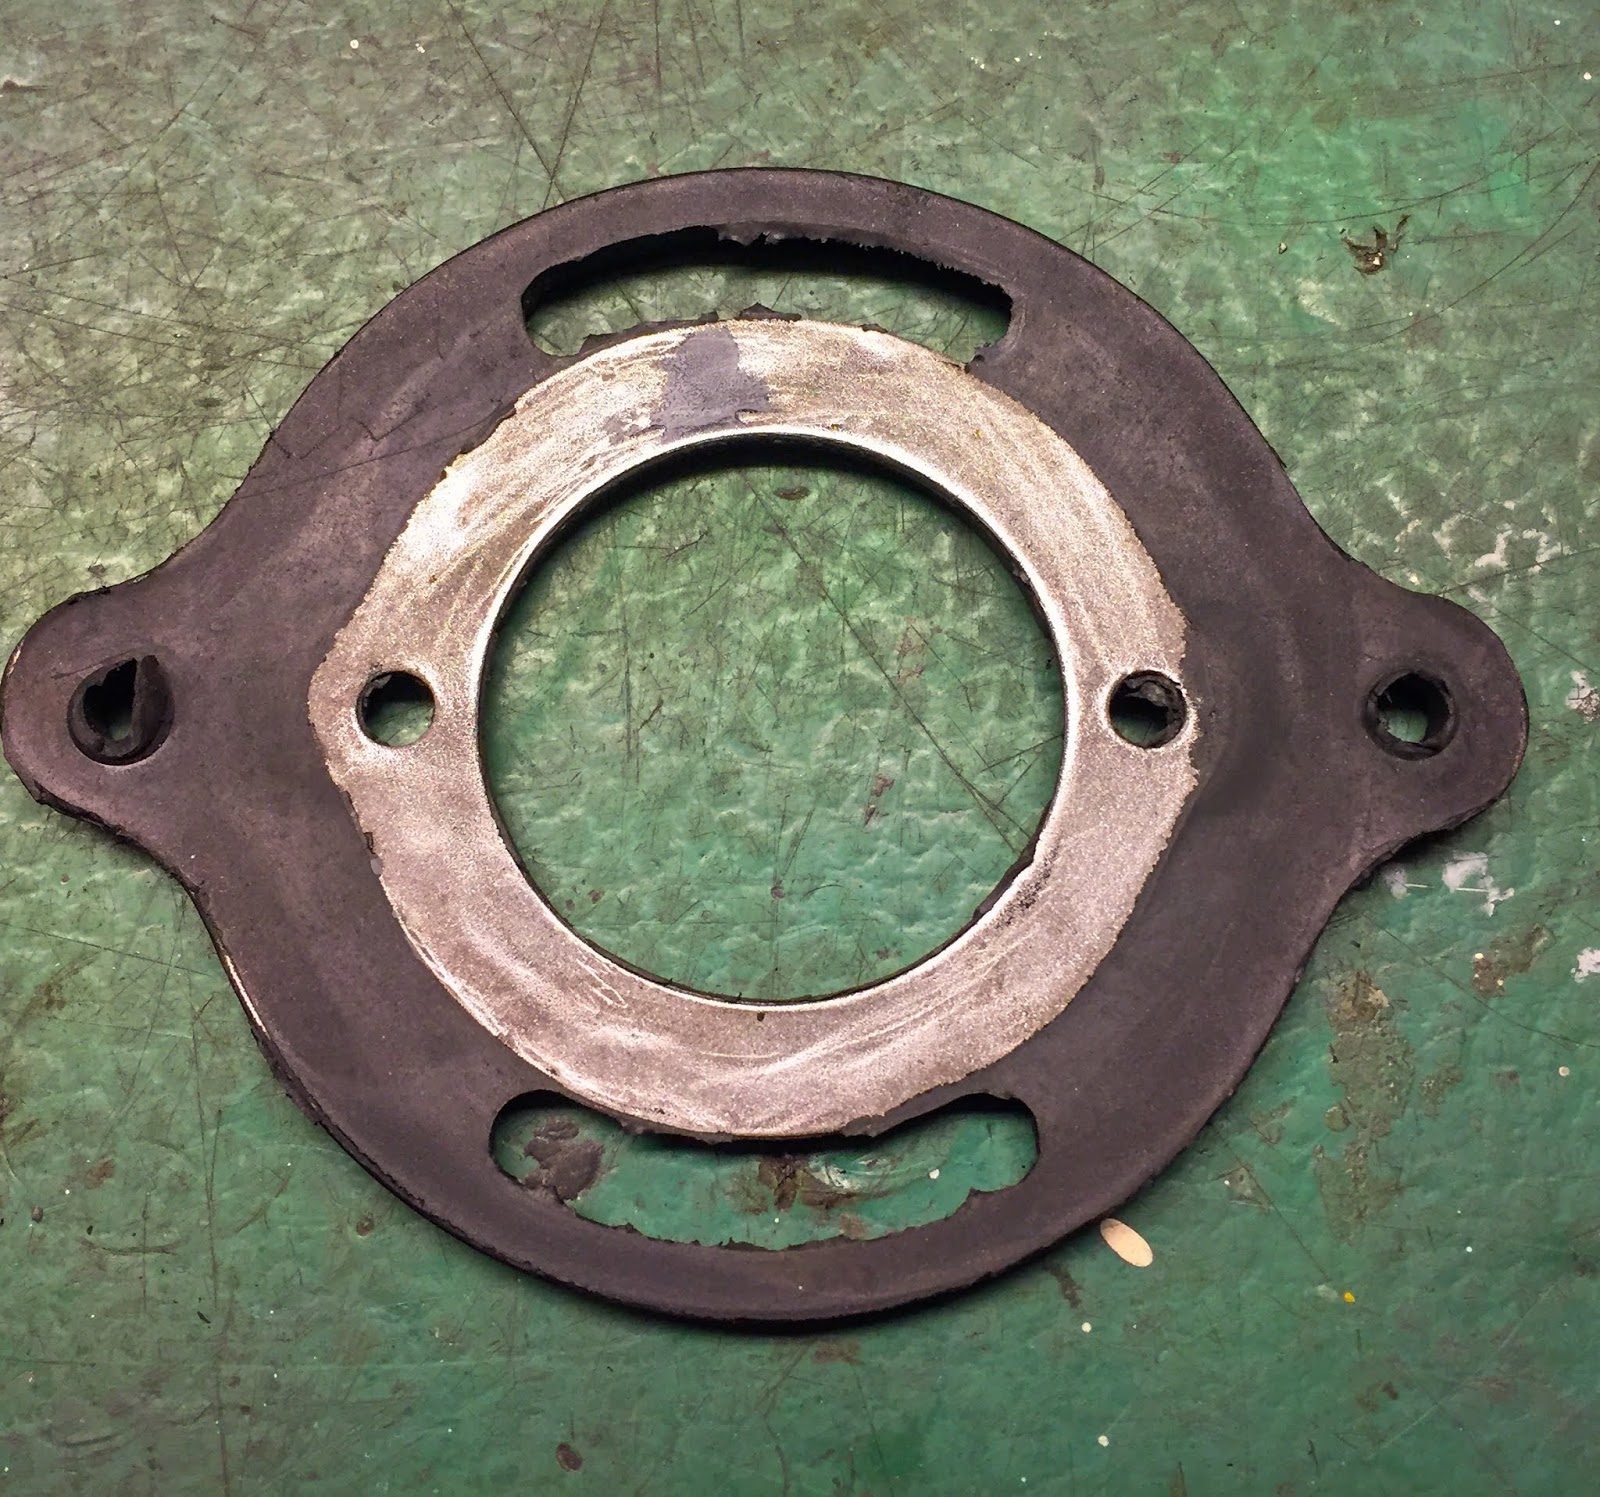
Right here´s the alternative facet. I simply want to color the final a part of the inside metal ring to get it totally prepared. It was form of troublesome to make use of masking tape on the rubber components. The tape wouldn´t adhere accurately so I’ll paint it by brush. No biggie. What’s extra essential is I actually ought to minimize a number of the rubber away on this facet. As I see it proper now, I won’t try this in any respect if I in any respect can keep away from it. Reducing rubber may be very laborious to do and get it to look good. We´ll see the way it seems with the fasteners on there afterward. Getting the tachometer off the bike to chop the rubber may be very simply completed sooner or later.

Right here I’ve connected the tacho to the bracket. Odd M6 nuts and one lock washer. I all the time seek the advice of the components handbook when placing stuff on to the bike. As near authentic as humanly attainable!
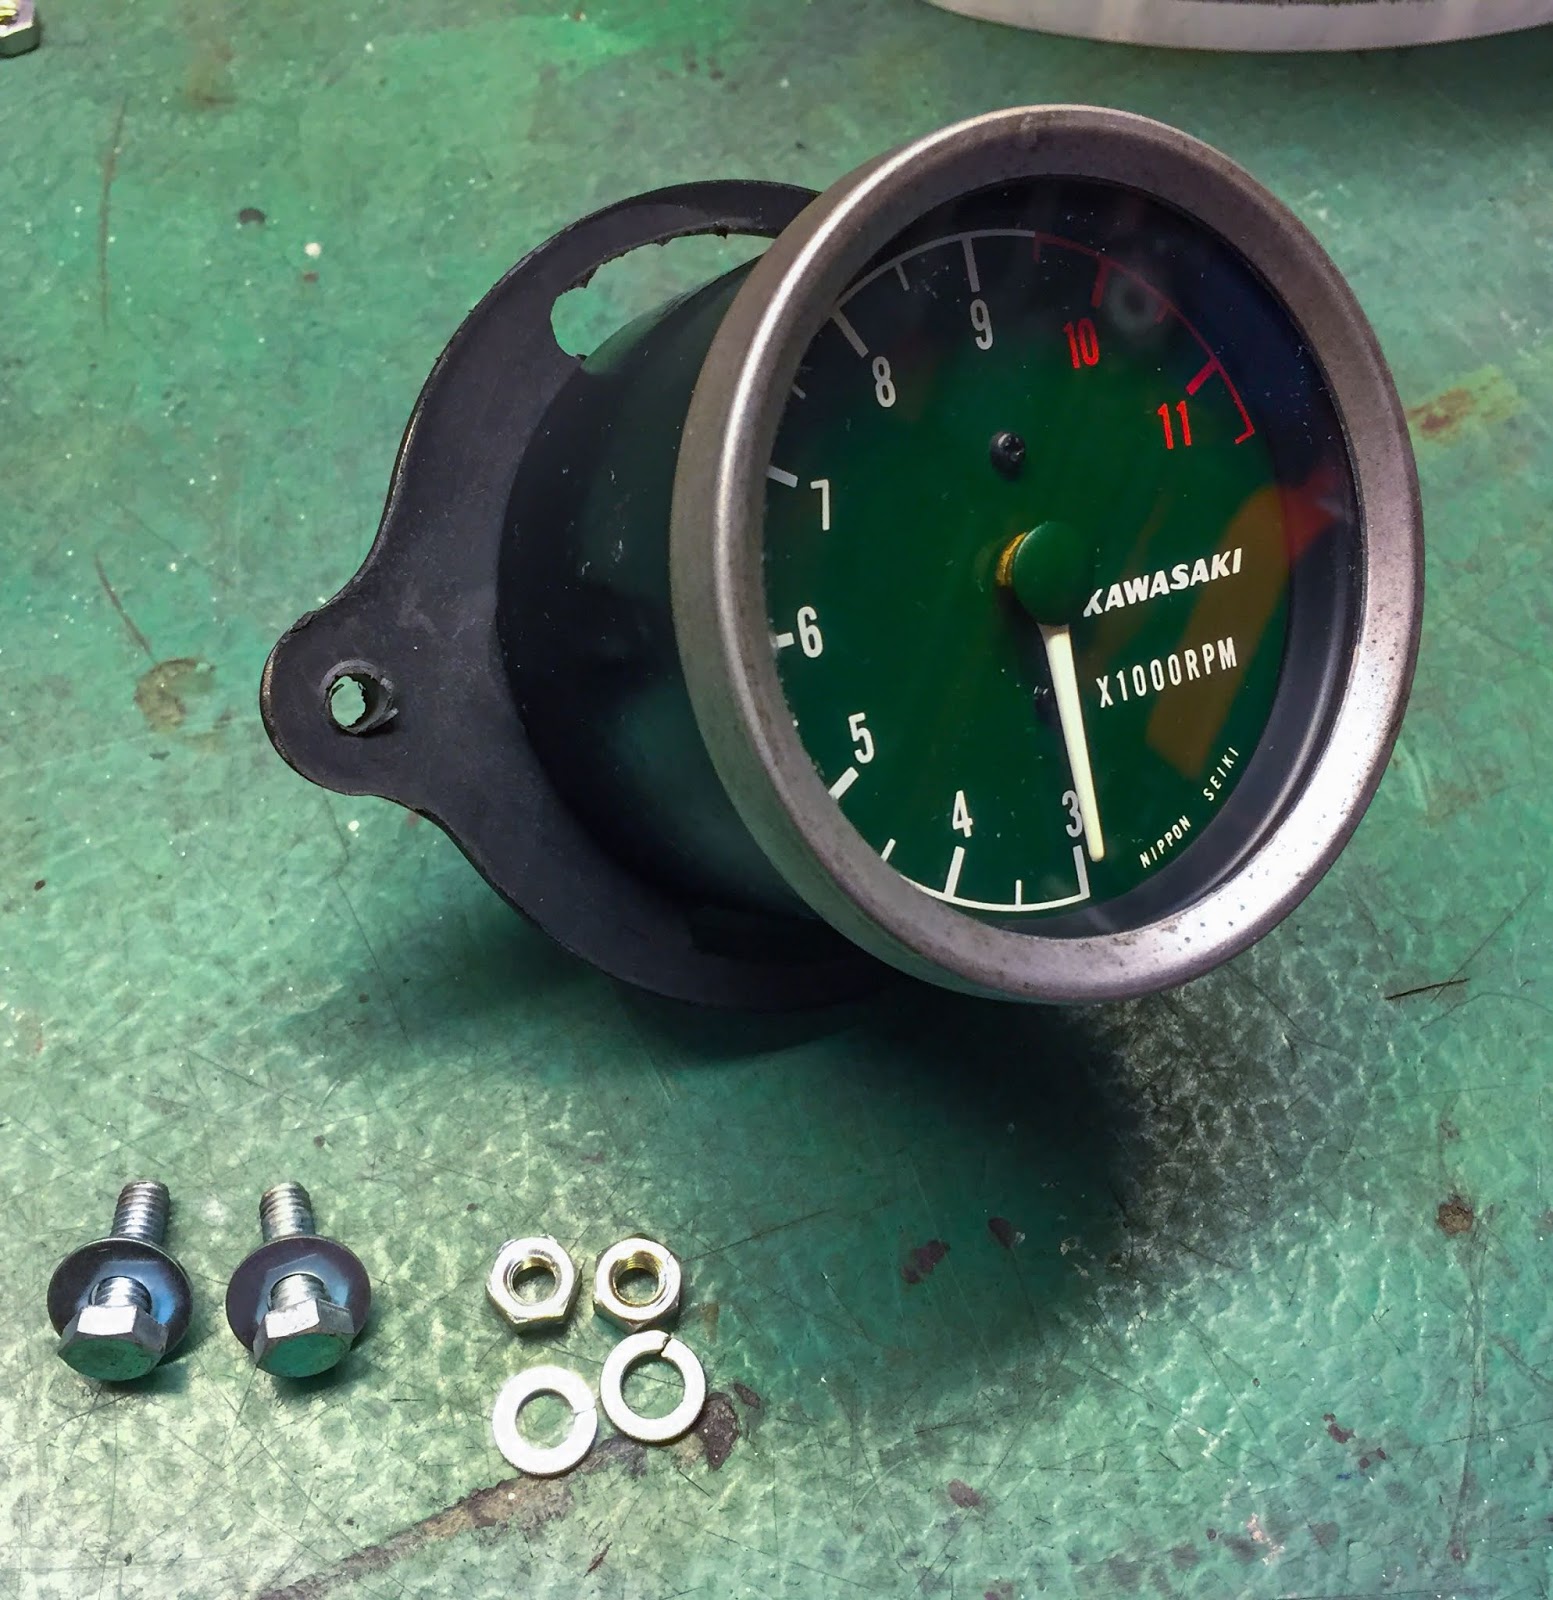
A bit extra sprucing and refurbishment of the black paint on the housing and a brief search for the proper fasteners for it, and the tacho is able to be mounted.

This facet goes in the direction of the bracket on the “spear” up entrance. Metallic to steel, no issues right here. The outer and inside rings of the brackets are separated by the vulcanized rubber, thus creating the rubber “hinge” for this delicate instrument.
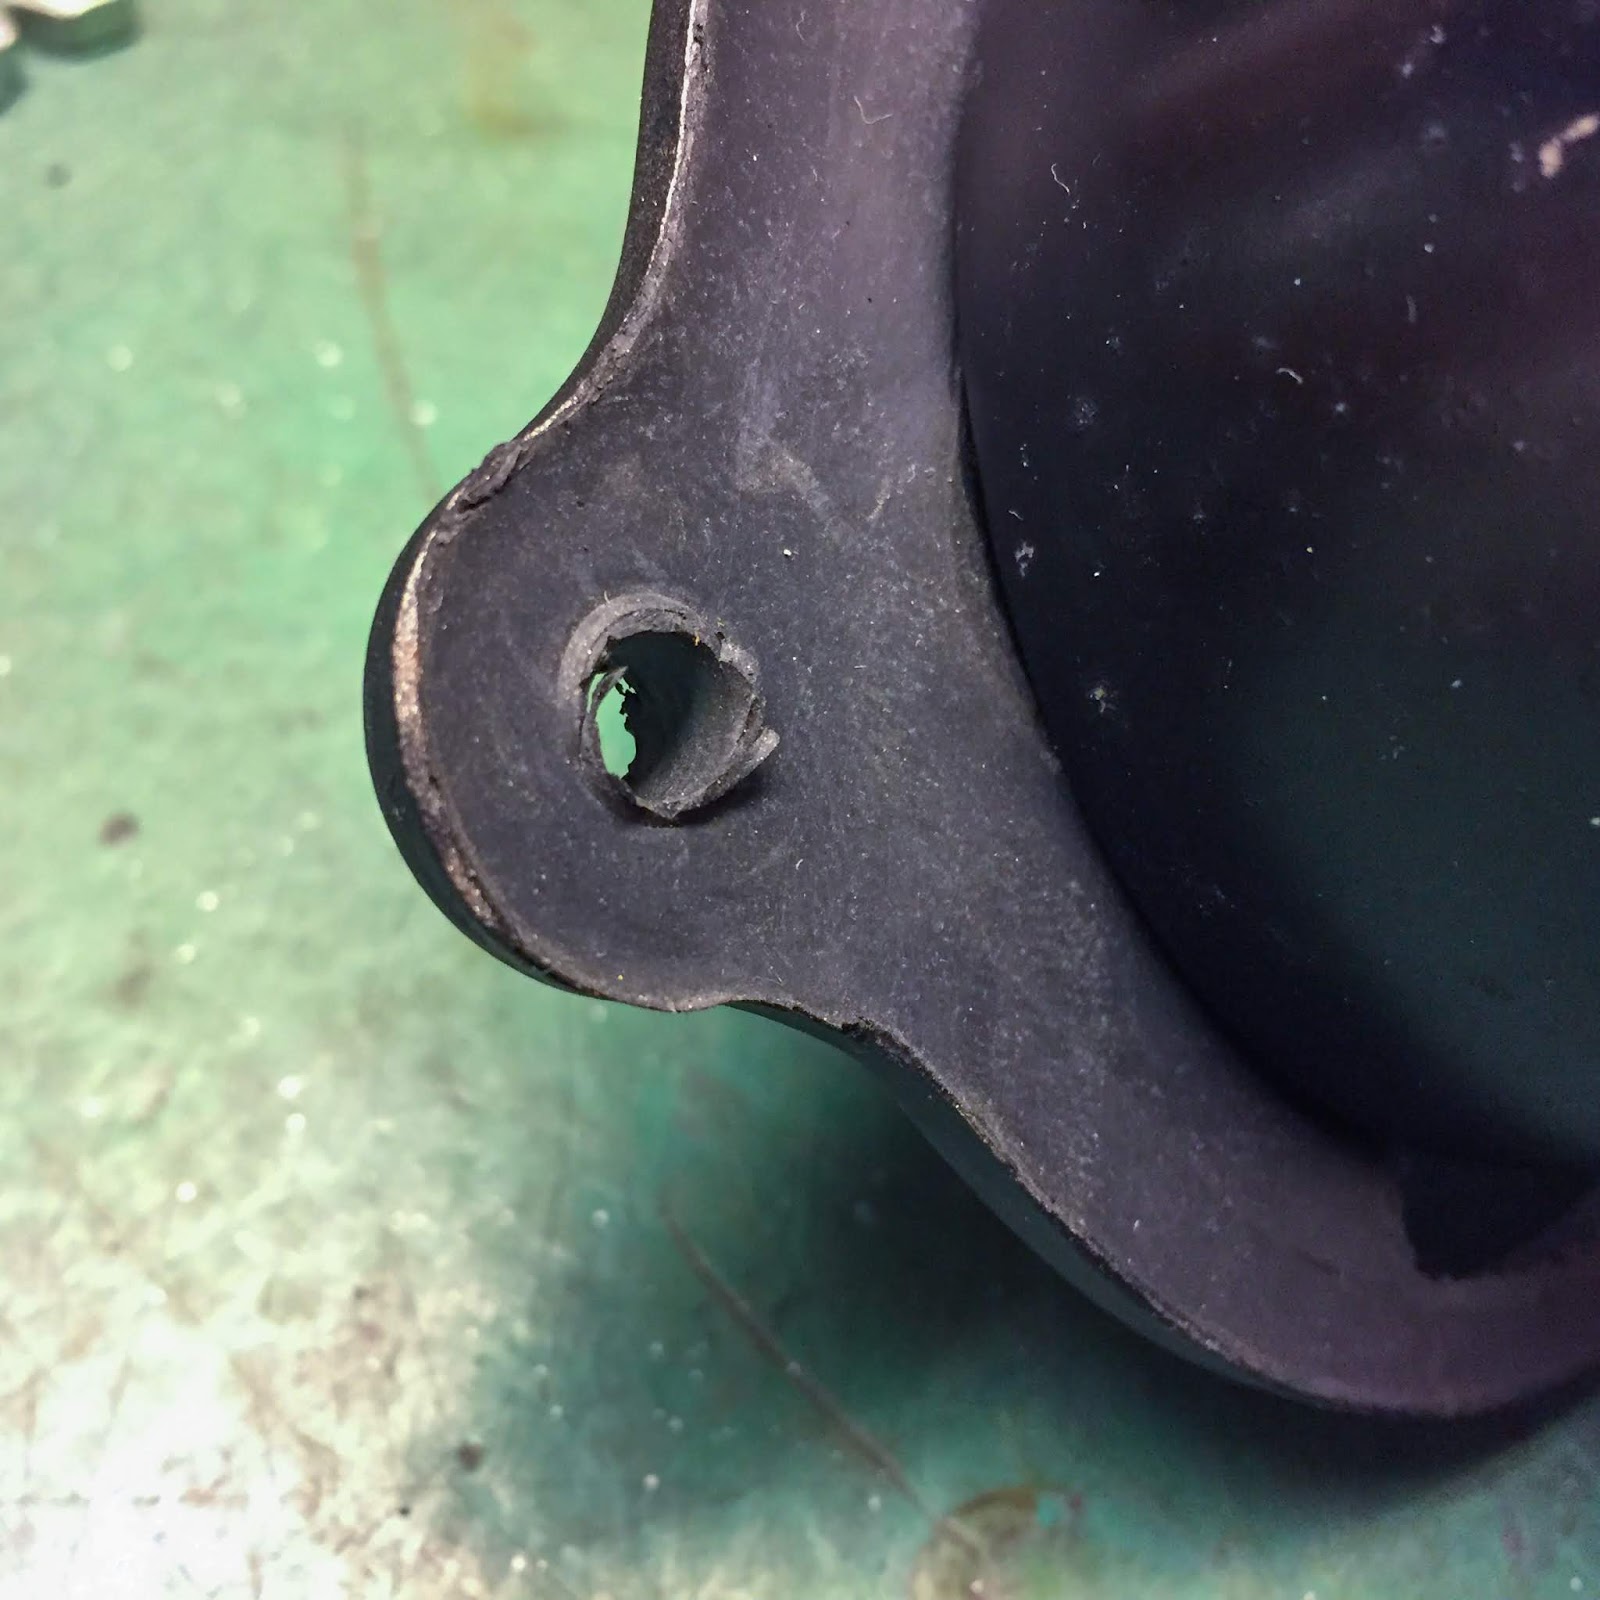
That is the place I ought to do the reducing. The screw ought to go all the best way in to the steel right here and no rubber ought to be between the washer and the bracket. let´s see the way it seems and works out with out reducing…
Yeah, that´ll work for me! The rubber is sturdy sufficient to remain in place and if I ever really feel the necessity to right this “impurity” it’s simply completed. Let´s transfer on and get the tacho cable prepared and cleaned.
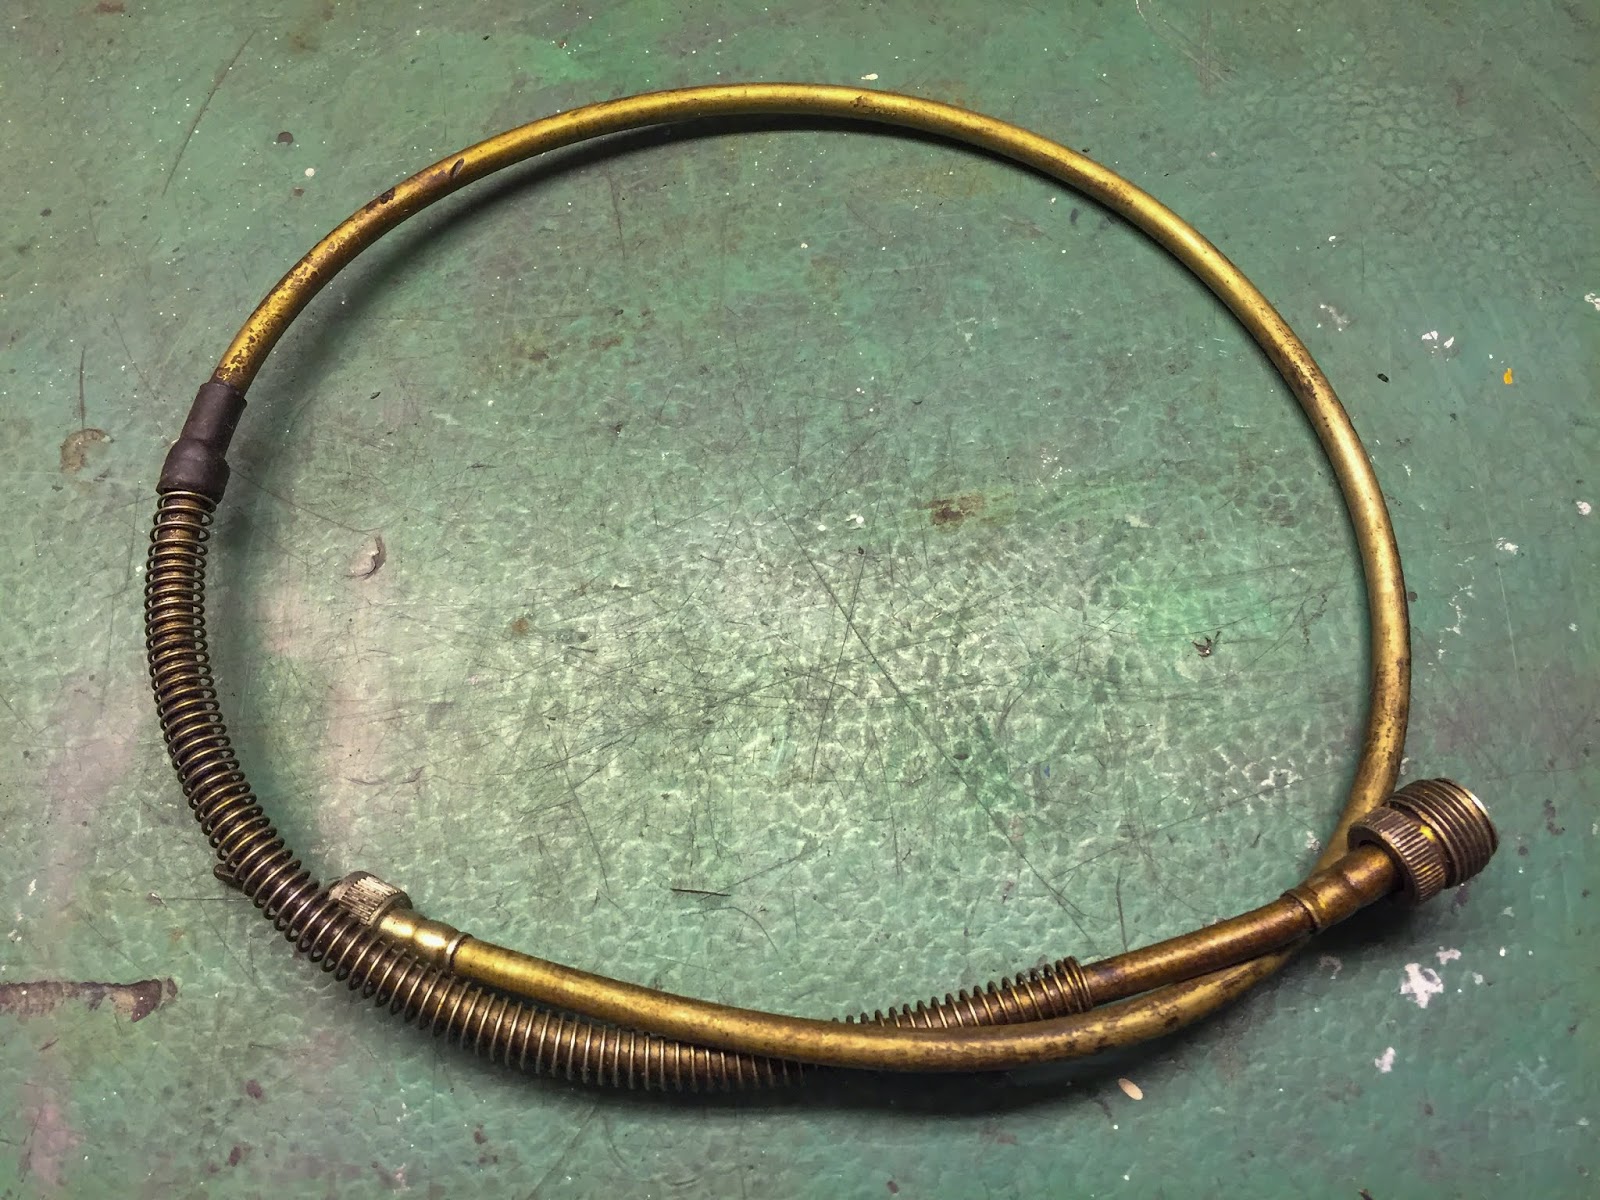
I by no means gave this half a lot thought since I put it away after the disassembly of the bike a very long time in the past. It seems OK, simply wants the, now acquainted, remedy with penetrating oil, gear oil, POL sprucing and Armour All ending. Straightforward peasy!
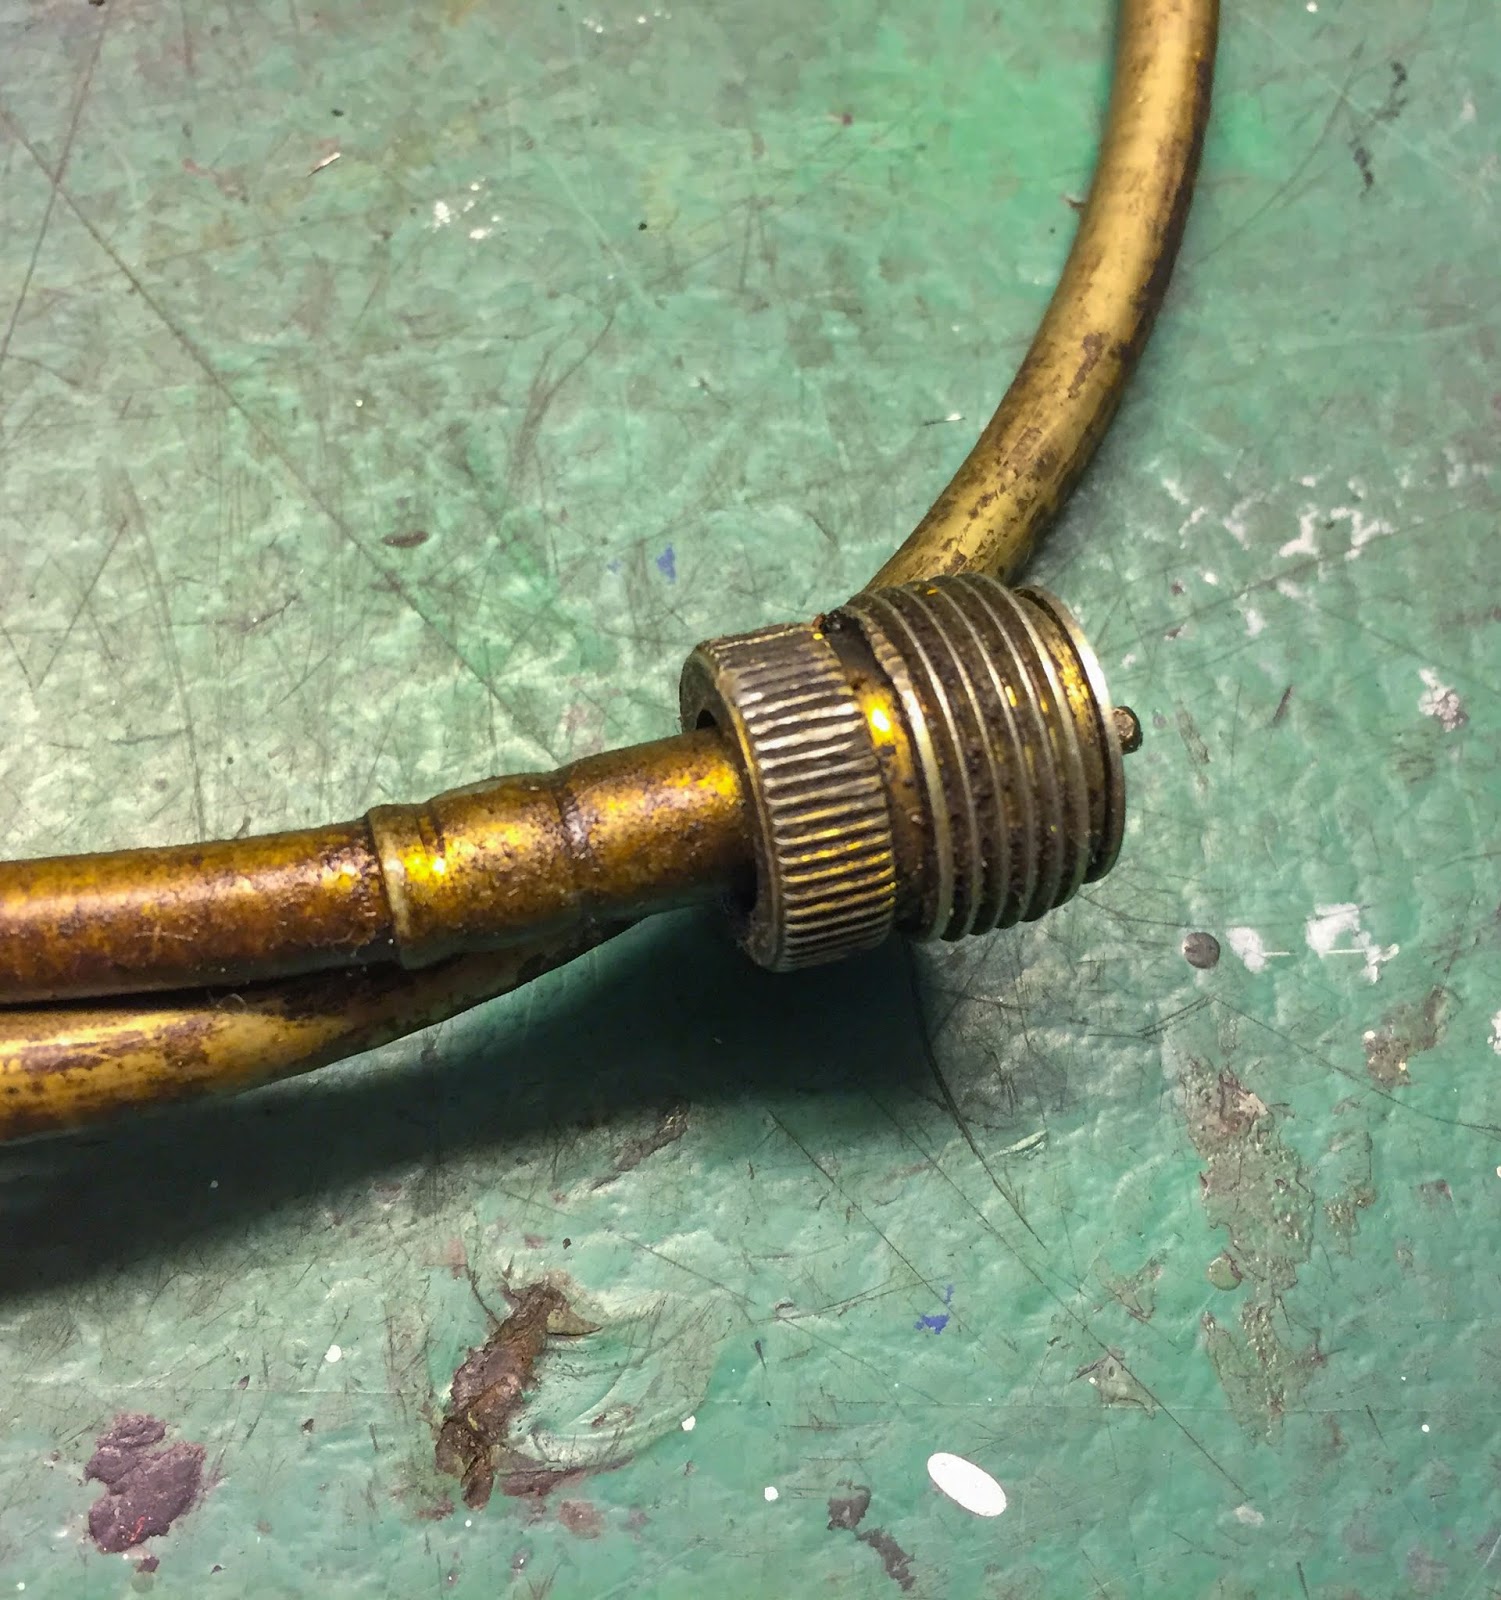
Reasonably good to see an element that survived the keep within the barn higher than most different stuff did. This shall be completely OK after I´m completed with it. On the left right here is the a part of the cable that goes in to the clutch cowl and drives the tacho.
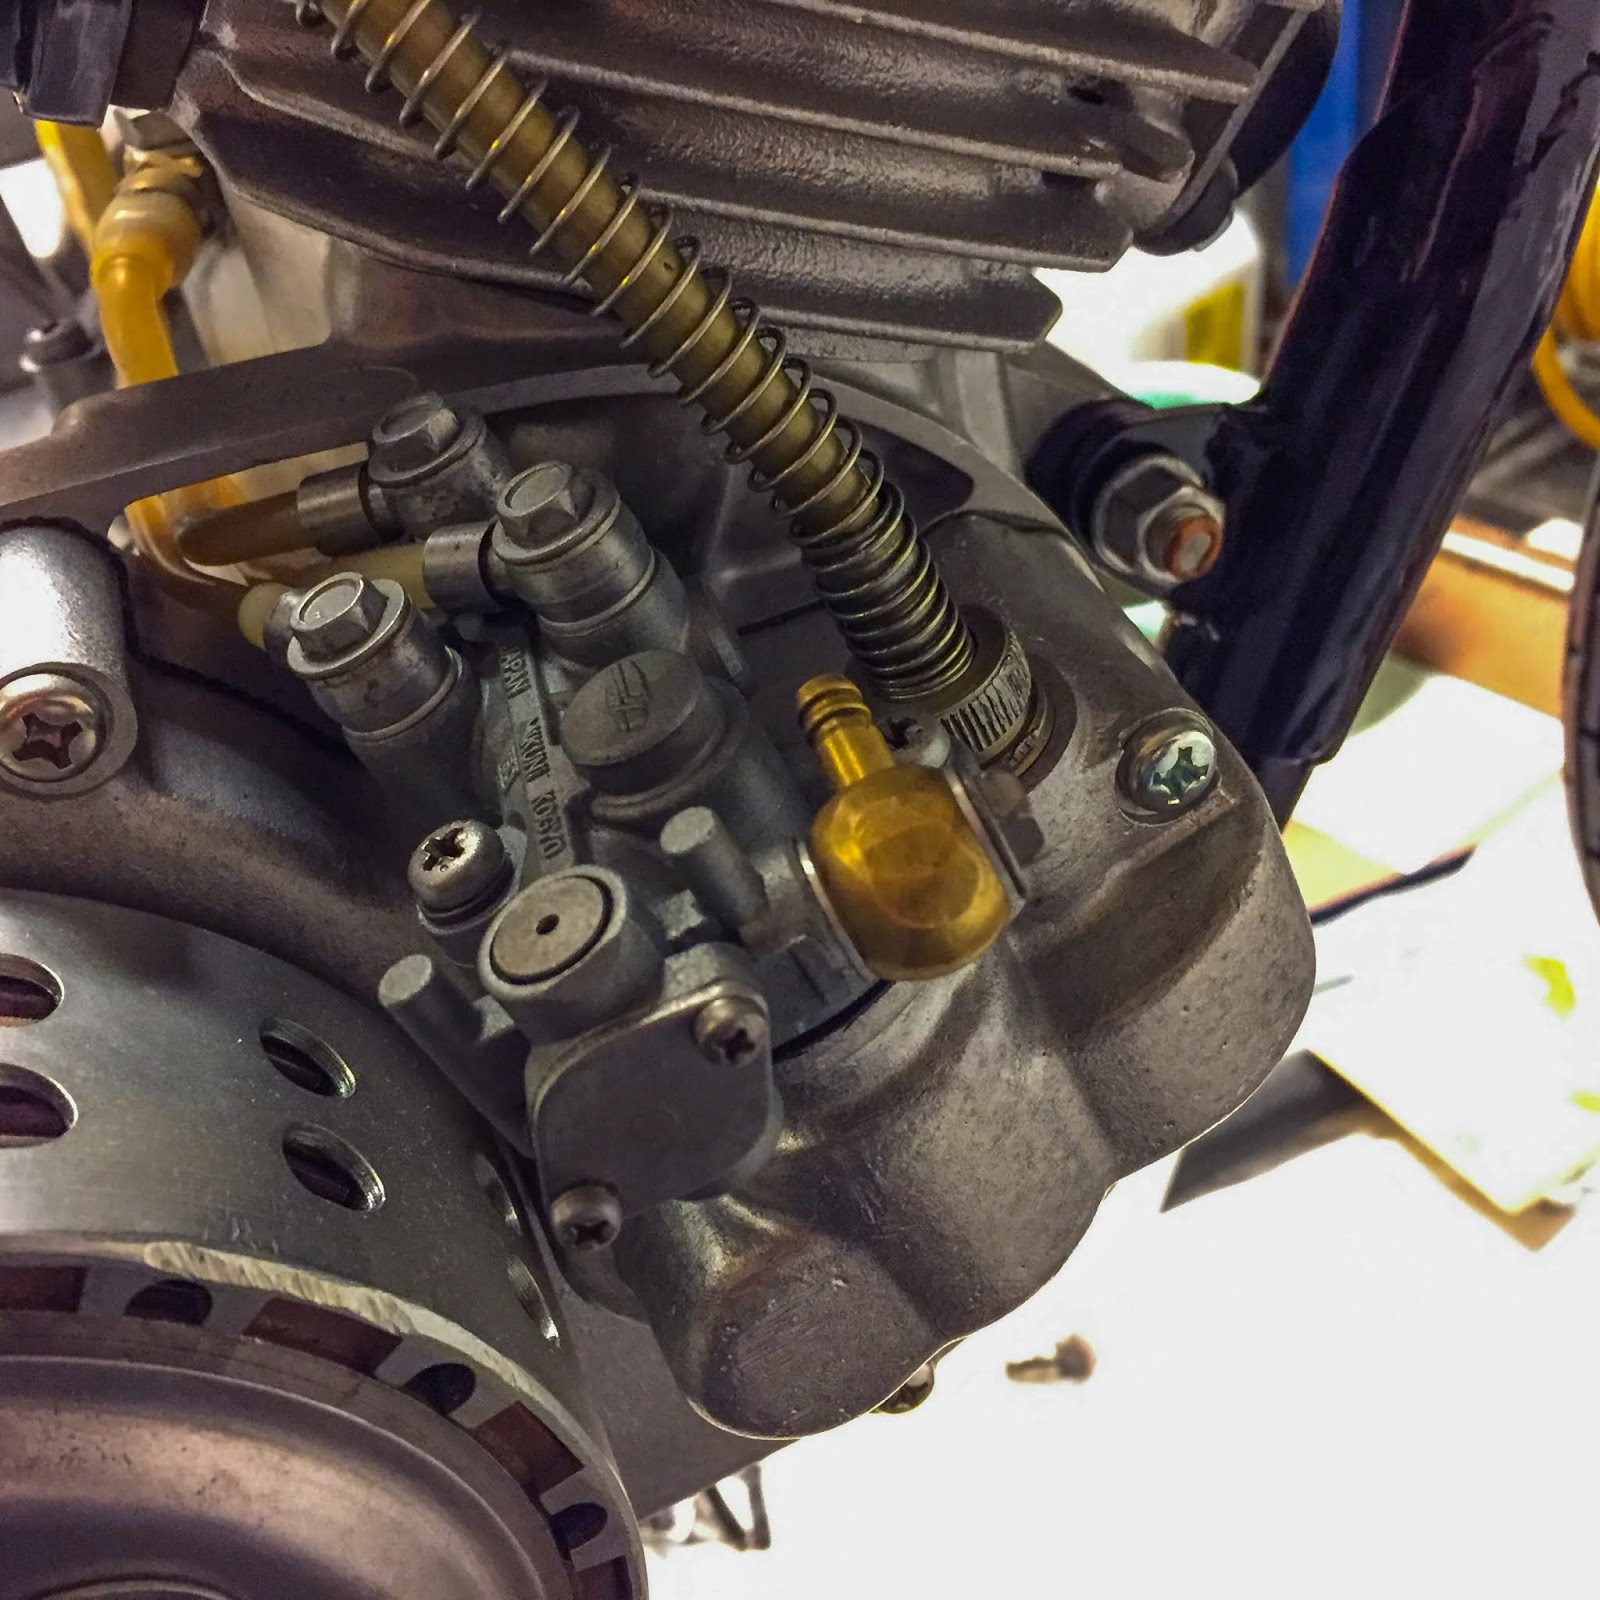
And right here it’s on the engine. Good and cleaned, lubricated for extended life on the very racer it most likely was connected to from the very starting. This isn’t an element that wears as a lot as some others do. Word additionally how the oil pump has no throttle cable various the pump output because of throttle place. No want on the racers since there´s additionally 4% two stroke oil premixed within the gasoline tank. The pump outlet quantity is just relying on RPM:s. Fairly neat, really.

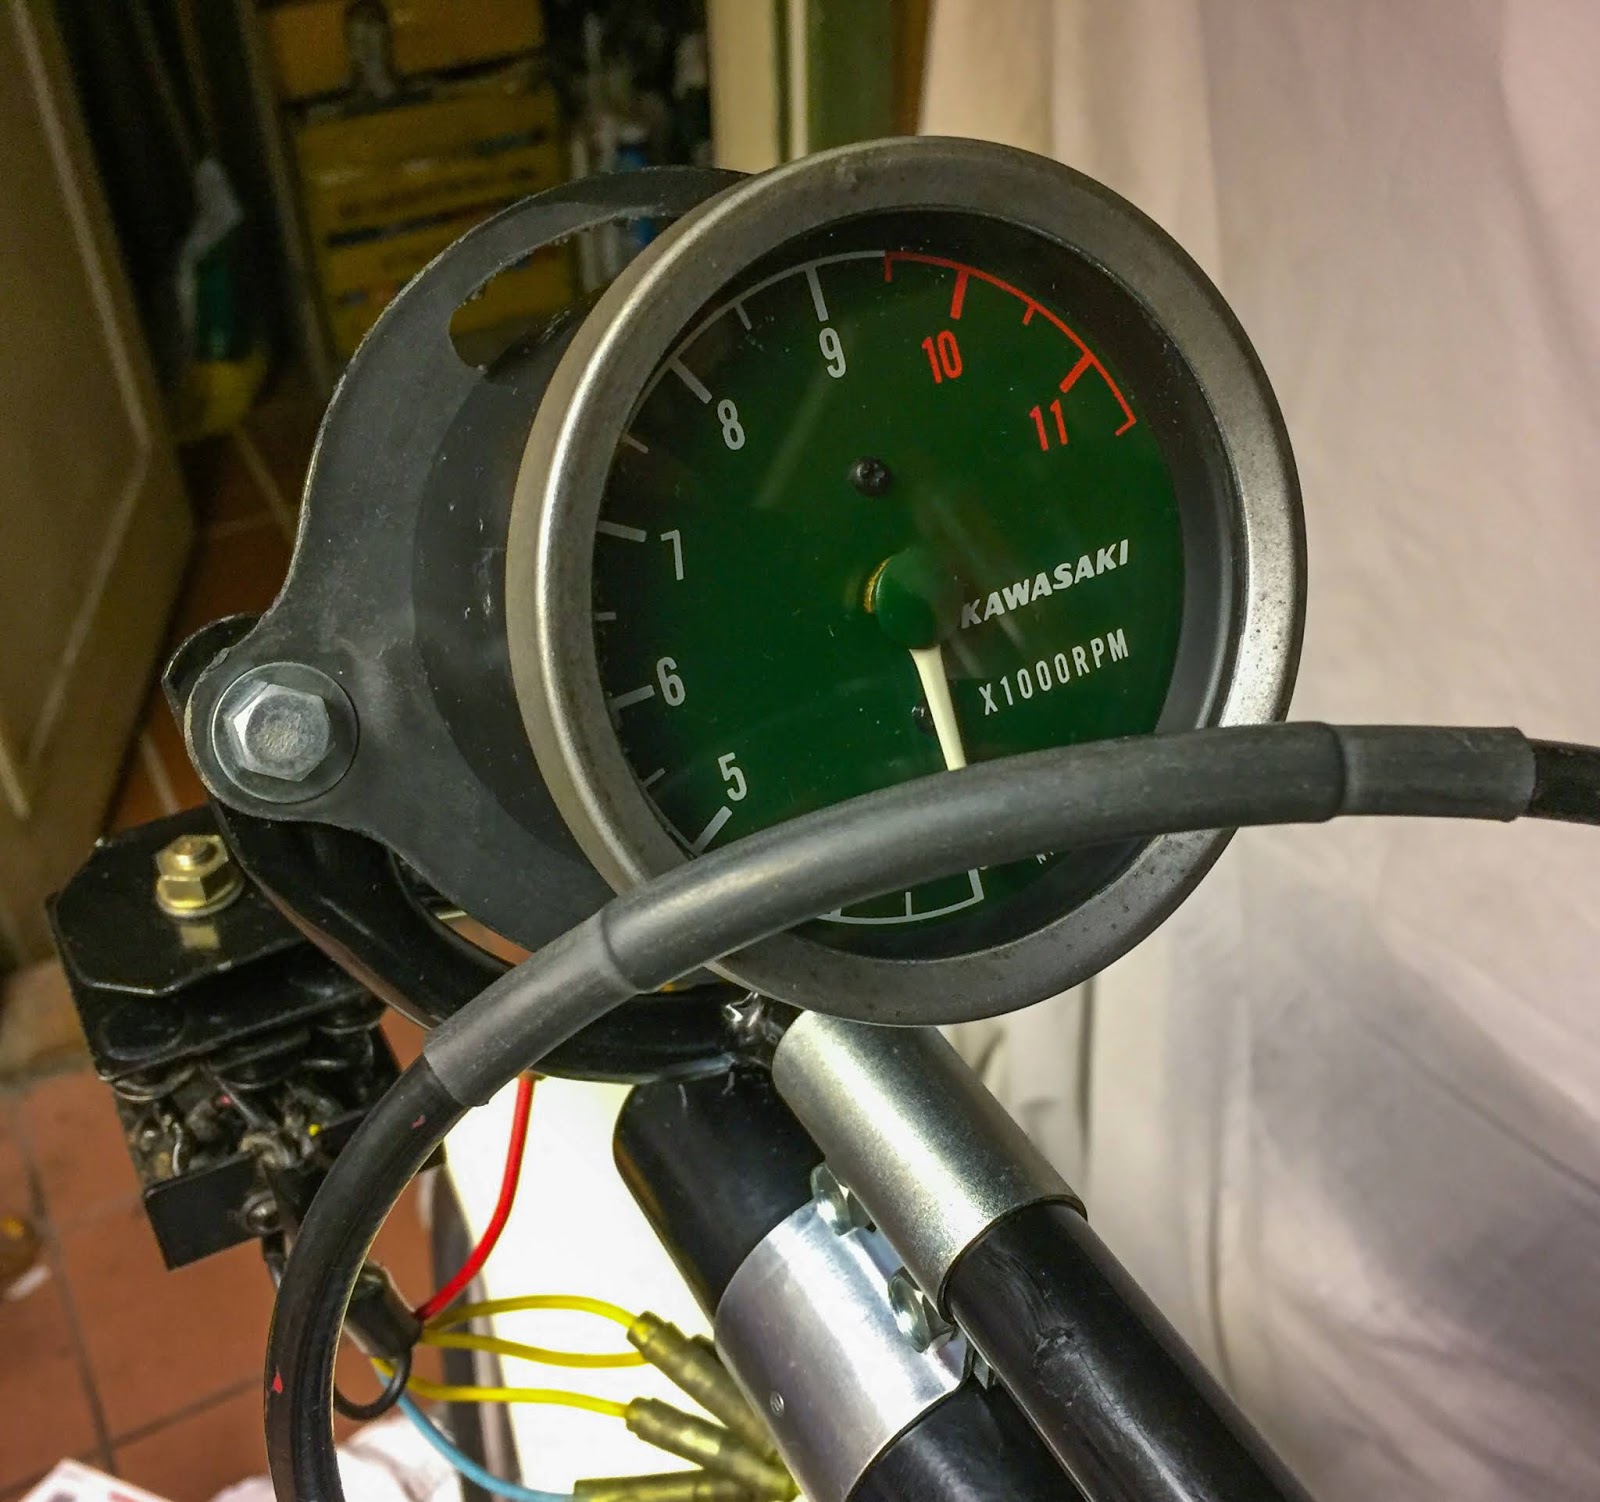
Final image for this put up. The tachometer up the place it belongs. On the bike, in entrance of the potential driver doing what it’s alleged to do. Conserving him/her from over revving the engine!
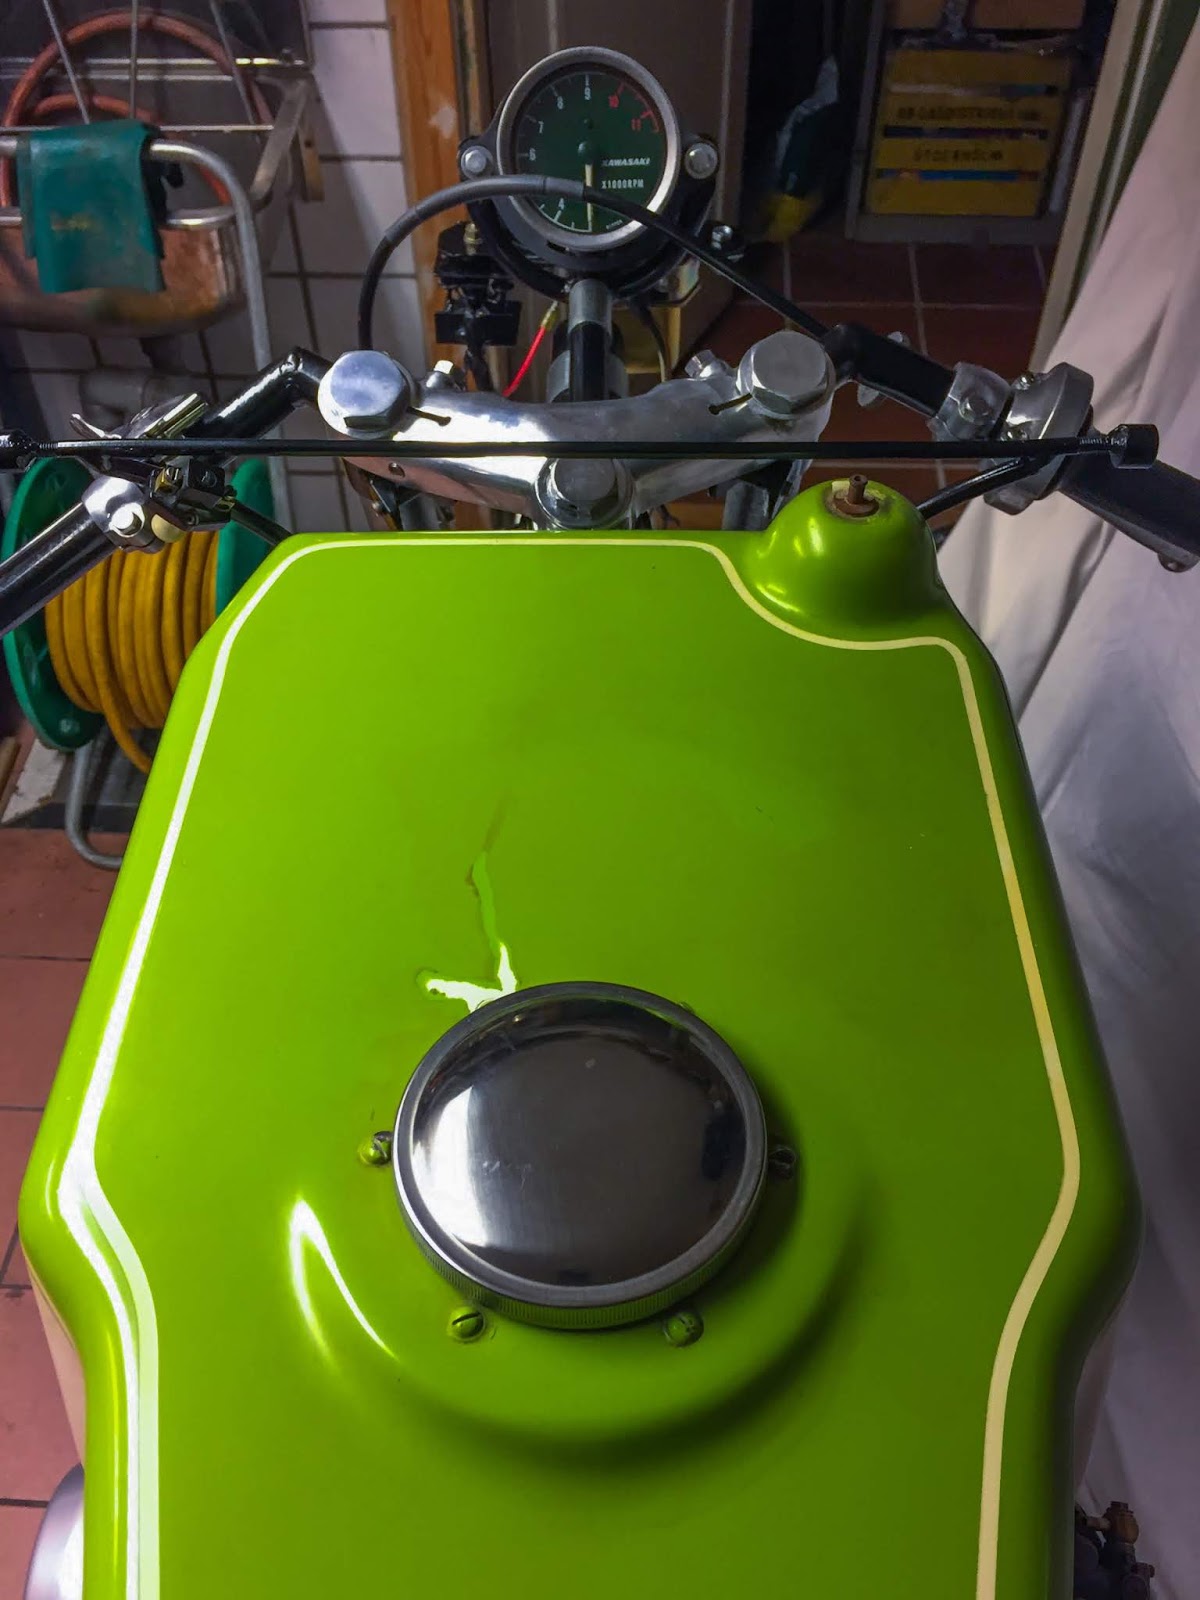
Ah, what the hell… Yet one more! I took this one throughout take a look at mounting simply to get an thought of how it might look. Superb, I feel!
This bike is definitely coming collectively fairly quick and properly proper now. Not so very a lot left to do.
Getting the carbs and cables on, adjusting them and the ignition system, performing some electrical wiring to and from the battery, ignition change and earth. The gasoline tank must be addressed as nicely. Will it maintain gasoline? will I’ve to get a duplicate for the beginning up of the bike and the driving of it?
Anybody know a great tank builder round right here or someplace else? Aluminium, fiberglass, plastic, I don´t give a d-mn so long as it suits the bike, has three gasoline retailers, a gasoline tank cap, a vent hose and appears OK… I´m shopping for!
And the fairing, in fact. That may be a main factor to work out. it’s alleged to be match tight and cushty and I keep in mind how unhealthy it match on the bike after I put it collectively for footage on my driveway virtually 3 years in the past. The exhaust system additionally want numerous work…
Yeah, you see… plenty of enjoyable left!
The following put up shall be carbs, carbs and extra carbs….
Keep tuned!
/Per
[ad_2]