
[ad_1]
A wedding on New 12 months´s eve.
Anyway, I used to be additionally in a position to proceed my “marriage” preps for the H1R throughout my spouse´s tour in to town to do some final Christmas sale purchasing. Good.
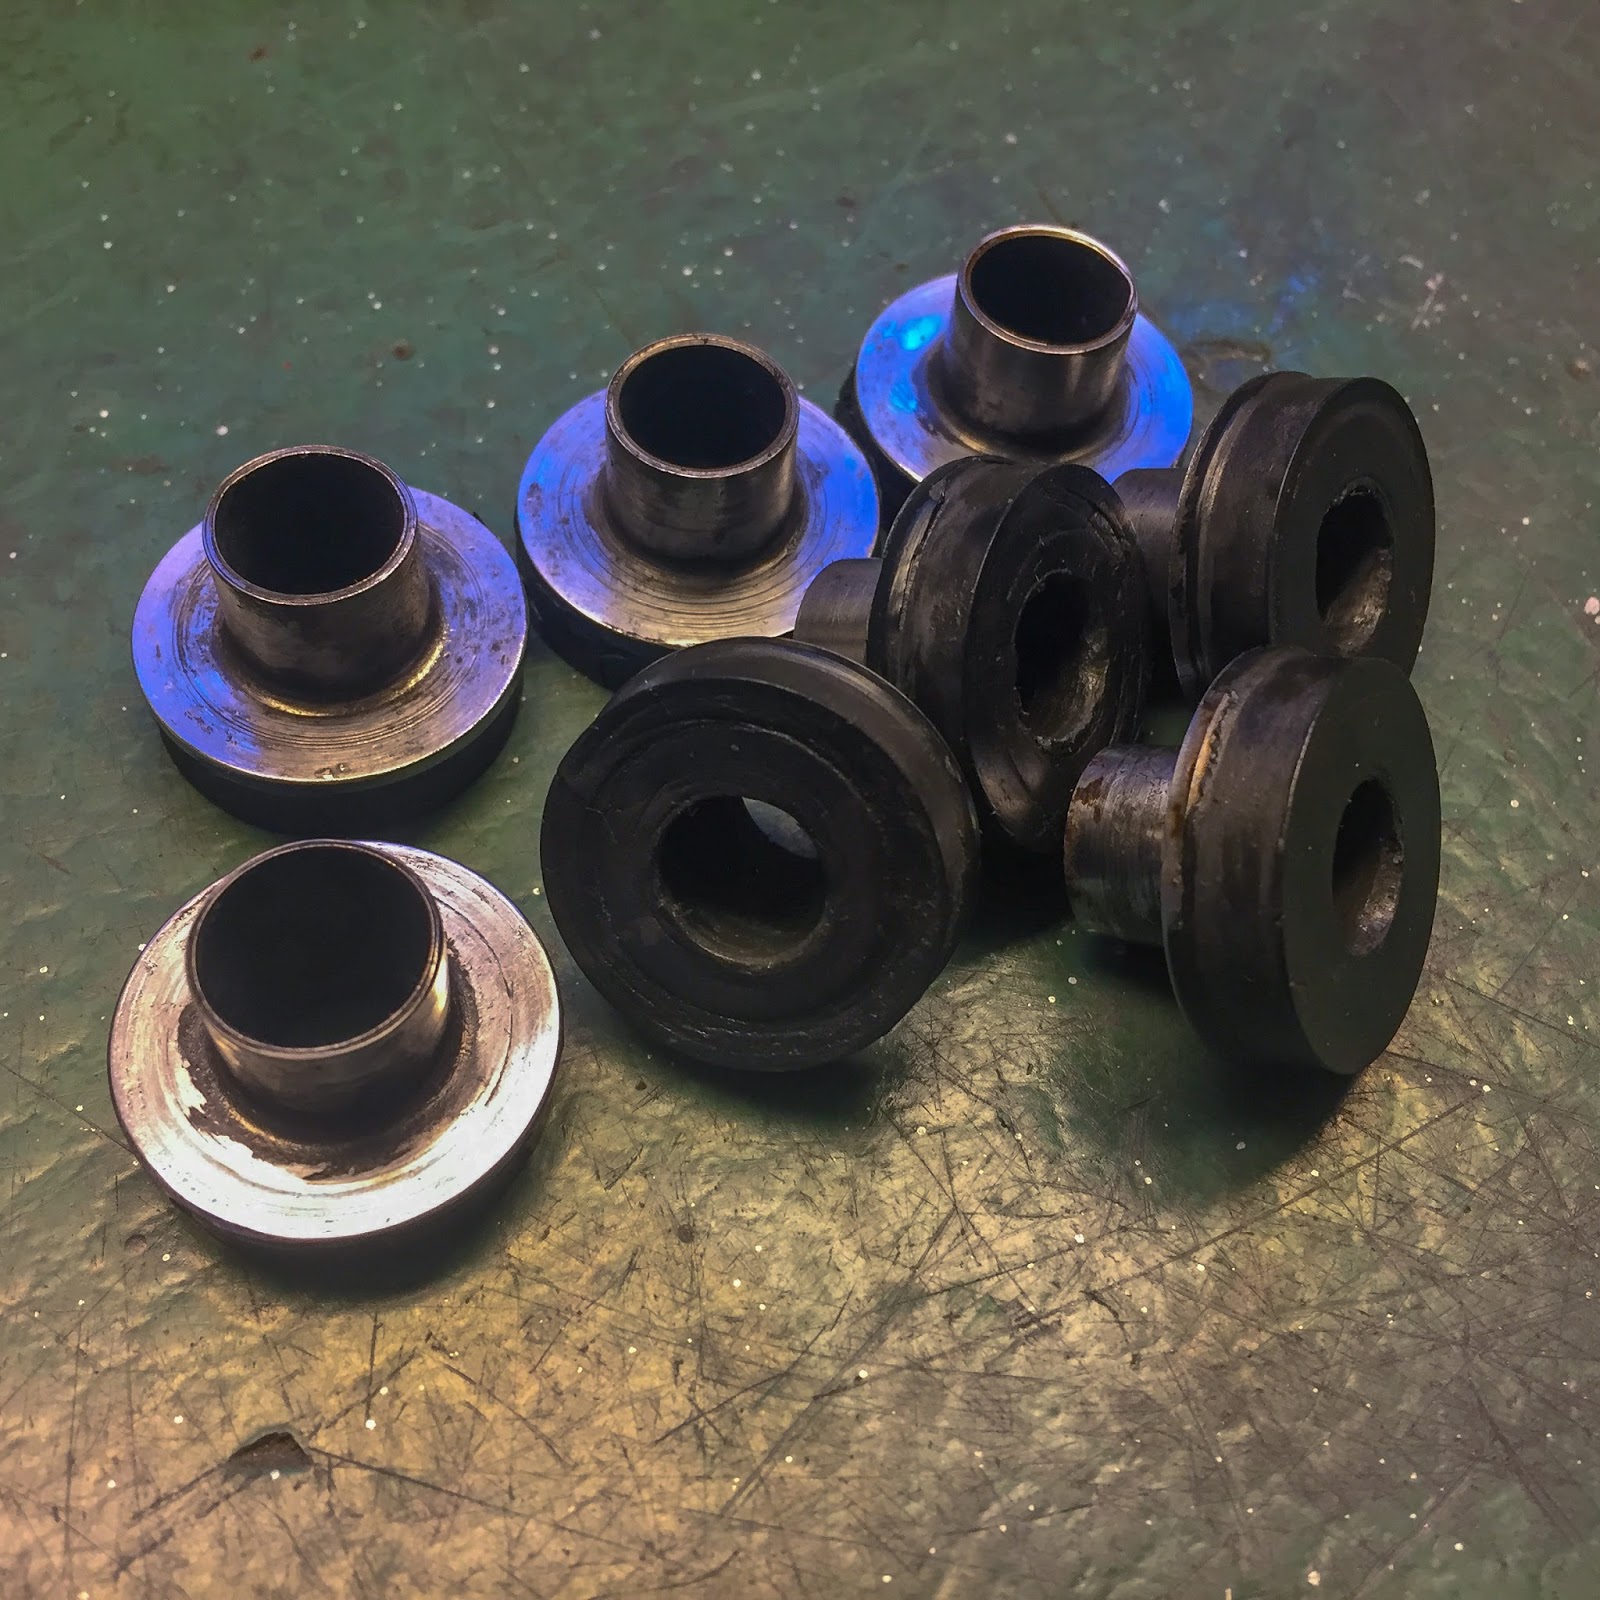
These little infants additionally needed to come out of storage to be mounted earlier than the engine goes again within the body. They’re some type of “rubber dampeners” that shall cut back the quantity of vibrations coming from the motor. I´m not fairly certain about their precise perform, but when the Kawasaki engineers felt they’d do the job, I´m placing them again. I do know Janne has a few these further however I´ll stick to what I’ve, for now. I’ll, nonetheless, put the 2 in worst situation on the highest mount of the engine the place they’re simply modified. The underside engine mounts are a lot tougher to achieve as soon as the engine is in place.
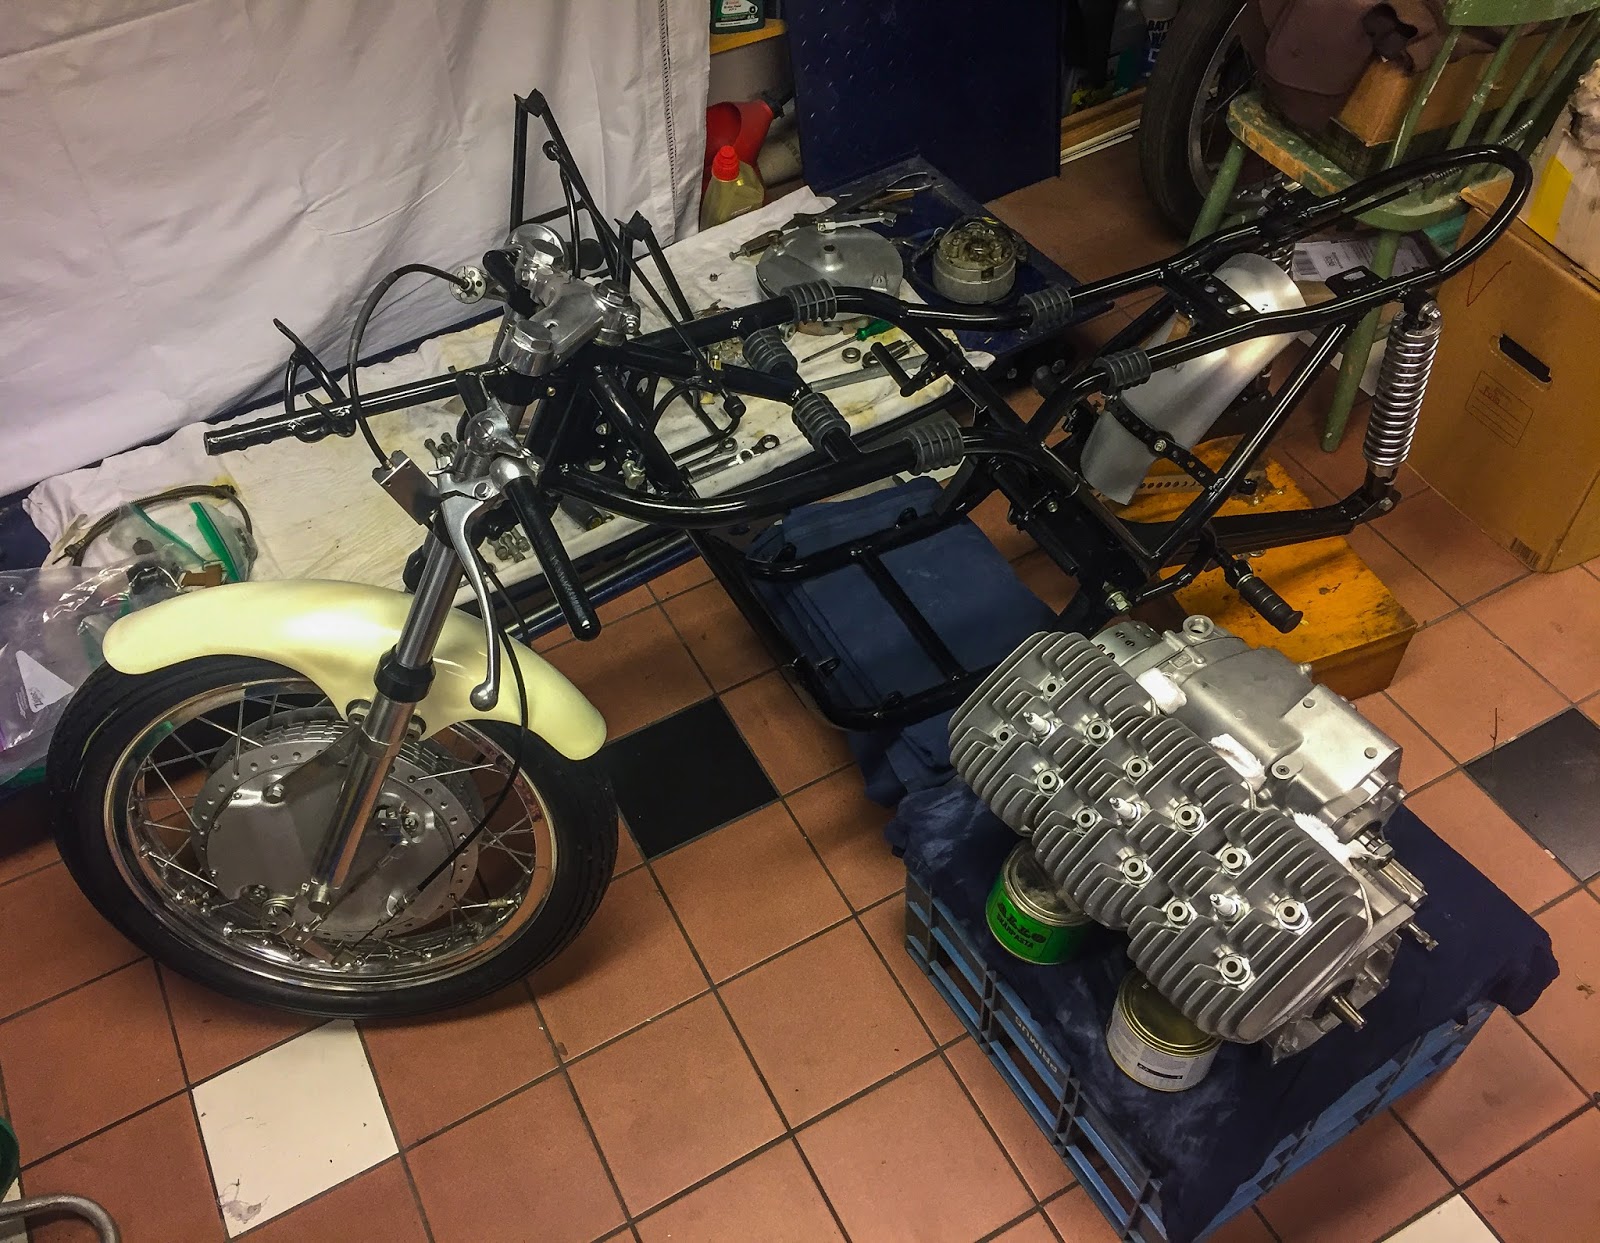
The precise lifting of the motor wanted cautious planning. My rear wheel is out of the body for rear sprocket fabrication in Tumba at ISR. That makes the body lighter to deal with so I figured this was a great time to strive lifting the engine in place.
I put my sturdy toolbox underneath the body with a layer of cloth on prime. The engine rests on a plastic field simply beside the body. My plan was to rigorously nudge the engine contained in the body on to a plank after which someway decrease it into the engine mounts and have somebody assist me getting the engine mounting bolts in place whereas I held the engine and adjusted it to line up the mounts and the bolts.
That plan fell brief instantly! The rubber mounts wouldn’t keep put after I lifted the motor. The answer was easy. Packing tape is actual skinny and won’t intervene with the gap between the engine mounts on the body and the engine itself. The plank needed to go as effectively. Too tick getting the motor too excessive. I additionally needed to transfer the left hand fairing bracket out of the way in which (I ought to have seen that one coming earlier….)

Solely one of many rubber match snugly within the engine. The one within the entrance a part of the engine Ebbe had repaired for me. That gap had the precise right diameter. The others had been barely enlarged.

All of the rubber grommets in place and the engine is able to be lifted in to the body! right here we go….
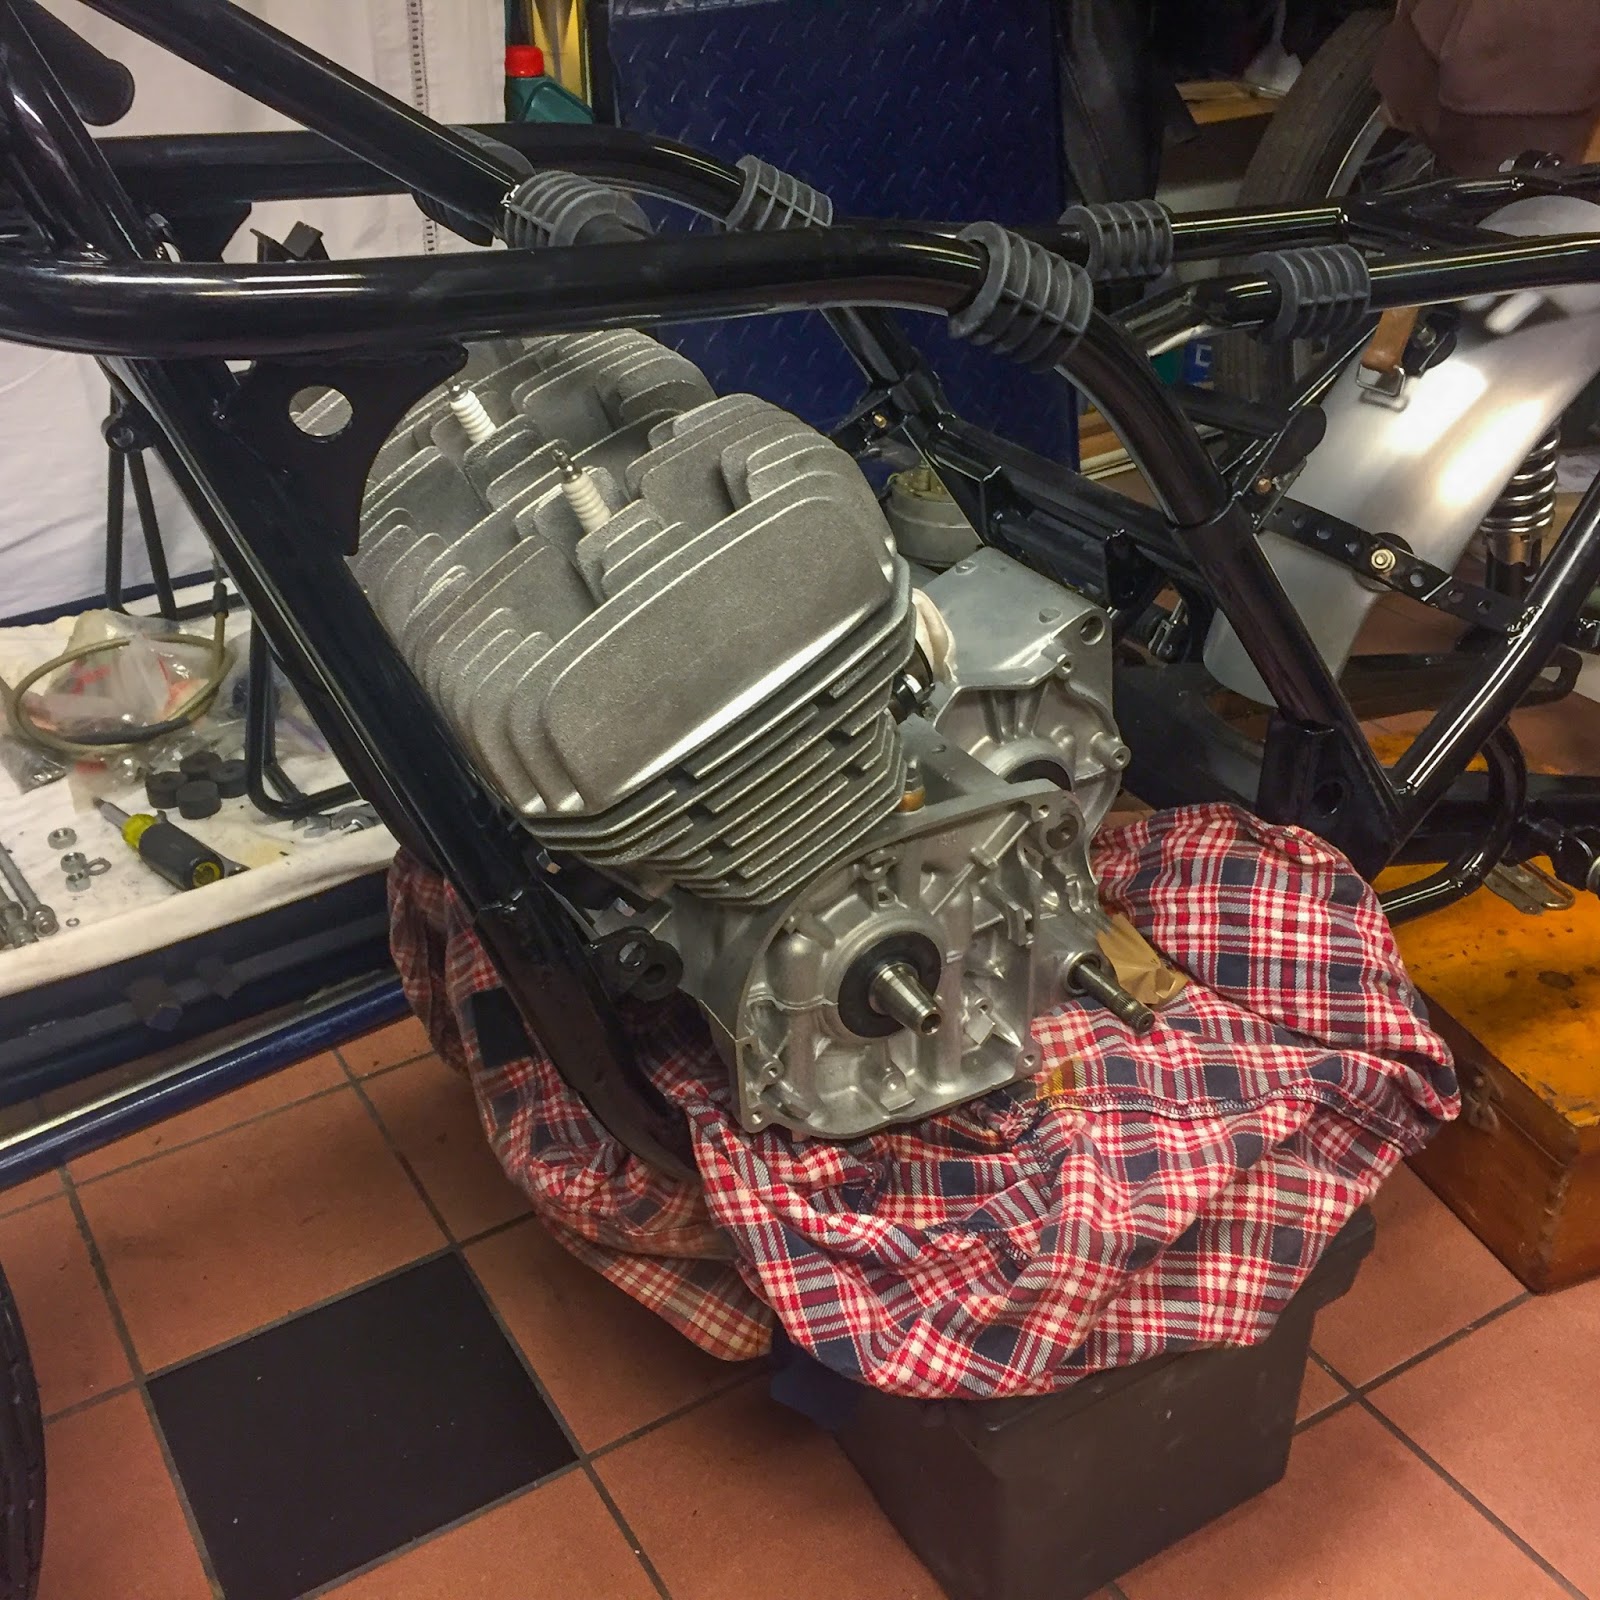
Little by little, good and straightforward and actual slowly the engine was nudged in to place. Right here I´m shut! The plank needed to go so I used an previous rag as an alternative to considerably shield the body from scratches.

It took some lifting, wiggling and fairly just a few robust phrases however after some time I had the highest entrance engine mount and body bracket lined up sufficient to make use of a screw driver to push the engine in the precise strategy to let the engine bolt enter.

Getting the bolt by way of the left facet was fairly straightforward. The precise facet a bit extra difficult, however after just a few extra drops of sweat and a few cursing I bought it in. Straight by way of the packing tape and out the opposite facet. Good begin!
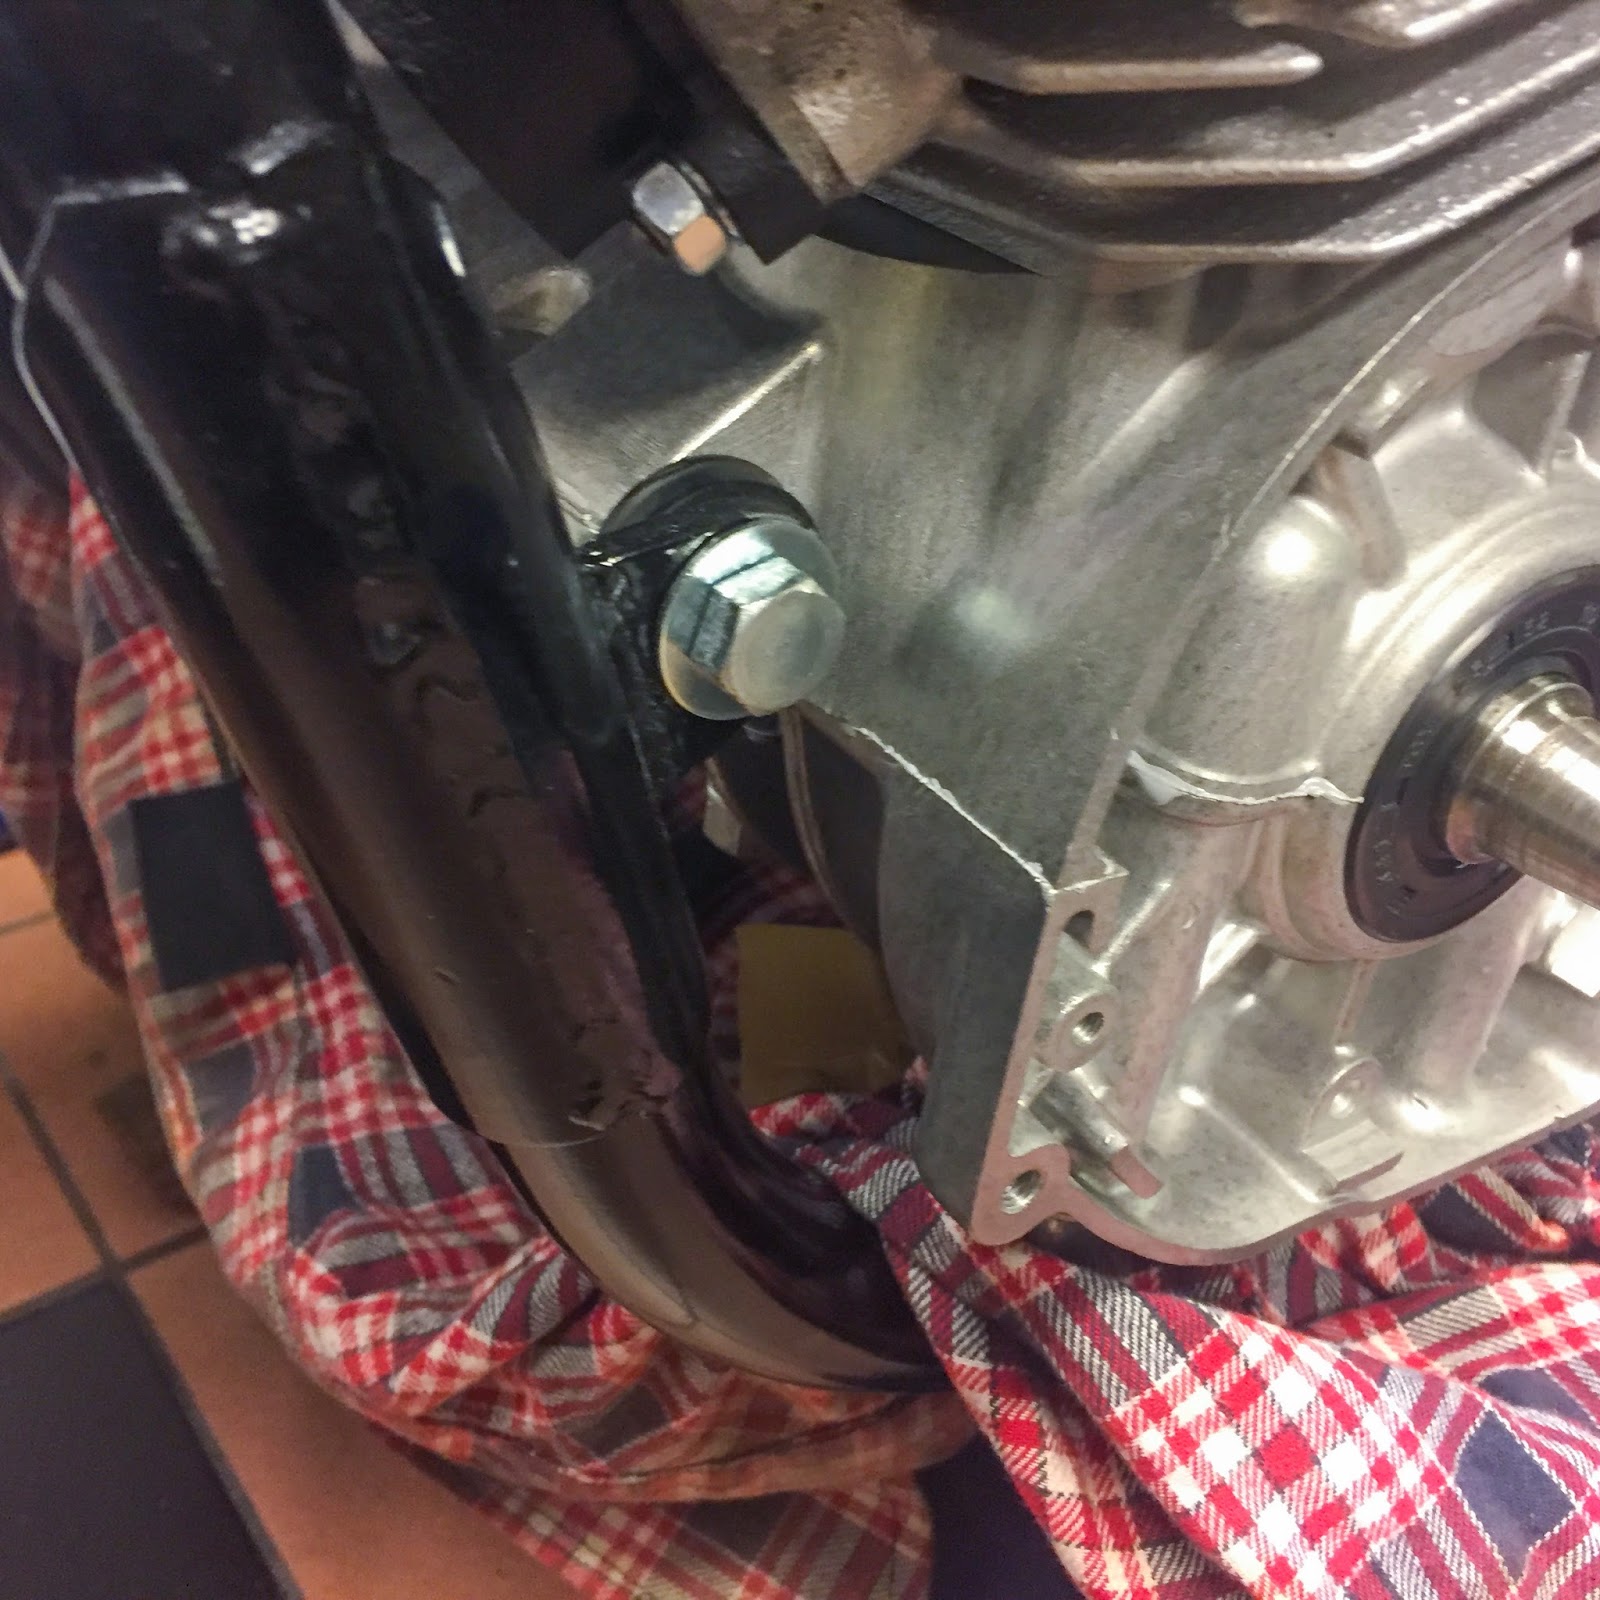
And right here you’ll be able to see the bolt on the left facet. I selected to place a washer right here despite the fact that it´s not wanted in accordance the components guide. My bolts are a tad lengthy and I additionally truthfully suppose a washer is required right here. In a while I’ll in all probability need to take away the bolts one-by-one to have them drilled for safety-wiring anyway, so this answer isn´t 100% determined but. I used to be fairly eager on getting the engine again within the body at this time so I skipped that for later!
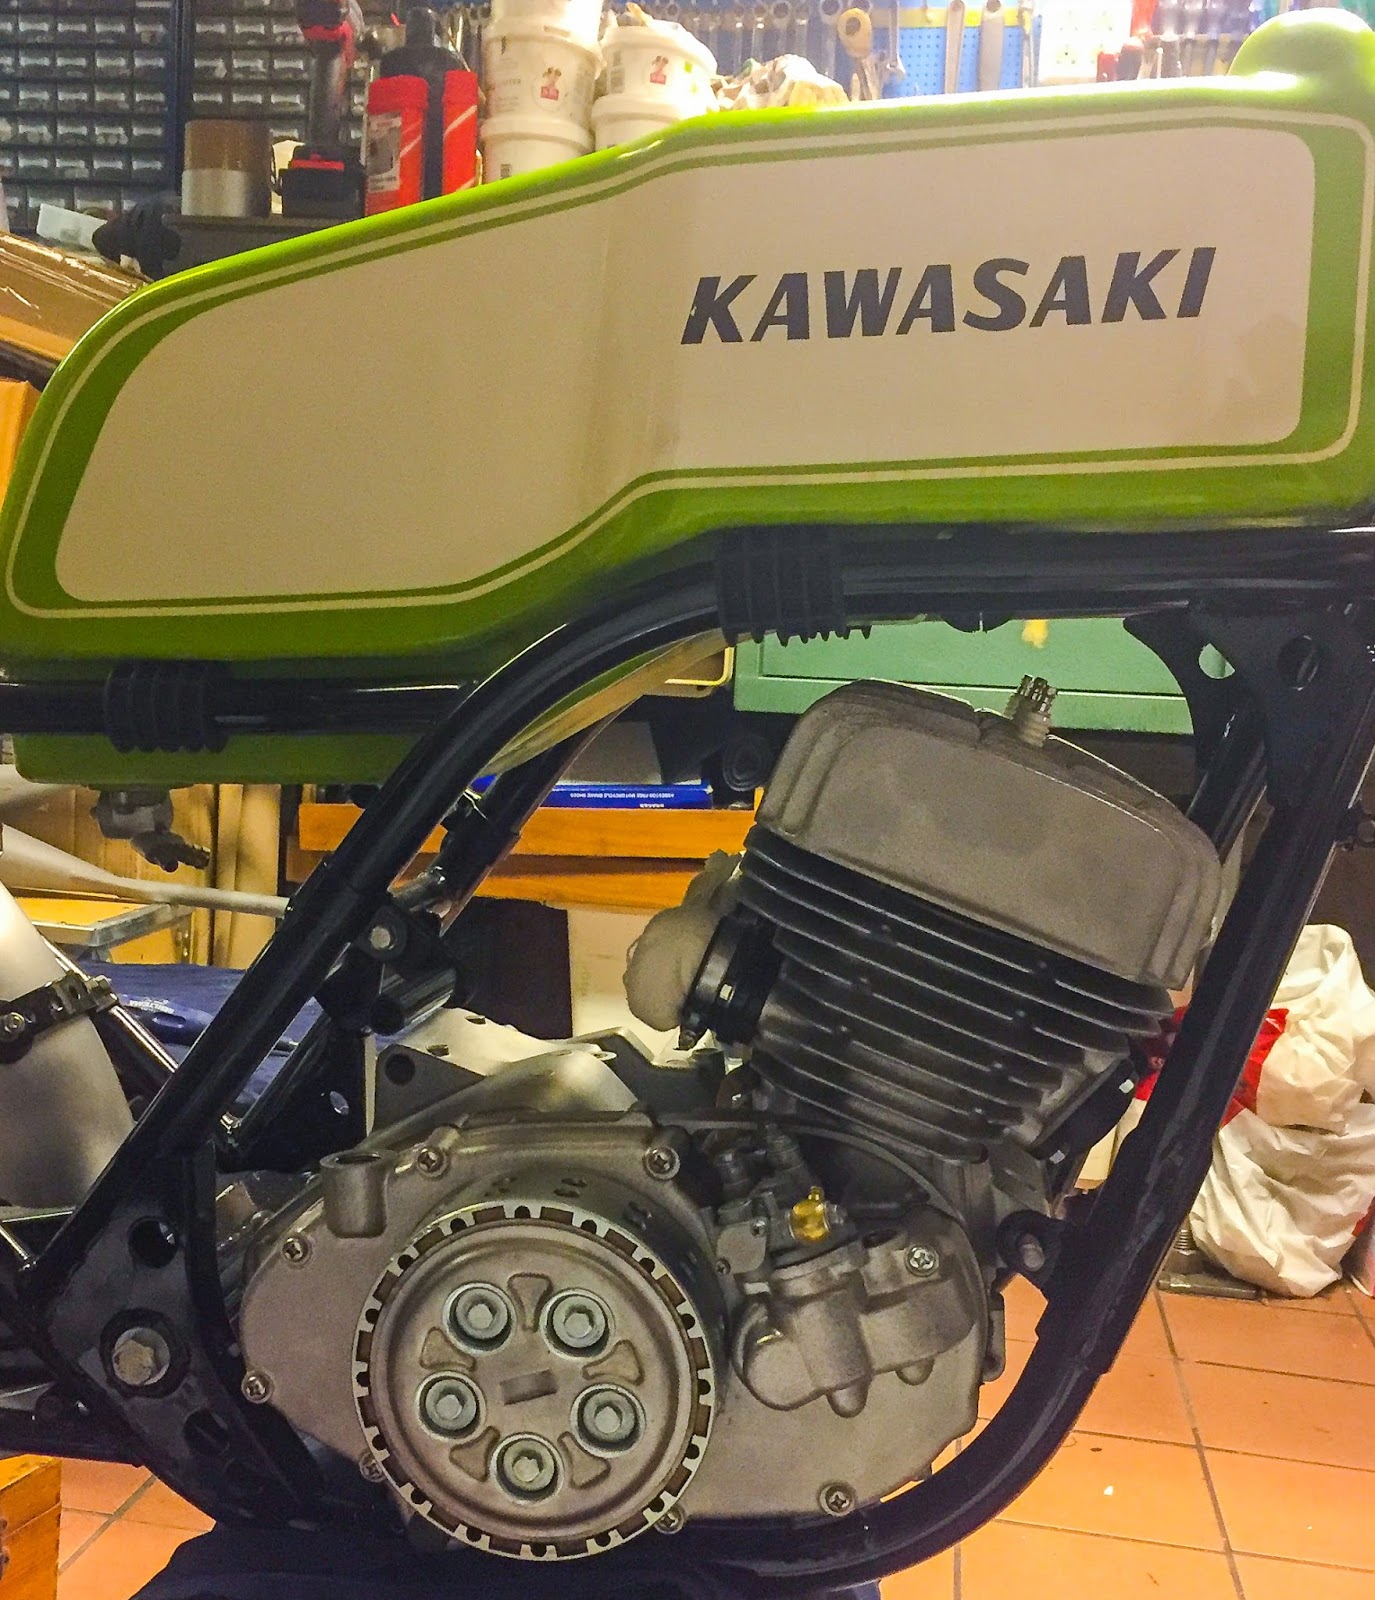
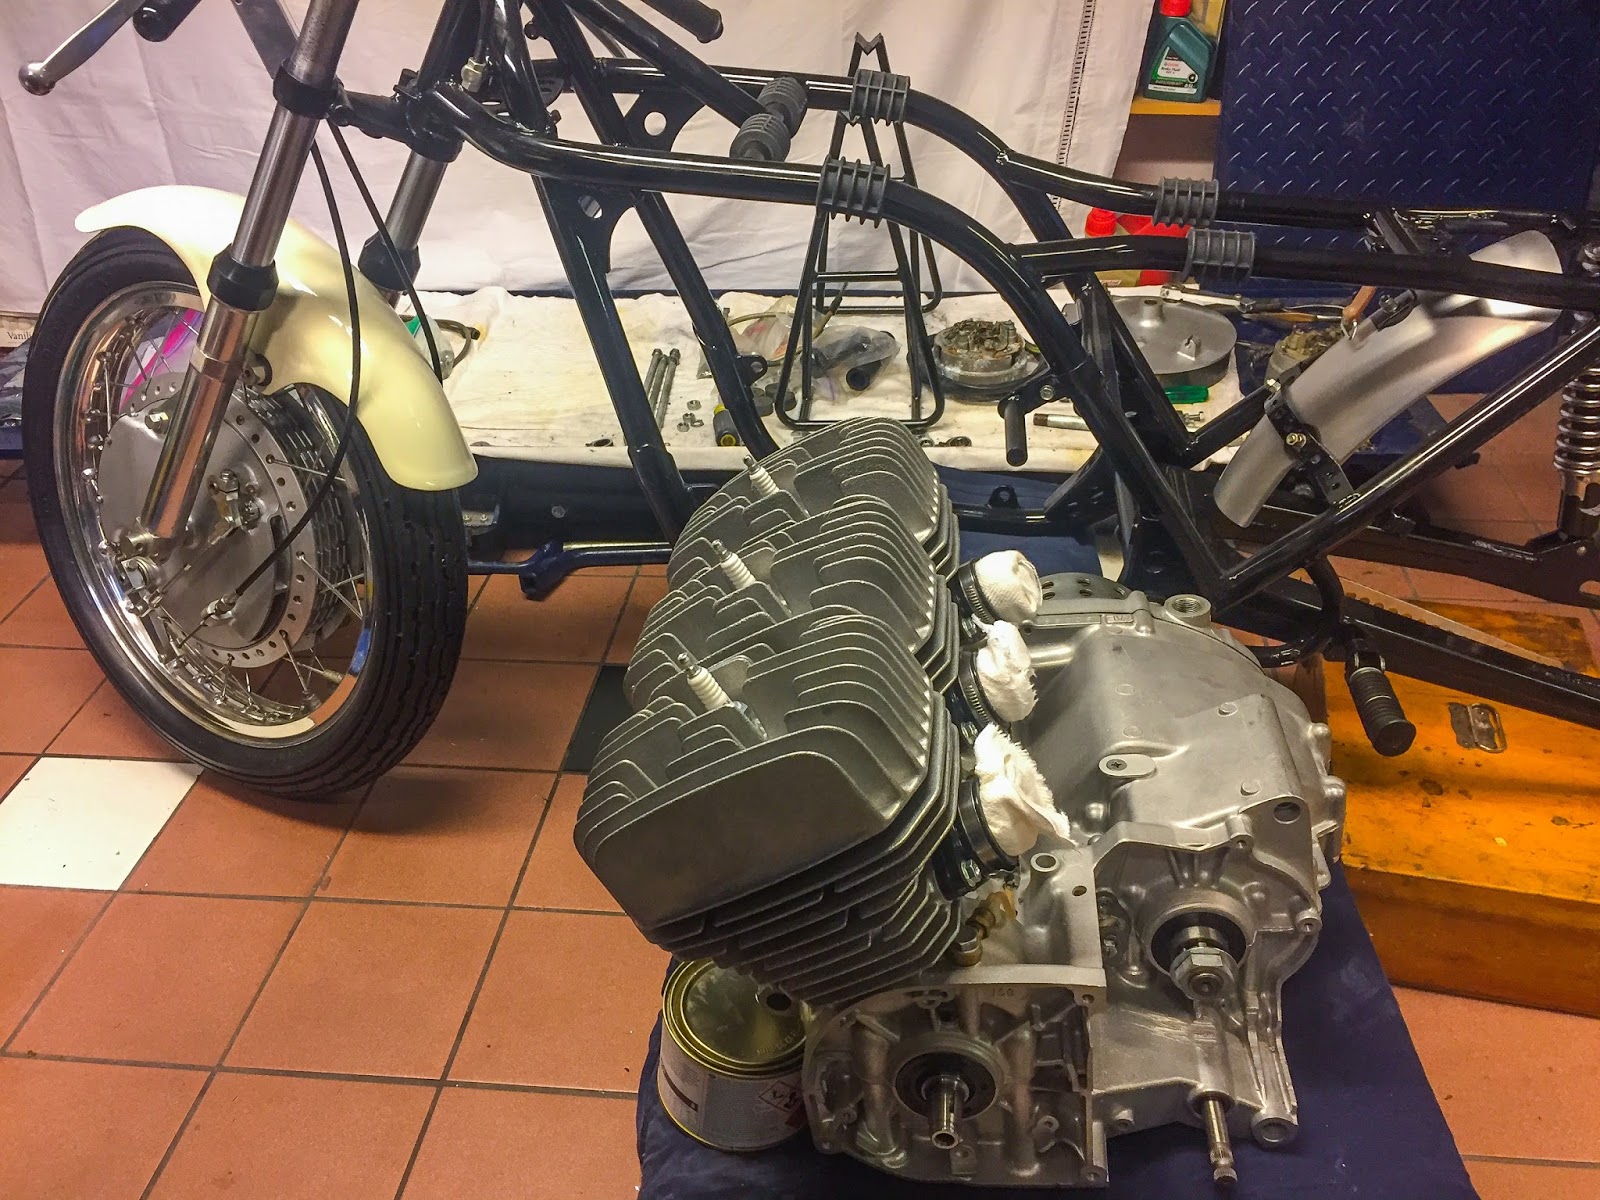
Once I had the highest entrance mount in place all I needed to do was carry the rear finish of the engine rigorously and get the rag off. Yeah, I needed to tear it off little by little, however I´ll take that loss! Right here´s the consequence from the precise hand facet. Seems to be good, aye?
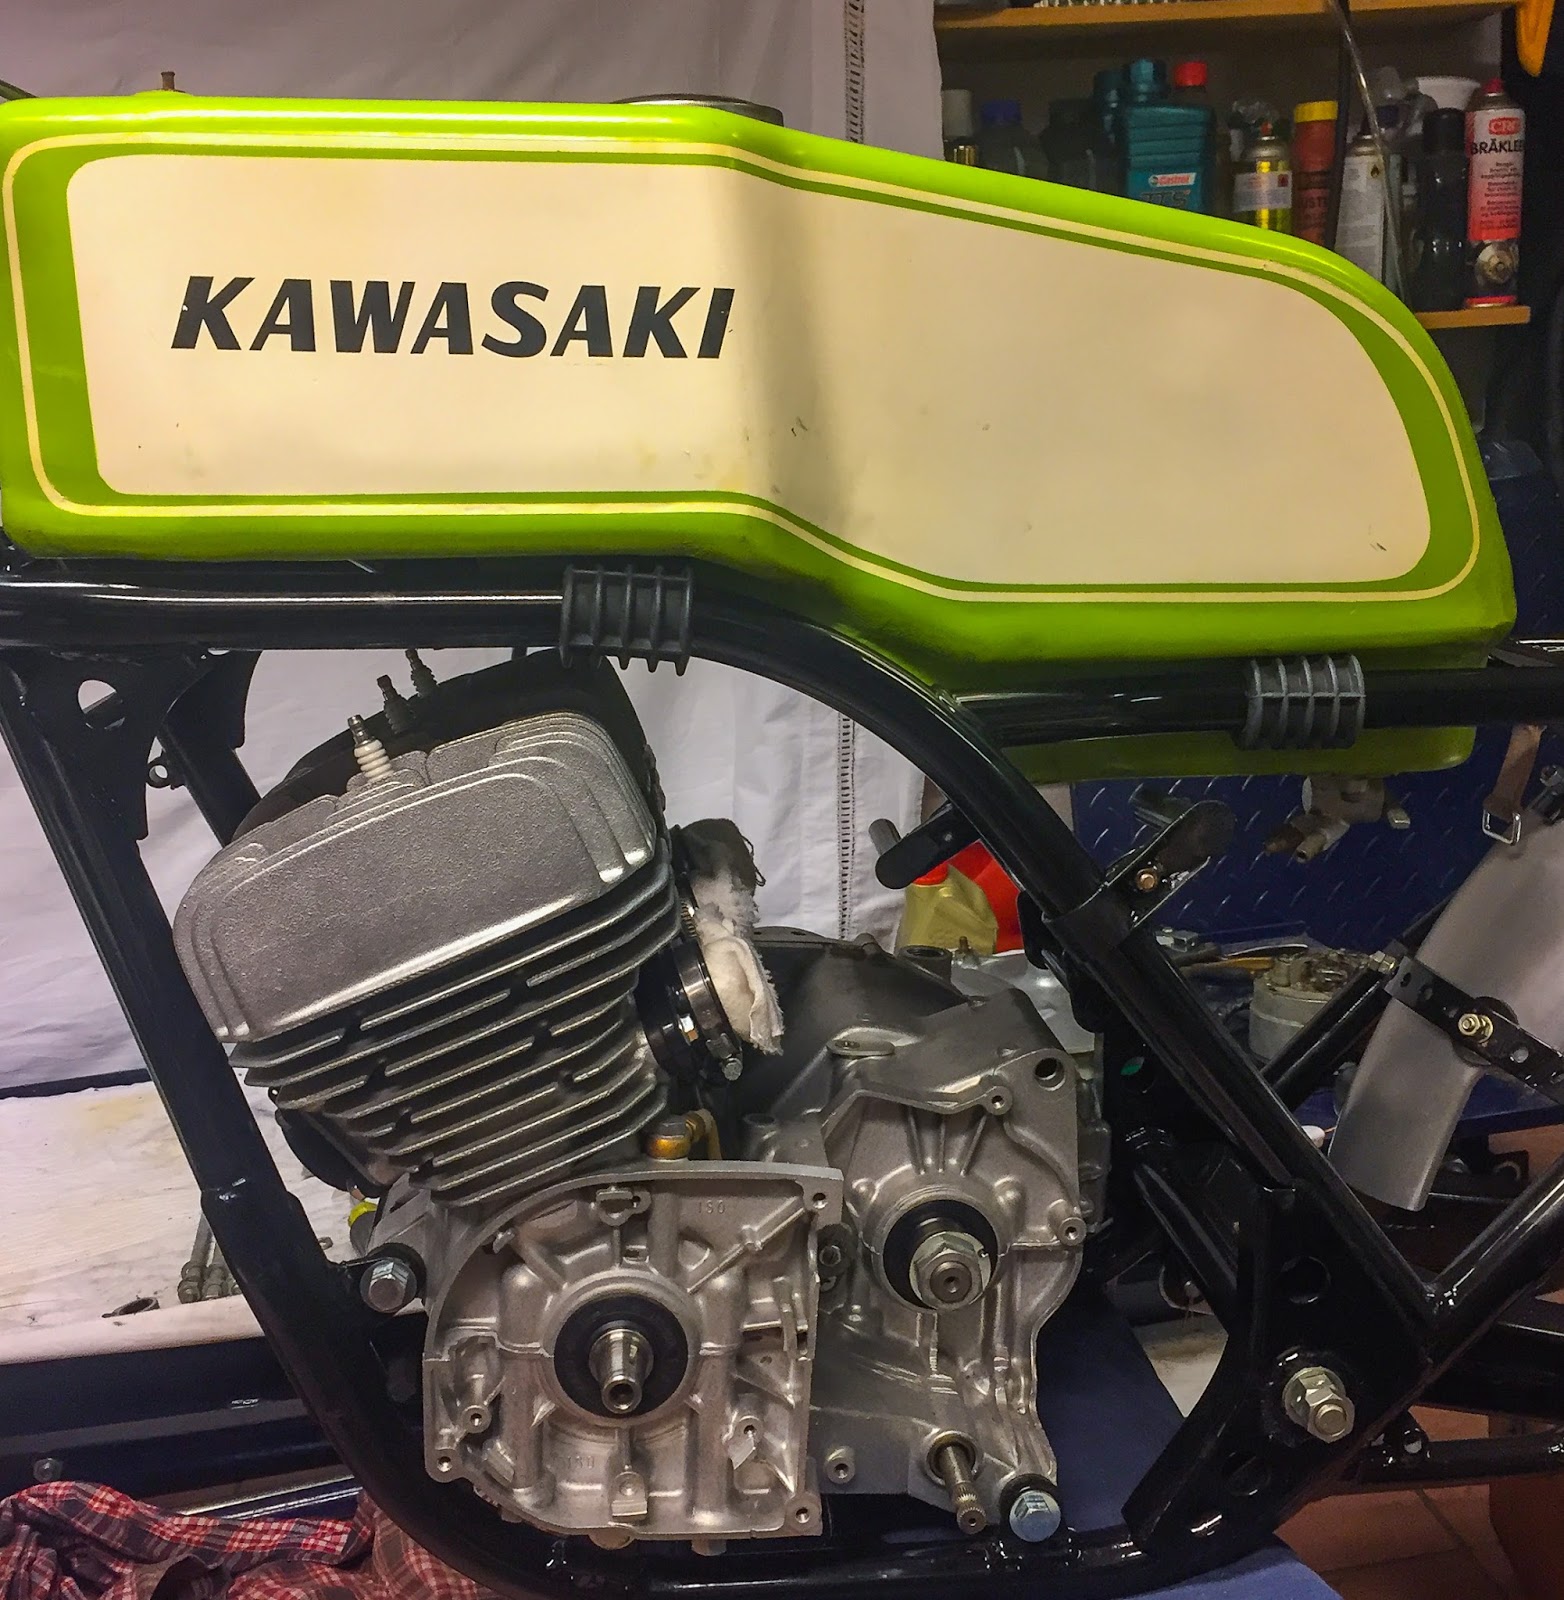
And the left hand view. Way more to do on this facet of the engine. However I really feel actual good having married these components at this time! This is without doubt one of the better moments in any motorbike restoration. Now, let´s simply hope I gained´t need to take it out once more… I wouldn´t be shocked!
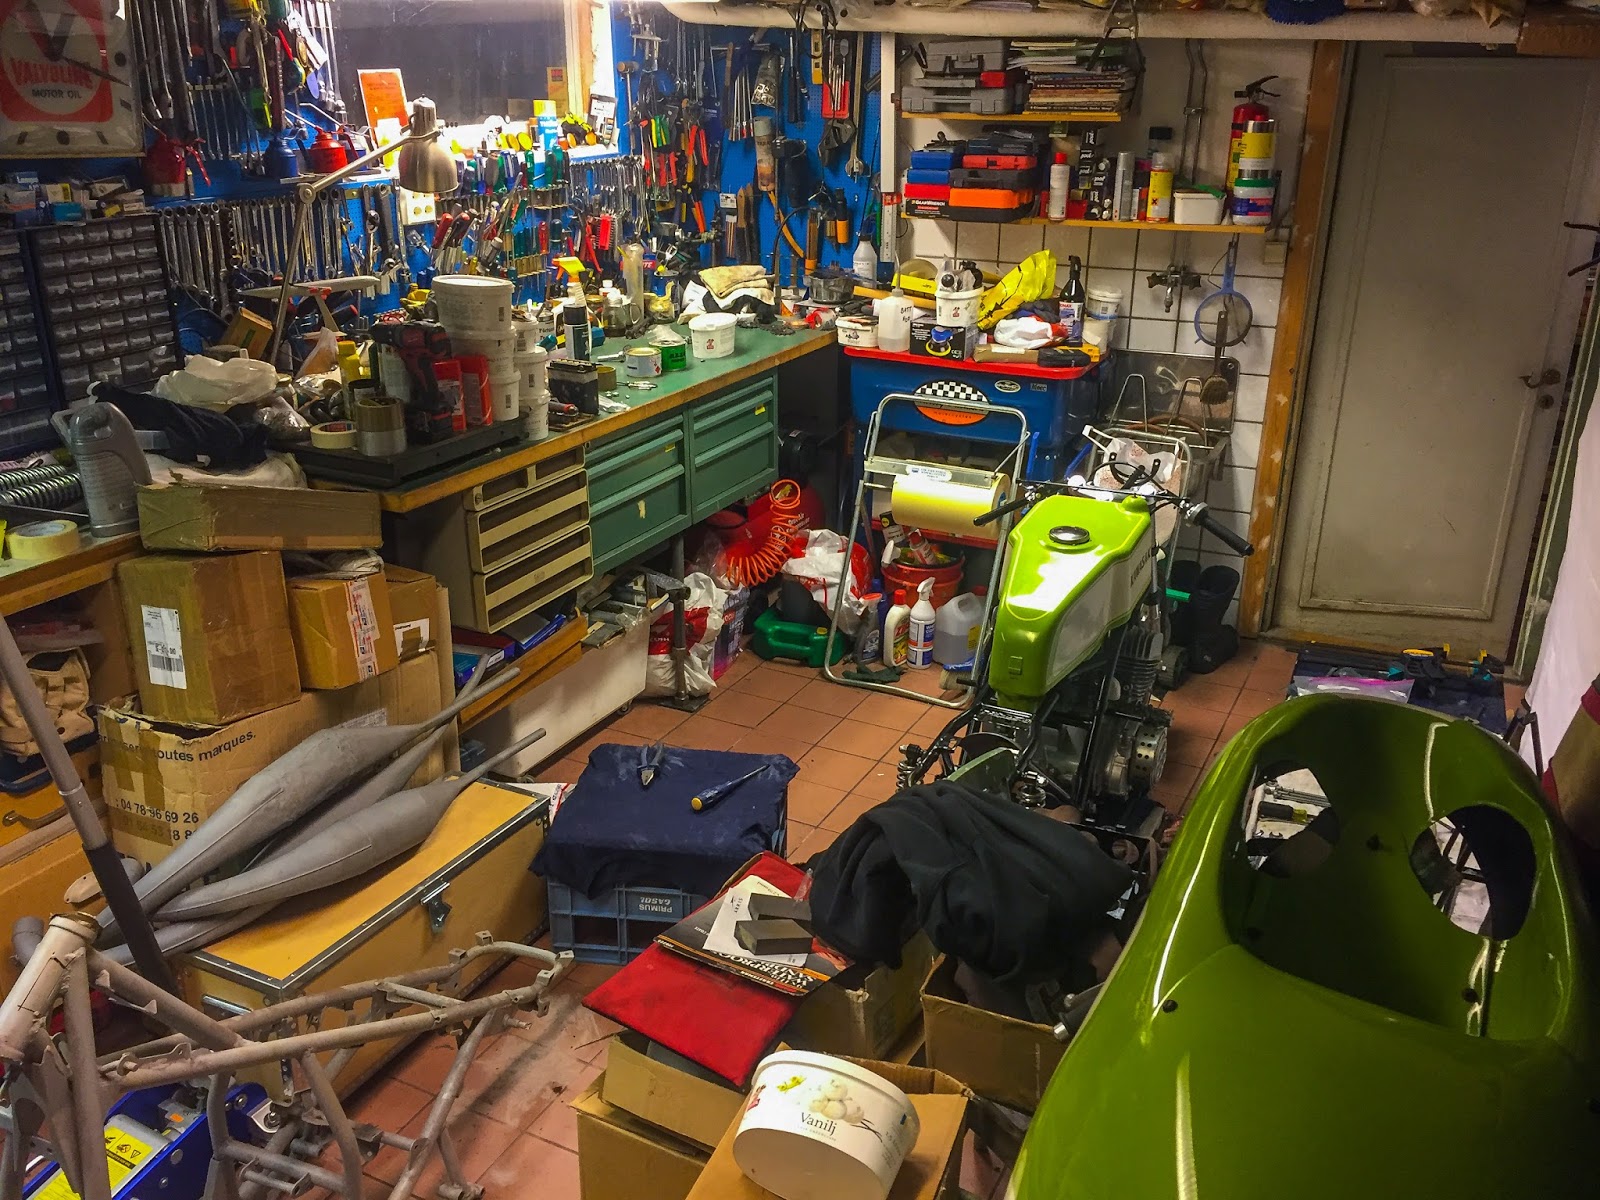
This course of took some house in my storage as you’ll be able to perceive. Most different components and issues needed to transfer out of the way in which for some time. Right here´s a snapshot of my “mancave” tonight, New 12 months´s eve. Fairly dominated by Kawasaki racers…
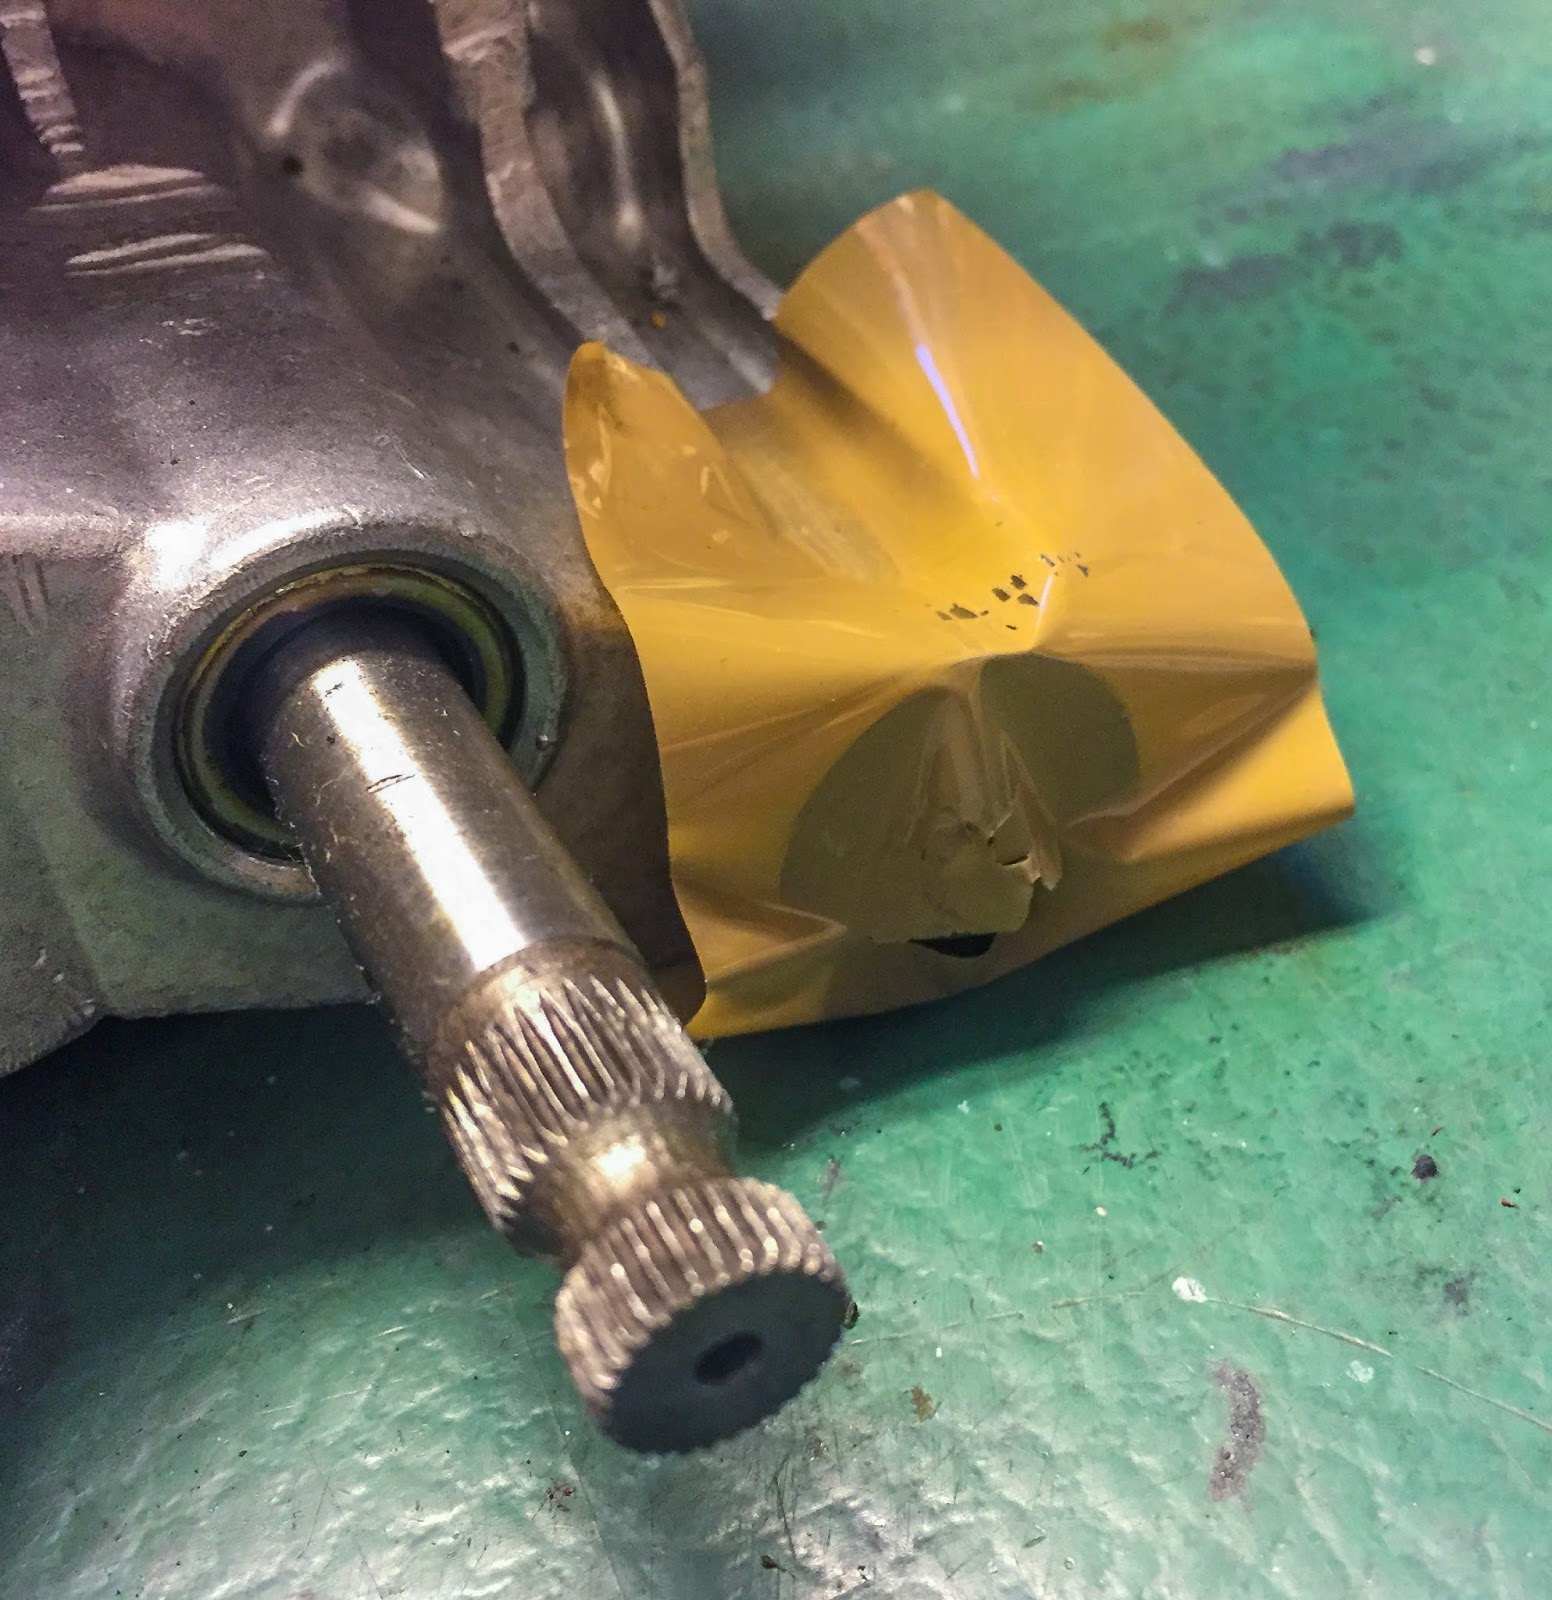
After this weekend and my subsequent work journey to New York I hope my rear wheel will likely be completed. The subsequent mission is getting that again within the swing, placing the entrance sprocket on and mounting the drive chain. The seat is quickly getting back from Delsbo and after that this mission will look way more just like the classic racer it’s.

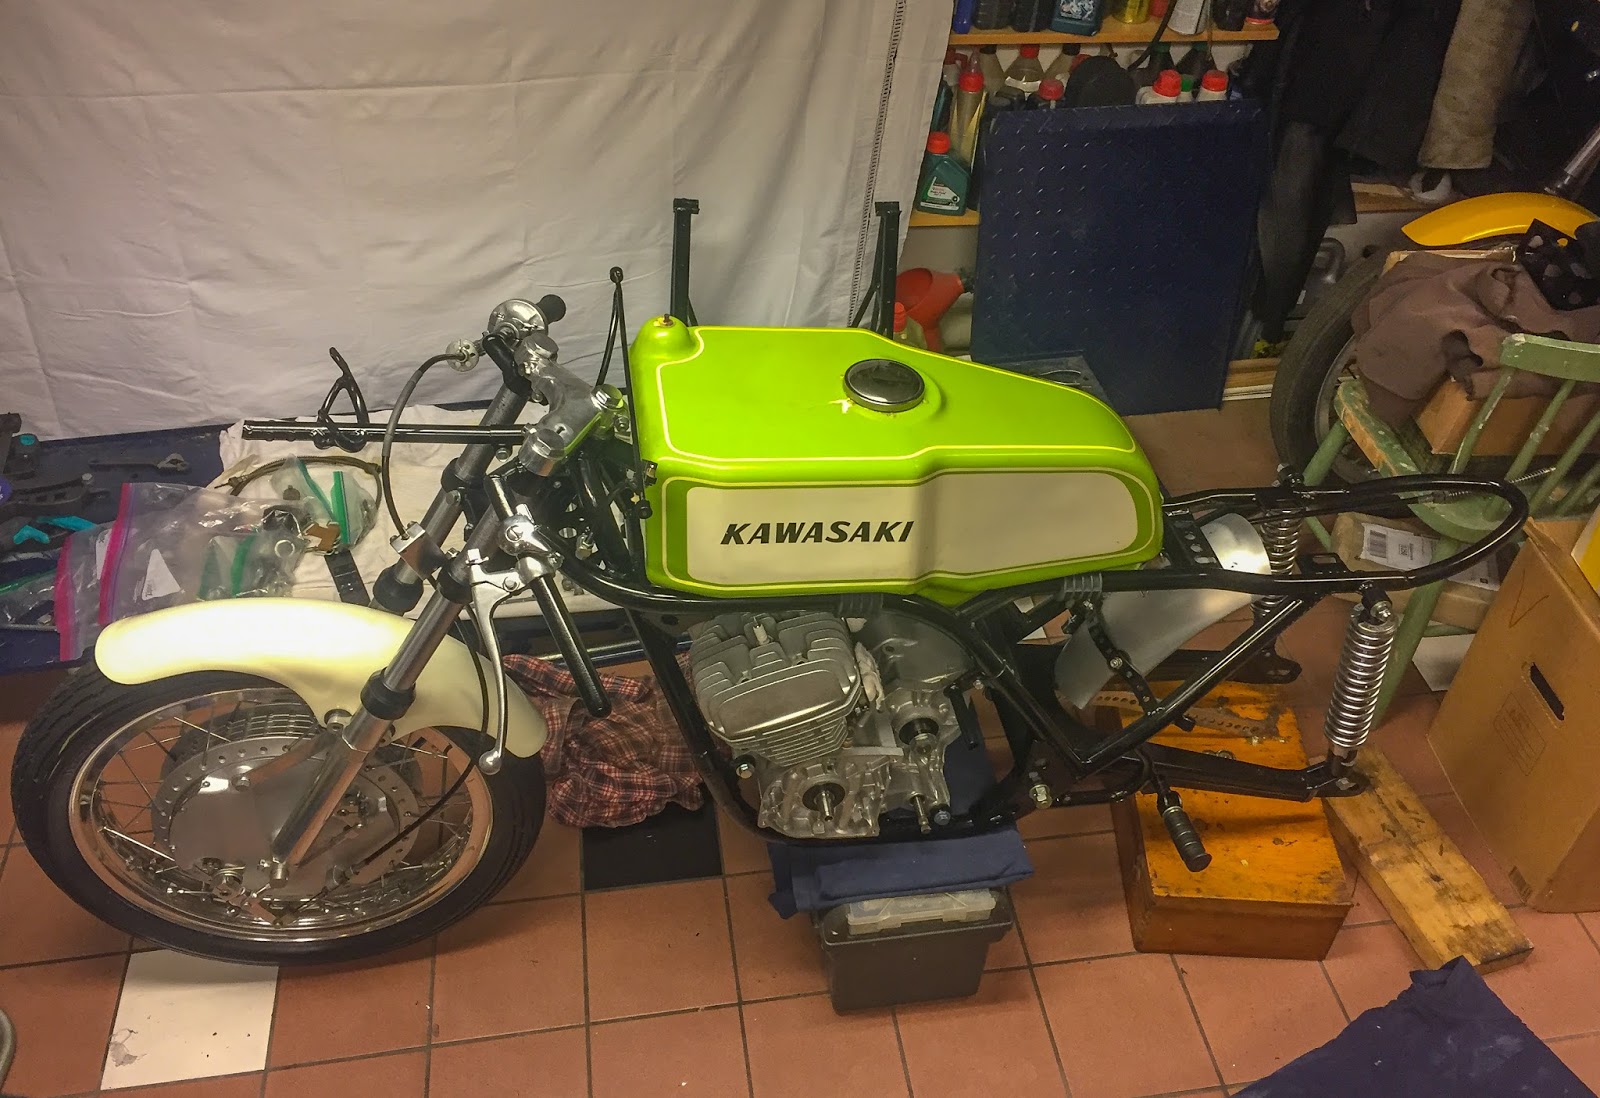
The final image at this time exhibits the tank, body and engine collectively. That is the place the construct will get actual enjoyable and attention-grabbing. All these small components getting again on, all of the components needing changes to perform as they’re alleged to and likewise the ultimate touches on the tank and the paint and so forth… All such good work!
For now, I want you all a really Pleased New 12 months and a very affluent 2018!
/Per
[ad_2]